If you hear the sound of water dripping somewhere in your bathroom, it could be a sign that something is wrong with your bath fan. Not only can this excess moisture create an unpleasant environment, but it can also cause serious problems with mold and mildew growth or lead to water damage in walls and ceilings. Fortunately, you don’t have to put up with this annoying situation forever — there are usually easy solutions if you know what to look for!

In this blog post, we’ll explain why bath fans may start dripping water and then provide step-by-step instructions on how to fix water dripping from bathroom fan. So keep reading if interested in learning how to identify the problem and get rid of that pesky drip once and for all!
Tools and Materials You Will Need to Fix Water Dripping From Bathroom Fan
- Screwdriver (Flathead or Phillips)
- Vacuum cleaner
- Replacement fan kit (if necessary)
- Ladder or step stool (depending on ceiling height)
- Duct tape (optional)
- Flashlight (to inspect the fan housing)
- Safety gear (gloves, eye protection, mask)
Step-by-step Guidelines on How to Fix Water Dripping From Bathroom Fan
Step 1: Turn Off the Power to Your Bathroom Fan
Before attempting any repairs, it’s essential to turn off the power to your bathroom fan for safety reasons. The last thing you want is an electric shock, so locate your home’s main circuit breaker and switch off the power to your bathroom. Turning off the light switch in your bathroom may not be enough, so it’s best to take extra precautions.
Step 2: Inspect the Fan Housing for Any Visible Signs of Damage
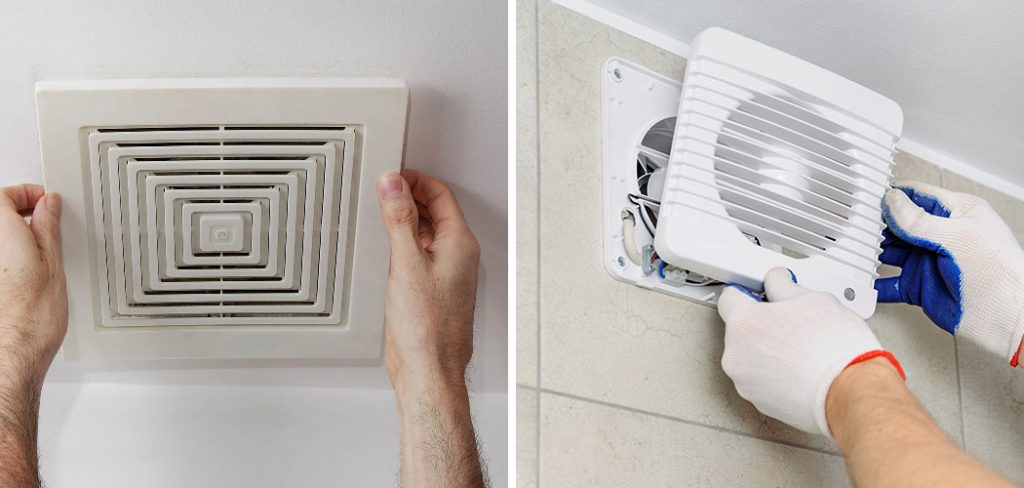
Next, you’ll need to inspect your bath fan housing, which is usually located in the ceiling or wall. Use a flashlight to get a good look at the inside of the fan housing and see if there are any visible signs of water damage or leaks. If you notice any cracks, gaps, or holes in the housing, this could be the cause of your bathroom fan dripping water.

Step 3: Clean the Fan and Ducts
After identifying and fixing any visible damage to the fan housing, it’s time to give your bath fan a good clean.
Use a vacuum cleaner with a hose attachment to remove any dirt, debris, or dust from the fan and ducts. This step is crucial as it allows proper air circulation and prevents moisture buildup that can lead to water dripping.
Step 4: Check the Fan’s Slope
Your bathroom fan should be installed with a slight slope towards the outside of your home, allowing water to drain properly.
If you notice that your fan is tilted inwards, this could be the reason for the water dripping. Use a level to check and adjust the slope if necessary. Checking the fan slope is also important when installing a new fan to prevent future water issues.
Step 5: Replace Damaged Fan Parts (If Necessary)
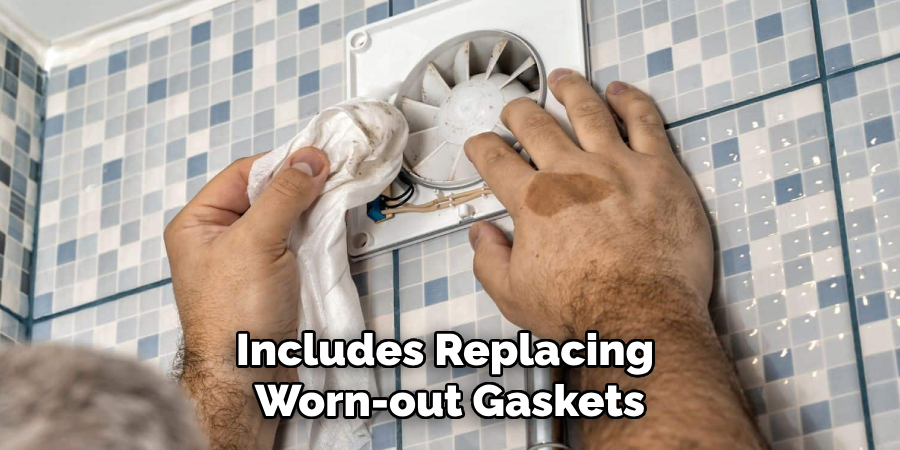
If you’ve completed all the previous steps, but your bathroom fan is still dripping water, it may be time to replace some parts. This typically includes replacing worn-out gaskets, cracked duct joints, or a damaged fan blade. Most replacement parts can be found at your local hardware store or online.

Step 6: Reconnect the Power and Test Your Bathroom Fan
Once you’ve completed all the necessary repairs, it’s time to turn the power back on and test your bathroom fan. Turn on the fan and let it run for a few minutes while checking for any leaks or drips. If everything looks good, you’ve successfully fixed the water dripping from your bathroom fan!
Following these steps should help you identify and fix the cause of water dripping from your bathroom fan. Remember to always prioritize safety and seek professional help if needed. Maintaining a properly functioning bath fan is crucial for preventing mold, mildew, and water damage in your home. So don’t ignore that annoying dripping sound – take action and fix your bathroom fan today!
Additional Tips and Tricks to Fix Water Dripping From Bathroom Fan
- Clean the fan regularly to prevent dirt and debris build-up. This can also help improve the overall efficiency of the fan.
- Check for any cracks or gaps in the ductwork that may be causing water leakage. These should be sealed with appropriate materials.
- Consider installing a timer on your bathroom fan to ensure it runs for a sufficient amount of time after showering, which can help prevent excess moisture and water build-up.
- To avoid future issues, make sure your bathroom is properly ventilated. This includes using an exhaust fan while showering and opening a window or door to allow for proper air circulation.
- If the issue persists, it may be worth consulting a professional plumber to assess any potential underlying problems with the ventilation system or ductwork.
- Regularly check and replace the fan’s motor, as a malfunctioning motor can contribute to water leakage and other issues with your bathroom fan.
- If you notice any condensation on the ceiling or walls near the bathroom fan, it may be a sign that there is excess moisture in your home. This could be due to poor insulation or improper ventilation, which should be addressed to prevent further water dripping.
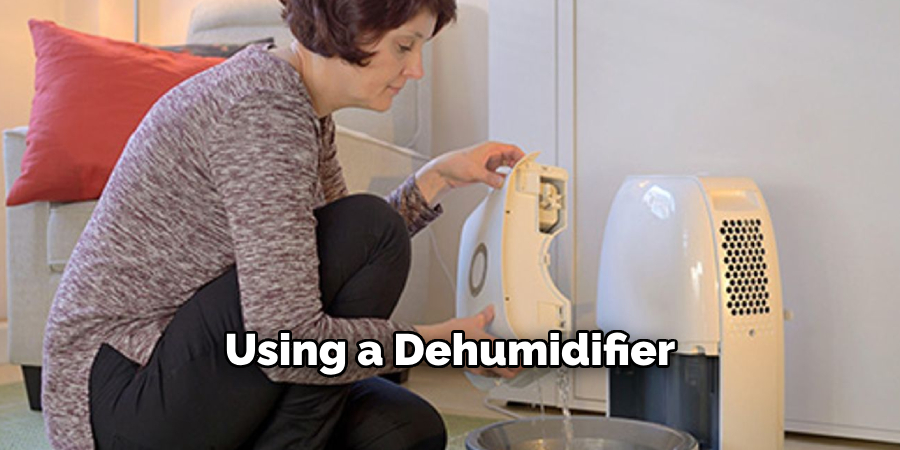
- Consider using a dehumidifier in your bathroom or throughout your home to reduce the overall humidity levels and minimize the risk of water dripping from your fan.
- Lastly, always make sure to turn off the bathroom fan when not in use to conserve energy and prolong its lifespan. Overall, taking a proactive approach to maintaining and properly using your bathroom fan can help prevent water dripping and other related issues.

Following these tips and tricks can not only fix the current problem but also prevent future water dripping from occurring. So, make sure to regularly clean and maintain your bathroom fan and address any potential underlying issues for a properly functioning and efficient ventilation system in your home. Happy fixing!
Precautions Need to Follow for Fixing Water Dripping From Bathroom Fan
- Before attempting to fix the water dripping from your bathroom fan, it is important to take certain precautions. This will ensure that you do not harm yourself or damage any equipment.
- Make sure to turn off the power supply to your bathroom fan before starting the repair process. This will prevent any electric shocks and also protect the fan from getting damaged during the repair.
- Wear protective gear such as gloves and safety glasses before attempting to fix the fan. This will protect your hands and eyes from any potential injuries.
- Place a towel or bucket under the bathroom fan to catch any dripping water that may fall during the repair process. This will prevent any damage to your flooring or walls.
- Use a ladder or step stool if needed to reach the bathroom fan. Make sure the ladder is stable and secure before climbing it.
- If you are using any electrical tools for the repair, make sure they are in good working condition and do not have any exposed wires.
- It is also recommended to have someone assist you during the repair process, especially if you need to remove the fan from its housing.
- Lastly, always refer to the manufacturer’s manual or seek professional help if you are unsure about any step in the repair process.

Following these precautions will ensure a safe and successful repair of your bathroom fan. So, make sure you follow them before starting the repair process.
Common Causes of Water Dripping From Bathroom Fans
- Now that we have covered the precautions, let us take a look at the common reasons behind water dripping from bathroom fans.
- One of the most common causes is a clogged vent pipe. This can happen due to a buildup of dust, dirt, or debris in the vent pipe. As a result, water condenses on the debris and drips back down into your bathroom.
- Another reason could be a leak in the roof or insulation around the fan housing. This can allow water to enter and drip through the fan.
- In some cases, the fan may not be properly installed or sealed, allowing water to enter from outside sources.
- Lastly, if the bathroom is not properly ventilated, moisture can accumulate and cause condensation on the fan, leading to dripping water.
These are the most common causes of water dripping from bathroom fans, but there could be other underlying issues as well. So, it is important to thoroughly inspect and troubleshoot the problem before attempting any repairs.
Conclusion
With the above outlined you can easily learn how to fix water dripping from bathroom fan and also understand the precautions to take before starting the repair process. It is important to address this issue as soon as possible to avoid any further damage or potential hazards.
If you are unsure about any step in the repair process, it is always best to seek professional help. Don’t ignore a dripping bathroom fan, fix it today for a safer and more efficient bathroom environment!
Remember, prevention is always better than cure. So, make sure to regularly clean and maintain your bathroom fan to avoid any future problems. With proper care and maintenance, you can enjoy a well-functioning and water-drip-free bathroom fan for years to come.

