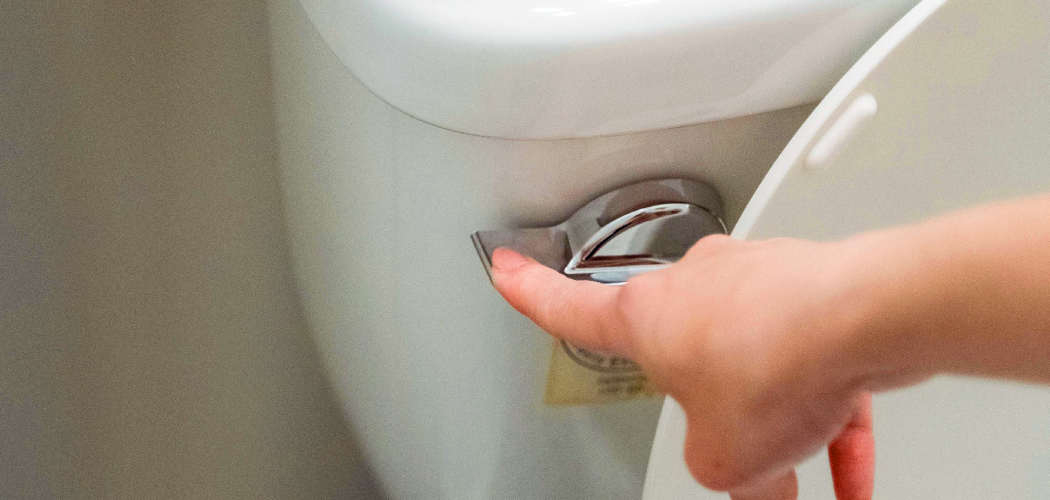
Flushing a toilet with a broken handle might seem like a daunting task, but it’s actually quite simple with a bit of know-how. Whether you’re dealing with a temporary issue or waiting for repairs, there are straightforward methods to keep your toilet functioning properly.
This guide on how to flush a toilet when the handle is broken will walk you through practical steps to flush your toilet manually, ensuring convenience and hygiene are maintained even when the handle isn’t working.
Why Is the Handle Broken?
Before we dive into the steps of manually flushing a toilet, it’s essential to understand why the handle may be broken in the first place.
- The chain linking the handle to the flapper valve inside the tank may have come loose or disconnected.
- The handle itself may be physically damaged or worn out from frequent use.
- The lift arm, which lifts and lowers the flapper valve, may be bent or broken.
- The flapper valve itself may be damaged or not sealed properly, causing the handle to not function correctly.
- A faulty flush lever assembly or linkage may also be the culprit.
Knowing the possible reasons for a broken handle can help determine which steps to take to fix it and prevent future issues.
Needed Materials:
To manually flush a toilet with a broken handle, you will need the following materials:
- A Bucket or Container Filled With Water (Around 2 Gallons)
- Rubber Gloves (Optional but Recommended for Hygiene Purposes)
10 Step-by-step Guides on How to Flush a Toilet When the Handle is Broken:
Step 1: Prepare the Area
Before you begin, ensure that the area around the toilet is clear and safe to work in. Remove any items, such as rugs or towels, that might be in the way or could get wet during the process. If you’re using a bucket to flush the toilet, make sure it is filled with water and placed close to the toilet for easy access.
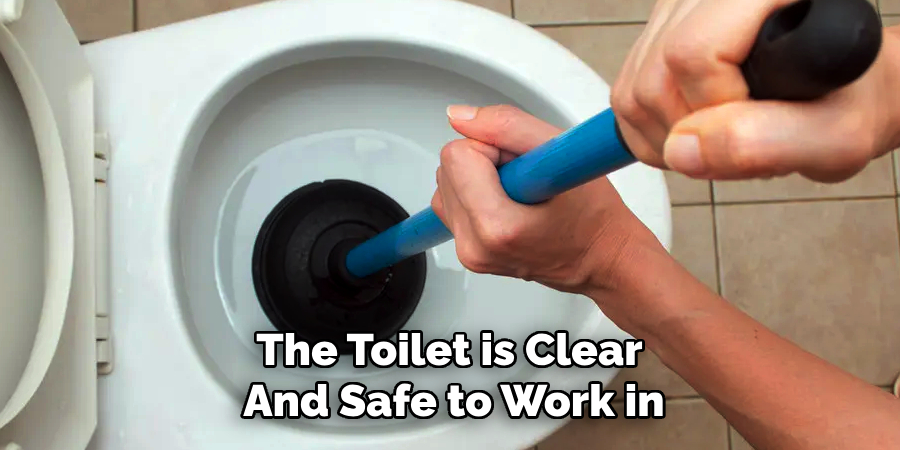
This preparation will help prevent spills and make the process more efficient. Additionally, putting on rubber gloves is highly recommended to maintain hygiene while handling the toilet.
Step 2: Locate the Flapper Valve
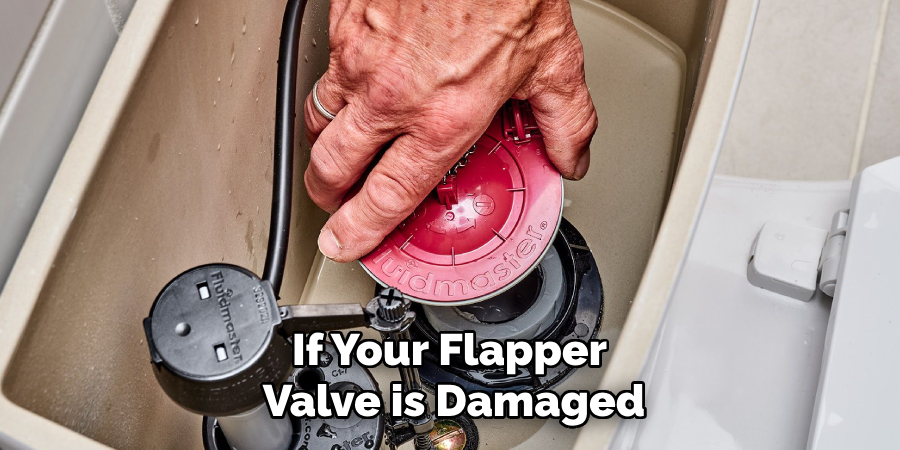
The flapper valve is located inside the toilet tank and is a crucial component for flushing. Carefully remove the lid from the toilet tank and place it on a flat, stable surface to avoid damage. Inside the tank, you’ll see a rubber or plastic flap at the bottom, usually attached to a chain.
This is the flapper valve, which controls the flow of water from the tank into the bowl. Identifying the flapper valve is essential for manually flushing the toilet or inspecting for any potential issues that might have contributed to the handle’s malfunction.
Step 3: Identify and Adjust the Chain
The chain connects the handle to the flapper valve, allowing you to flush the toilet by pulling down on the handle. If the chain has come loose or disconnected from either end, it may be causing your broken handle issue. Reattach or adjust the chain as needed to restore proper function to your handle.
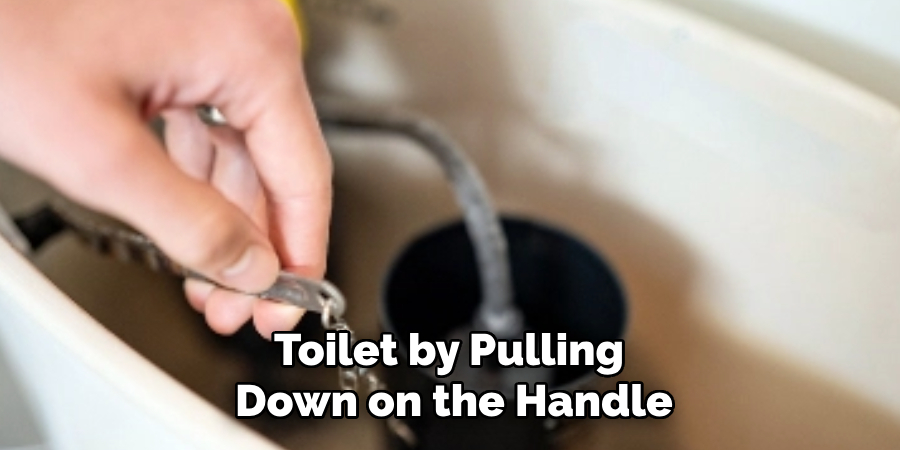
You may also need to adjust the chain if it’s too long or short, causing improper functioning of the handle. A good rule of thumb is to have the chain with just enough slack so that the flapper valve can open and close without getting caught on anything.
Step 4: Lift the Flapper Valve
If adjusting or fixing the chain doesn’t solve your broken handle issue, you can manually lift the flapper valve to flush your toilet. Carefully reach into the tank and lift up on the flap until water starts flowing into the bowl.
Hold it for a few seconds until all water has drained out of the tank, then release it gently back down onto its seat. This will trigger the flushing action, and the toilet should empty as usual.
Step 5: Use a Bucket of Water
If you don’t want to reach into the tank or if your flapper valve is damaged, you can also use a bucket of water to flush your toilet manually. Simply pour around two gallons of water into the toilet bowl in one swift motion.
The force and volume of the water will activate the flushing action, and the toilet should empty as usual. If using this method, make sure to pour the water evenly around the bowl to ensure proper flushing.
Step 6: Clean Up
After manually flushing your toilet, it’s essential to clean up any spills or messes that may have occurred during the process. Use a disinfectant cleaner and paper towels or rags to wipe down any areas that may have come into contact with dirty water.
Throw away any used gloves and wash your hands thoroughly with soap and warm water to maintain hygiene. You can also use bleach to disinfect the toilet bowl if desired.
Step 7: Consider Getting a Temporary Handle
If your handle is broken, but you don’t want to manually flush the toilet every time, consider getting a temporary handle. These can be found at most hardware stores and are relatively easy to install.
However, keep in mind that these are only temporary solutions and may not last for an extended period of time. It’s still recommended to get a professional to fix or replace the broken handle for a more permanent solution.
Step 8: Inspect and Replace Parts as Needed
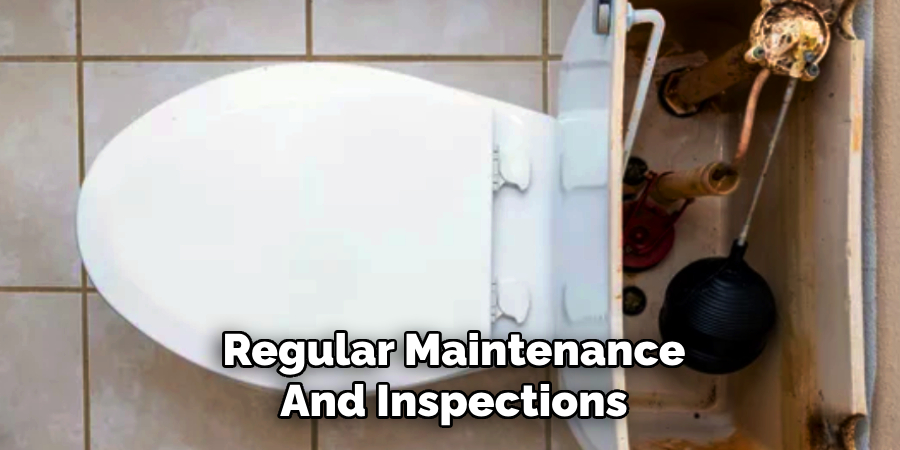
Before replacing the lid on the tank, take some time to inspect all parts inside and ensure everything is functioning correctly. If you notice any worn, damaged, or broken parts, it’s best to replace them to prevent future issues.
You can find replacement parts at most hardware stores or by contacting a professional plumber for assistance. Regular maintenance and inspections can help identify and address potential issues before they become major problems.
Step 9: Test the Handle
Once everything is cleaned up, replaced if necessary, and functioning correctly, it’s time to test the handle again. Gently press down on the handle to flush the toilet and make sure it works properly. If not, repeat the steps above until the issue is resolved.
If the handle still doesn’t work, it may be time to call a professional for further assistance.
Step 10: Replace the Lid
After confirming that the handle is working correctly, carefully place the lid back on top of the tank and secure it in place. Make sure all connections are tight and secure to avoid any future issues with your toilet’s flushing mechanism.
Congratulations! You have successfully flushed your toilet manually with a broken handle. Remember to properly maintain your toilet and address any potential issues promptly to prevent further complications.
Following these steps on how to flush a toilet when the handle is broken, you can save yourself from potential frustration and costly repairs by manually flushing your toilet with a broken handle. If the issue persists or becomes more complicated, don’t hesitate to seek professional help.
Additional Tips:
- If you’re unable to locate or fix the issue causing your broken handle, don’t hesitate to contact a professional plumber for assistance.
- Regularly check and maintain all components inside your toilet tank to prevent future issues and ensure proper functioning.
- Consider replacing old or worn parts in your toilet to avoid potential problems and prolong its lifespan.
- Always practice proper hygiene when handling a broken handle or manually flushing the toilet by using gloves, disinfectant cleaners, and washing your hands thoroughly.
- It’s recommended to have a backup plan, such as a temporary handle or bucket of water, in case the handle breaks again in the future. So be prepared and keep these items handy.
- If you notice any unusual sounds, leaks, or other issues with your toilet, address them promptly to prevent further damage and costly repairs.
- Remember to turn off the water supply before attempting any DIY repairs on your toilet to avoid potential accidents and injuries. Safety first!
- Consider investing in a high-quality toilet with durable components to minimize the chances of experiencing a broken handle or other issues.
- Always follow manufacturer instructions for the installation and maintenance of all part components in your toilet to ensure proper functioning and avoid any potential problems.
- If you’re unsure about any DIY repairs, don’t hesitate to seek professional help. It’s better to be safe than sorry. So, if in doubt, call a plumber!
Conclusion:
In conclusion, a broken handle doesn’t have to disrupt your daily life or cause unnecessary stress. With the right knowledge and steps, you can manually flush your toilet and address the issue until it’s fixed properly. Remember to regularly maintain your toilet and address any potential issues promptly to avoid future problems.
And if all else fails, don’t hesitate to seek professional assistance. We hope this guide has been helpful in teaching you how to flush a toilet when the handle is broken. Happy flushing!

