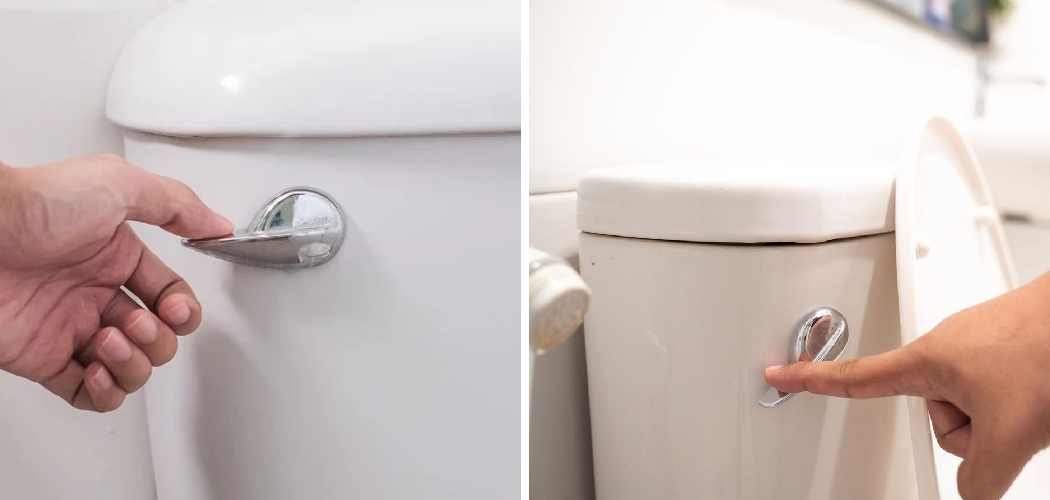
Flushing a toilet is a routine and essential part of modern life, but there are times when the mechanism doesn’t work as it should. Understanding how to manually force a flush can save you from potential embarrassment and prevent unsanitary conditions.
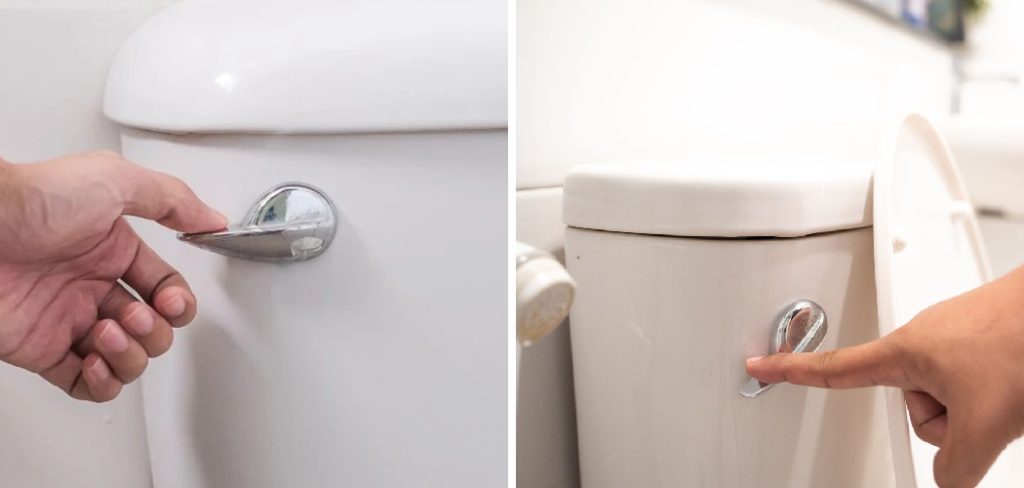
This guide on how to force flush a toilet will walk you through the process step-by-step, ensuring you have the knowledge to handle this common household issue efficiently.
Why Would You Need to Force Flush a Toilet?
Sometimes, the chain connected to the flushing handle gets stuck or disconnected, meaning that pulling on it won’t activate the mechanism. In other instances, there may be an issue with the flapper valve at the bottom of the tank, preventing water from entering and causing a weak or incomplete flush. Whatever the reason may be, knowing how to manually force a flush can come in handy.
You may also need to force flush a toilet if there is a clog in the pipes or the sewage system. In this case, forcing a flush can help dislodge and remove the obstruction, restoring proper functioning.
Necessary Materials
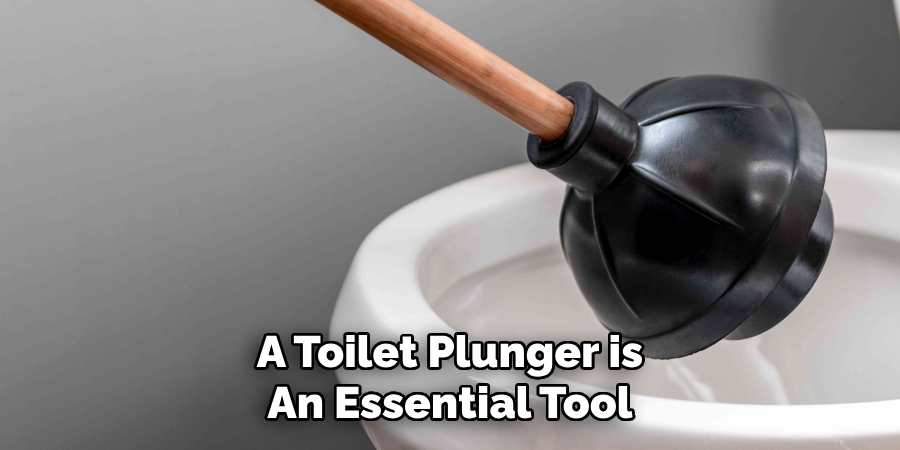
A Plunger (if There is a Clog):
A toilet plunger is an essential tool for any household, and it can be found at most hardware or home improvement stores. Make sure to have one on hand in case of a clog.
A Bucket:
Having a bucket filled with water on standby can help simulate the pressure of a regular flush if the tank is not filling up with water.
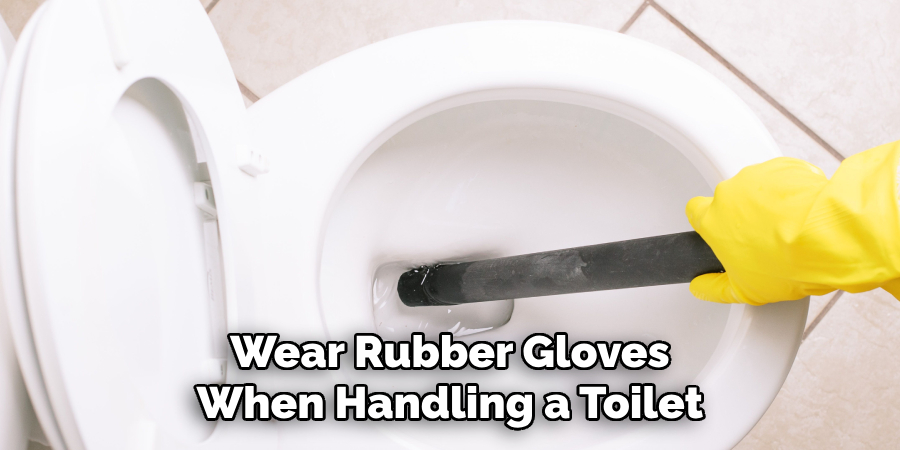
A Pair of Rubber Gloves:
It’s always a good idea to wear rubber gloves when handling a toilet, especially if there is an issue with it. This can help prevent the spread of bacteria and ensure proper hygiene.
7 Step-by-Step Guidelines on How to Force Flush a Toilet
Step 1: Take off the Toilet Tank Lid
The first step in manually forcing a flush is to remove the toilet tank lid. Carefully lift the lid and set it aside in a safe location to avoid accidental damage. The lid can be heavy and fragile, so handle it with care. Removing the lid will give you access to the internal components of the toilet tank, allowing you to investigate and manually activate the flushing mechanism if needed.
Step 2: Check the Chain and Handle
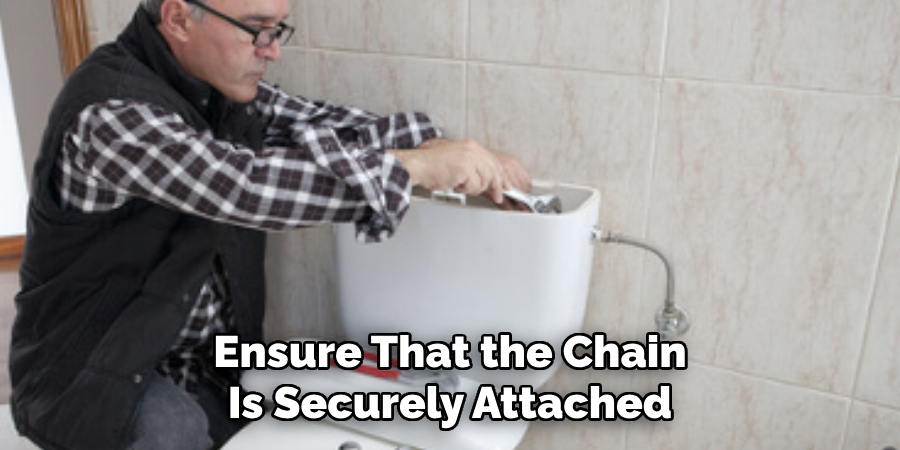
Once you have removed the toilet tank lid, the next step is to examine the chain and handle mechanism. Look inside the tank for a metal or plastic chain that connects the handle to the flapper valve. Ensure that the chain is securely attached at both ends and that it isn’t tangled or broken. If the chain has come loose from either connection, reattach it.
You may notice that the chain is either too long or too short, which could impede proper flushing. Adjust the length of the chain so that it has a slight slack when the flapper valve is closed. Once these adjustments are made, try flushing the toilet again using the handle to see if the problem is resolved. If the handle itself feels loose or unresponsive, tighten the nut that holds the handle mechanism in place. This step ensures that all components are properly connected and functioning, which might be all that’s needed to restore the flushing mechanism to working order.
Step 3: Check the Flapper Valve
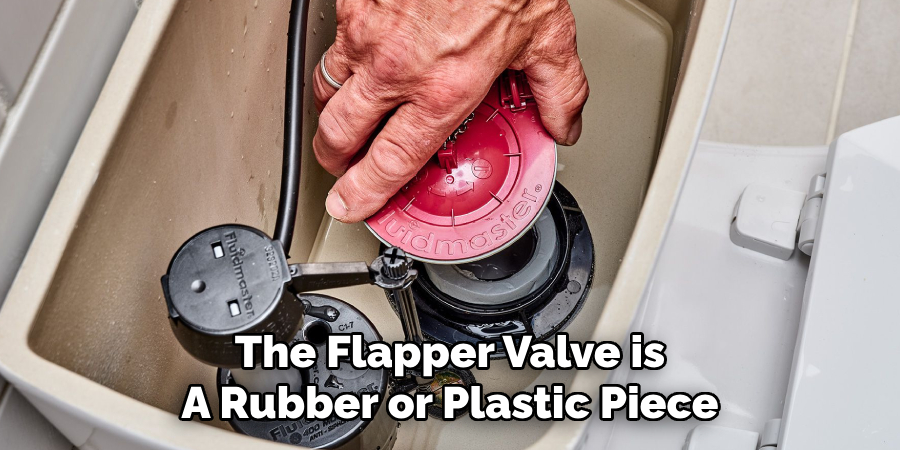
If the chain and handle mechanism seem to be in working order, the next step is to check the flapper valve. The flapper valve is a rubber or plastic piece at the bottom of the tank that lifts when you flush, allowing water into the bowl. Over time, this valve can become worn or misaligned, preventing it from creating a seal and allowing water to flow properly. If this happens, you will need to manually lift it with your hand to start a flush.
Check for any visible signs of wear or damage on the flapper valve, such as cracks or tears. If you find any, it’s best to replace the valve entirely. You can purchase a replacement at most hardware stores and easily install it by following the instructions provided.
Step 4: Use a Plunger (if There is a Clog)
If none of the above steps have resolved the issue, there may be a clog in the pipes or sewage system preventing proper flushing. In this case, using a plunger can help dislodge and remove the obstruction.
Make sure to have water covering the rubber end of the plunger before placing it over the hole at the bottom of the bowl. Firmly push down and pull up on the plunger to create suction, repeating this motion until the clog is cleared and the water begins to drain properly.
Step 5: Check the Water Level in the Tank
If the toilet is still not flushing properly, the next step is to check the water level in the tank. The water level should be high enough to enable a full flush but not so high that it continuously runs into the overflow tube. Ideally, the water should be about an inch below the top of the overflow tube. If the water level is too low, it might be due to an improper adjustment of the float or any issues with the fill valve.
To adjust the water level, locate the float mechanism inside the tank. Older toilets often have a ball float attached to a rod, while newer models may have a cylindrical float surrounding the fill valve. If the float is adjustable, you can usually turn a screw or slide the float up or down to change the water level. If the fill valve itself is malfunctioning, it may need to be cleaned or replaced.
Step 6: Use a Bucket and Fill the Tank Manually
If adjusting the water level and checking other components have not resolved the flushing issue, you may need to use a bucket to manually fill the tank. First, ensure that there’s a water source nearby, such as a sink or bathtub, to fill the bucket. Wear rubber gloves for hygiene purposes, fill the bucket with water, and be careful not to overfill to avoid spills.
Next, remove the toilet tank lid, if you haven’t already, and gently pour the water from the bucket into the tank. Aim to fill the tank until the water level is about an inch below the top of the overflow tube. This should provide enough water pressure to perform a manual flush. After filling the tank, reattach any parts that may have been disturbed and thoroughly clean any spills. Then, try flushing the toilet again to see if the issue has been resolved.
Step 7: Call a Professional
If all attempts to force flush the toilet, have failed or if you are unsure of how to proceed, it may be best to call a professional plumber for assistance. They will have the necessary expertise and tools to diagnose and fix any issues with your toilet’s flushing mechanism. It’s always better to seek professional help rather than attempting DIY methods that could potentially cause further damage.
The above steps are a general guide on how to force flush a toilet, but it’s always best to consult the manufacturer’s instructions for specific models and any additional troubleshooting tips. Remember, maintaining proper hygiene also includes regularly cleaning and sanitizing your toilet to prevent the spread of bacteria and ensure proper functioning. So, make sure to add this task to your household cleaning routine to create a healthier living environment. Happy flushing! *
Frequently Asked Questions
Q: How Do I Know When to Force Flush a Toilet?
A: If your toilet is not flushing properly, it may be necessary to manually force a flush using the steps outlined above. The most common signs of a toilet not flushing properly include low water levels in the bowl after flushing, weak or incomplete flushes, or complete failure to flush.
Q: What Could be Causing My Toilet to Not Flush Properly?
A: There are several potential causes for a toilet not flushing properly. These can include issues with the handle and chain mechanism, a malfunctioning flapper valve, clogs in the pipes or sewage system, incorrect water levels in the tank, or faulty components such as the fill valve. It’s important to troubleshoot each potential cause before attempting to force flush the toilet.
Q: Can I Force Flush a Toilet with Just Water?
A: Yes, you can use a bucket or other water source to manually fill the tank and force a flush. However, it’s important to note that this method may not address underlying issues, causing the toilet to not flush properly and potentially causing further damage if not done correctly.
Conclusion
By following these steps on how to force flush a toilet, you should be able to mitigate the most common toilet flushing issues without too much hassle. From basic checks of the handle and chain to more thorough inspections of the flapper valve and water levels, each step helps ensure your toilet functions smoothly. Remember, maintaining your toilet isn’t just about avoiding inconvenience; it’s also about preventing potential water damage and ensuring a sanitary environment in your home.
If you encounter more complex problems or if these steps don’t solve the issue, seeking assistance from a professional plumber could save you time and future headaches. Regular maintenance and timely troubleshooting will extend the lifespan of your toilet and keep your plumbing system in top shape.

