Framing a bathtub is a crucial structural process that involves building a strong and stable support base, typically from wood, to hold and enclose a drop-in or alcove bathtub securely. This foundational step is essential to ensure the tub remains level and steady, preventing potential safety hazards or long-term structural issues. Proper framing is not only necessary for the durability of the installation but also for achieving an optimal fit before adding plumbing fixtures, waterproofing, and tiling.
Understanding how to frame a bath tub is vital for any DIYer or professional aiming to complete a robust and lasting installation. This guide will walk you through every step, from choosing the right materials to accurate measurements and assembly techniques. With careful planning and attention to detail, your bathtub will have the support needed to function safely and look polished for years to come.
Understanding the Type of Bathtub and Framing Requirements
Properly framing a bathtub begins with understanding the type of tub you are installing and its specific requirements. Different bathtub styles have varying framing needs to ensure proper support and functionality.
Types of Tubs That Require Framing
- Drop-In Tubs
Drop-in tubs are designed to sit within a custom-built frame. This type of tub requires precise measurements to build a solid structure that fits the tub snugly while leaving room for tiling or finishing materials.
- Alcove Tubs with Framing on One or More Sides
Alcove tubs typically require framing along the sides that will be enclosed in the wall. Ensuring level framing provides support along the tub’s edges and allows for easy installation of wall panels or tiles.
- Whirlpool/Jetted Tubs
Whirlpool or jetted tubs often require reinforced framing due to their heavier weight and the need for plumbing access. It is critical to account for motor access panels in the design.
Installation Location and Framing Variation
- Corner Installations vs. Straight Wall
Corner installations demand special attention to framing angles to properly support the tub’s shape, while straight wall installations usually involve simpler configurations.

- Access Panel Considerations for Plumbing
Always plan for a location where plumbing and mechanical components, especially for jetted or whirlpool tubs, can be reached without major disruptions to the framing.
Check Manufacturer Instructions
Each tub model comes with specific dimensions, framing guides, and installation requirements. Ensure that your framing is built to support the weight of the tub when filled with water, as well as the people using it. Following these instructions will help achieve a durable and safe installation.
Materials and Tools Needed
Materials
- 2×4 pressure-treated lumber
- Construction screws or nails
- Plywood (for deck or platform)
- Shims
Tools
- Measuring tape
- Circular saw
- Power drill
- Level
- Carpenter’s square
- Pencil or marker
Optional
- Insulation
- Vapor barrier
Having the right materials and tools at hand is essential to streamline the process and ensure that the installation meets quality standards. Pressure-treated lumber, such as 2x4s, is vital for constructing a sturdy and moisture-resistant frame, while plywood provides a solid platform for the tub. Construction screws or nails secure the assembly, and shims allow for precise leveling.

The tools listed, like a measuring tape and level, help achieve dimension accuracy, while a circular saw and power drill make cutting and fastening the components efficient. Additionally, options like insulation and vapor barriers can enhance thermal stability and moisture protection if your setup requires it. Organizing everything beforehand will make the installation process smoother and more efficient.
Measuring and Planning the Frame
Step 1: Measure the Bathtub
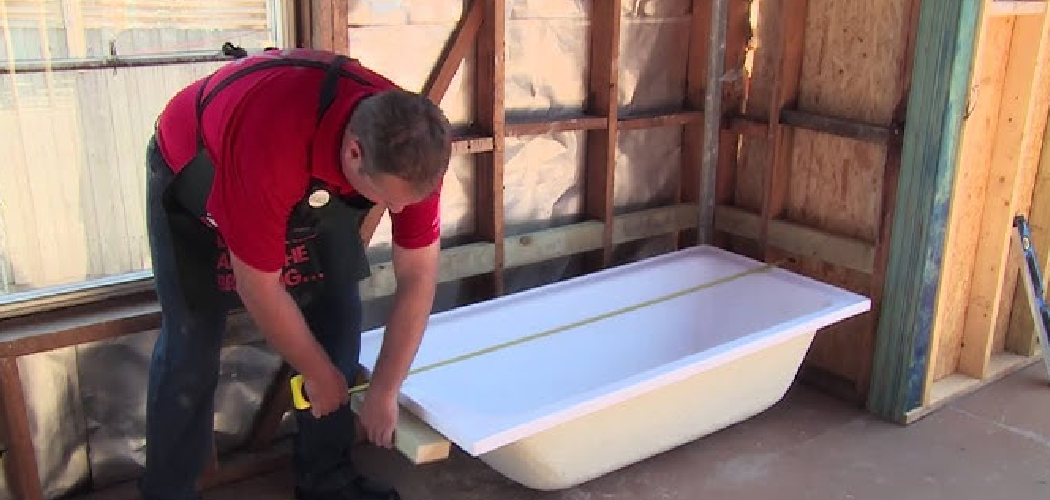
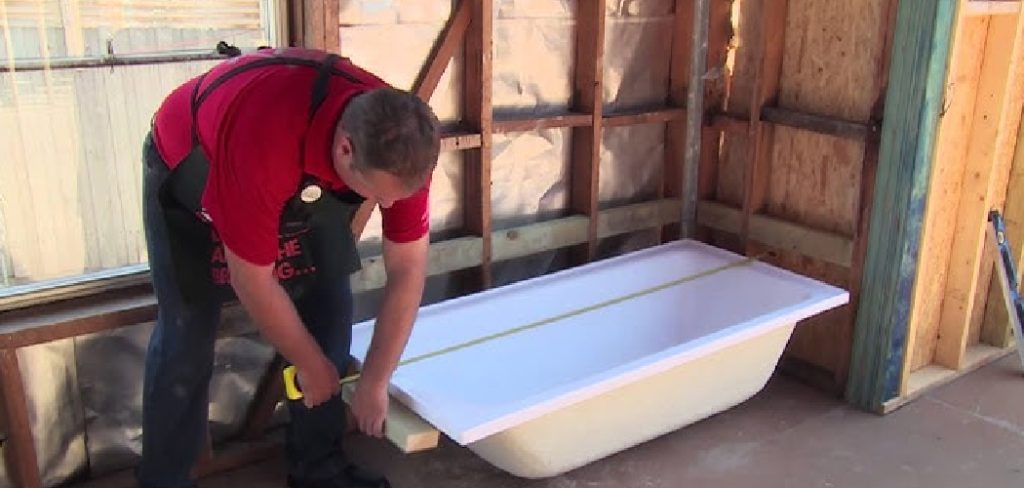
Begin by measuring the length, width, and height of the bathtub, including the deck flange or lip if present. Accurate measurements are essential for ensuring the frame will securely hold the tub while aligning properly with surrounding elements. Use a measuring tape to double-check all dimensions, as even small discrepancies can lead to installation challenges later.
Step 2: Mark the Wall and Floor
Using the dimensions from Step 1, outline the tub’s perimeter on the subfloor with a pencil or chalk line. This will serve as a guide for placing the frame and ensuring everything is aligned correctly. Next, mark the location of studs and tub supports on the walls. Knowing where these components are situated will make it easier to attach the frame securely and ensure it provides optimal support.
Step 3: Determine the Height of the Frame
Account for the total height of the bathtub, including any finished floor material like tiles or underlayment. The top of the frame should be level with where the finished floor or surrounding wall finishes will meet the tub. Adjust measurements accordingly to ensure the frame integrates seamlessly with the final design and provides proper stability for the bathtub.

How to Frame a Bath Tub: Building the Base Frame
Step 1: Construct the Bottom Frame
Begin by building a rectangular base frame using 2×4 lumber. Measure and cut the wood to size, ensuring the dimensions align with the footprint of the bathtub. Assemble the frame using screws, taking care to secure each joint firmly for stability. Once constructed, place the frame on the floor where the bathtub will be installed and use a level to ensure that the base is perfectly even. An unlevel base can result in an imbalanced tub, so precision at this stage is crucial.
Step 2: Install Vertical Supports
Add vertical supports with the bottom frame in place by positioning studs at each corner of the frame and at the center of the long sides. These vertical supports should be cut to a height that matches the distance from the tub’s base to the intended deck height. Fasten the studs securely to the bottom frame using screws or brackets to prevent any movement. Double-check that all vertical supports are aligned and placed perpendicularly to the base for maximum structural integrity.
Step 3: Create Top Deck Frame
Finally, construct another rectangular frame to serve as the top deck. This frame should match both the size of the bottom frame and the dimensions of the tub’s top flange or lip. Attach this top frame to the vertical supports, ensuring it is level and aligned precisely with the top of the flange. Use screws or nails to connect the top frame to the supports firmly. The base frame should be complete at this point, providing a sturdy and level foundation for the bathtub installation.
Securing the Frame to the Floor and Walls
To ensure the frame remains secure and stable, begin by anchoring the bottom frame to the subfloor using construction screws. This step is essential to prevent any frame shifting after the tub installation. If the bathtub is being installed against a wall or within an alcove, attach the frame to the adjacent wall studs for added support and rigidity.
Next, check the level of the entire frame by placing a level across all edges. This step ensures that the bathtub will sit evenly and function properly. If any uneven areas are detected, use shims under the base of the frame to correct the issue. Carefully adjust the shims as necessary to achieve a stable and level foundation.

Once the frame is firmly secured and leveled, perform a test-fit of the bathtub by placing it into the frame opening. Verify that the tub sits properly within the frame, with enough clearance for plumbing installation and no gaps or misalignments. This test-fit allows you to confirm the accuracy of the build before proceeding with the final installation steps, which will ensure a successful and long-lasting result.
Adding Support and Decking
Install Cross Bracing
Add cross bracing beneath the frame where the tub will sit to ensure the bathtub is fully supported. This is especially important for heavier tubs, such as those made from cast iron, as additional reinforcement will prevent shifting or sagging over time. Ensure adequate support underneath the center of the tub basin to distribute its weight and maintain structural integrity evenly.
Install Plywood Deck (if applicable)
Cut and secure plywood over the top of the frame for drop-in bathtub models to create a strong and reliable decking surface. Measure accurately and make precise cuts to ensure a snug and stable fit. When installing, leave an opening for a removable access panel to accommodate future plumbing maintenance or inspections. Use screws or nails to attach the plywood, and verify the decking firmly is level and properly aligned.
Waterproofing (Optional)
For added durability and moisture resistance, you may install a vapor barrier or water-resistant board over the top of the frame and decking before proceeding with finishing materials. This step can help protect the structure from water damage and extend the installation’s life, particularly in high-moisture environments.
Preparing for Plumbing and Finishes
Access to Plumbing
Before proceeding, ensure that all necessary openings for plumbing components, such as the drain, overflow, and faucet, are properly marked and cut out. Verify their alignment with the tub specifications to prevent issues during installation. Additionally, it is essential to leave an access panel or cutout in the platform or a nearby wall to facilitate future maintenance and repairs. This precaution will save time and effort should problems arise in the plumbing system.
Dry Fit Everything
Position the tub in its final location and conduct a dry fit to confirm that all measurements and alignments are accurate. Check the plumbing connections to ensure they line up correctly with the designated openings in the platform or wall. Adjust the positioning if necessary to avoid complications during installation. Taking the time to test and verify everything now helps reduce errors during the final stages.
Ready for Finishing
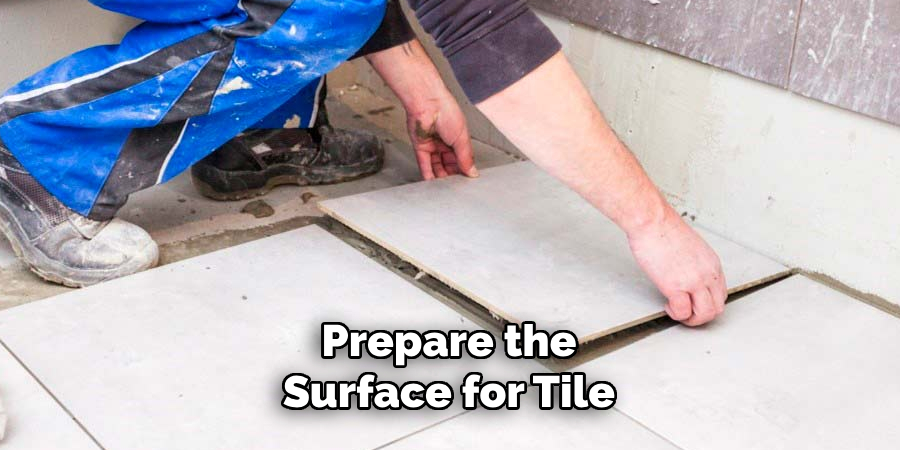
The installation is ready for finishing touches once the framing is complete and the plumbing has been successfully tested. Begin by attaching cement board or moisture-resistant drywall to prepare the surface for tile, drywall, or paneling. This step creates a solid, waterproof base that enhances the durability and aesthetic appeal of the completed project. Ensure all surfaces are smooth and level before applying any finishing materials.
Conclusion
Learning how to frame a bath tub properly is essential for a successful and durable installation. The process involves careful measurement, constructing a robust support frame, and planning for plumbing and finishing requirements. It is crucial to ensure the frame is level and to follow the manufacturer’s specifications closely to avoid potential problems. Double-checking access points and alignment before permanently installing the tub or completing the exterior can save time and prevent errors. With attention to detail and proper preparation, you can create a stable and visually appealing foundation that lasts for years.

