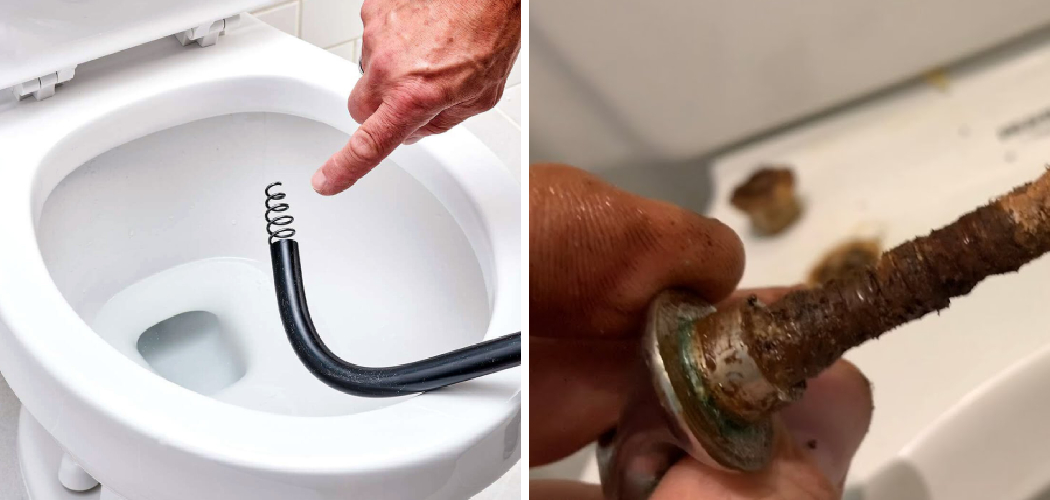
Having a stuck toilet seat can be a frustrating experience, especially when it’s time to replace it with a new one. Various factors, such as rusted bolts, over-tightened screws, or simply an outdated seat mechanism, can all contribute to a seat getting firmly lodged in place. Fortunately, with the right tools and approach, removing a stuck toilet seat is a manageable task that anyone can tackle.
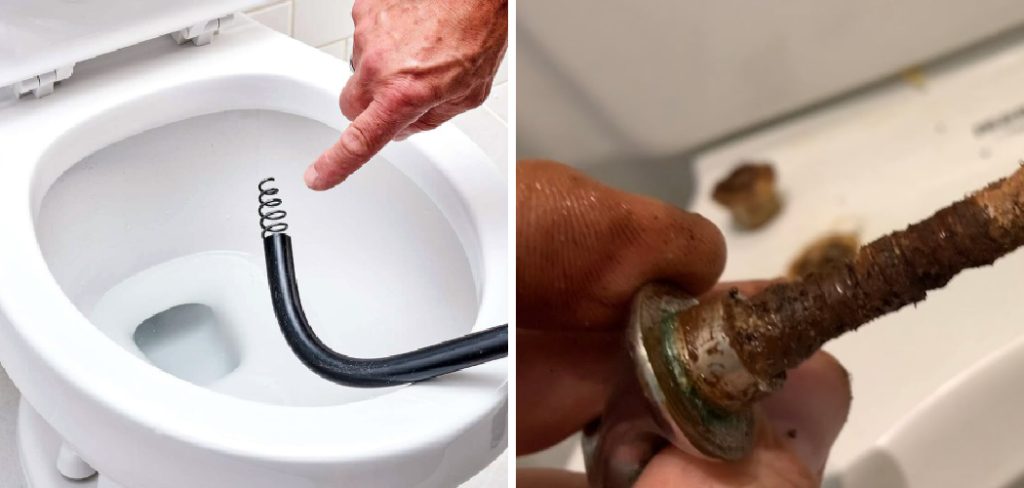
In this guide on how to get a toilet seat off that’s stuck, we’ll walk you through the necessary steps to successfully and safely remove a toilet seat that refuses to budge, ensuring you can easily make any desired updates or repairs.
Why is the Toilet Seat Stuck?
Before we dive into the steps, it’s essential to understand why your toilet seat may be stuck in place. Knowing the root cause can help you determine the best approach for removal and avoid causing any unnecessary damage.
Here are some common reasons why a toilet seat may get stuck:
Rusted Bolts or Screws:
Over time, water and moisture can cause the metal bolts or screws holding the toilet seat in place to rust, making them challenging to remove.
Over-tightening:
If the person who installed your current seat tightened the bolts too much, it can make removing them difficult as well.
Outdated Seat Mechanism:
Some older toilet seats have a different mechanism for attaching to the toilet bowl, such as wing nuts or butterfly brackets, which can be more challenging to remove than traditional screws.
Now that you have a better understanding of why your toilet seat may be stuck let’s move on to how you can get it off without causing any damage.
Tools You’ll Need
To successfully remove a stuck toilet seat, you’ll need the following tools:
- Adjustable Wrench
- Screwdriver (Phillips Head or Flathead Depending on Your Seat’s Screws)
- Wd-40 or Other Lubricant
8 Step-by-step Guidelines on How to Get a Toilet Seat Off That’s Stuck
Step 1: Prepare the Area
Before you start working on removing the stuck toilet seat, it’s important to prepare the area to avoid any mess and ensure ease of access to the bolts and screws. First, clear any items around the toilet, such as toilet paper, cleaning products, or decorative accessories, to provide yourself ample working space.
Next, wear a pair of gloves to protect your hands from any grime or sharp edges. Additionally, it’s advisable to lay down a towel or a cloth on the bathroom floor around the base of the toilet to catch any falling parts or debris. This initial step sets the stage for a smoother and more efficient seat removal process.
Step 2: Spray the Bolts and Screws with WD-40
Once your workspace is prepared, the next step is to address any rust or corrosion on the bolts and screws with a lubricant like WD-40. Start by carefully spraying a generous amount of WD-40 onto each bolt and screw located under the toilet seat. The lubricant will help to break down any rust or mineral build-up, making it easier to loosen the components.
Allow the WD-40 to sit for about 10 to 15 minutes to penetrate and work its magic on the stubborn hardware. This time is crucial as it ensures the maximum effectiveness of the lubricant in easing the removal process. Be sure to keep the area well-ventilated while applying the WD-40 to avoid inhaling any fumes.
Step 3: Loosen the Bolts
Next, use the adjustable wrench to turn the bolts counterclockwise to loosen them. Depending on how tight they are, you may need to apply some force and use a bit of elbow grease here. If you’re having trouble reaching and turning the bolts with an adjustable wrench, try using pliers instead.
Be mindful not to overtighten or strip the bolts in this process as that can cause even more headache when trying to remove them.
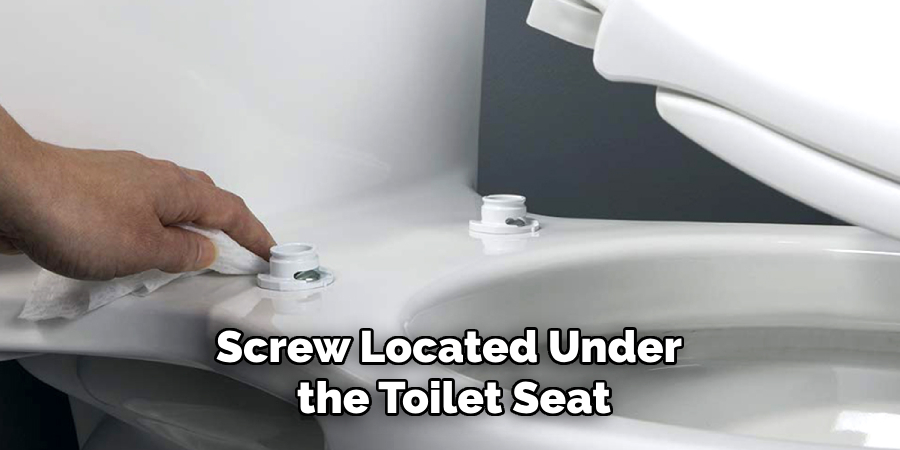
Step 4: Remove the Screws
Once the bolts are loose enough, use the appropriate screwdriver to remove the screws that hold the toilet seat lid in place. Most modern seats have either Phillips head or flathead screws, so make sure you have the right screwdriver on hand.
If your toilet seat has wing nuts or butterfly brackets instead of screws, you may need to unscrew these components using pliers or an adjustable wrench. Be careful not to break them while removing them as they can be challenging to replace.
Step 5: Lift and Remove the Seat
After successfully removing all bolts and screws, it’s time to lift off the old seat from its hinges gently. Be careful not to drop the seat, as it can cause damage to your toilet bowl or bathroom floor. If you encounter any resistance or difficulty while lifting the seat, double-check that all bolts and screws are completely removed before proceeding.
Step 6: Clean the Area
With the old toilet seat removed, take the opportunity to thoroughly clean the area around the toilet bowl and hinges. Start by wiping down the surface with a disinfectant or a mild cleaning solution to remove any residual grime, rust flakes, or dirt that may have accumulated around the bolt holes. This ensures a clean and sanitary environment for when you install the new seat.
Use a scrub brush or an old toothbrush to reach any stubborn spots and ensure that all residue is eliminated. Once clean, dry the area with a soft cloth or paper towel to prevent any moisture-related issues during installation of the new seat. Regular maintenance like this can help prevent future issues with stuck bolts and enhance the overall hygiene of your bathroom.
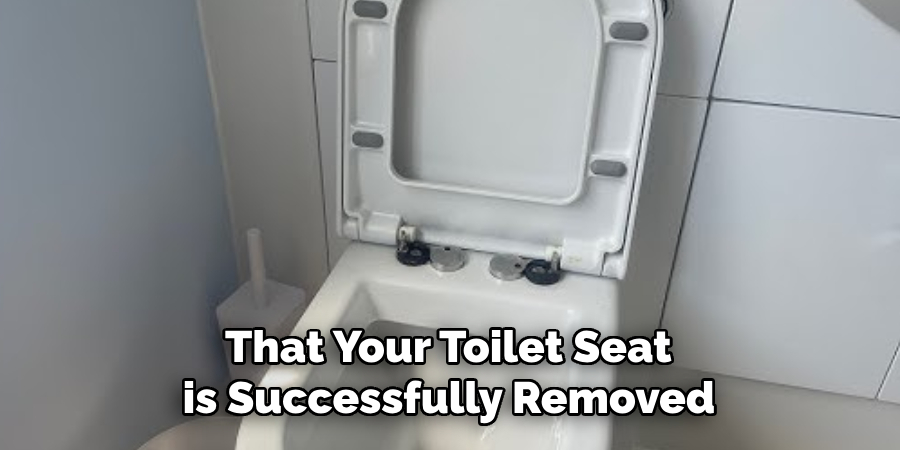
Step 7: Install the New Toilet Seat
Now that your toilet seat is successfully removed, you can install a new one or make any necessary repairs or updates to the existing seat. Follow the manufacturer’s instructions for installing your new seat and ensure that all bolts and screws are securely tightened without being overtightened.
If you’re reinstalling the same old seat, refer to the manufacturer’s manual for proper alignment of hinges and bolts. This will help avoid any wobbling or unevenness once the seat is installed.
Step 8: Dispose of the Old Seat Properly
Finally, dispose of your old toilet seat responsibly by either recycling it, if possible, or tossing it in a designated waste bin. Be sure to wipe down the seat and any other parts before disposing of them to prevent any potential contamination or health hazards.
Following these guidelines on how to get a toilet seat off that’s stuck can help you successfully remove your stuck toilet seat without causing any damage or headaches. Remember to use caution and take your time while working on this task, as it requires some physical effort and precision. In case of persistent issues with removing the seat, consider seeking professional assistance from a plumber or handyman. Happy toilet seat removal!
Additional Tips
- Regularly check and clean around the bolt holes to prevent rust build-up and make future removals easier.
- Consider using silicone-based lubricants instead of WD-40 for a less toxic option.
- If your toilet seat is still stuck after following these steps, consult a professional before attempting further removal methods that may cause damage.
- When installing a new seat, be sure to regularly check and tighten the bolts and screws to prevent them from becoming stuck in the future. # End of Content
Some Additional Tips for Maintaining Your Toilet Seat Could Include
- Use a mild cleaning solution or vinegar instead of harsh chemicals to clean your toilet seat, as they can cause damage over time.
- Tighten any loose bolts or screws periodically to prevent them from getting stuck in place.
- Consider upgrading to higher-quality hardware when replacing your toilet seat to avoid future issues with rust or corrosion.
- If you notice any cracks or breaks on your toilet seat, replace it immediately to prevent accidents or further damage.
Remember, proper maintenance and following these tips can help prolong the lifespan of your toilet seat and make future removals a breeze.
Frequently Asked Questions
Q1: How Often Should I Replace My Toilet Seat?
A: It is recommended to replace your toilet seat every 5-7 years, depending on usage and wear and tear. The constant exposure to moisture and cleaning products can cause deterioration over time, making it necessary to replace your seat.
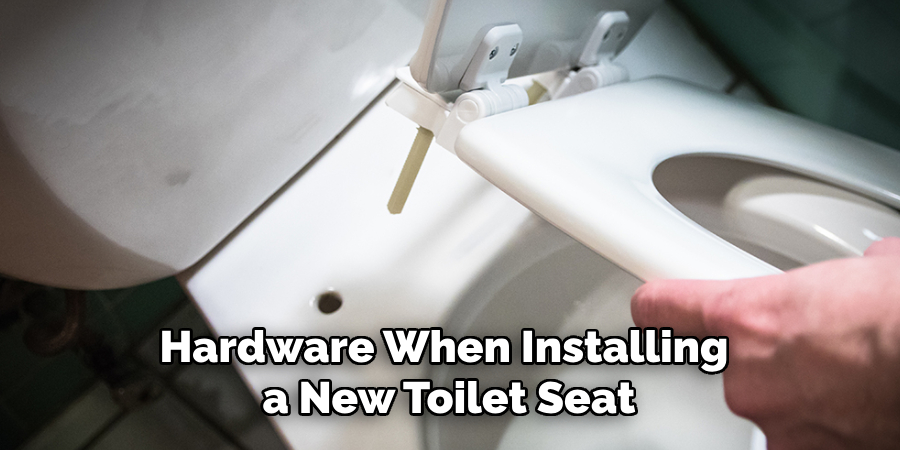
Q2: Can I Reuse the Same Hardware When Installing a New Seat?
A: It is not recommended to reuse old hardware when installing a new toilet seat as they may be worn down or corroded, causing issues with proper installation or removal in the future. It’s best to use new hardware provided by the manufacturer or purchase high-quality replacements for optimal results.
Conclusion
Removing a stuck toilet seat can be a frustrating and time-consuming task, but with the right tools and techniques, it can be done easily and without causing any damage. Remember to prepare your workspace, use lubricant, and take your time to avoid any mishaps.
Regular maintenance and proper installation can also help prevent future issues with stuck seats. With these step-by-step guidelines on how to get a toilet seat off that’s stuck, you’ll have that stubborn seat off in no time!

