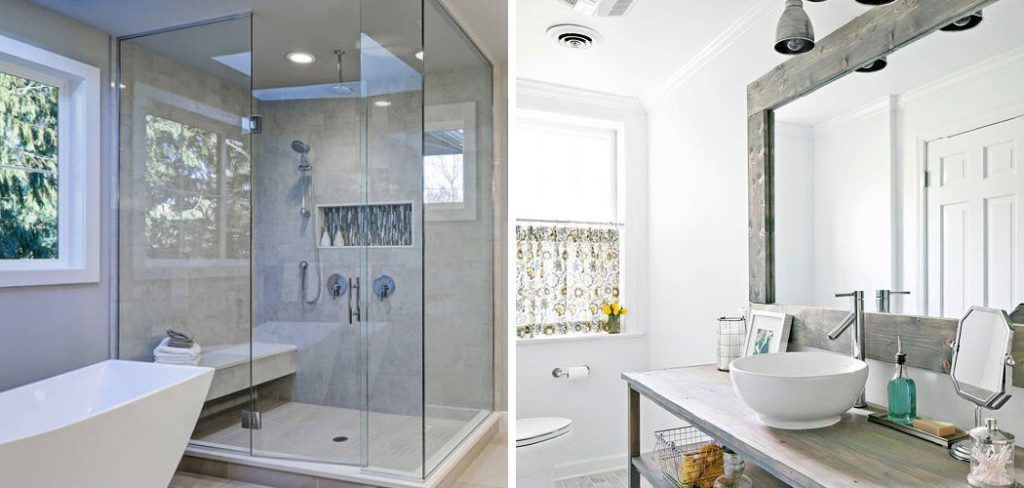
Are you tired of your bathroom feeling stuffy and uninviting? Do you dread taking showers because the air feels stagnant and humid? If so, it’s time to improve the ventilation in your bathroom.
Proper ventilation in the bathroom is crucial for maintaining a healthy and comfortable living environment. Bathrooms are prone to high levels of moisture and humidity, which can lead to mold growth, unpleasant odors, and deterioration of fixtures and surfaces. Improving ventilation in your bathroom prevents these issues and enhances the overall air quality.

In this guide, we will explore effective strategies on how to get better ventilation in bathroom, including the installation of exhaust fans, the use of dehumidifiers, and the implementation of simple habits that contribute to better airflow. By following these tips, you can ensure your bathroom remains fresh, dry, and mold-free.
What Will You Need?
Before we dive into the methods of improving bathroom ventilation, let’s discuss what you’ll need to get started.
- Exhaust fan (if not already installed)
- Dehumidifier (optional)
- Drill and drill bits
- Ductwork
- Caulk and caulk gun
- Measuring tape
- Screwdriver
Once you have these supplies, you can begin enhancing the ventilation in your bathroom.
10 Easy Steps on How to Get Better Ventilation in Bathroom
Step 1: Choose the Right Size Fan
Selecting the appropriate exhaust fan for your bathroom is the cornerstone of a successful ventilation upgrade. The fan size you need depends mainly on the size of your bathroom. A fan’s power is measured in cubic feet per minute (CFM), which indicates how much air the fan can move in one minute. To determine the correct CFM rating for your bathroom, measure the space’s length, width, and height. Multiply these dimensions to find the volume of your bathroom in cubic feet.
For example, if your bathroom is 8 feet long, 6 feet wide, and 8 feet high, the total volume is 384 cubic feet (8 x 6 x 8). A general rule is that you need one CFM per square foot of floor space. Therefore, for a bathroom with 48 square feet of floor space (8 x 6), you would need an exhaust fan with a minimum rating of 50 CFM. For bathrooms larger than 100 square feet, you may need to add extra capacity based on additional fixtures like a shower, tub, or toilet. Additionally, some fans come with extra features such as humidity sensors or built-in heaters, which might be beneficial depending on your specific needs.

Choosing the right fan ensures efficient moisture and odor removal and contributes to the overall longevity of your bathroom fixtures and surfaces, preventing damage caused by excessive humidity.
Step 2: Locate the Optimal Installation Spot
Before installing the exhaust fan, selecting the best location in your bathroom is essential. Ideally, the fan should be installed on the ceiling near the shower or tub area, with the highest humidity levels. Avoid placing it directly above a light fixture or too far from the moisture source, as this could reduce its effectiveness. Measure and mark the spot where the fan will be mounted, ensuring it is centered between the joists for stability.
Step 3: Cut the Ceiling Opening
Using the template provided with your exhaust fan, outline the area on the ceiling where the fan will be installed. Double-check your measurements to ensure accuracy. Carefully cut along the outline using a drywall saw or utility knife to create an opening for the fan unit. Make sure the cut is clean and free of any obstructions.

Step 4: Install the Fan Ductwork
Proper ductwork is critical for channeling humid air outside your home. Depending on your bathroom layout, you may need to run the duct through the attic or between floor joists. Attach the duct connector to the exhaust fan and secure it with screws or clamps. Run the ductwork to the nearest exterior wall, roof, or soffit vent, cutting it to the required length. Seal all duct connections with duct tape or metal foil tape to prevent air leaks.
Step 5: Mount the Exhaust Fan
Position the exhaust fan unit within the ceiling opening, ensuring it fits snugly. Use the provided brackets or mounting hardware to secure the fan to the ceiling joists. It may require a drill and screws to fasten the brackets in place. Double-check that the fan is securely mounted and does not wiggle or shift when lightly tugged.
Step 6: Connect Electrical Wiring
Before dealing with any electrical wiring, ensure the power supply to the bathroom is turned off at the circuit breaker. Connect the fan’s wiring to the house electrical system following the manufacturer’s instructions—this usually involves connecting like-colored wires (e.g., black to black, white to white). Use wire nuts to secure the connections, and wrap them in electrical tape for added safety. If you’re unfamiliar with electrical work, consider hiring a licensed electrician to handle this step.
Step 7: Test the Fan
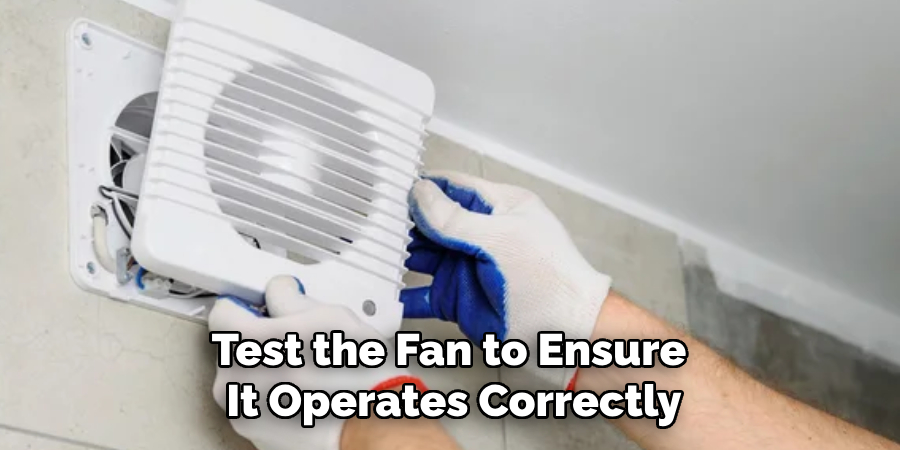
Once the wiring is connected correctly and secured, turn the power back on at the circuit breaker. Test the fan to ensure it operates correctly by flipping the switch. The fan should start running immediately, providing noticeable airflow and operating without unusual noises. If the fan does not operate, double-check all wiring connections and consult the troubleshooting guide in the fan’s manual.

Step 8: Seal Gaps with Caulk
Seal any gaps between the ceiling and the fan housing with silicone caulk to prevent air leakage and ensure the exhaust fan’s efficiency. Use a caulk gun to apply a bead of caulk around the perimeter where the fan meets the ceiling. To create a seamless seal, smooth the caulk with a damp finger or caulking tool.
Step 9: Insulate Around the Ductwork
Insulate around the ductwork to prevent heat loss and condensation buildup. Wrap the ducts with duct insulation and secure them with duct tape. This step is especially crucial if the ductwork runs through unconditioned spaces like an attic. Insulating the ducts helps maintain the exhaust system’s efficiency and prolongs its lifespan.
Step 10: Maintain Your Exhaust Fan
Regular maintenance ensures your exhaust fan operates at peak performance. Clean the fan grille every few months to remove dust and grime that can obstruct airflow. Inspect the ductwork annually for any signs of damage or blockages and address any issues promptly. By keeping the exhaust fan clean and in good repair, you’ll maintain adequate ventilation in your bathroom and prolong the system’s life.
By following these steps, you can easily install a bathroom exhaust fan to improve the air quality in your bathroom and prevent moisture-related damage.
5 Additional Tips and Tricks
- Install a Bathroom Exhaust Fan: An exhaust fan is essential for removing moisture from the bathroom. Choose a fan that fits your bathroom size, and remember to clean it regularly to maintain its efficiency.
- Open Windows and Doors: If your bathroom has windows, open them to allow fresh air to circulate. Leaving the door open after a shower can also help reduce moisture levels.
- Use a Dehumidifier: Portable dehumidifiers can be a great addition to bathrooms that struggle with humidity. These devices help to reduce moisture levels, preventing mold and mildew growth.
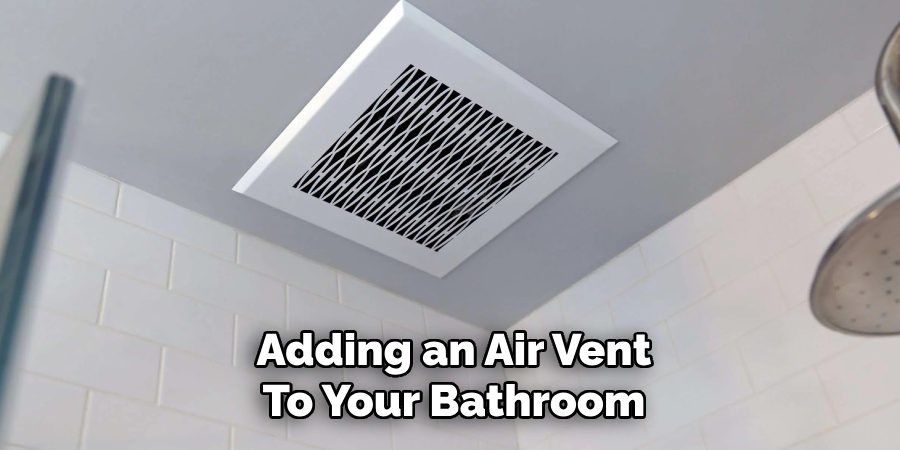
- Install an Air Vent: Adding an air vent to your bathroom can significantly improve air circulation. A ceiling or wall-mounted vent enables steam and humid air to escape more effectively.
- Keep Bathroom Surfaces Dry: Wipe down wet surfaces such as mirrors, tiles, and countertops after use. This simple habit can prevent excessive moisture buildup, contributing to better overall ventilation.

With these additional tips and tricks, you can effectively reduce humidity levels in your bathroom and create a more comfortable and healthy environment.
5 Things You Should Avoid
- Ignoring Maintenance of Ventilation Systems: Please maintain or clean your exhaust fan or air vent regularly to maintain its effectiveness. Dust and grime can clog these systems, leading to poor performance and increased humidity levels.
- Covering up Ventilation Grills: Placing furniture or decor items in front of ventilation grills can obstruct airflow, rendering your ventilation efforts useless. Always ensure vents and fans are unobstructed to allow for proper air circulation.
- Using the Bathroom Without Ventilation: Avoid taking showers or baths without turning on the exhaust fan or opening a window. This can result in excessive moisture buildup, leading to mold, mildew, and even structural damage over time.
- Neglecting to Address Leaks: Water leaks from faucets, shower heads, or pipes can introduce additional moisture into the bathroom. Ignoring these leaks can exacerbate humidity problems, so promptly fix any leaks to maintain a dry environment.
- Relying Solely on Natural Ventilation: While opening windows and doors can help, more may be needed in areas with high humidity or poor air circulation. Relying solely on natural ventilation can leave your bathroom persistently damp. Use a combination of mechanical and natural ventilation methods for optimal results.
Avoiding these common mistakes will help ensure better ventilation in your bathroom, promoting a healthier and more comfortable space.
Conclusion
How to get better ventilation in bathroom is essential for maintaining a healthy, comfortable environment.
You can effectively manage humidity levels by installing a robust exhaust fan, using a combination of mechanical and natural ventilation methods, and keeping bathroom surfaces dry. Additionally, regular maintenance of ventilation systems and promptly addressing any leaks are crucial steps to ensure optimal air circulation. Avoid placing obstacles in front of vents, and never use the bathroom without some form of ventilation active.
Following these tips and avoiding common mistakes can significantly improve the air quality and reduce the risk of mold and mildew growth in your bathroom.