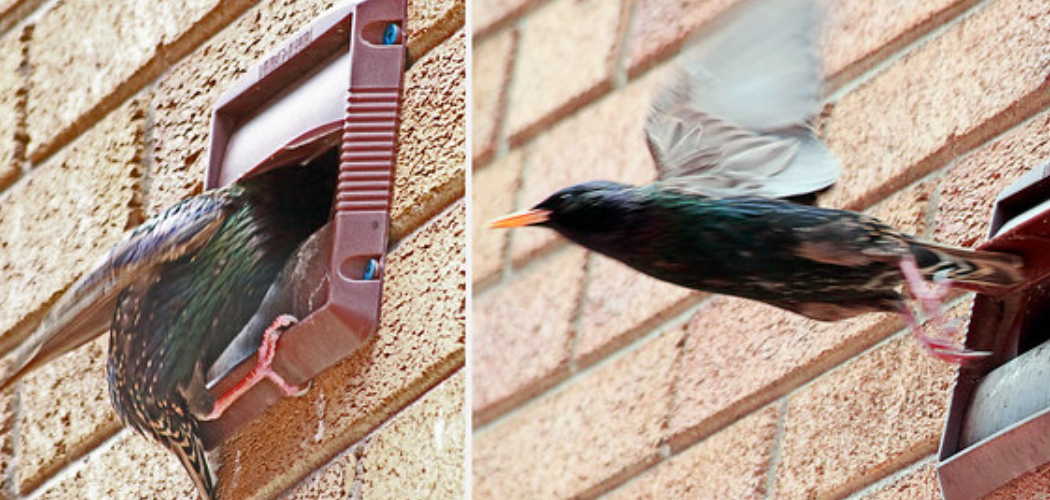
Birds sometimes find their way into bathroom vents, causing a variety of issues that homeowners need to address. These problems can range from unpleasant odors and constant noise to potential damage to the vent system itself, as birds may build nests or leave debris inside the vent.
Left unchecked, this can lead to blockages or even create fire hazards. Safely removing birds is crucial, as it not only prevents harm to the birds but also protects your vent system and ensures your home remains comfortable, hygienic, and free of unnecessary disruptions.
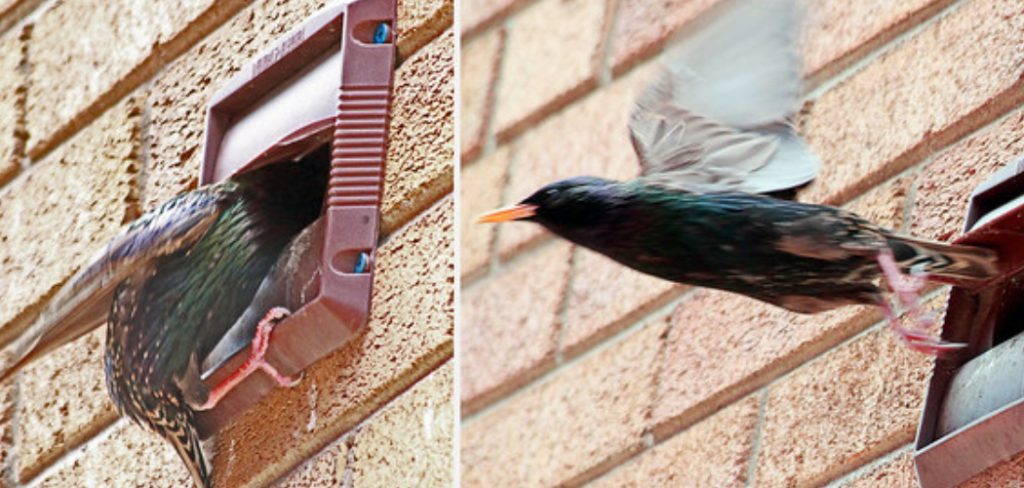
This article is designed to offer a comprehensive step-by-step guide on how to get birds out of bathroom vent, with detailed instructions on proper removal methods and strategies to prevent future occurrences. By following these guidelines, you can resolve the issue safely and effectively while maintaining a bird-friendly approach.
Understanding How Birds Get Into Bathroom Vents
How Birds Find Their Way In
Birds often enter bathroom vents through small gaps, cracks, or uncovered openings. These entry points provide easy access for birds searching for a safe place to nest or escape harsh weather conditions. Common species known for invading vents include sparrows, starlings, and pigeons. Their small size and adaptability make them particularly skilled at fitting through these narrow openings.
Why Birds Choose Bathroom Vents
Bathroom vents are attractive to birds because they offer quiet, enclosed spaces that protect them from predators and the elements. The warmth generated from indoor activity can also make these areas more appealing. Often, vents with poorly secured covers or slight openings become ideal nesting locations for these creatures.
Signs of Birds in the Vent
There are some clear indicators that birds have taken up residence in your bathroom vent. You may hear chirping, flapping, or rustling sounds coming from the vent, especially during early morning or evening, when birds are most active. Foul odors can develop when waste and nesting materials accumulate over time. Additionally, you might notice visible damage to the vent cover or droppings scattered around the vent’s exterior, signaling the presence of avian intruders.
Materials and Tools Needed
Tools Required for Removal
- Ladder or Step Stool: To safely access the bathroom vent, mainly if it is situated at a high elevation.
- Flashlight: To thoroughly inspect the interior of the vent and locate any birds or nesting materials.
- Long Pair of Tongs or Grabber: Useful for carefully removing birds, nests, or debris from the vent if they are within reach.
- Protective Gloves: Essential for protecting yourself from direct contact with bird droppings and harmful bacteria.
Materials for Bird Removal
- Bird Netting or Mesh: A preventative measure to cover the vent and stop future bird entry.
- Towel or Blanket: Handy for temporarily covering the vent opening during the removal process, ensuring no birds escape or enter further into your home.
- Container or Box: To safely and securely transport any birds that may be trapped without causing them harm.
Using the appropriate tools and materials will make the task safer and more efficient while ensuring minimal stress for both you and the birds involved.
How to Inspect the Bathroom Vent for Birds
Step 1: Safety Precautions
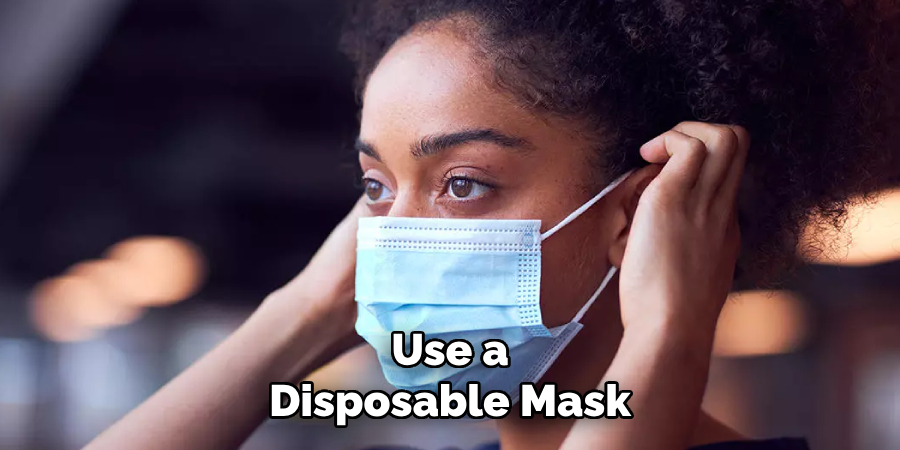
Before beginning the inspection process, ensure your safety and cleanliness by following basic precautions. Wear sturdy gloves to protect your hands from potential contaminants, such as bird droppings or feathers, which may carry diseases or allergens. It’s also a good idea to use a disposable mask for extra protection. Place a towel or plastic sheet on the floor near the vent to catch any debris that may fall during the inspection. This will make cleanup easier and help contain any mess.
Step 2: Checking the Vent Opening
Start by visually inspecting the exterior opening of the bathroom vent. Use a flashlight to illuminate the area and check for any obvious signs of bird activity, such as feathers, droppings, or nesting materials. Look for physical damage to the vent cover or gaps that could allow birds to enter. Take note of any noises, such as chirping or rustling, as these may indicate the presence of birds inside. If a cover is present, you may need to remove it carefully to see inside more clearly.
Step 3: Inspecting the Vent Ductwork
For a thorough inspection, examine the vent ductwork leading into your bathroom. If accessible, gently use a camera or inspection tool, such as a flexible borescope, to observe the interior of the duct. Look for any obstructions, such as birds, eggs, or nesting materials, which could be blocking airflow. If you discover birds inside, proceed with caution and consult wildlife removal professionals if necessary to ensure the birds can be safely relocated without harm.
How to Get Birds Out of Bathroom Vent Removing Birds from the Bathroom Vent
Step 1: Opening the Vent Cover
Remove the vent cover carefully using a screwdriver or gently pry it off. Be cautious to avoid damaging the vent or the surrounding area. Once the cover is removed, inspect the vent opening to assess the situation and determine the best way to access the birds. Ensure you have gloves and any necessary tools ready before proceeding.
Step 2: Safely Removing the Birds
If the birds are near the vent opening, use a long pair of tongs or a grabber to remove them carefully. Move slowly and gently to avoid startling or injuring the animals. Once removed, place the birds into a box or container lined with soft cloth to keep them comfortable and calm. Ensure the box has air holes but is secure enough to prevent the birds from escaping. Handle them as minimally as possible to reduce stress.
Step 3: If Birds Are Deeper in the Vent
If the birds are located deeper within the vent system, do not attempt to extract them forcefully. This could harm the birds or cause further damage to the vent system. Instead, contact a professional wildlife removal service or a vent cleaning specialist. These experts are equipped with the proper tools and experience to safely remove the birds without putting them or your ductwork at risk. Always prioritize the safety and well-being of the birds during the removal process.
Cleaning the Vent After Bird Removal
Once the birds have been safely removed from your vent system, it is essential to clean the area properly to maintain hygiene and ensure the vent functions effectively. Follow these steps to clean the vent thoroughly and safely:
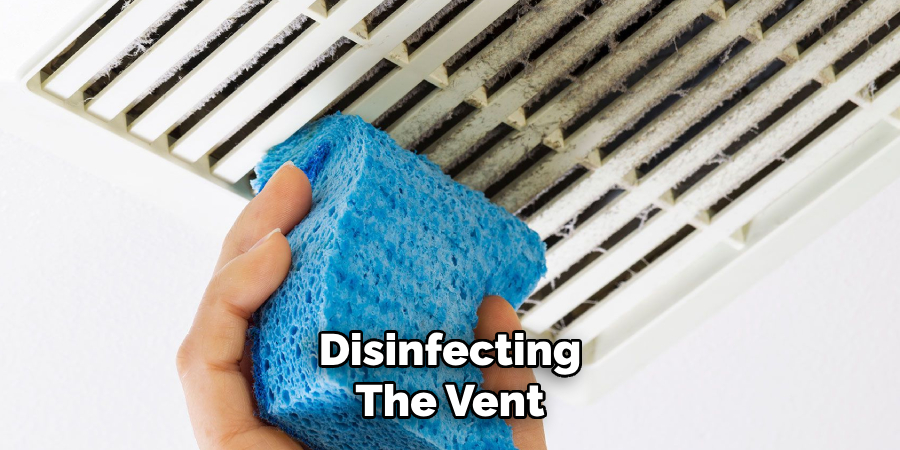
Step 1: Disinfecting the Vent
Use a disinfectant cleaner (preferably an eco-friendly option) to clean the interior of the vent where bird droppings or nesting materials may have been. Bird droppings can carry diseases and harmful bacteria, making this step crucial. Apply the cleaner to all accessible surfaces inside the vent, including the vent cover and surrounding areas. Use a scrub brush or cloth to ensure debris and potential pathogens are entirely removed. Always wear gloves and a mask during this process to protect yourself from exposure.
Step 2: Drying the Vent
After cleaning, it’s important to ensure the vent is completely dry to prevent mold or mildew growth, which can compromise air quality. Use a fan or soft cloth to remove any excess moisture. Pay attention to any hard-to-reach areas within the vent to minimize the risk of lingering dampness. Once the vent is dry, reattach the vent cover securely and inspect the area to confirm it is clean and safe for use.
Preventing Future Bird Intrusions
Install Bird Netting or Mesh
One effective method to prevent birds from entering your vent is to install bird netting or mesh around the exterior vent opening. This creates a physical barrier that blocks birds from gaining access. When installing, ensure the netting or mesh is taut and securely fastened, as loose or poorly attached material may allow birds to squeeze through. Regularly inspect the mesh to ensure it remains intact and free from damage caused by weather or wear over time.
Repairing Any Cracks or Gaps
Cracks or gaps around the vent opening can provide opportunities for birds to enter. To address this, thoroughly inspect the area surrounding the vent for any signs of damage or openings. Use caulking or weatherproof sealant to fill in these cracks and gaps, creating a tight, impenetrable seal. This will not only deter birds but also improve your home’s energy efficiency by preventing drafts and heat loss.
Install a Bird Guard or Screen
Another practical solution is to install a bird guard or screen explicitly designed to keep birds out while maintaining proper airflow. These guards are widely available at hardware stores and are usually easy to attach over most standard vent systems.
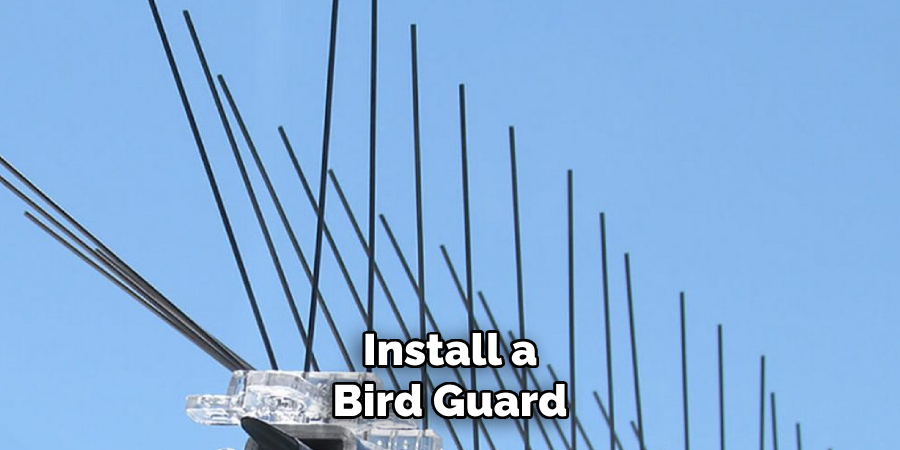
Ensure the guard fits securely over the vent opening and is made of durable material that can withstand outdoor conditions. By combining these preventative measures, you can effectively protect your vent system from future bird intrusions.
Conclusion
Knowing how to get birds out of bathroom vent systems is crucial for maintaining a clean and functional home. Start by inspecting the vent to identify the issue and ensure the birds are safely removed without harm. Afterward, clean the vent thoroughly to eliminate debris and potential contaminants. To prevent future intrusions, install a bird guard or screen and regularly check the vent for any signs of damage or nesting.
Proper maintenance is key to avoiding similar problems with birds or other pests. If you’re unsure about handling the situation, consider hiring a professional for safe and humane removal.

