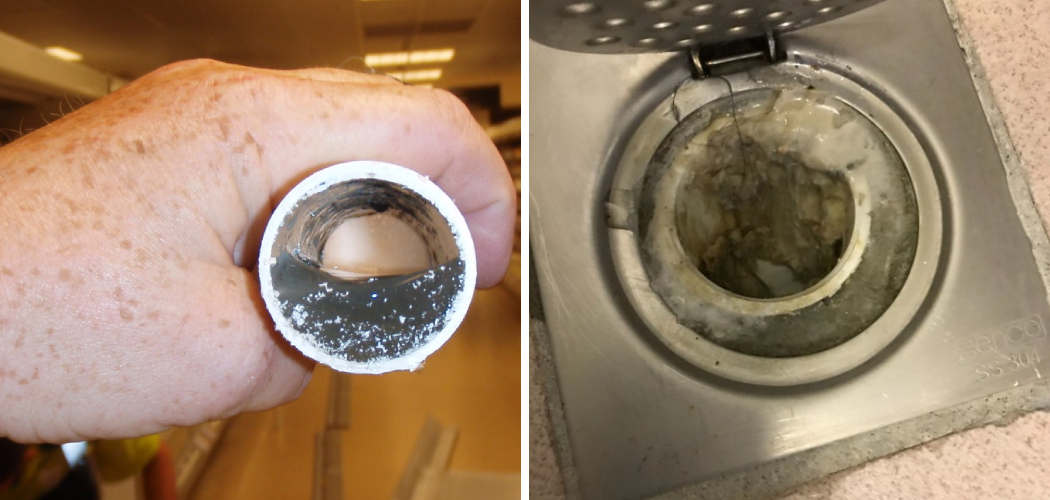
Are you tired of dealing with your bathroom’s clogged shower drains and unpleasant odors? It’s possible that you may have a biofilm buildup in your shower drain.
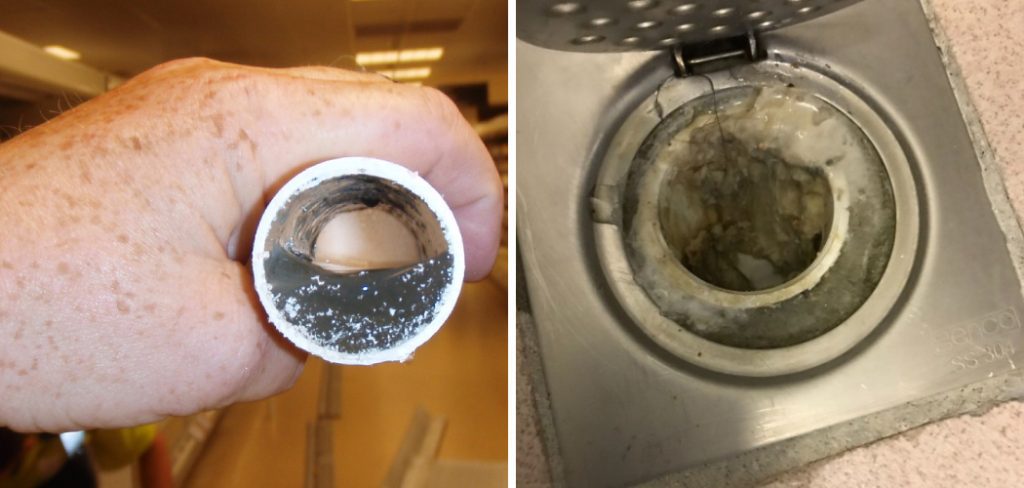
Biofilm in shower drains is unsightly and can also be a breeding ground for bacteria and odors. It forms a slimy layer that clings to the surfaces of your drain, caused primarily by a combination of soap scum, hair, skin cells, and moisture.
Combatting this common household issue requires a mixture of regular maintenance and effective cleaning techniques. In this guide, we’ll walk through the process of how to get rid of biofilm in shower drain, helping to keep your bathroom hygienic, fresh, and free from blockages.
By understanding the causes of biofilm and employing the right strategies, you can maintain a cleaner shower with minimal effort.
What are the Causes of Biofilm in Shower Drain?
Biofilm is a sticky substance that forms when bacteria combine and attach to a surface. In shower drains, it typically starts as a thin layer but can quickly grow and become resistant to regular cleaning methods.
The main culprits for biofilm formation in shower drains include:
- Soap Scum: As soap dissolves, it leaves behind a residue that can attach to the walls of your shower drain and form biofilm.
- Hair: Long strands of hair easily get caught in drains, providing a surface for bacteria to cling to and grow on.
- Skin Cells: Our bodies naturally shed skin cells, and when combined with moisture, they can become trapped in the drain and contribute to biofilm formation.
- Moisture: Biofilm thrives in moist environments, making shower drains an ideal breeding ground.
These factors provide the perfect conditions for biofilm to form and can quickly lead to clogged drains and unpleasant odors.
What Will You Need?
Before we dive into the different methods of removing biofilm, let’s first gather the necessary supplies. Depending on the method you choose, you may need some or all of these items:
- Baking soda
- White vinegar
- Boiling water
- Bleach
- Drain snake/cleaner
- Scrub brush
- Rubber gloves
Once you have these items on hand, you’re ready to tackle the biofilm in your shower drain. Let’s get started!
10 Easy Steps on How to Get Rid of Biofilm in Shower Drain
Step 1. Prepare the Area:
Begin by putting on rubber gloves to protect your hands. Remove any visible debris or hair from the drain’s surface. This will allow the cleaning agents to work directly on the biofilm. Additionally, make sure the area around the drain is clear to prevent splashing on surfaces.
Step 2. Boil Water and Pour Down Drain:
Boiling water acts as a simple but effective agent in breaking down the greasy components of biofilm. Boil approximately 1 gallon (about 3.8 liters) of water. Once it reaches a rolling boil, carefully pour it directly down the shower drain. The heat from the boiling water helps to dissolve the fats in the soap scum, making the biofilm structure less stable and easier to remove.
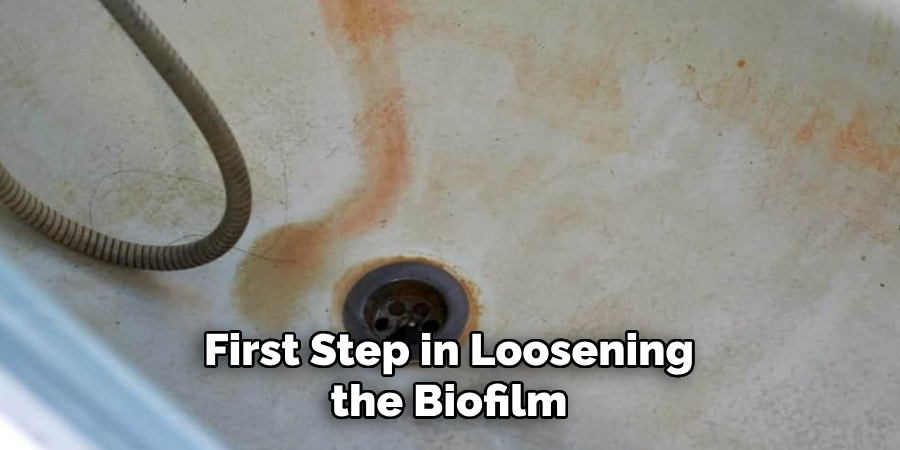
Furthermore, the hot water can kill some of the bacteria contributing to the biofilm and help flush out loose debris. Allow the boiling water to work for a few minutes before proceeding to the next step. This initial flush is an essential first step in loosening the biofilm for more effective removal.
Step 3. Apply Baking Soda and Vinegar:
Next, sprinkle a cup of baking soda directly into the shower drain. Baking soda is a mild abrasive that can begin to break down the biofilm without harming your pipes. After adding the baking soda, pour a cup of white vinegar down the drain. These two ingredients react together, creating a fizzing action that helps to break apart and lift the biofilm from the surfaces of the drain.
Cover the drain with a plug or a damp cloth to keep the reaction contained and more effective. Allow this mixture to sit and work for at least 30 minutes. The combination of baking soda and vinegar helps dissolve the biofilm and eliminates odors, leaving your shower smelling fresh.
Step 4. Rinse With Boiling Water Again:
After allowing the baking soda and vinegar mixture to sit for at least 30 minutes, it’s time to rinse everything away with boiling water again. Boil another gallon (approximately 3.8 liters) of water and carefully pour it down the shower drain.
This second round of boiling water rinses away the loosened biofilm and the cleaning mixture and ensures that any remnants of the vinegar and baking soda reaction are flushed out.
The hot water further assists in killing bacteria and ensuring the drain is as clean as possible. Allow the water to run through the drain for a few minutes to ensure a thorough rinse.
Step 5. Use a Drain Snake or Cleaner:
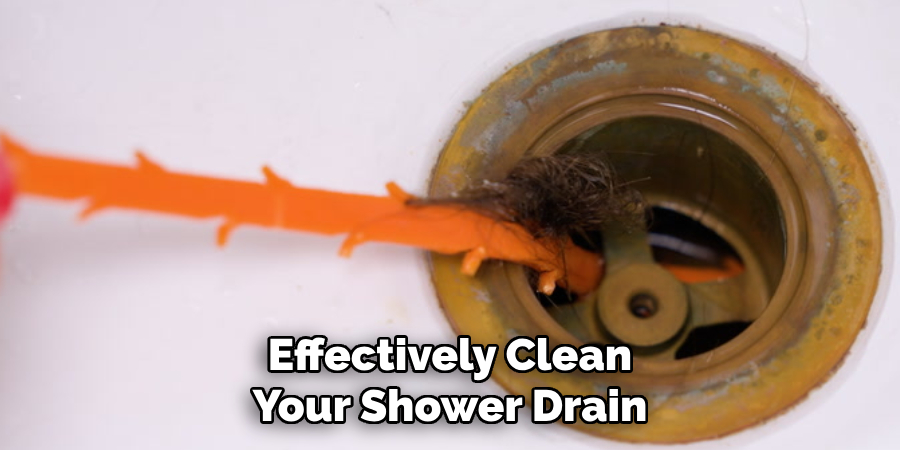
If the biofilm is particularly stubborn or you suspect that there are physical blockages (like hair clumps) deeper in the drain, using a drain snake or a drain cleaner tool can be very effective. Carefully insert the drain snake into the shower drain, twisting and pushing it down to reach and break apart any obstructions.
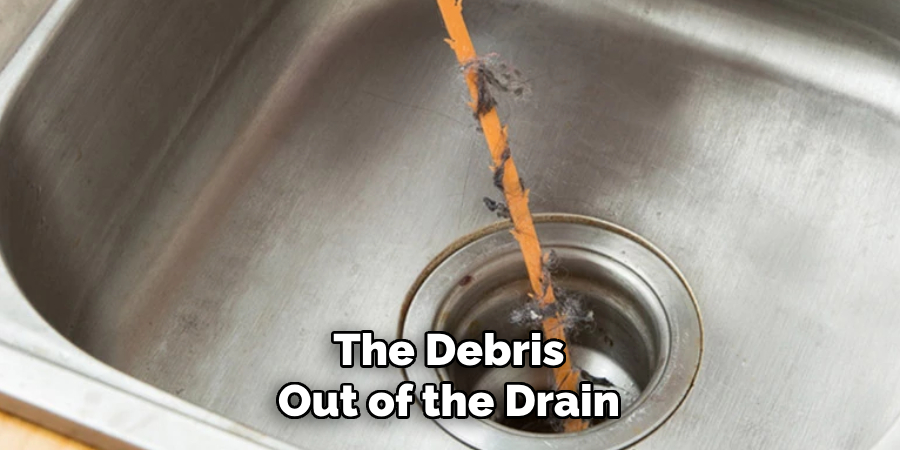
Once you feel resistance or latch onto a blockage, gently pull the debris out of the drain. This manual method helps ensure the entire drain is clear of biofilm and any physical obstructions that could cause clogging. After removing as much debris as possible with the drain snake, proceed to rinse the drain once more with boiling water to ensure it is completely clear.
Step 6. Apply a Disinfectant:
Following the mechanical removal and flushing of biofilm and debris, applying a disinfectant such as bleach to the shower drain is crucial. Bleach effectively kills any remaining bacteria and prevents biofilm’s rapid regrowth.
Dilute the bleach with water (following the manufacturer’s instructions for the correct ratio), then carefully pour the solution down the drain. Allow the solution to sit for at least 15 minutes.
This step sanitizes the drain and helps eliminate any lingering odors. After the specified time, rinse the drain thoroughly with boiling water to remove the bleach solution and ensure that no harmful residue remains.
Step 7. Scrub the Drain and Surrounding Area:
With the drain now cleared of the bulk of biofilm and disinfected, it’s beneficial to do some manual scrubbing. Take a scrub brush and gently but firmly scrub around the drain entrance and interior, if accessible. This helps remove any residual biofilm that might still cling to the surfaces.
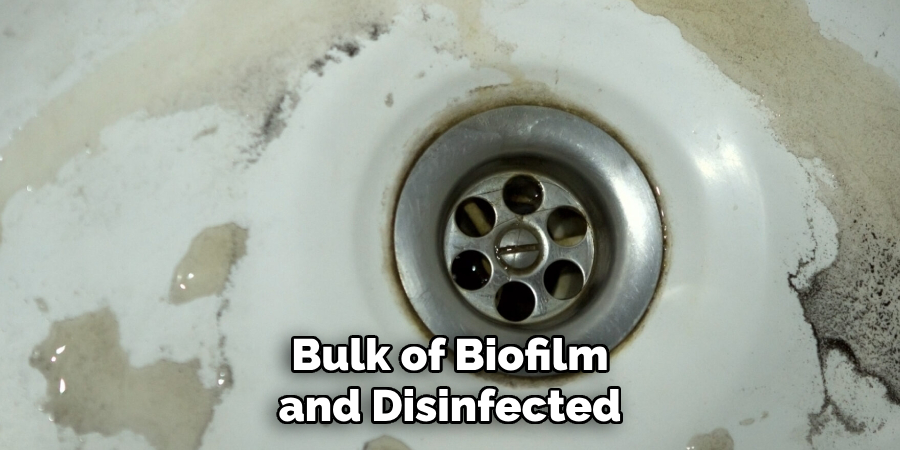
Pay special attention to the edges and any crevices where biofilm may persist. Scrubbing ensures a thorough clean and helps dislodge any smaller debris that could have been missed during the previous steps.
Rinse the area well with boiling water after scrubbing to wash away any loose material. This step significantly contributes to maintaining a clean and free-flowing shower drain.
Step 8. Regular Maintenance:
Regularly maintaining the drain is crucial to prevent future build-up of biofilm and ensure your shower drain remains clean. This includes monthly repeating the boiling water flush and using the baking soda and vinegar mixture every few weeks.
Additionally, regular checks should be made to remove hair and debris from the drain cover and vicinity to prevent blockages contributing to biofilm formation. Establishing these habits keeps your bathroom smelling fresh and extends the life of your plumbing systems by preventing clogs and maintaining flow efficiency.
Step 9. Final Inspection and Preventive Measures:
After cleaning and maintaining your shower drain, conducting a final inspection is essential to ensure that all steps have been effectively carried out. Check the water flow to confirm that it drains quickly and without any obstruction. If water still drains slowly, you may need to repeat some of the earlier steps or consult a professional plumber for further assistance.

To prevent future biofilm formation, consider minimizing the use of oily and greasy products in the shower and regularly cleaning the shower area to reduce soap scum build-up.
Installing a drain cover that catches hair can also significantly reduce the risk of clogs and biofilm development. Adopting these preventive measures allows you to keep your shower drain functioning efficiently and extend the intervals between deep cleanings.
Step 10. Monitoring and Adjusting Cleaning Frequency:
It’s important to monitor the condition of your shower drain following the comprehensive cleaning process. Depending on the frequency of use and the type of products used in the shower, you might find adjusting the cleaning schedule necessary. If you notice early signs of slow drainage or an unpleasant odor, performing some of these cleaning steps more frequently may be beneficial.
Conversely, if the drain remains clear and odor-free for extended periods, you can adjust the maintenance schedule accordingly. Keeping a log of cleaning dates and observations can help you determine the optimal cleaning frequency for your specific situation, ensuring your shower drain remains in top condition.
By following these ten steps, you can effectively clean your shower drain and prevent biofilm formation for a healthy and efficient bathroom.
5 Additional Tips and Tricks
- Enzymatic Cleaner: Use an enzymatic cleaner once a month to break down biofilm without harming your pipes. These cleaners use natural enzymes and bacteria to eat away at organic matter, effectively removing biofilm residues.
- Brush the Drain: Occasionally, manually brushing the drain with a long-handled, stiff-bristled brush can physically remove biofilm buildup. This can be done in addition to using cleaners for a more thorough cleaning.
- Check for Leaks: Biofilm can also form in areas with water leaks, so make sure to regularly check for any leaks in and around your shower area. Fixing these leaks can prevent biofilm from forming and causing further problems.
- Use Hot Water: Running hot water down the drain after each use can help prevent biofilm formation by flushing away any build-up of organic matter. This is especially helpful for frequent showers, such as in busy households.
- Maintain Good Ventilation: Poor ventilation can create a damp and humid environment in your bathroom, providing the ideal conditions for biofilm to thrive. Make sure to open a window or turn on the exhaust fan while showering to prevent excess moisture from accumulating.
Additionally, it is important to regularly clean and disinfect your shower drain to prevent biofilm from forming.
5 Things You Should Avoid
- Harsh Chemicals: Avoid using bleach or other harsh chemicals to clean your shower drain. These substances can damage plumbing and may not effectively remove biofilm. Instead, opt for natural or enzymatic cleaners.
- Ignoring Early Signs: Do not overlook early signs of biofilm buildup, such as slow drainage or foul odors. Addressing the issue early can prevent more severe blockages.
- Infrequent Cleaning: Avoid the mistake of infrequent cleaning and maintenance of your shower drain. Regular cleaning is essential to preventing biofilm accumulation.
- Using Improper Tools: Steer clear of using inappropriate tools like metal wires or sharp objects that can damage your drain or pipes while attempting to remove biofilm.
- Neglecting Professional Help: Finally, do not hesitate to seek professional help if the biofilm problem persists despite your efforts. Sometimes, professional cleaning methods are necessary to thoroughly eliminate biofilm buildup.
By avoiding these common mistakes and following the tips and tricks mentioned above, you can effectively prevent biofilm from forming in your shower drain.
Some Frequently Asked Questions
1. What Does Biofilm Look Like in a Shower Drain?
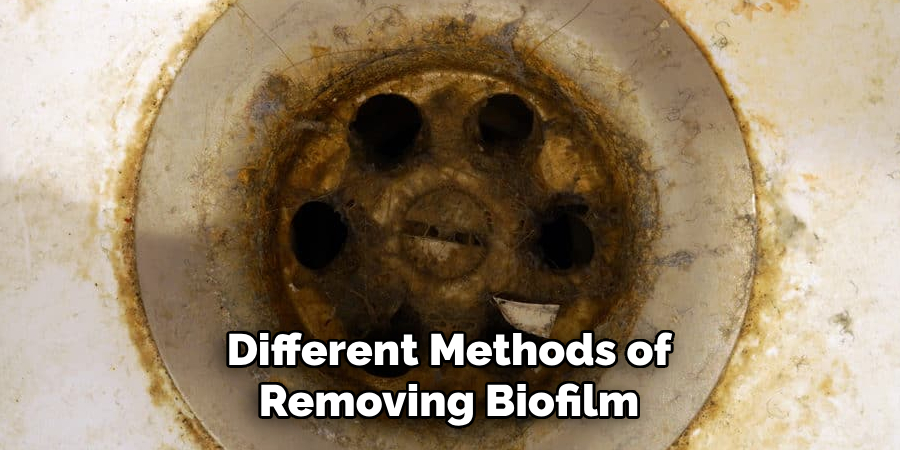
Biofilm in shower drains can have various appearances, depending on the type of bacteria and other microorganisms present. However, some common biofilm characteristics include a slimy texture, a green or brown coloration, and a foul odor.
Biofilm may also cause discoloration or staining in your shower drain over time. If left untreated, it can continue to grow and form larger, more visible clumps in your drain. Regular cleaning and maintenance can prevent biofilm from becoming easily noticeable in your shower drain.
Overall, keeping an eye out for these signs can help you identify biofilm buildup and take necessary measures to eliminate it.
2. What Chemical Kills Biofilm?
Several chemical cleaners can effectively kill biofilm. These include products such as hydrogen peroxide, white vinegar, and baking soda.
Enzymatic cleaners also use natural enzymes and bacteria to eat away organic matter, eliminating biofilm without harming your pipes. It is important to avoid harsh chemicals, such as bleach, which can damage plumbing and may not be as effective in removing biofilm. Additionally, regularly cleaning and disinfecting your shower drain can help prevent biofilm from forming in the first place.
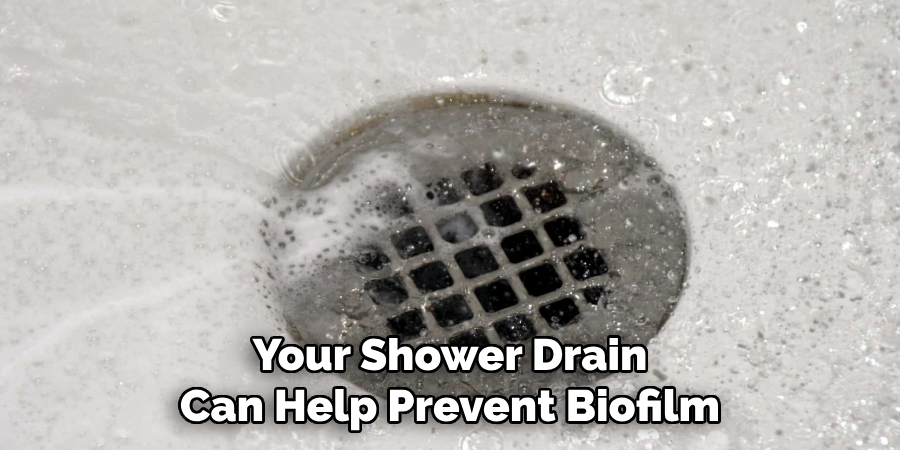
Using natural or enzymatic cleaners and maintaining good cleaning habits can help keep your shower drain free of biofilm.
3. What Happens if Biofilm is Not Removed?
If biofilm is not removed from your shower drain, it can lead to several problems. Firstly, it can cause slow drainage and clogs in your drain due to the buildup of organic matter and bacteria. This can result in poor water flow and even standing water in your shower.
Additionally, biofilm can emit foul odors that may be unpleasant for you and your household. Furthermore, if left untreated for a prolonged period, biofilm can cause damage to your plumbing and lead to costly repairs. It is important to regularly clean and maintain your shower drain to prevent these issues from occurring.
Taking precautions to prevent biofilm buildup and promptly removing it can ensure a clean and functional shower drain. Remember to regularly clean and maintain your shower drain using appropriate methods and products and seek professional help if necessary.
4. Does Toothpaste Remove Biofilm?
While toothpaste may contain ingredients that can help remove biofilm, it is not specifically designed for this purpose and may not be as effective as other cleaning methods. Using appropriate cleaners and following proper cleaning techniques is important to effectively eliminate biofilm from your shower drain.
Toothpaste may also contain abrasives that can damage your plumbing over time if used frequently. Enzymatic or natural cleaners are a safer and more effective option for removing biofilm from your shower drain.
In conclusion, maintaining good cleaning habits and using appropriate products can effectively prevent and eliminate biofilm in your shower drain. By being proactive and avoiding common mistakes, you can ensure a clean and functional shower drain for a more enjoyable bathing experience. So, make sure to regularly clean and maintain your shower drain to keep biofilm at bay!
Conclusion
how to get rid of biofilm in shower drain is crucial not only for the cleanliness and functionality of your bathroom but also for the overall health and well-being of your household.
By following the guidelines outlined in this document—regularly cleaning with appropriate, non-harmful cleaners, maintaining good ventilation to prevent damp environments, and avoiding common pitfalls such as the use of harsh chemicals or neglecting early signs of biofilm—, you can effectively manage and prevent the accumulation of biofilm in your shower drain. Remember, consistency in your cleaning routine is key to preventing biofilm buildup.
Should the problem persist despite your best efforts, seeking professional assistance is a wise step to ensure your plumbing remains in optimal condition. In doing so, you can enjoy a cleaner, fresher, and more hygienic bathroom environment.

