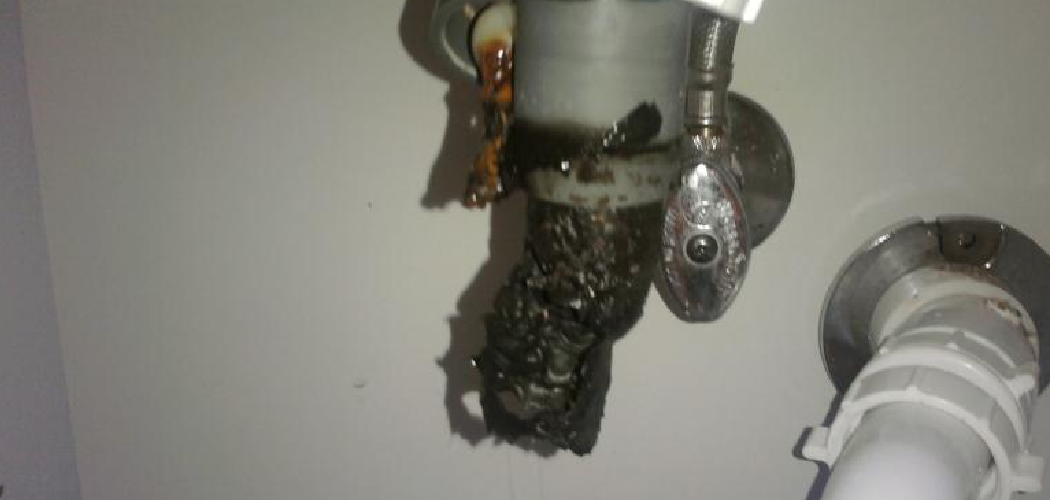
Are you troubled by black mold in your sink drain? Not only is it unsightly, but if left untreated, it can also cause health issues.
Black mold in a sink drain can be an unpleasant and potentially harmful issue in the home. Known for its dark appearance and musty odor, black mold thrives in damp, enclosed spaces such as sink drains. If left unattended, it can contribute to various health issues, including respiratory problems, allergic reactions, and damage to your plumbing. Fortunately, there are effective methods for removing black mold and preventing its recurrence. By employing the right techniques and regular maintenance, homeowners can ensure a clean and healthy kitchen or bathroom environment.
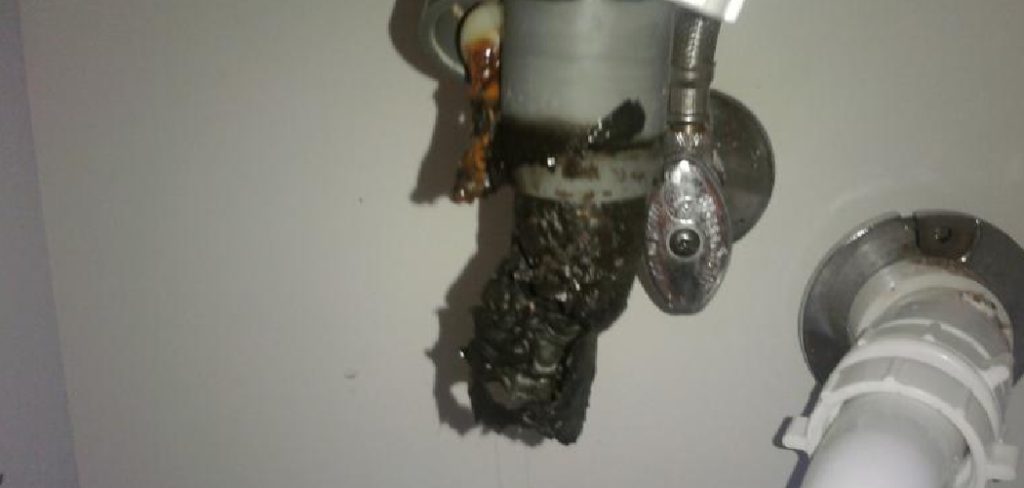
This guide will provide step-by-step instructions on how to get rid of black mold in sink drain.
What Will You Need?
Before getting started, it’s important to gather the necessary materials and protective gear for this task. These include:
- Rubber gloves
- Safety goggles or glasses
- Face mask
- Brush with stiff bristles
- Old toothbrush
- Baking soda
- White vinegar
- Hot water
Once you have these items, you can begin the process of removing black mold from your sink drain.
10 Easy Steps on How to Get Rid of Black Mold in Sink Drain
Step 1: Safety First
Before tackling the black mold, ensure your safety by donning protective gear. Put on rubber gloves to protect your hands from harsh cleaning agents and to avoid direct contact with mold spores, which can irritate your skin. Wear safety goggles or glasses to shield your eyes from splashes and airborne particles that could cause discomfort or health issues. It’s also crucial to use a face mask to prevent inhalation of mold spores, which could trigger allergies or respiratory problems. By prioritizing these safety precautions, you safeguard your health and ensure that you can work efficiently and effectively to eliminate the mold from your sink drain.
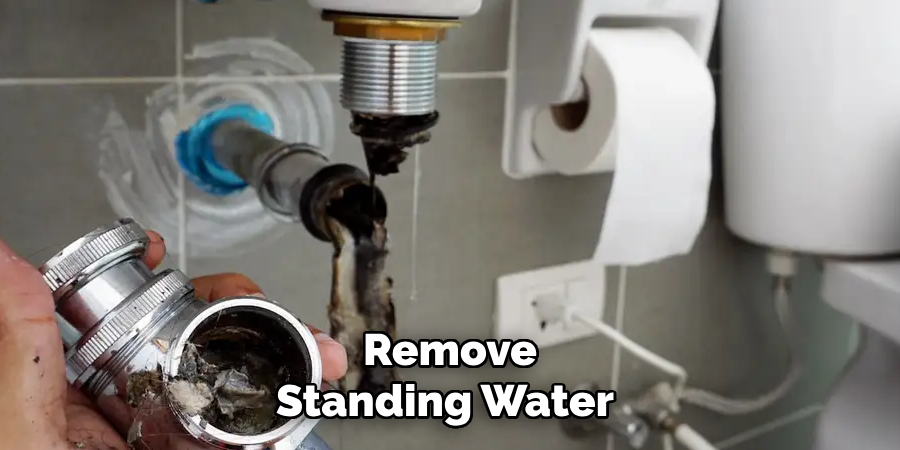
Step 2: Remove Standing Water
Begin by ensuring there is no standing water in the sink. Standing water can contribute to mold growth and make cleaning more challenging. If your sink is holding water, remove it by using a cup or a sponge to soak it up. Dry out the sink basin thoroughly to create a drier environment, less conducive to mold proliferation. Once the sink is free of standing water, you can proceed with cleaning.
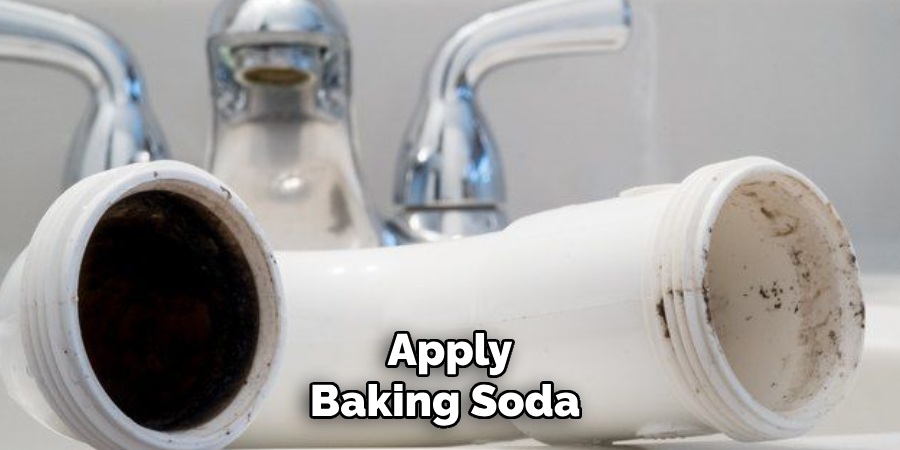
Step 3: Apply Baking Soda
To effectively tackle the mold, sprinkle a generous amount of baking soda into the sink drain. Baking soda is a natural cleaning agent and deodorizer that helps to break down mold and neutralize odors. Ensure the baking soda reaches all drain areas, including any nooks and crannies where mold might be hiding. This step sets the stage for further cleaning actions, enhancing the effectiveness of the following treatments. After applying the baking soda, let it sit for about 15 minutes to allow it to penetrate the mold-affected areas.
Step 4: Pour White Vinegar
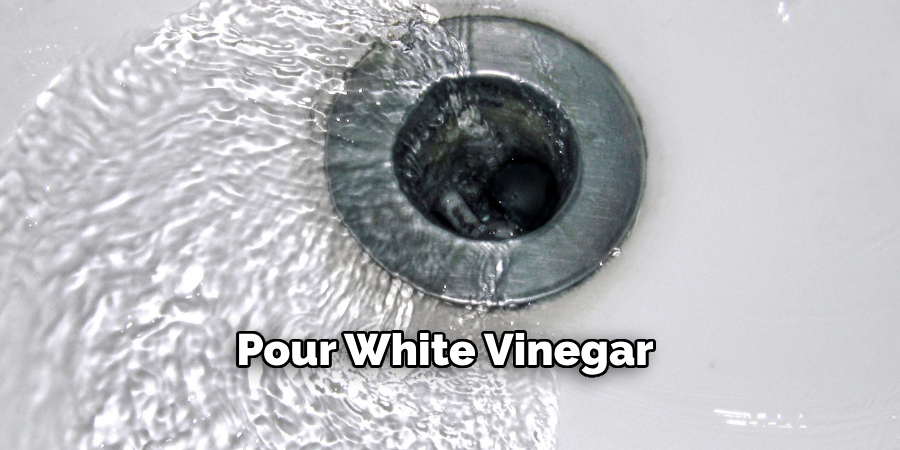
After the baking soda has had time to sit, carefully pour a generous amount of white vinegar into the sink drain. The vinegar will react with the baking soda to create a fizzy chemical reaction that helps dislodge mold buildup in the drain. This bubbling action effectively reaches deep into the areas where mold might be embedded. Allow the mixture to fizz and work for about 15 to 20 minutes. During this time, the vinegar’s natural acidic properties will further break down the mold, making it easier to scrub away in the next steps.
Step 5: Scrub the Drain
Once the baking soda and vinegar mixture has fizzed and settled, brush with stiff bristles or an old toothbrush and scrub the sink drain’s interior. Focus on areas where mold is visibly accumulated, ensuring you reach all parts of the drain. The scrubbing will help remove the softened mold, and the stiff bristles will penetrate harder-to-reach spaces. Be thorough with this step, as it is crucial for eliminating any remaining mold particles that could cause further growth if left untreated. After scrubbing, rinse the brush regularly in hot water to keep it clean. If necessary, you can use a small amount of hot water to flush out any loosened mold particles.
Step 6: Flush with Hot Water
After thoroughly scrubbing the drain, flush it with hot water. This step helps to rinse away the loosened mold particles and any remaining residue from the baking soda and vinegar solution. Boil a kettle or pot of water and carefully pour it down the drain, ensuring you cover all areas of the pipe. The hot water not only rinses the drain but also assists in killing any mold spores that might be lingering. Repeat this step once or twice to wash away all unwanted substances, leaving the drain clean and mold-free.
Step 7: Clean Surrounding Areas
Once the drain has been thoroughly flushed with hot water, take a moment to clean around the sink area. Mold spores can settle on surrounding surfaces, so it’s essential to address these as well. Use white vinegar and water to wipe down the faucet, sink basin, and any nearby tiles or countertops. This ensures any residual mold spores are eliminated, preventing future mold growth. Keeping these areas clean also helps maintain an overall hygienic environment and complements the work done to purify the drain.
Step 8: Inspect for Remaining Mold
After cleaning the drain and surrounding areas, carefully inspect the sink drain for any remaining traces of mold. Use a flashlight if needed to look deep into the drain. If you notice lingering mold or residue, repeat the scrubbing and flushing steps as necessary. Ensuring all mold is thoroughly removed is crucial to avoid its recurrence. An additional cleaning round reassures you of complete mold removal and contributes to a safer and cleaner home environment. Once you are satisfied with the inspection, proceed to the final steps for prevention.
Step 9: Dry the Area Thoroughly
After confirming that the mold is completely removed, it’s essential to dry the sink drain and surrounding areas thoroughly. Use a dry cloth or paper towels to wipe away any remaining moisture. Mold thrives in damp environments, so ensuring the area is dry minimizes the chances of mold returning. Use a small fan or increase airflow in the room to aid the drying process. Ensuring the area remains dry, you help maintain a mold-free environment and protect against future outbreaks.
Step 10: Implement Preventative Measures
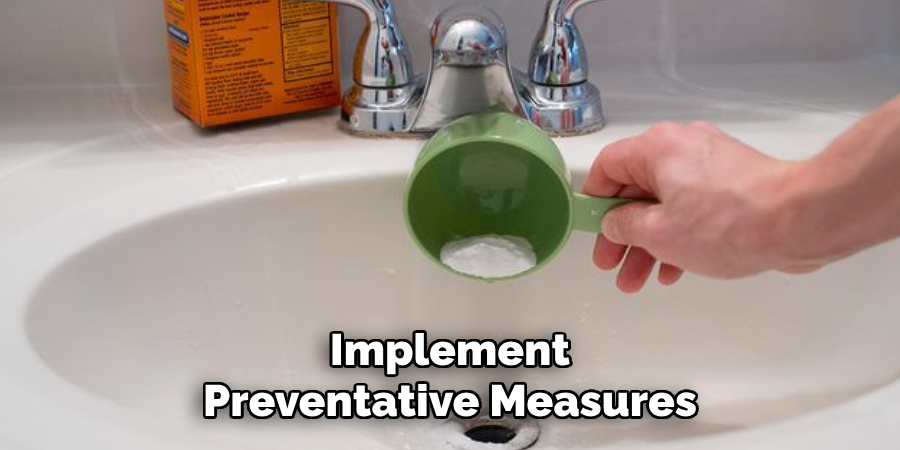
After successfully removing mold from the sink drain and ensuring everything is dry, incorporate preventative measures to keep mold at bay. To deter mold growth, regularly clean the sink drain with a mixture of baking soda and vinegar once a week. Consider using a drain cover to prevent debris and food particles from accumulating. Proper ventilation in the kitchen area is also crucial; use a fan or open windows to reduce humidity levels, discouraging mold development.
Following these steps, you can effectively remove mold from your sink drain and prevent its recurrence. It’s important to address mold growth promptly to maintain a healthy and clean environment in your home.
5 Things You Should Avoid
- Using Ammonia-Based Cleaners: Combining ammonia with other cleaning agents like bleach can produce harmful fumes. Stick to one cleaning method to avoid dangerous reactions.
- Ignoring Protective Gear: Mold spores can become airborne and pose health risks. Always wear gloves, a mask, and goggles when dealing with black mold to protect yourself from inhalation and skin contact.
- Scrubbing Aggressively: Vigorous scrubbing can release more mold spores into the air. Instead, gently clean the affected areas to minimize spore distribution.
- Overlooking Proper Ventilation: Ensuring adequate airflow prevents mold spores from settling. Always work in well-ventilated areas to help dissipate any released spores.
- Neglecting Long-Term Solutions: Simply cleaning the visible mold will only suffice if the root cause, usually moisture buildup, is addressed. Implement measures to reduce humidity and improve drainage to prevent future mold growth.
Avoiding these common mistakes can help you effectively and safely remove mold from your home. It’s also essential to regularly inspect for any signs of mold growth and address the issue promptly to prevent it from spreading and causing potential health hazards.
Conclusion
Effectively eliminating black mold from a sink drain requires a combination of preventive and active cleaning measures. First, ensure the sink remains dry, reducing the moisture levels that can foster mold growth.
Regularly clean the drain with baking soda and vinegar, allowing it to sit briefly before flushing with hot water; this helps break down any organic matter that might sustain mold. For persistent mold, consider using a commercial drain cleaner or a bleach solution—handled with caution and proper ventilation—to disinfect the area thoroughly. Lastly, adequate drainage must be maintained, and any leaks must be fixed promptly to avoid future mold problems.
Hopefully, the article on how to get rid of black mold in sink drain has provided you with valuable insights and actionable tips to tackle this common household issue. So remember these pointers, roll up your sleeves, and say goodbye to black mold! Happy cleaning!

