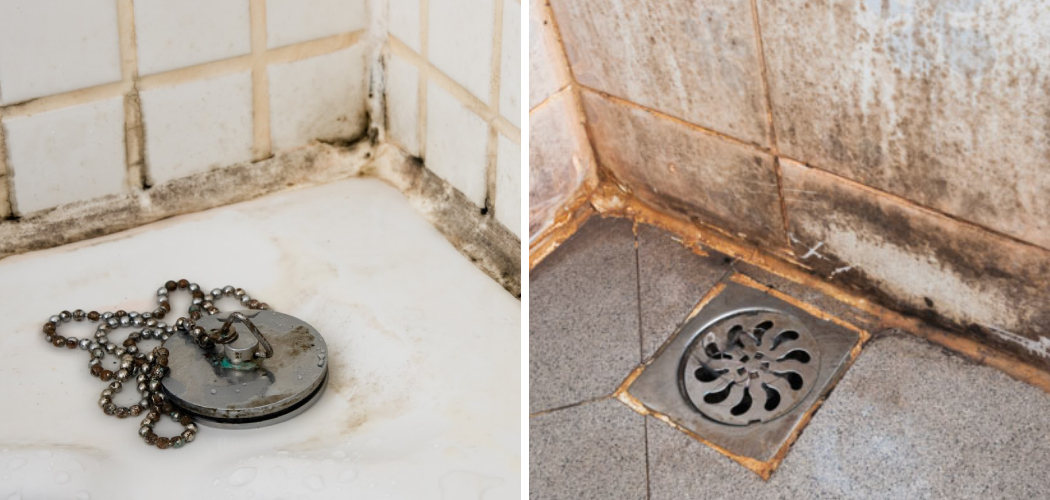
Are you tired of seeing moldy grout in your bathroom? Do you want to know how to get rid of it once and for all? Look no further; this guide will provide practical tips for removing mold from bathroom grout.
Mold on bathroom grout is a common problem that looks unsightly and poses health risks if left untreated. Grout, the porous material between tiles, provides a perfect breeding ground for mold due to the damp and humid conditions typically in bathrooms. Luckily, with the proper techniques and supplies, you can effectively remove mold and restore your bathroom’s cleanliness and safety.
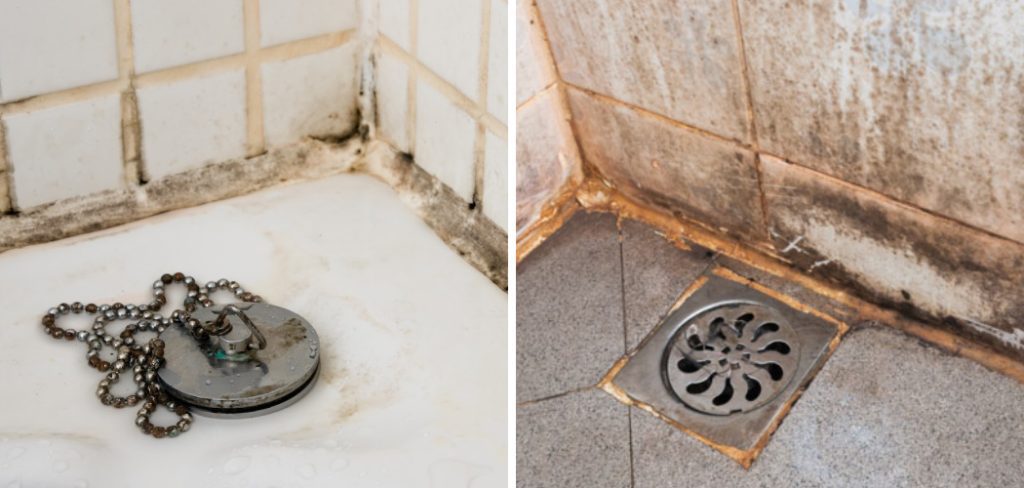
In this guide, we will walk you through the steps on how to get rid of mold on bathroom grout, ensuring a healthier environment for you and your family.
What are the Causes of Mold on Bathroom Grout?
Before we dive into the removal process, it’s essential to understand why mold grows on bathroom grout in the first place. Several factors contribute to mold growth, including:
- Humidity and Moisture: Bathrooms are typically one of the most humid rooms in a house due to constant water usage. This moisture can get trapped in the grout, providing an ideal environment for mold to thrive.
- Lack of Ventilation: If your bathroom lacks proper ventilation or doesn’t turn on the fan while taking a shower, it can lead to excess moisture buildup and ultimately promote mold growth.
- Leaking Pipes: Any leaks from pipes behind your walls or under your tub/shower can create a damp environment, causing mold to grow on your grout.
- Poor Cleaning Habits: Not regularly cleaning your bathroom surfaces, especially the grout, can lead to the accumulation of dirt and moisture, providing nutrients for mold to grow.
Now that we know what causes mold growth on bathroom grout let’s move on to how we can get rid of it.
What Will You Need?
Before we get started, here are the supplies you will need to remove mold from bathroom grout effectively:
- Protective gear (gloves, goggles, and mask)
- Scrub brush or toothbrush
- White vinegar
- Baking soda
- Hydrogen peroxide
- Bleach (optional)
Once you have gathered all your supplies, let’s remove mold from bathroom grout.
10 Easy Steps on How to Get Rid of Mold on Bathroom Grout
Step 1: Prepare the Area
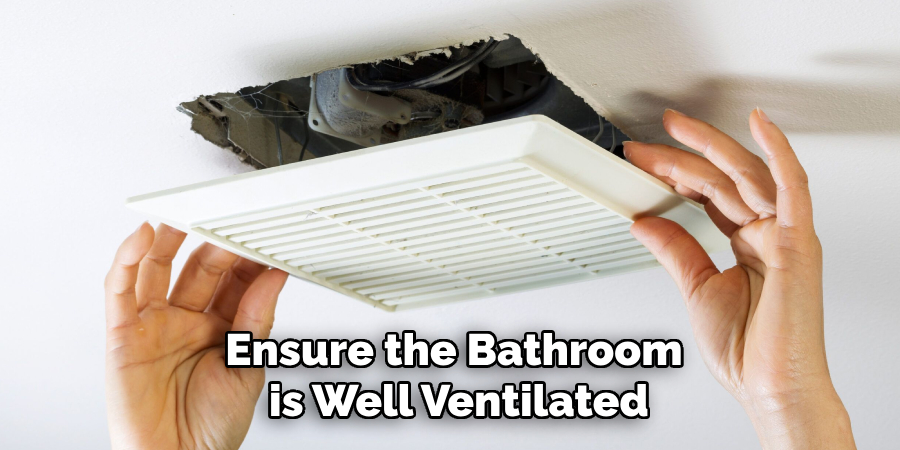
Before starting, ensure the bathroom is well-ventilated by opening windows or turning on the exhaust fan. Proper ventilation helps minimize exposure to mold spores and the fumes from cleaning products. Next, put on your protective gear – gloves, goggles, and a mask – to protect your skin, eyes, and respiratory system from mold and any harsh chemicals you may use. Remove any items from the area you will be cleaning, such as bath mats, towels, and personal care products, to prevent them from getting wet or contaminated.
Step 2: Apply White Vinegar
White vinegar is a natural and effective mold killer. Pour some white vinegar into a spray bottle without diluting it. Spray the affected grout lines generously with the vinegar. Allow the vinegar to sit for at least 30 minutes to penetrate the mold and break down its structure. White vinegar’s acidic nature works to kill mold spores and prevent them from returning.
Step 3: Scrub the Grout
After letting the vinegar sit, use a scrub brush or an old toothbrush to scrub the grout lines thoroughly. Apply firm pressure to remove mold from the porous surfaces of the grout. Make sure to wash all affected areas, even the most minor spots, as mold can quickly spread if any spores are left behind.
Step 4: Rinse with Warm Water
Once you have scrubbed the grout, rinse the area with warm water to remove any remaining vinegar and mold residue. Use a clean cloth or sponge to wipe down the tiles and grout. Ensure all the vinegar is rinsed off to prevent any lingering scent.
Step 5: Apply Baking Soda Paste
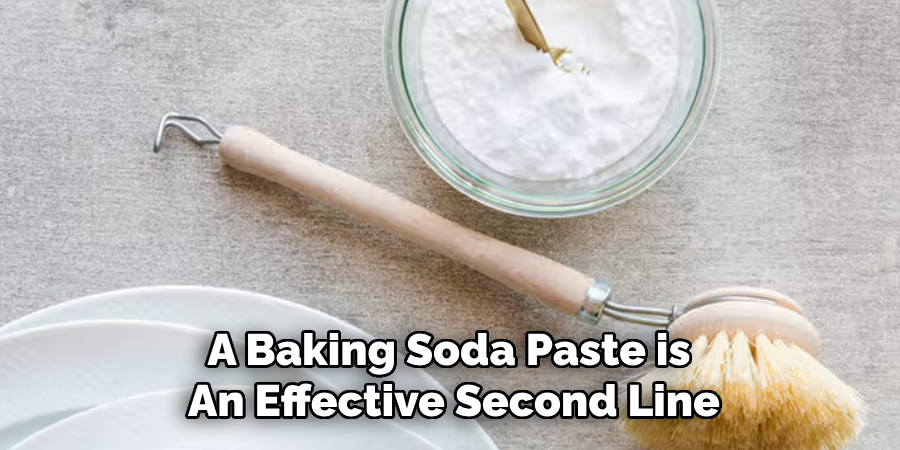
A baking soda paste is an effective second line of defense for stubborn mold that did not come off with vinegar and scrubbing. Mix baking soda with a small amount of water to create a thick paste. Apply the paste to the remaining moldy grout lines and let it sit for 10-15 minutes. Baking soda’s abrasive texture helps to lift mold stains, and its alkaline properties neutralize mold spores.
Step 6: Scrub Again
Using your scrub brush or toothbrush, scrub the grout lines again, focusing on areas where you applied the baking soda paste. The baking soda’s added abrasive action will help remove any stubborn mold that remains. You should see the mold stains lifting from the grout as you scrub.
Step 7: Rinse Thoroughly
After scrubbing with baking soda, rinse the area thoroughly with warm water. Wipe the tiles and grout with a clean cloth or sponge to remove any remaining paste and mold residue. Ensure all the baking soda is cleaned away to prevent a gritty texture on the grout.
Step 8: Apply Hydrogen Peroxide
Hydrogen peroxide is another effective mold-killing agent that can help remove any remaining mold traces. Pour a 3% hydrogen peroxide solution into a spray bottle and spray it onto the grout lines. Allow it to sit for 10 minutes. Hydrogen peroxide breaks down mold spores and bleach discolored areas, leaving the grout clean and bright.
Step 9: Wipe Down and Dry the Area
After letting the hydrogen peroxide sit, use a clean cloth or paper towel to wipe down the entire area. Dry the grout completely, as moisture can encourage mold growth. Use a fan or leave the exhaust fan running to expedite drying.
Step 10: Prevent Future Mold Growth
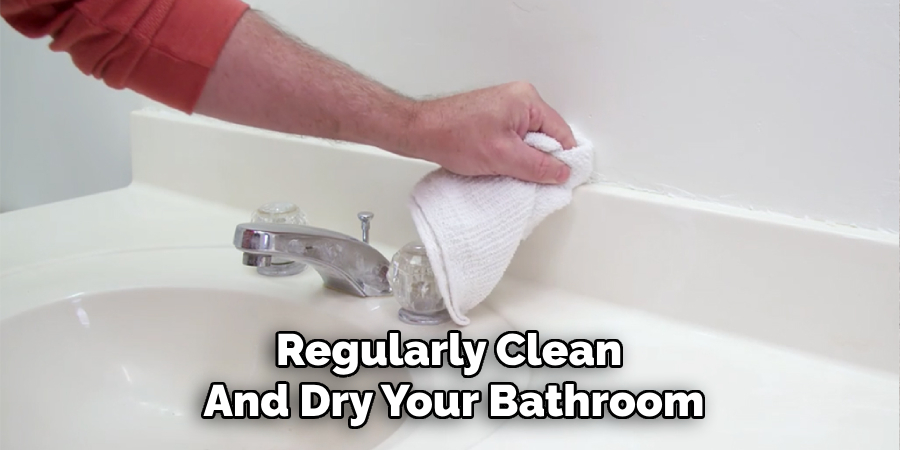
Keep your bathroom well-ventilated to prevent mold from returning by using the exhaust fan during and after showers. Regularly clean and dry your bathroom to remove moisture and use a squeegee to wipe down tiles and grout after each use. Consider applying a grout sealer to create a protective barrier against mold and mildew.
By following these steps, you can effectively remove mold from bathroom grout and maintain a clean and healthy environment for you and your family.
5 Additional Tips and Tricks
- Use White Vinegar: Spray pure white vinegar onto the moldy grout and let it sit for about an hour. Scrub the area with a brush and rinse with warm water. Vinegar’s acidic nature can help kill mold spores and prevent their return.
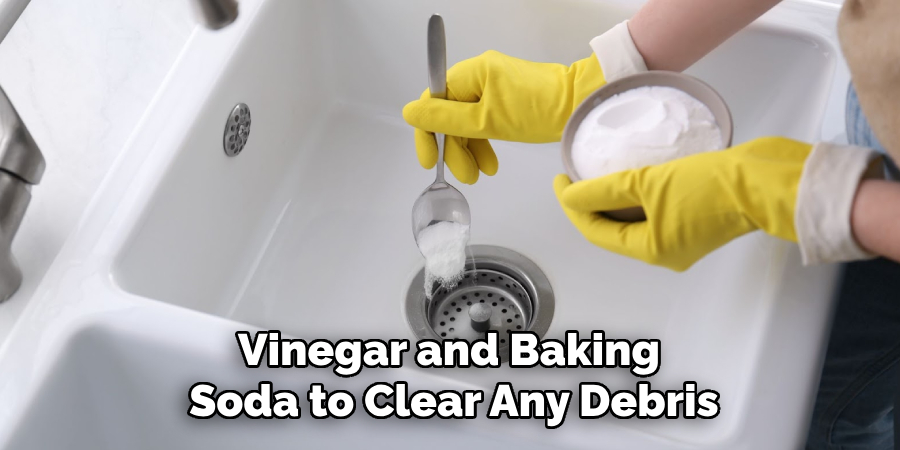
- Apply Baking Soda Paste: Mix baking soda and water to make a paste. Apply it to the grout and let it sit for 10-15 minutes. Scrub with a brush and rinse thoroughly. Baking soda is a mild abrasive that removes mold without damaging your grout.
- Hydrogen Peroxide Treatment: Mix hydrogen peroxide with baking soda to create a potent cleaning solution. Apply the mixture to the grout and let it sit for 10 minutes. Scrub with a stiff brush and rinse off. Hydrogen peroxide has antifungal properties that can help eliminate mold.
- Tea Tree Oil Solution: Mix a teaspoon of tea tree oil in a spray bottle with a cup of water. Spray the solution onto the affected grout and let it sit. Scrub the area lightly and rinse. Tea tree oil is a natural antifungal and antibacterial agent that can help eliminate mold.
- Use Bleach with Caution: For severe mold problems, a diluted bleach solution can be effective. Mix one bleach with ten parts water and apply it to the grout. Let it sit for a few minutes, then scrub and rinse thoroughly. Always ensure proper bleach ventilation and avoid mixing it with other cleaners.
With these additional tips and tricks, you can effectively remove mold from your grout and keep it from returning.
5 Things You Should Avoid
- Mixing Different Cleaners: Never mix cleaning solutions, especially those containing bleach and ammonia. This can create toxic fumes that are harmful to your health. Stick to one cleaning method at a time for safety.
- Using Metal Brushes: Avoid using metal brushes or abrasive pads as these can scratch and damage your grout. Opt for softer brushes or sponges designed explicitly for grout cleaning.
- Ignoring Protective Gear: Always wear protective gear such as gloves and masks when cleaning mold. Mold spores can trigger allergic reactions and respiratory issues, so it’s essential to protect yourself.
- Skipping the Rinse: Always rinse the grout thoroughly with water after scrubbing and cleaning. Leaving cleaning solutions on the grout can lead to discoloration and may attract more dirt and mold over time.
- Over-Scrubbing: Excessive scrubbing can weaken grout lines and cause them to crumble. Be gentle and methodical in your approach to preserve the integrity of your grout.
By avoiding these common mistakes, you can ensure a safe and effective mold removal process for your grout.
Conclusion
In conclusion, how to get rid of mold on bathroom grout is essential for maintaining a clean and healthy environment.
Various natural and chemical cleaning methods, such as white vinegar, baking soda paste, hydrogen peroxide treatments, tea tree oil solutions, and diluted bleach, can effectively eliminate mold and prevent its return. It’s crucial to take necessary precautions like donning protective gear, avoiding the mix of different cleaners, and being gentle with your scrubbing to protect your health and the integrity of the grout. Integrating these tips and tricks into your cleaning routine and steering clear of common mistakes ensures that your bathroom remains mold-free and pleasant.
Regular maintenance and prompt attention to any signs of mold growth will help preserve your grout’s appearance and longevity, providing you with peace of mind and a healthier home.

