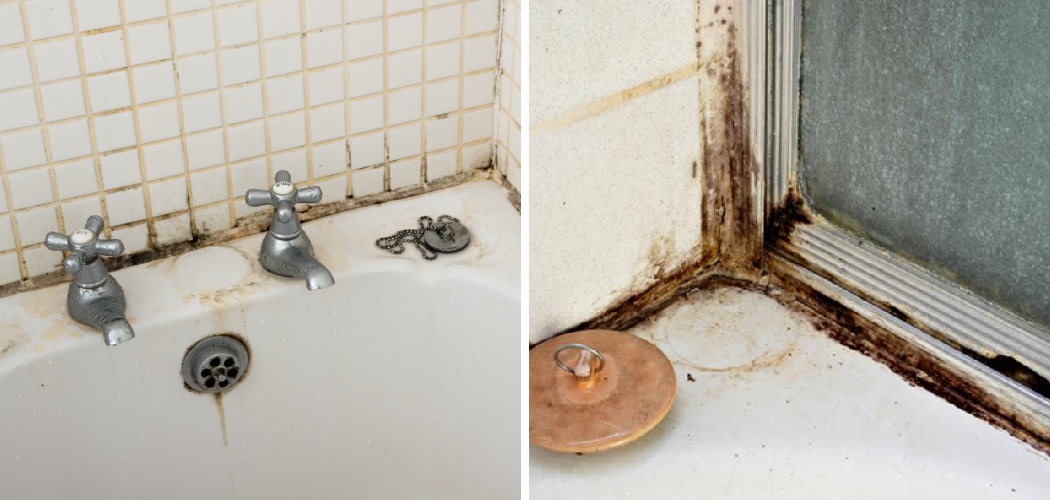
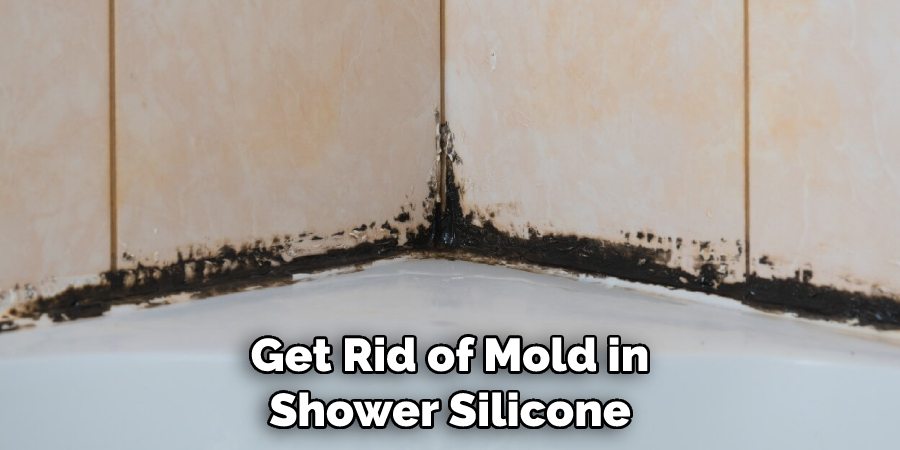
Do you ever take a shower or bath and notice mould growing along the silicone lines of your tub? It may seem like an impossible task to get rid of it, but don’t worry – mould in shower silicones can easily be removed! With just a few simple steps, your bathroom will be back to sparkling clean in no time.
In this blog post, we’ll show you exactly how to get rid of mould in shower silicone so that your bathroom will look and feel fresh again. Keep reading for all the information you need on tackling stubborn mould growth!
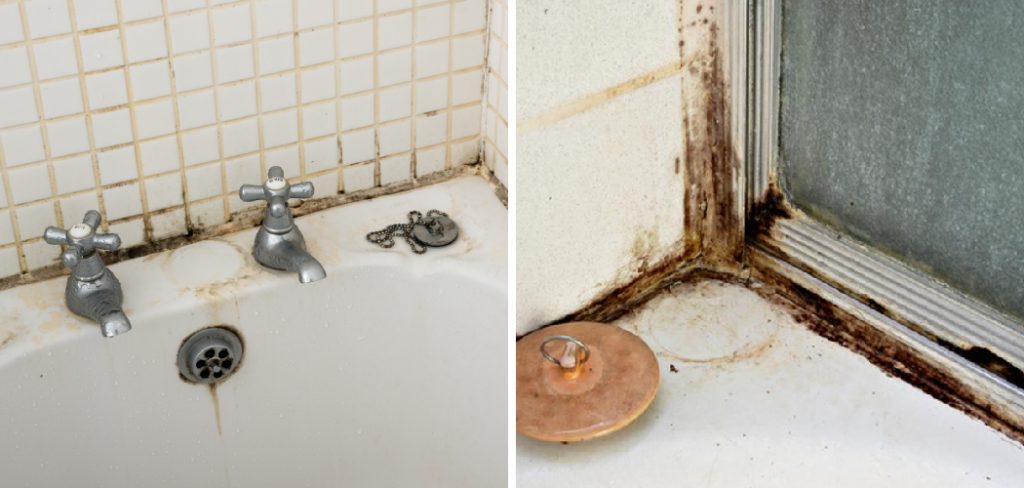
It’s one of those things that can be hard to get rid of, but with a few simple steps, it’s completely possible. In this blog post, we’ll show you how to remove mould and mildew from your bathroom silicone so that you can make sure it looks good as new!
We will also cover why properly maintaining your seals and tiles is important for keeping them looking great. Read on to find out more about how to get rid of mould in shower silicone.
Why is It Important to Get Rid of Mould in Shower Silicone?
1. To Prevent the Spread of Disease
Mold can cause a range of health problems, including allergic reactions, respiratory illnesses and infections. By removing mold from silicone, you are preventing its growth and spread in your home. Also, make sure to fix any leaking pipes that can lead to the buildup of moisture in your shower.
2. To Keep Your Bathroom Clean
Mold growth is unsightly and can make your bathroom feel dirty and unhygienic. Not only this, but mold can also discolor or stain the silicone sealant, making it look old and worn. Removing mold from shower silicone will help you maintain a clean, hygienic bathroom.
3. To Maintain the Integrity of Your Shower
Mold can break down the integrity of your shower sealant, leading to water leakage or even complete failure if it is not correctly removed. It’s important that you take the time to properly clean and remove any mold growth from shower silicone so that your shower remains in top condition.
How to Get Rid of Mould in Shower Silicone in 6 Easy Steps
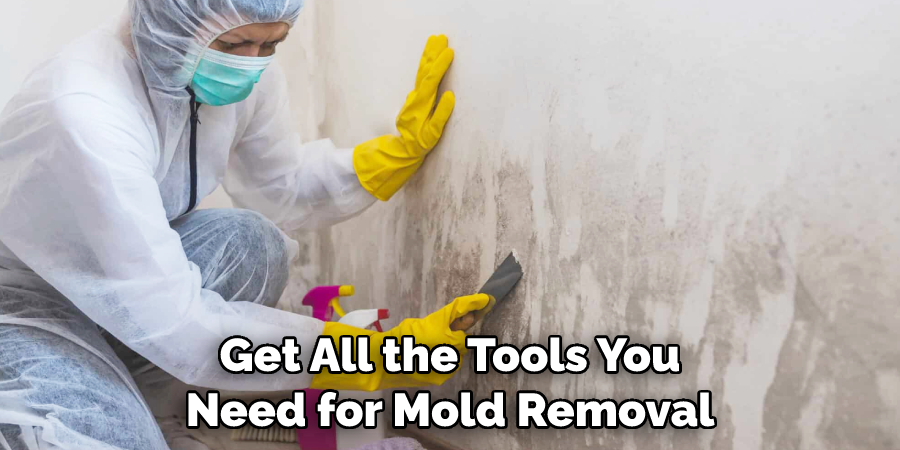
Step 1: Gather All The Tools You Need
The very first step is to get all the tools you need for mold removal. You will need a brush, cleaning solution (preferably one with bleach) or vinegar and water, cloths or sponges, and rubber gloves.
Step 2: Prepare The Area For Cleaning
Begin by removing any curtains or shower mats that may be in the area. Open the windows and turn on any fans or air conditioning units to prepare the space for cleaning. Also, you have to make sure that the area is well ventilated.
Step 3: Apply Cleaning Solution
Mix your cleaning solution or vinegar and water in a bucket, depending on which one you chose to use. Use the brush to apply the cleaning solution directly onto the moldy silicone seal. Also, you have to make sure that the area is well-ventilated.
Step 4: Scrub The Mould Away
Using your brush, scrub away the mold and grime from the silicone seal. Make sure to apply pressure while doing this because it helps remove any stubborn areas of mold and dirt.
Step 5: Rinse Away The Cleaning Solution
Once you have finished scrubbing, rinse away the cleaning solution with a damp cloth or sponge. Make sure to rinse the area thoroughly to remove any remaining dirt and mold.
Step 6: Repeat As Needed
Repeat this process as needed until all traces of mold are gone from the silicone seal. Be sure to keep an eye out for any new mold growth and repeat the cleaning process if necessary.
Once all of the molds has been removed, you can now enjoy a clean shower silicone seal that is free from any nasty mold and dirt. Follow these steps regularly to keep your shower seal looking as good as new!
Some Extra Tips to Get Rid of Mould in Shower Silicone
1. Do Not Leave Any Surfaces Exposed During Cleaning
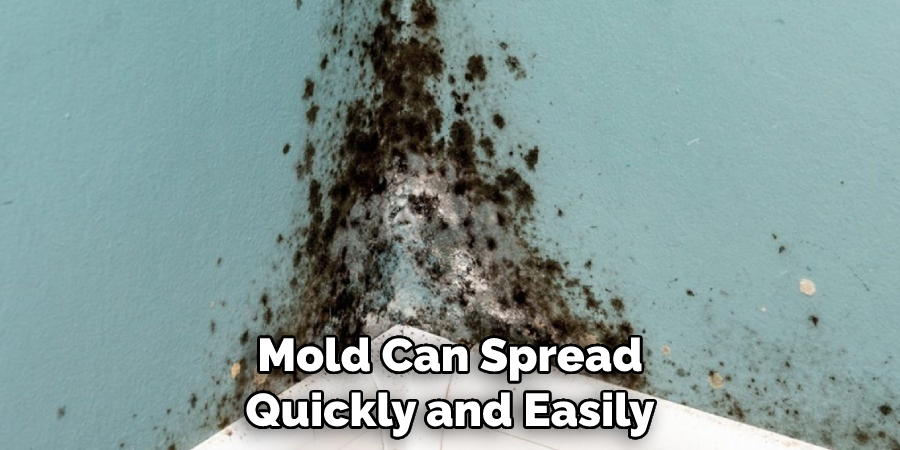
Mold can spread quickly and easily, so make sure to cover any areas which you are not cleaning with a plastic sheet or garbage bag in order to prevent the mold from spreading during the cleaning process.
2. Use a Mild Detergent
It is important to use a mild detergent when cleaning shower silicone as harsh detergents can damage the material.
3. Wear Protective Gear
When tackling mold in shower silicone it is important to wear protective gear such as gloves, goggles, and a face mask in order to protect yourself from any spores that could be released into the air during the cleaning process.
4. Use a Mould Remover
If the mold does not come off with a mild detergent and warm water, it is recommended to use a mold remover such as bleach or vinegar. Bleach should be used in well-ventilated areas and always make sure to read instructions on the product before using.
5. Rinse Well
After cleaning, rinse the shower silicone with warm water to remove any traces of the cleaning solution or mold remover.
6. Dry Thoroughly
Once you have cleaned and rinsed the shower silicone, be sure to dry it thoroughly in order to prevent future mold growth. You can use a hairdryer on a low setting for this purpose.
7. Regularly Clean and Inspect
Finally, it is important to regularly clean and inspect the shower silicone in order to prevent mold from returning. Be sure to do this at least once a month for best results. Make sure to follow the steps above for a thorough cleaning.
By following these tips, you can get rid of mold in shower silicone and keep your bathroom clean and free from any unwanted mold growth. With regular to follow the above steps every time you clean, as this will help to ensure that mold does not return.
Frequently Asked Questions
What Precautions Should I Take When Removing Mould from Shower Silicone?
When removing mould from shower silicone, it is important to take proper safety precautions. Wear a mask to prevent inhaling any spores released during the cleaning process, and always wear gloves when handling potentially hazardous materials. Additionally, if you are using a chemical cleaner, make sure it is safe to use on silicone and that there is proper ventilation.
What Household Items Can I Use To Clean Mould From Shower Silicone?
When cleaning mould from shower silicone, it is best to start with natural ingredients. White vinegar, for example, is acidic and can be used to effectively remove mould spores. You can dilute the vinegar in water and then apply it to the mouldy area with a sponge or cloth. Baking soda is another natural product that can be used to scrub away mould on silicone surfaces.
What Is The Best Way To Prevent Mould From Returning In My Shower?
The best way to prevent mold from returning is thorough cleaning and regular maintenance. Make sure to clean shower silicone regularly with a natural cleaner and dry the area thoroughly after each use.
Additionally, you can also apply a mold-resistant silicone sealant to the shower surface to help prevent future growth. Finally, try to keep the bathroom well-ventilated by opening windows or running an exhaust fan during and after showers. This will help reduce the moisture in the air that helps mould grow.
How Can I Make Sure That I Have Successfully Removed All The Mould From My Shower?
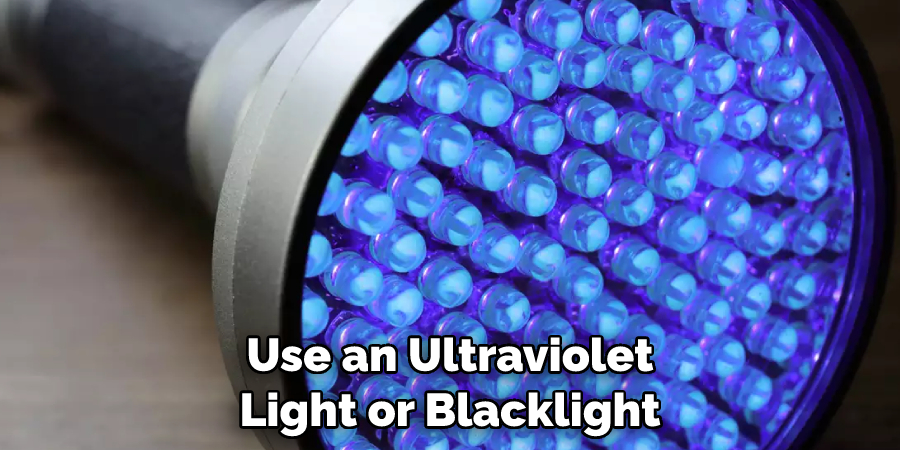
If you have followed all of the steps outlined above, you should be able to successfully remove all visible mould from your shower. To make sure it is completely gone, you can use an ultraviolet light or blacklight to check for any remaining spores. You should also keep a close eye on the area for any signs of mould regrowth and take action if necessary.
Conclusion
Now you know how to get rid of mould in shower silicone! Taking on a project to get rid of mould in shower silicone can be rewarding and beneficial. It can improve the look of your bathroom while also increasing the value of your home.
Being mindful about taking preventative measures such as wiping excess water and using caulk when needed will help keep you from having to fix your shower silicone all over again.
Allowing any cleaning products you choose to sit for the recommended amount of time gives the product enough time for it to work effectively, helping to reduce the amount of effort needed once mould becomes a problem. By attending to these tasks regularly and tackling them with diligence, you’ll have a clean, mould-free shower for years to come!

