Are you tired of being hit by an unpleasant smell every time you take a shower? If so, you’re not alone. A stinky shower drain is a common household problem caused by various factors such as bacteria buildup, clogged pipes, or even mold and mildew growth.

An unpleasant odor emanating from your shower drain can disrupt the serene environment of your bathroom and make it uncomfortable to use. This common issue can arise due to various reasons, such as hair and soap scum buildup or stagnant water trapped in the drain. Fortunately, how to get rid of shower drain smell doesn’t require professional services; with a few simple steps and household ingredients, you can restore freshness to your bathroom.
This guide will provide practical and effective methods to eliminate odors and maintain a pleasant-smelling shower area.
What Will You Need?
Before we dive into the methods, there are a few items you will need to gather to tackle the shower drain smell effectively:
- Rubber gloves
- A plunger or drain snake
- Baking soda
- Vinegar
- Boiling water
10 Easy Steps on How to Get Rid of Shower Drain Smell
Step 1. Remove the Drain Cover:
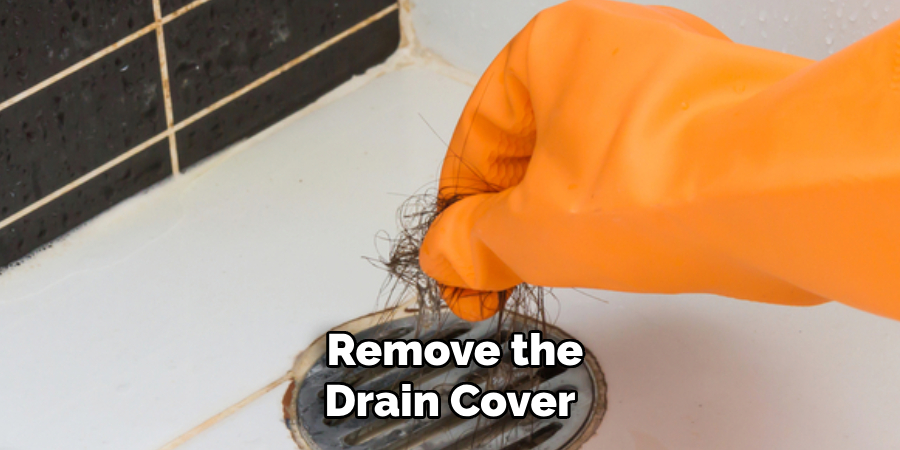
To begin with, you’ll need to remove the drain cover effectively. This is often the first step in tackling any maintenance issue related to drains. Use rubber gloves to protect your hands from grime and possible bacteria. Most drain covers can be removed by hand, but if it’s secured with screws, use a screwdriver to unscrew them gently. Be sure to keep the screws in a safe place, as you will need them when reattaching the cover.
Once the cover is removed, set it aside and take a moment to inspect the exposed drain. Check for any immediate blockages, such as hair or soap scum, which can contribute to the foul odor. Removing the drain cover is a crucial first step as it gives you direct access to the drain, allowing for a more thorough cleaning and effective use of your solutions. Now, with a clear view of the problem area, you’re ready to proceed with the next steps in the odor elimination process.

Step 2. Clear Immediate Blockages:
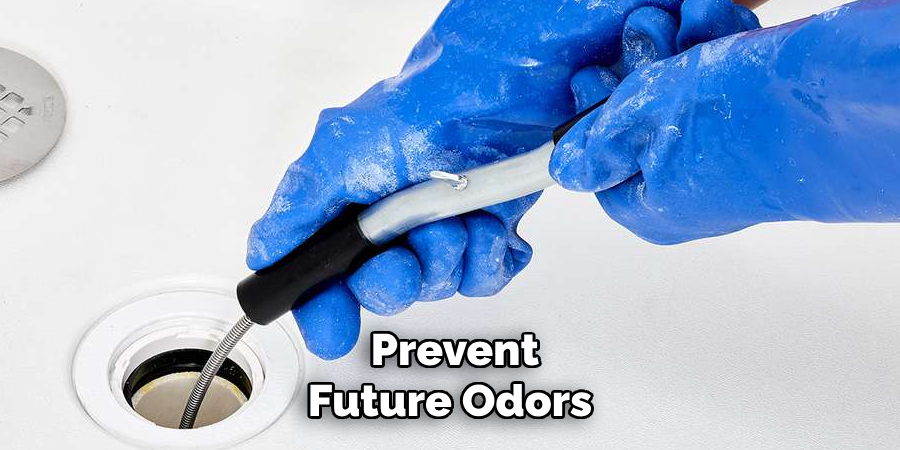
With the drain cover removed, assess the state of your shower drain for visible obstructions like hair, soap scum, or any debris that might be compounding the odor problem. Using your gloved hands, carefully extract these blockages from the drain. If there’s a considerable buildup, employ a drain snake to reach deeper blockages.
Insert the snake into the drain and twist it to latch onto any lodged debris, then pull it out gently to avoid damaging the pipes. Clearing these initial blockages is critical as it allows subsequent cleaning solutions to penetrate further into the drain, enhancing their effectiveness. Once the drain is free from immediate debris, it’s time to prepare for the next step in neutralizing the smell.
Step 3. Flush with Boiling Water:
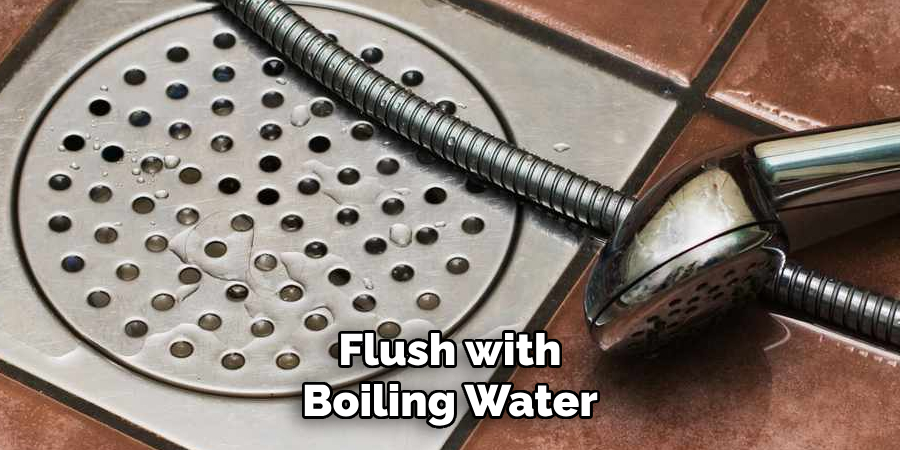
Once you’ve cleared away any immediate blockages, the next step is to flush the drain with boiling water. Carefully pour a kettle or pot of boiling water directly into the drain. The heat from the water helps to dissolve and wash away any lingering residue or build-up that might be contributing to the odor. It’s important to pour the water slowly and steadily to ensure that it reaches as far down the pipes as possible.
This simple step not only helps to clear minor clogs but also kills bacteria and washes away accumulated soap scum. After flushing the drain, let it rest for a few minutes before proceeding to the next cleaning phase.

Step 4. Apply Baking Soda and Vinegar:
After the initial flush with boiling water, it’s time to harness the natural cleaning power of baking soda and vinegar. Begin by directly pouring about half a cup of baking soda into the drain. Follow this with a cup of vinegar, and you’ll notice a fizzy reaction as the two ingredients interact.
This fizzing helps to break down any organic materials and odors lingering in the pipes. Allow this mixture to sit and work its magic for at least 15 minutes. The combination of baking soda and vinegar will deodorize, clean, and help to loosen any remaining gunk in the drain. After the waiting period, flush again with boiling water to rinse away the residue.
Step 5. Scrub with a Brush:
To ensure that the interior walls of the drain are thoroughly cleaned, use a stiff-bristled brush to scrub away remaining deposits. Insert the brush into the drain and scrub the inside surface, particularly focusing on areas with stubborn residue. This physical scrubbing assists in removing stuck-on grime and ensures that the drain is as clean as possible. Once you’ve finished scrubbing, rinse the drain again with hot water to wash away dislodged particles.

Step 6. Check and Clean the Drain Trap:
If your odor problem persists, the issue might be with the P-trap or waste trap beneath your shower. If not cleaned regularly, this trap can collect debris and become a breeding ground for odor-causing bacteria. Place a bucket underneath to catch any spilled water before loosening the trap. Remove the trap and clean it thoroughly using the baking soda and vinegar method or a commercial cleaner if necessary. After cleaning, reattach the trap securely to prevent any leaks.
Step 7. Use a Commercial Drain Cleaner:
If the smell persists after previous cleaning efforts, consider using a commercial drain cleaner for a more assertive approach. These products are designed to dissolve tough clogs and eliminate bacteria that contribute to unpleasant odors. Before using a commercial cleaner, read and follow the manufacturer’s instructions carefully, as these products can contain strong chemicals. Ensure proper ventilation in your bathroom to minimize exposure to fumes. Pour the recommended cleaner into the drain and let it sit for the advised duration.
This will allow the chemicals to break down any remaining debris and bacteria within the pipes. After the required time has passed, flush the drain with water as directed by the product instructions to clear any remaining cleaner and dissolved material. This step should further eliminate any persistent odors and leave your shower drain smelling fresh and clean. If the smell continues, consult a professional plumber to investigate potential underlying issues with your plumbing system.
Step 8. Prevent Future Odors:
Incorporate regular maintenance into your cleaning routine to maintain a fresh-smelling shower and prevent future odors. Start by installing a hair catcher over the drain to minimize hair and debris buildup. Regularly clean the drain cover and flush your drain monthly with boiling water as a preventive measure. Occasionally, baking soda and vinegar are used to keep the pipes clean and free of buildup.
Ensure the bathroom is well-ventilated, as moisture can contribute to mold and mildew growth, exacerbating unpleasant smells. By maintaining these practices, you can reduce the risk of developing odor issues and keep your shower area smelling clean and fresh.

Step 9. Regularly Inspect for Leaks:
Regular inspections for leaks can prevent odor problems arising from standing water and hidden buildup. Check visible pipes and fittings around your shower for any signs of moisture or dripping, which might indicate a leak. Pay attention to areas behind fixtures and beneath the shower basin where leaks are commonly hidden.
Repair any leaks promptly, as stagnant water can lead to mold or mildew growth, exacerbating odors. Additionally, ensure that the floor around the shower remains dry and free from lingering water after each use. Incorporating these checks into your routine can significantly contribute to maintaining a fresh-smelling and hygienic bathroom environment.
Step 10. Use Essential Oils for a Pleasant Scent:
As an optional step, consider adding essential oils to leave a pleasant fragrance in your shower area. After cleaning, choose your favorite essential oil, such as lavender, eucalyptus, or peppermint, known for its refreshing aromas. Add a few drops of the oil to a cloth or cotton ball and place it near the drain or discretely in the shower area. Alternatively, mix essential oils with water in a spray bottle and lightly mist the surrounding area. Essential oils provide an immediate aromatic boost and may have antimicrobial properties, contributing to a fresher bathroom environment. This finishing touch can enhance your shower space’s overall cleanliness and atmosphere.
By following these ten steps, you can effectively combat unpleasant smells and maintain a fresh-smelling shower drain.
Conclusion
How to get rid of shower drain smell is a simple yet impactful process that involves a combination of cleaning techniques and preventative measures.
By following the outlined steps, you address the immediate problem of odor-causing residues while also implementing practices to prevent future build-up and smell recurrence. From using natural solutions like baking soda and vinegar to commercial drain cleaners for more stubborn issues, this comprehensive approach ensures that your bathroom remains a refreshing and hygienic space. Additionally, regular inspections and maintenance, along with the optional use of essential oils, can significantly enhance the aromatic ambiance of your shower area.
These strategies allow you to maintain a clean environment and enjoy a shower space free from unpleasant smells.

