Rit dye stains can quickly mar the bathtub’s appearance, making prompt action essential to prevent permanent discoloration. Understanding how Rit dye works can help in addressing these stains effectively. Rit dye is a versatile fabric dye that can adhere strongly to surfaces, including those of porcelain, acrylic, and enamel bathtubs. This adhesion can result in persistent stains that are challenging to remove if not tackled promptly. This guide aims to equip you with effective methods and products for removing these stubborn stains, ensuring your bathtub remains clean and stain-free.
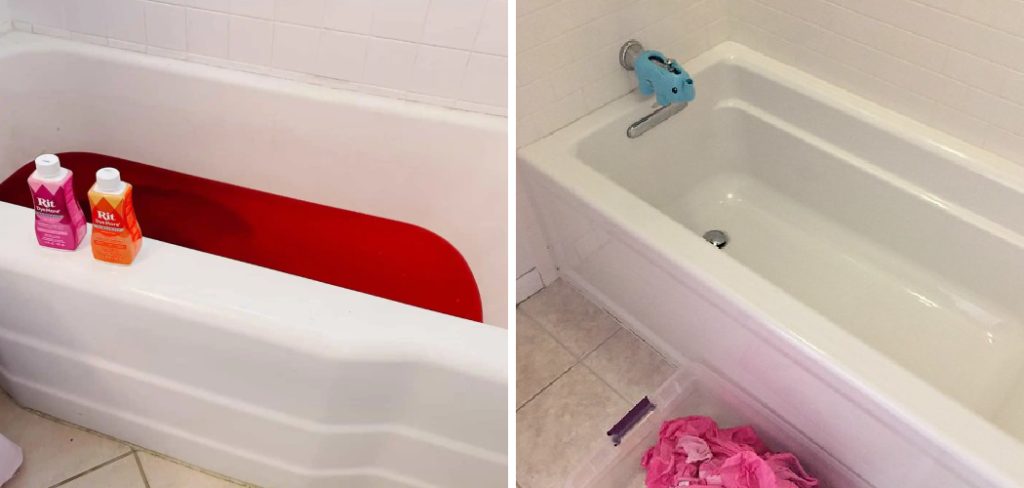
Whether you’re using household items like vinegar and baking soda, commercial cleaners, or natural remedies, knowing how to get rit dye out of bathtub will save you time and effort, while preserving the beauty and longevity of your bathtub surfaces.
Understanding Rit Dye and Bathtub Surfaces
Impact of Rit Dye on Bathtub Surfaces
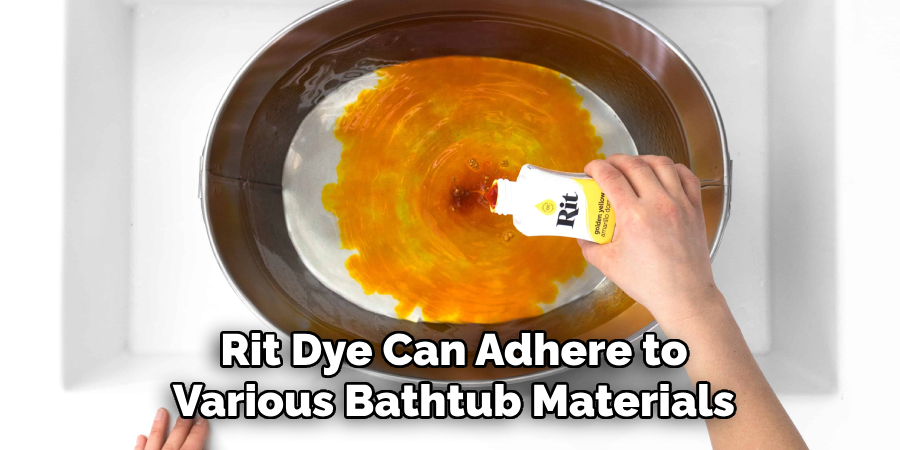
Rit dye can adhere to various bathtub materials with differing severity levels due to each surface type’s unique properties. For instance, porcelain bathtubs, with their glass-like finish, may resist initial staining but can suffer permanent discoloration if not addressed swiftly.
On the other hand, acrylic bathtubs, known for their softer and more porous nature, can absorb the dye more readily, making stains more difficult to remove. Enamel bathtubs, often coated with a protective layer, can be vulnerable to stains seeping through surface damage or cracks. Factors such as the duration of dye exposure, the dye’s concentration, and the water’s temperature all contribute to the extent of staining, making it crucial to act immediately to mitigate damage.
Identifying Rit Dye Stains
Rit dye stains are typically identifiable by their tell-tale color residues, which can vary depending on the dye used. These stains may appear as splotchy patches or even streaks of vibrant color against the surface of the bathtub. Other signs include general discoloration that can alter the original hue of the bathtub surface.
Immediate action is key when dealing with Rit dye stains, as the longer the dye sits, the deeper it can penetrate into the material, causing stubborn, sometimes permanent, marks. Spotting these stains early and addressing them expeditiously can significantly enhance the chances of fully restoring the bathtub’s original appearance.
Preparing for Stain Removal
Gathering Necessary Supplies
Before you start the stain removal process, gathering all the necessary supplies is essential to ensure efficiency and safety. You’ll need rubber gloves, cleaning cloths, white vinegar, baking soda, commercial cleaners specifically designed for bathtubs, bleach, lemon juice, cream of tartar, and hydrogen peroxide.
Additionally, it’s important to use non-abrasive cleaning tools such as sponges or soft-bristle brushes to prevent scratching the bathtub’s surface. Having all these materials ready will streamline the cleaning process and help you achieve the best results without damaging your bathtub.
Safety Precautions
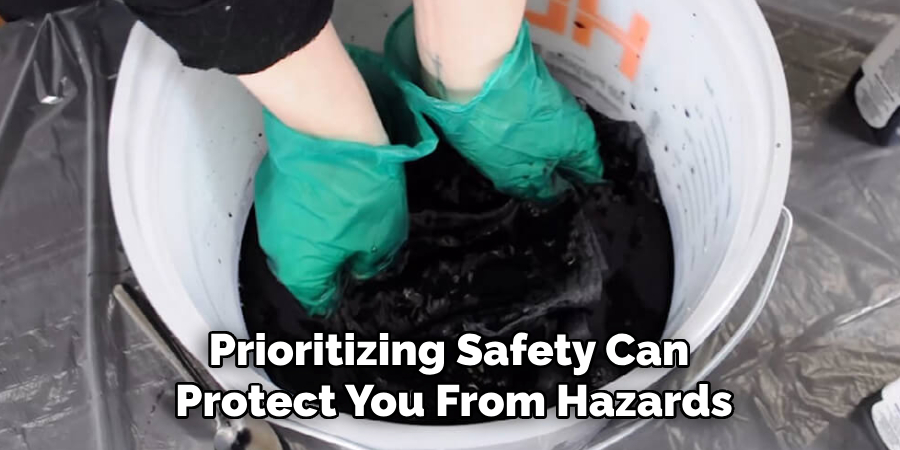
When tackling Rit dye stains, prioritizing safety can protect you from hazards associated with cleaning agents. First, always wear rubber gloves to shield your hands from harsh chemicals and prolonged moisture exposure, which can irritate the skin. Proper ventilation is crucial; ensure windows are open or exhaust fans are running to disperse fumes from cleaners like bleach or vinegar.
If you’re using chemical cleaners, follow the instructions on the label diligently and never mix different chemicals, as this can create dangerous reactions. When trying home remedies, test the solution on a small, inconspicuous bathtub area first to prevent unexpected damage. Taking these precautions will assist in creating a safer and more effective cleaning environment.
How to Get Rit Dye Out Of Bathtub: Methods for Removing Rit Dye Stains
Vinegar and Baking Soda Paste
A paste made from vinegar and baking soda can effectively remove Rit dye stains from a bathtub. To create the paste, mix white vinegar and baking soda in a bowl until a thick consistency is achieved. Apply the paste generously over the stained area, ensuring full coverage of the dye marks. Allow the paste to sit for approximately 15 to 20 minutes, allowing it to penetrate and break down the stain.
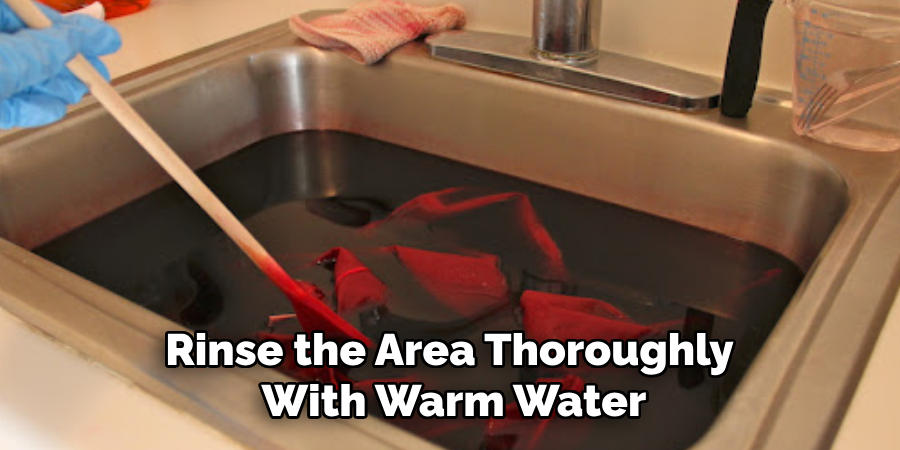
Once the waiting period is over, use a non-abrasive sponge or a soft-bristle brush to gently scrub the stained area. Scrubbing with circular motions can help lift the dye without scratching the bathtub’s surface. After scrubbing, rinse the area thoroughly with warm water to remove any remaining paste and reveal a clean surface. If necessary, repeat the process to address stubborn stains.
Commercial Cleaners for Bathtubs
Commercial cleaners formulated specifically for bathtub surfaces can also effectively remove Rit dye stains. Products such as CLR Bath & Kitchen Cleaner, Mr. Clean Magic Eraser Bath, and Bar Keepers Friend are recommended for their robust stain-removing properties. To use these products, follow the application instructions on the label, typically involving spraying or applying the cleaner directly onto the stained area.
Allow the cleaner to sit for the recommended duration to dissolve the dye stains effectively. Using a non-abrasive tool, such as a sponge or soft brush, gently scrub the area in circular motions to lift the stain. Thoroughly rinse the bathtub with warm water to remove any cleaner residue. A second application might be necessary for particularly persistent stains. Always ensure proper ventilation when using commercial cleaners to reduce inhalation of potentially harmful fumes.
Bleach and Water Solution
A diluted bleach solution can be an effective method for tackling Rit dye stains on non-porous bathtub surfaces. To prepare the solution, mix one-part bleach with ten parts water in a well-ventilated area. Prior to application, put on rubber gloves to protect your skin from irritation. Dip a soft sponge or cloth into the bleach solution and apply it directly to the stained area, ensuring thorough coverage.
Allow the solution to sit on the stain for under five minutes, as prolonged exposure can damage the bathtub’s surface. After waiting, use a clean sponge or cloth to wipe away the bleach solution. Rinse the area thoroughly with warm water to ensure no bleach residue remains, which can prevent future staining or discoloration. Repeat the process for stubborn stains, but avoid overuse to prevent potential damage to the bathtub material. Always ensure proper ventilation while using bleach to avoid inhaling its fumes.
How to Get Rit Dye out Of Bathtub: Natural Remedies and DIY Solutions
Lemon Juice and Cream of Tartar
Another effective method for tackling Rit dye stains is creating a paste using lemon juice and cream of tartar. To prepare this natural paste, mix two parts cream of tartar with one part lemon juice in a small bowl, stirring until a thick paste forms. The acidity of the lemon juice combined with the mildly abrasive properties of cream of tartar makes this concoction ideal for breaking down and lifting dye stains from the bathtub’s surface.
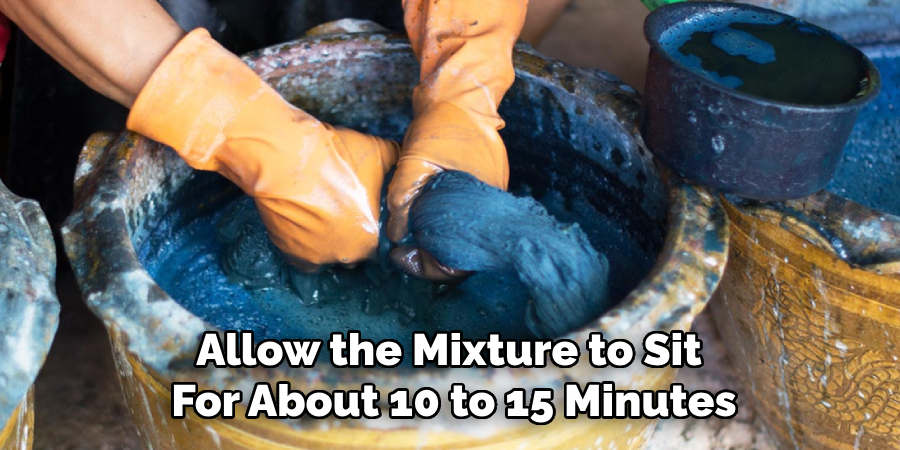
Apply the paste generously over the stained area, ensuring complete coverage of the dye marks. Allow the mixture to sit for about 10 to 15 minutes, giving the natural acidic components time to penetrate and dissolve the dye. After the waiting period, gently scrub the stained area with a non-abrasive sponge or a soft-bristle brush, using circular motions to avoid damaging the surface. Finally, rinse the area thoroughly with warm water to remove any remaining paste, revealing a cleaner surface.
Hydrogen Peroxide and Dish Soap
Hydrogen peroxide mixed with dish soap can also be an effective DIY solution for removing Rit dye stains. To create this solution, combine one hydrogen peroxide with two dish soap in a spray bottle or bowl. Shake or stir the mixture well to thoroughly blend the two components. The hydrogen peroxide serves as a bleaching agent, while the dish soap facilitates the breakdown of the dye.
Spray or apply the mixture directly onto the stained area. Allow it to sit for about 5 to 10 minutes to give the solution time to act on the dye. Using a non-abrasive sponge or soft-bristle brush, gently scrub the stained area in circular motions, ensuring that it does not scratch the surface. Rinse thoroughly with warm water to remove any remaining solution. You may need to repeat the process once or twice for stubborn stains, but be cautious to avoid over-scrubbing or overuse.
Post-Stain Removal Care
Rinsing and Drying
Thoroughly rinsing bathtub surfaces after stain removal is crucial to ensure that no cleaning agents or residue remains. The residue left behind can lead to discoloration or damage over time. Use warm water to rinse the entire area, washing away any remaining cleaning solutions. After rinsing, dry the surface with a clean, soft cloth to prevent water spots and further inspect the area for any lingering stains. If any stains remain, it’s best to address them immediately before they set in further. Proper rinsing and drying help maintain the bathtub’s finish and hygiene.
Applying Protective Sealants
Applying a protective sealant or wax to your bathtub can significantly reduce the risk of future stains. Products like bathtub sealers or automotive wax can create a barrier against dyes, dirt, and other staining agents. After ensuring the bathtub is thoroughly clean and dry, apply the sealant according to the manufacturer’s instructions. Regularly reapplying sealant will enhance the bathtub’s resistance to stains and make future cleanings much more manageable. Routine maintenance, including sealing and prompt cleaning of any new stains, helps keep your bathtub looking pristine and extends its lifespan.
Preventative Measures
Using Protective Measures
Consider using protective measures during dyeing projects to prevent Rit dye from staining your bathtub. Bathtub mats or liners can be a simple yet effective solution, serving as a barrier between the dye and the tub’s surface. Additionally, plastic sheets or garbage bags can cover larger areas, ensuring comprehensive protection. Always ensure that these protective materials are securely in place before beginning your dye project to avoid any potential spills or splashes.
Immediate Cleaning Tips
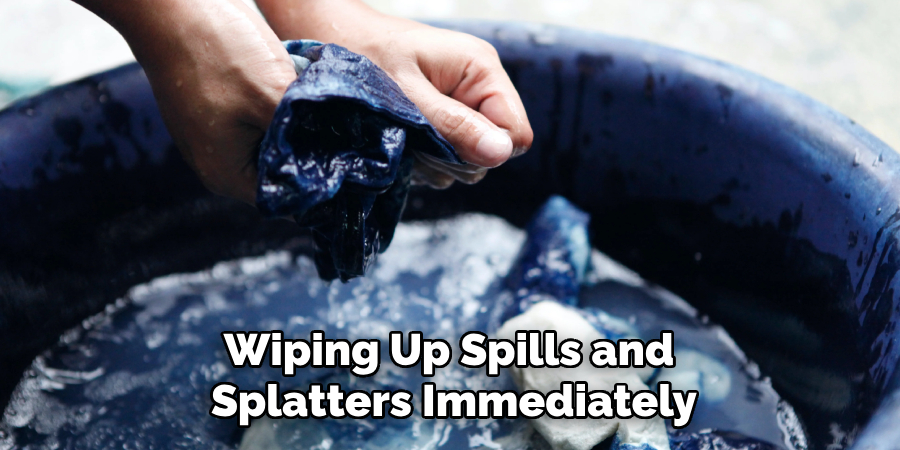
Wiping up spills and splatters immediately is crucial in preventing stains from setting into your bathtub’s surface. Keep a clean cloth or sponge within reach during dyeing projects for quick clean-ups. If you notice any accidental dye spots, promptly dab the area with a moist cloth to lift most of the dye. Following up with a mild cleanser can further help in removing any residue before it has a chance to become a stubborn stain.
Conclusion
In summary, learning how to get Rit dye out of bathtub surfaces involves a series of effective methods and proactive measures. Starting with bleach solutions and natural remedies like lemon juice and cream of tartar and moving to DIY solutions such as hydrogen peroxide and dish soap, you have various options to address stubborn stains. Proper rinsing and drying after cleaning activities are crucial for preventing any lasting damage, and applying protective sealants can provide a robust barrier against future stains.
Incorporating preventative measures, such as using protective mats or liners during dye projects, further aids in maintaining your bathtub’s pristine condition. Immediate cleaning of any accidental spills ensures the dye does not have a chance to set in. Consistently following these recommended techniques will not only remove existing stains but also help preserve the appearance and longevity of your bathtub, keeping it looking as good as new for years to come.