Are you tired of using toilet paper and want to switch to a more hygienic and eco-friendly option? Look no further than a warm water bidet! This simple device can be easily installed onto your existing toilet and provides a gentle stream of warm water for cleansing.
Introducing a warm water bidet to your bathroom setup adds a touch of luxury and enhances cleanliness and comfort. This guide aims to demystify the process of how to get warm water bidet, whether you’re renovating your existing bathroom or simply seeking to upgrade your hygiene routine.
From understanding the different types available to navigating the installation process, we’ll provide you with all the necessary information to make an informed decision and enjoy the soothing benefits of warm water with every use.
What are the Benefits of Using a Warm Water Bidet?
Before we dive into the specifics of how to get a warm water bidet, let’s first discuss why you should consider incorporating one into your bathroom routine. Here are some key benefits of using a warm water bidet:
- Improved Personal Hygiene: The gentle stream of warm water effectively cleanses the private areas and leaves you feeling fresh and clean.
- Eco-friendly: Bidets use significantly less water than toilet paper, making them a more environmentally friendly option.
- Reduced Irritation: Warm water can help soothe sensitive skin and reduce the risk of irritation or discomfort that may be caused by using rough toilet paper.
- Cost-effective: In the long run, investing in a warm water bidet can save you money on toilet paper and wet wipes.
- Convenient: With a warm water bidet, there’s no need to constantly stock up on toilet paper or wet wipes. Simply turn on the device for a thorough cleaning.
What are the Different Types of Warm Water Bidets?
Various types of warm water bidets are available in the market, each with its own features and benefits. Here are the most common types to consider when learning how to get a warm water bidet:

- Electric Bidets: These bidets require a power source, typically an outlet near the toilet. They offer advanced features such as adjustable water temperature and pressure.
- Non-electric Bidets: As the name suggests, these bidets do not require electricity and are powered by the water pressure in your plumbing system. They offer a more basic cleansing experience but are easier to install.
- Bidet Attachments: These are smaller, more compact versions of traditional bidets that attach onto your existing toilet seat. They offer similar features as electric bidets with adjustable temperature and pressure but at a lower cost.
These are just some of the options available, and it’s important to research and consider which type will best suit your needs and budget.
What Will You Need?
Before you start the installation process, here are some essential items you’ll need:
- Warm water bidet of your choice
- Screwdriver and/or wrench for installation
- Flexible water supply hose (included with most bidets)
- Teflon tape for a secure seal
- Optional: GFCI outlet adapter (for electric bidets)
Reading the manufacturer’s instructions before beginning the installation process is always a good idea.
10 Easy Steps on How to Get Warm Water Bidet
Step 1. Turn Off the Water Supply:
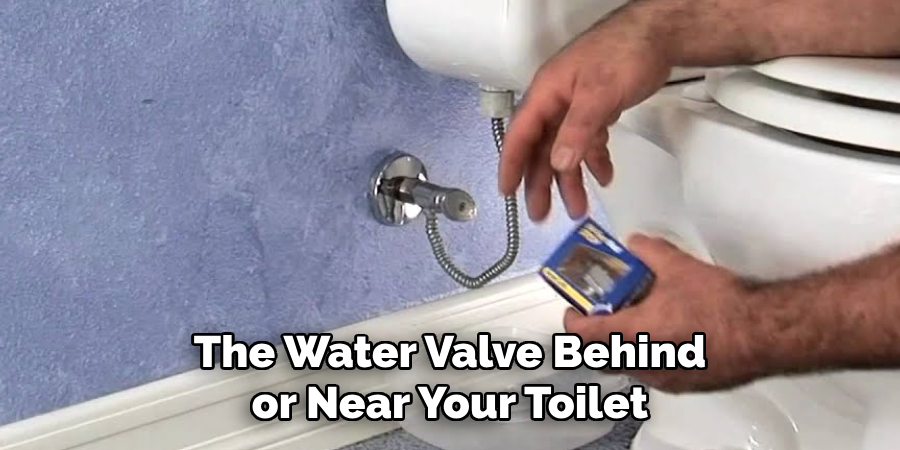
Before attempting any installation process, it’s crucial to ensure your safety and prevent any potential water damage. Locate the water valve behind or near your toilet and twist it clockwise to turn off the water supply. This action will stop water from flowing into your toilet, creating a safe environment for you to install your warm water bidet. Ensure the water is completely off by flushing your toilet until the tank is empty and no more water fills up.
Step 2. Remove Your Toilet Seat:
The next step involves removing your current toilet seat to make room for the bidet attachment. Most toilet seats are attached with two bolts at the back of the toilet. Use a screwdriver or a wrench to loosen these bolts. Once the bolts are removed, gently lift the toilet seat off. Keep the bolts and any other hardware close by, as you will need them to secure the bidet or toilet seat after installation.
Step 3. Attach the Bidet Mounting Plate:
With the toilet seat removed, you will now attach the bidet’s mounting plate to the toilet. This plate acts as a secure base for your warm-water bidet. Align the plate with the holes where your toilet seat was previously attached.
Once it’s in the correct position, re-insert the bolts you removed from the toilet seat through the mounting plate and into the toilet. Tighten the bolts to ensure the plate is securely attached, but be careful not to over-tighten, as this could crack the porcelain.
Step 4. Install the Bidet Attachment:
After securing the mounting plate, it’s time to place the bidet attachment on top. Carefully align the attachment with the mounting plate, ensuring that all holes line up correctly. Once in position, you may need to clip or slide the bidet attachment onto the mounting plate, depending on the specific model of your bidet.
Ensure the attachment is securely fastened to prevent any movement during use. This step is crucial for a stable and functional bidet setup, contributing to an efficient and comfortable hygiene experience.
Step 5. Connect the T-Adapter:
Your next task is to connect the T-Adapter to the toilet’s water supply line. This adapter splits the water flow between the toilet and the bidet, allowing for both to function simultaneously. Locate the water supply valve behind your toilet and unscrew the flexible hose connecting to your toilet tank’s bottom.
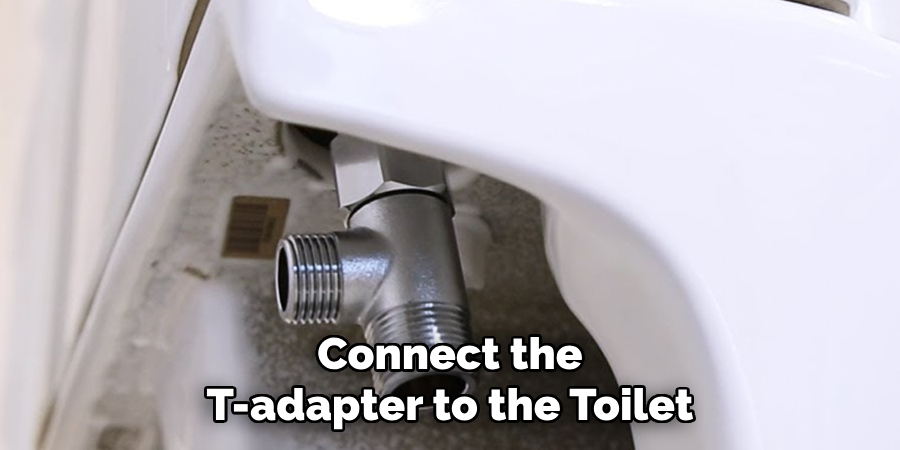
Attach one end of the T-Adapter to the water supply valve and the other end to the hose leading to the toilet tank. Ensure each connection is tight and secure to prevent leaks, using Teflon tape if needed for a more secure seal. This step is pivotal in ensuring that your bidet receives an adequate supply of water for operation.
Step 6. Connect the Bidet’s Water Supply:
Now, take the flexible water supply hose that came with your bidet and connect one end to the remaining outlet on the T-Adapter. The other end should be connected to the bidet’s water inlet. Make sure the connections are tight and secure to prevent any possible leaks.
If your bidet requires an electrical connection for warm water, ensure it’s safely plugged into a GFCI outlet. This step is crucial as it establishes the water flow to your bidet, enabling it to function correctly and provide you with a fresh and clean experience.
Step 7. Test for Leaks:
Once all connections are securely made, testing for leaks is critical before using your bidet. Slowly turn the water supply valve counterclockwise to restore water flow to the toilet and bidet. Observe the connections at the T-Adapter, the toilet tank, and the bidet’s water inlet for any signs of leaking water.
Turn off the water supply again and tighten the connections if you notice any leaks. You may need to apply more Teflon tape to ensure a watertight seal. Testing for leaks is an essential step to ensure the longevity and functionality of your bidet, avoiding water damage and ensuring a hygienic bathroom environment.
Step 8. Reattach the Toilet Seat:
After ensuring no leaks are present, the next step is to reattach your toilet seat over the bidet attachment. Line up the holes on the toilet seat with the bolts sticking out from the bidet’s mounting plate. Once aligned, tighten the nuts onto the bolts, securing the toilet seat in place.
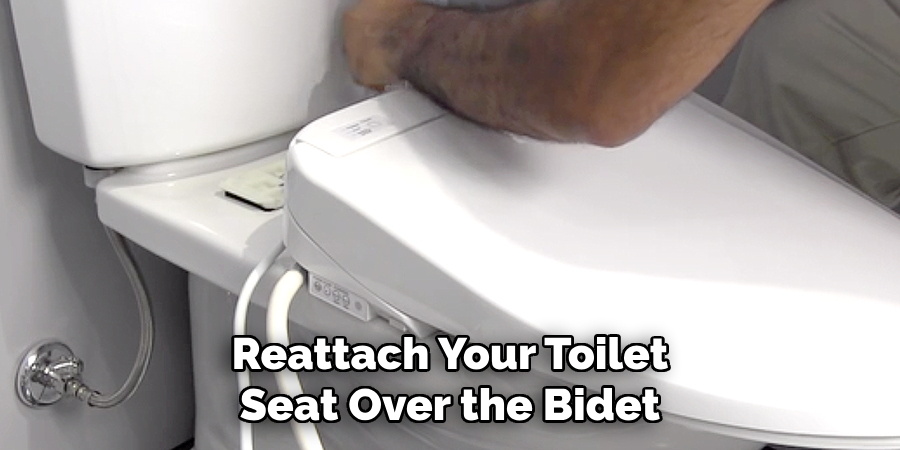
It’s important to ensure that the seat is firmly attached so that it does not move or shift during use, providing stable and comfortable seating for every use. This step merges your bidet’s practicality with your toilet’s everyday functionality, creating a seamless and efficient bathroom fixture.
Step 9. Final Adjustments and Testing:
With the toilet seat securely reattached, it’s time for the final adjustments and testing of your new warm water bidet. Ensure the bidet’s settings, such as water pressure and temperature, are adjusted according to your preferences. Start a gentle wash by sitting on the toilet and using the bidet’s control panel or remote.
Experiment with different settings to find what feels most comfortable and efficient for your needs. This testing phase allows you to familiarize yourself with the bidet’s features and ensures everything is working correctly. After confirming the bidet functions as desired, you can enjoy the enhanced cleanliness and comfort it provides with each use.
Step 10. Maintenance and Cleaning:
Regular maintenance and cleaning of your warm water bidet are essential for ensuring its longevity and optimal functionality. Use a soft, damp cloth and a mild detergent to clean the bidet. Avoid using harsh chemicals or abrasive cleaners that could damage the bidet’s surface or internal components.
Additionally, periodically check the connections for leaks and the filters (if your model has them) for any debris that may have accumulated. For electric bidet models, ensure the electrical components are kept dry and dust-free. Following these maintenance guidelines will help keep your bidet in top condition, providing you with a hygienic and refreshing experience for years to come.
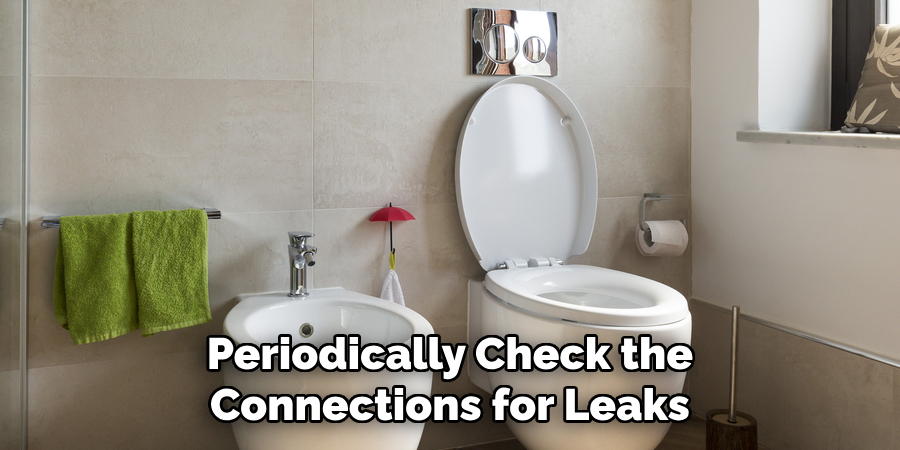
By following these steps, you can easily install and set up your warm water bidet attachment in your bathroom.
5 Additional Tips and Tricks
- Insulated Tubing: Consider using insulated tubing to connect your bidet to the warm water supply. This helps maintain the water temperature as it travels from the source to the bidet, reducing heat loss during colder seasons.
- Adjustable Temperature Control: Look for a bidet model with adjustable temperature control. This allows you to customize the water temperature to your preference, ensuring a comfortable experience every time.
- In-line Heater: Invest in a bidet with an in-line heater. This type of heater warms the water as it flows through the bidet, providing instant access to warm water without the need to connect to an external hot water supply.
- Thermostatic Mixing Valve: Installing a thermostatic mixing valve can help achieve the perfect water temperature. It mixes hot and cold water to your pre-set preference, ensuring consistent warmth with each use.
- Scheduled Heating: Some advanced bidet models have a feature allowing you to schedule when the water heats up. Setting it to warm the water in alignment with your daily routine can ensure warm water is available exactly when you need it, saving energy and time.
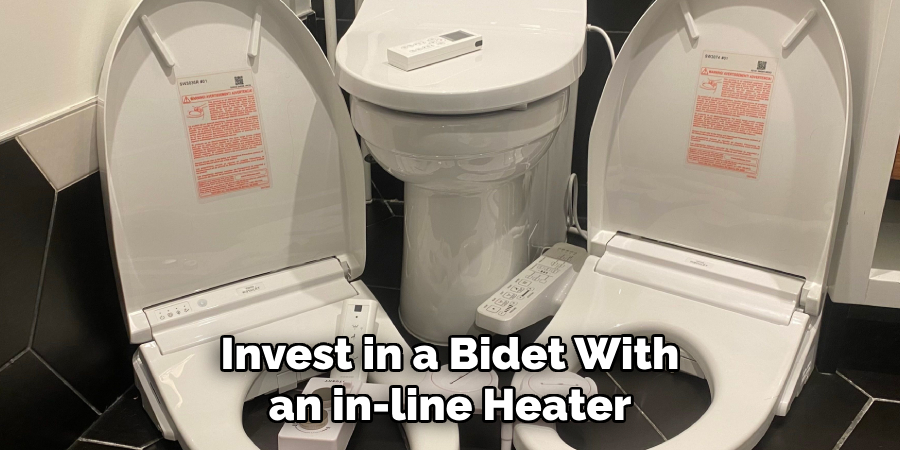
With these additional tips and tricks, you can enhance your warm water bidet experience and make it even more convenient and comfortable.
5 Things You Should Avoid
- Ignoring Compatibility: Before attempting any modifications or installations to incorporate warm water into your bidet, ensure that your bidet model is compatible with warm water use. Overlooking this can damage the bidet or cause an unsatisfactory experience.
- DIY Complex Installations Without Expertise: Unless you have significant plumbing experience, avoid attempting complex installations like adding an in-line heater or a thermostatic mixing valve on your own. If done incorrectly, such installations can lead to leaks or damage.
- Using Water That’s Too Hot: Setting the water temperature too high can lead to discomfort or even burns. Always use a moderate temperature that’s comfortable for sensitive skin, ensuring a pleasant and safe use of your bidet.
- Overlooking Maintenance: Warm water bidets, especially those with additional features like in-line heaters, require regular maintenance to prevent malfunctions. Neglecting this can result in a less efficient or non-functional bidet.
- Forgetting Energy Efficiency: While opting for a bidet with a scheduled heating feature or an in-line heater, ensure they are energy efficient. Using models that consume a lot of power without considering energy efficiency can lead to unexpected increases in your utility bills.
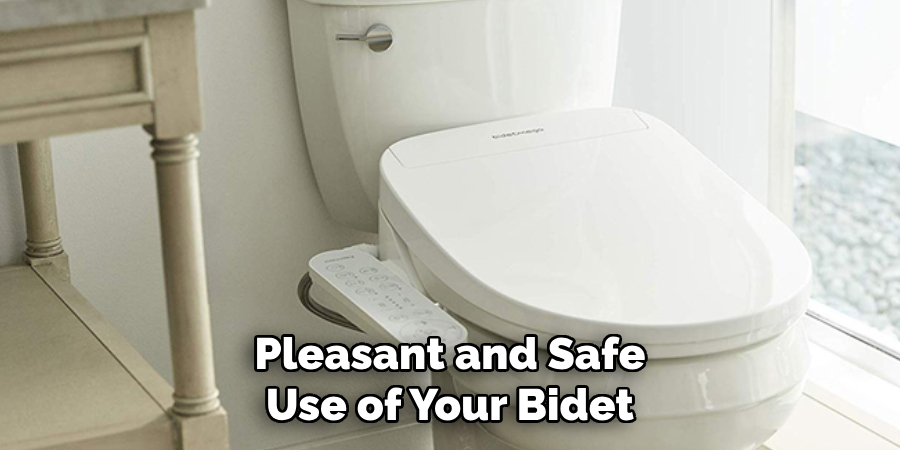
By steering clear of these common pitfalls, you can enjoy all the benefits of a warm water bidet without any of the potential drawbacks.
How Does a Non-Electric Bidet Get Warm Water?
Non-electric bidets use a variety of methods to heat up the water, depending on the model and type. Some common ways non-electric bidets get warm water are:
- Connecting to Hot Water Supply: Some non-electric bidet models can be connected to an existing hot water supply, providing access to warm or hot water when in use.
- In-line Heater: Similar to electric bidets, some non-electric models also feature in-line heaters that warm up the water as it flows through the bidet.
- Water Reservoirs: Non-electric bidets with water reservoirs use stored warm water for each use. The reservoir can be filled manually or connected to a hot water supply for continuous warmth.
- Thermostatic Mixing Valves: Non-electric bidets with thermostatic mixing valves can mix hot and cold water to achieve the desired temperature.
- Solar Heating: Some advanced non-electric bidet models use solar panels to heat the water, making them more eco-friendly.
Overall, non-electric bidets have various methods of achieving warm water, providing users with a comfortable and customizable experience.
Are Bidet Attachments Cold Water?
Bidet attachments can vary in terms of temperature, with some models offering cold water only and others offering both cold and warm water options. It’s important to check the specifications of a bidet attachment before purchasing to ensure it aligns with your preferences. Additionally, some bidet attachments can be connected to an external hot water supply for warm water use.
It’s essential to research and compare different bidet attachment options to find one that suits your needs and preferences. So, you can enjoy the benefits of a bidet while also having access to warm water for added comfort and hygiene.
How Can You Make Your Bidet Water Stronger?
If you feel that the water pressure of your bidet is not strong enough, there are a few things you can do to make it stronger:
- Check the Water Pressure: First and foremost, check the water pressure in your home. If it’s too low, this can affect the strength of the water from your bidet. Consider adjusting or fixing any issues with the water pressure in your home.
- Clean the Nozzles: Over time, mineral build-up or debris can clog the nozzles of your bidet, reducing water flow. Regularly clean the nozzles to prevent this issue and maintain strong water pressure.
- Adjust the Nozzle Position: Some bidet models allow you to adjust the position of the nozzle, which can affect the strength of the water flow. Experiment with different positions to find one that works best for you.
- Invest in a High-Pressure Bidet Attachment: If all else fails, consider investing in a high-pressure bidet attachment that is specifically designed to provide a stronger water flow.
Following these tips can make your bidet water stronger and more effective for a better cleansing experience. Remember to always refer to the user manual for specific instructions on adjusting the water pressure or nozzle position for your particular bidet model.
Conclusion
In conclusion, how to get warm water bidet enhances the overall experience, offering additional comfort and hygiene.
Whether you opt for an electric or non-electric bidet, understanding the various methods available to achieve warm water — from connecting to an existing hot water supply to relying on in-line heaters or thermostatic mixing valves — is imperative.
It’s equally crucial to avoid common pitfalls, such as ignoring compatibility, undertaking complex installations without proper knowledge, using overly hot water, neglecting maintenance, and forgetting about energy efficiency.
By adhering to these guidelines and solutions, you can ensure a comfortable, hygienic, and energy-efficient warm water bidet experience in your home.

