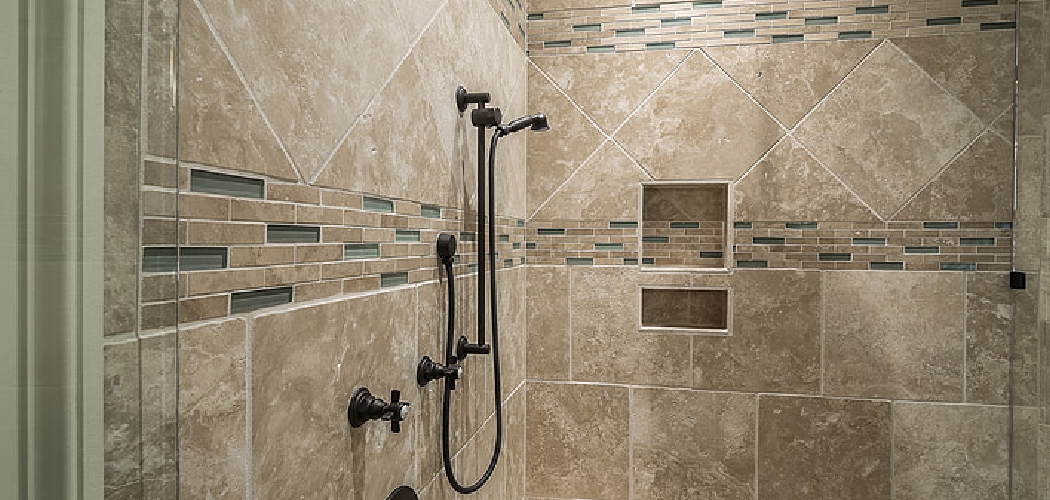
Grouting bathroom tiles is an essential step in achieving a polished, durable, and waterproof finish for your tiled surfaces. When done correctly, it not only enhances the overall appearance but also helps protect the tiles and underlying surfaces from moisture and wear. This guide explores the key aspects of how to grout bathroom tiles properly. Whether you’re renovating an existing bathroom or working on a new installation,
understanding the proper techniques for grouting will ensure long-lasting results and maintain the structural integrity of your space.
Importance of Proper Grouting for Bathroom Tiles
Proper grouting is vital for both the aesthetic and functional aspects of your bathroom tiles. It creates a seamless and finished look, filling the gaps between tiles to enhance their overall appearance. More importantly, grouting acts as a protective barrier that prevents water from seeping beneath the tiles, which can lead to mold, mildew, and damage to the underlying structure. Well-applied grout ensures stability, helping to keep the tiles securely in place over time.
Neglecting proper grouting or using incorrect techniques can result in uneven tiles, cracked grout lines, and eventually costly repairs. By prioritizing proper grouting, you can ensure the longevity, hygiene, and visual appeal of your bathroom.
Key Benefits of Grouting
Grouting offers numerous benefits that go beyond simply filling the gaps between tiles. Firstly, it provides a sturdy and supportive bond that keeps the tiles securely in place, preventing them from shifting or becoming loose over time. Secondly, grout acts as a protective barrier against moisture, reducing the risk of water damage, mold, and mildew in areas like bathrooms where exposure to water is frequent.
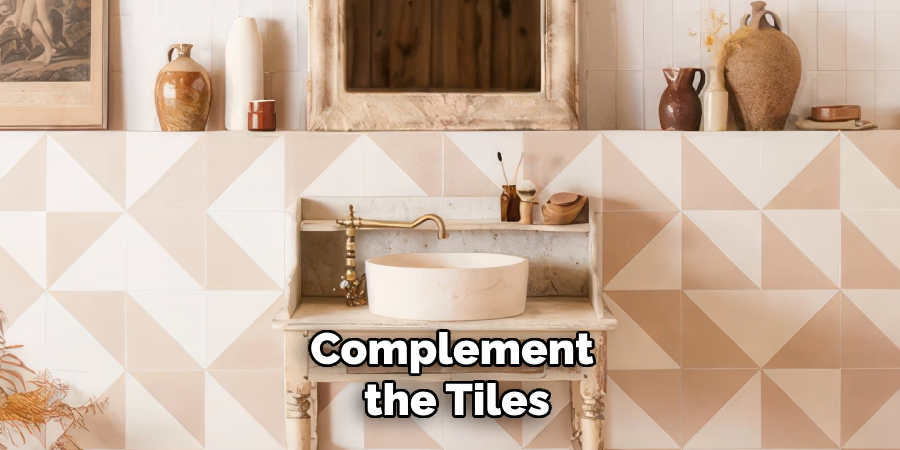
Additionally, grouting enhances the visual appeal of tiled surfaces by giving a clean, seamless, and professional finish that complements the design of your bathroom. By choosing the right type of grout and applying it properly, you can significantly extend the lifespan and functionality of your tiled spaces.
10 Methods How to Grout Bathroom Tiles Properly
1. Choose the Right Grout for Your Tiles
Selecting the appropriate grout is the foundation of a successful project. Grouts come in sanded and unsanded varieties, with sanded grout being ideal for wider joints (more than 1/8 inch) due to its durability, and unsanded grout better suited for narrow joints or delicate tiles like glass. Additionally, consider epoxy grout for areas prone to moisture, such as shower walls, as it offers superior water resistance and longevity.
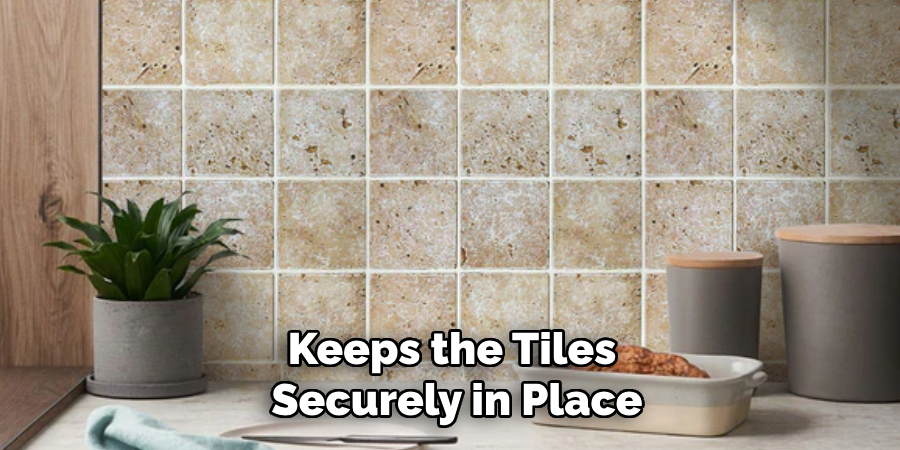
The color of the grout should also complement the tiles for a cohesive finish.
2. Prepare the Tile Surface
Before applying grout, ensure the tile surface is clean and free from debris. Any dust, adhesive residue, or dirt can prevent the grout from adhering properly. Use a damp cloth or sponge to wipe the surface and allow it to dry completely. Cleaning also ensures the grout doesn’t absorb contaminants, which could lead to discoloration over time.
3. Gather the Necessary Tools and Materials
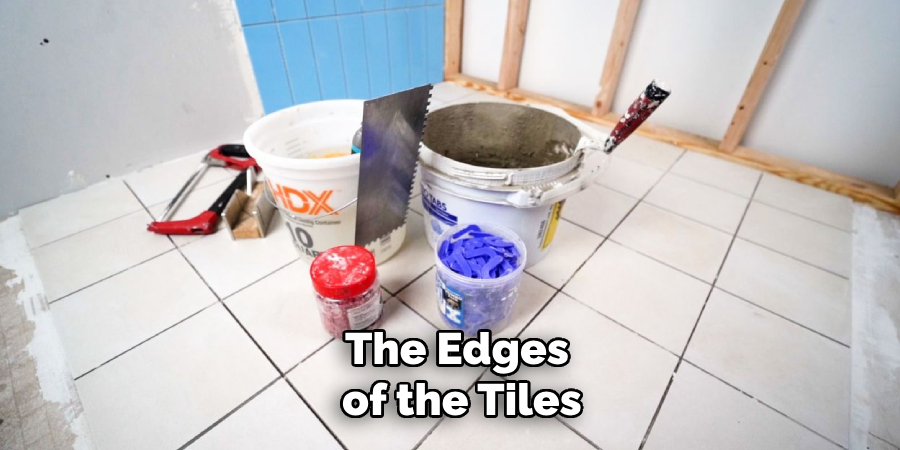
Having the right tools and materials on hand makes the process more efficient. Essential items include a rubber grout float, grout sponge, bucket, mixing paddle, and a grout sealer. For mixing, a drill with a paddle attachment ensures uniformity in the grout’s consistency. Lay down a tarp or drop cloth to protect adjacent surfaces and ease cleanup.
4. Mix the Grout to the Correct Consistency
Follow the manufacturer’s instructions when mixing the grout, as achieving the correct consistency is key to proper application. The grout should have a smooth, peanut-butter-like texture—neither too runny nor too thick. Use a mixing paddle to combine the grout powder and water (or additive, if required) thoroughly, ensuring there are no lumps. Allow the mixture to rest for the recommended slaking time before remixing briefly.
5. Apply Grout with a Rubber Float
Use a rubber grout float to apply grout to the joints. Hold the float at a 45-degree angle and spread the grout diagonally across the tile surface, pressing it firmly into the gaps. Work in small sections to ensure the grout doesn’t dry before you can clean the excess. The diagonal motion helps fill the joints completely while minimizing the risk of the float dislodging grout from filled gaps.
6. Remove Excess Grout Immediately
After filling the joints, use the edge of the grout float to scrape off excess grout from the tile surface. Hold the float at a nearly vertical angle and pull it diagonally across the tiles. Removing excess grout promptly reduces the amount of cleanup required later and prevents the grout from hardening on the tiles, which can be difficult to remove.
7. Wipe the Tiles with a Damp Sponge
Once the grout begins to set but is not fully hardened (usually after 10–15 minutes), use a damp sponge to clean the tile surface. Wipe in a circular motion to remove grout haze without pulling grout out of the joints. Rinse the sponge frequently to ensure it remains clean, and wring out excess water to avoid saturating the grout, which can weaken its bond or cause discoloration.
8. Smooth the Grout Lines
To achieve a professional finish, smooth the grout lines after the initial cleanup. Run your finger, a rounded tool, or a specialized grout finisher along the joints to create a uniform and slightly concave surface. This step not only improves the appearance but also ensures the grout is properly compacted and adheres well to the edges of the tiles.
9. Clean the Grout Haze After Drying
Even with careful sponging, a haze of grout may remain on the tile surface. Allow the grout to set completely, typically 24 hours, then use a grout haze remover or a damp cloth to buff the tiles. For stubborn residue, a mixture of white vinegar and water can be effective. Avoid using abrasive cleaners or tools, as they can scratch the tiles or damage the grout.
10. Seal the Grout to Protect It
Grout is porous and can absorb water, stains, and dirt unless sealed. Apply a grout sealer using a small brush, applicator bottle, or spray, depending on the product instructions. Focus on coating the grout lines evenly without spilling onto the tiles. Allow the sealer to dry, then apply a second coat if needed. Sealing not only extends the life of the grout but also enhances its resistance to mold and mildew in moisture-prone bathroom environments.
Maintenance and Upkeep
Proper maintenance and regular upkeep of your bathroom grout are essential to ensure its longevity and appearance. Start with routine cleaning by using a mild, pH-balanced cleaner and a soft brush or sponge to prevent dirt and grime from building up in the grout lines. Refrain from using harsh chemicals or abrasive tools that could erode the grout or damage the tiles.
Inspect the grout periodically for signs of wear, cracks, or gaps. Address any issues promptly by reapplying grout or using a specialized grout repair kit to prevent moisture infiltration and potential water damage. Additionally, reseal the grout every 12 to 18 months to maintain its protective barrier, particularly in high-moisture areas like showers and bathtubs. By incorporating these simple steps into your cleaning routine, you can keep your grout looking fresh and functional for years to come.
Alternative Methods and Tips
For those seeking alternative methods or useful tips for working with grout, there are several ways to streamline the process or achieve specific results. If a traditional grout application seems challenging, consider using pre-mixed grout. These products eliminate the need for mixing, ensuring consistent texture and saving time, especially for smaller projects. Additionally, utilizing grout bags—similar to piping bags used in baking—can provide more precision during application, particularly for intricate tile patterns or delicate surfaces.
When working with colored grout, test a small, inconspicuous area to ensure the hue complements the tiles as expected. This step is important as grout color may appear slightly different once it dries. For a more uniform appearance, consider mixing powdered grout with distilled water to prevent minerals in tap water from affecting the color.
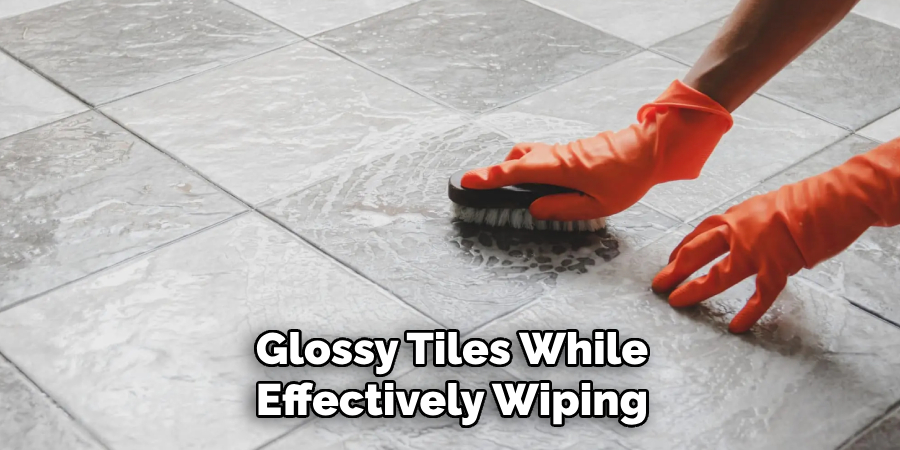
To avoid common mishaps, always work in manageable sections and pay attention to the setting time of the grout. Overworking an area where the grout has begun to cure can damage the finish and make cleanup harder. Using microfiber cloths during the final buffing stage can enhance the shine of glossy tiles while effectively wiping away any lingering haze.
Lastly, for homeowners looking to maintain better long-term results, applying grout enhancer products can deepen the color or add a waterproofing layer, combining beauty and function. With these alternative methods and tips, you can tailor the grout application process to meet your specific project needs and achieve a flawless finish.
Conclusion
Grouting bathroom tiles properly is an essential skill that can transform a tiled surface into a durable, attractive feature. By carefully selecting materials, preparing the surface, and following the correct application techniques, you can ensure a long-lasting and professional result. So, there you have it – a quick and easy guide on how to grout bathroom tiles properly.

