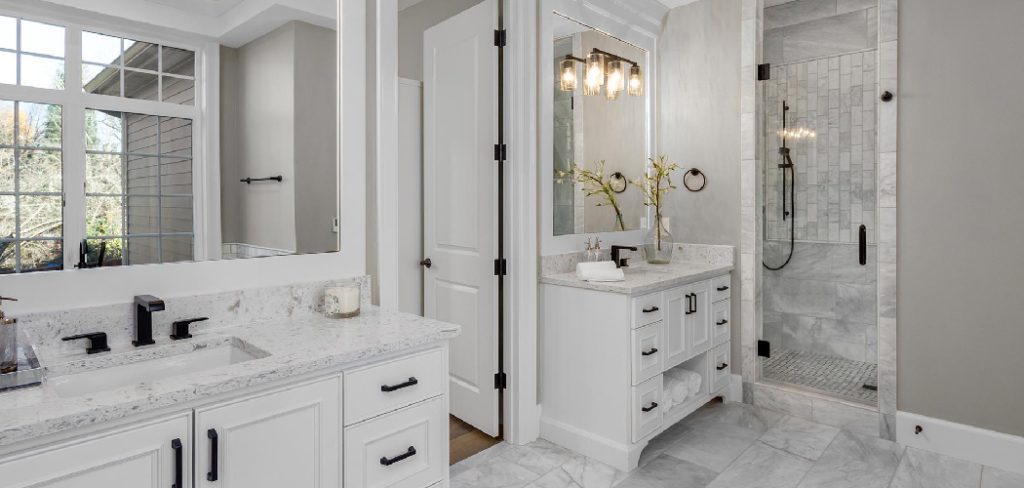
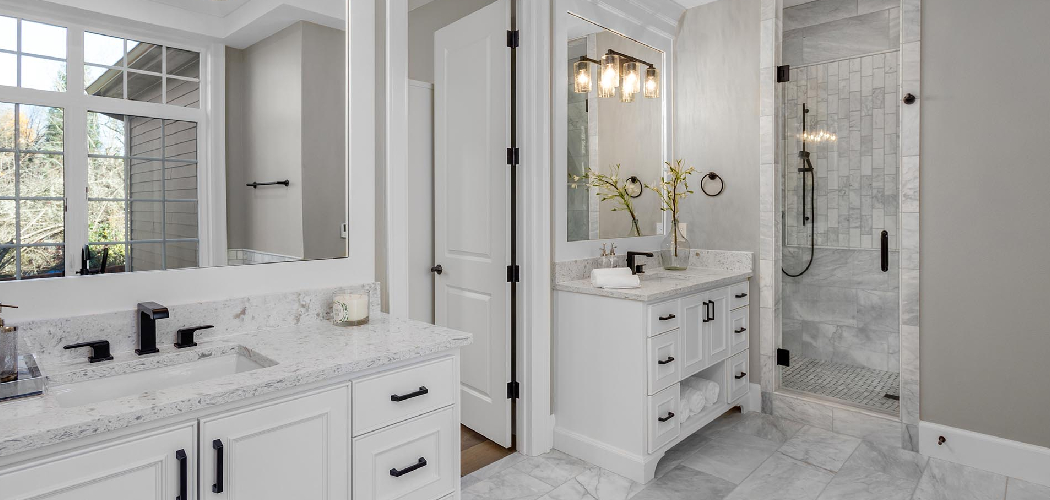
Hanging a bathroom cabinet is an excellent way to add valuable storage space while enhancing the room’s overall functionality and aesthetic appeal. Bathroom cabinets serve a dual purpose, offering a convenient place to store toiletries and essentials while keeping countertops uncluttered and organized. Common reasons for installing a bathroom cabinet include improving storage efficiency, maximizing limited space, and elevating the style of your bathroom.

Whether you’re dealing with a wall-mounted unit or a mirrored design, this guide provides a complete step-by-step approach on how to hang a bathroom cabinet. By following these instructions, even novice DIY enthusiasts can create a polished, functional feature that transforms their bathroom into a more practical and visually appealing space.
Tools and Materials You’ll Need on How to Hang a Bathroom Cabinet
Essential Tools
- Drill and drill bits – For creating holes and securing the cabinet.
- Stud finder – To locate studs behind your wall for a secure installation.
- Level – Ensures the cabinet is properly aligned.
- Tape measure – For accurate measurements that ensure the cabinet fits perfectly.
- Screwdriver – Useful for tightening screws or making minor adjustments.
- Pencil – To mark the positions for drilling or installation points.
Materials
- Wall anchors or screws – Choose depending on your wall type (e.g., drywall, plaster, tile).
- Brackets or mounting hardware – Often included with the cabinet, these are essential to secure the unit.
- Toggle bolts – Use if no studs are available for proper support.
- Safety gear – Protect yourself with gloves and goggles during drilling and installation.
Optional Items
- Wood shims – Ideal for leveling the cabinet on uneven surfaces.
- Caulk – For sealing edges to ensure a polished, finished look and prevent moisture buildup.
Having all of these tools and materials ready before starting will make the installation process smoother and more efficient.
Planning and Measuring
Choosing the Location
Before installing the cabinet, carefully choose its location to ensure functionality and aesthetics. The recommended height for mounting a cabinet typically falls between 54-60 inches from the floor to the base of the cabinet. This height provides convenient access for most users. Additionally, consider the proximity to adjacent features such as sinks, mirrors, and any existing plumbing or electrical fixtures. Proper placement ensures the cabinet will integrate seamlessly with the surrounding layout while avoiding interference with other elements.
Marking the Wall
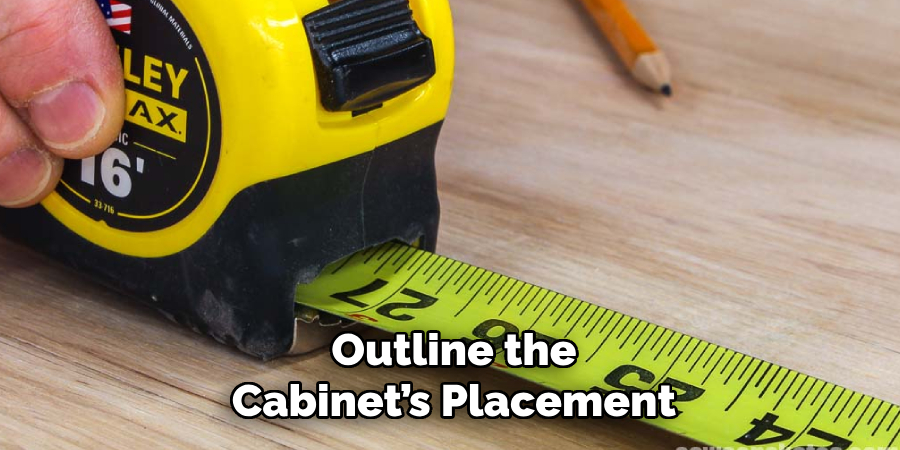
Accurate measurements and marks are essential for a successful installation. Begin by using a tape measure to outline the cabinet’s placement on the wall. Pay close attention to the cabinet’s dimensions and the desired height, and mark these reference points with a pencil. To secure the cabinet firmly, identify mounting points by referencing the cabinet’s brackets or screw holes.

Make these markings precise and clear. Finally, use a level to ensure all markings are straight and aligned. This attention to detail will help prevent issues during installation and guarantee a polished final result, leaving your cabinet level and securely mounted.
Finding Wall Studs and Prepping the Wall
Using a Stud Finder
To ensure a secure mounting, start by locating the wall studs using a stud finder. Slowly move the stud finder along the wall until it indicates the presence of a stud. Once you’ve found it, mark the position clearly with a pencil or tape. Repeat the process to determine the stud’s width and location to ensure accurate placement of the cabinet.
No Stud? No Problem
If no studs are available at the desired mounting location, opt for heavy-duty wall anchors or toggle bolts. These tools are designed to provide strong support, even in drywall or hollow walls. Be sure to select anchors or toggle bolts rated to handle the cabinet’s weight and any additional load.
Pre-drilling Holes
Pre-drill holes at the marked stud or anchor points where the mounting screws will go. This reduces the risk of cracking or splitting the wall material and ensures easier screw placement during installation. Use a drill bit size appropriate for the screws or anchors being used. Proper preparation not only enhances the safety of your installation but also makes the process more efficient and straightforward.

Installing Mounting Hardware
Wall Brackets (if included)
Start by attaching the wall brackets to the wall. Ensure they are properly aligned with the marked stud or anchor positions for maximum stability. Use a level to check that the brackets are perfectly horizontal before securing them. Tighten the brackets firmly, ensuring there is no wiggle or looseness, as this will form the foundation for a secure cabinet installation.
Direct Mounting (No Brackets)
If the cabinet is to be directly mounted without brackets, carefully lift the cabinet into position, ensuring it aligns with the pre-drilled pilot holes. Secure the screws through the back panel of the cabinet directly into the studs or anchors. Be precise with screw placement to ensure a tight fit and maximum support. Direct mounting requires particular attention to stability throughout the process.
Ensuring Levelness
Maintaining levelness throughout the installation is crucial for both functionality and aesthetics. Regularly check the cabinet’s alignment with a level during mounting. If the wall or flooring is uneven, use shims to make adjustments. Position the shims between the wall and the cabinet back at appropriate spots to offset irregularities.

Once the cabinet is secured, ensure it remains level and stable by double-checking all attachment points and making any necessary adjustments before completing the installation process.
Hanging the Cabinet
Assistance Required
Having an extra set of hands can make all the difference during the cabinet installation process. A second person can help lift the cabinet into place, hold it steady, and ensure that it aligns properly with the mounting points. This assistance is crucial to prevent accidents or misalignments while securing the cabinet.
Securing the Cabinet
Start by carefully aligning the cabinet with the pre-measured mounting holes or brackets on the wall. Ensure the alignment is accurate, as this will ensure the cabinet is level and stable. Once aligned, use a power drill to drive screws through the mounting holes and into the wall studs or anchors for maximum stability. It is essential to double-check the level alignment of the cabinet before fully tightening the screws. Making adjustments at this stage will save time and effort later in the process.
Final Adjustments
Once the cabinet is mounted securely to the wall, inspect all the hinges and doors carefully. If any doors are uneven or misaligned, fine-tune the hinges using the adjustment screws to ensure smooth operation and a professional finish. After the doors are properly adjusted, install any shelves or additional features inside the cabinet according to the manufacturer’s instructions. Take a final moment to ensure everything is level, secure, and functioning as intended before stepping back to admire your perfectly installed cabinet.
Sealing and Finishing Touches
Sealing the Edges
To ensure a polished and durable finish, use silicone caulk along the edges where the cabinet meets the walls or tile. This will create a clean, water-resistant seal that prevents moisture from seeping behind the cabinet, which can lead to damage over time. Apply the caulk in a steady, even line and smooth it with a caulking tool or your finger for a seamless appearance. Allow it to dry thoroughly for the best results.

Touching Up
If any minor wall damage occurred during the installation process, take the time to patch up any holes or scratches with spackle or filler. Once dry, sand it smooth and repaint the area to match the surrounding wall color. This extra attention will leave your kitchen or bathroom looking fresh and professionally finished.
Organizing the Inside
For a truly functional cabinet, consider adding shelf liners or organizers to keep items tidy and protected. Measure and cut liners to fit perfectly on each shelf, ensuring they lie flat for a sleek look. Organizers such as bins, racks, or adjustable dividers can help optimize the space and make it easy to store everything efficiently. Before loading heavier items, double-check that the shelves are properly positioned and secured to prevent bending or shifting when handling the weight.
Adding Decorative Touches
Once you have the functionality of your cabinet sorted, it’s time to add some decorative touches. This not only elevates the look of your cabinet but also adds a personal touch to make it unique.
One simple way to decorate your cabinet is by using contact paper or wallpaper on the back panel. This adds color and texture without being too overwhelming. You can also use paint or wood stain to customize the color of your shelves and give them a more cohesive look.
Conclusion
Learning how to hang a bathroom cabinet is a straightforward yet highly rewarding DIY project. Start by carefully measuring your space and locating the wall studs to ensure a secure installation. Prepare the wall by marking anchor points and having all necessary tools ready. Mount the hardware efficiently, double-checking alignment, and securely fasten the cabinet to the wall.
Always prioritize safety by using appropriate anchors and tools to prevent accidents during and after installation. By following these steps, you’ll create a functional and stylish addition to your bathroom that enhances both organization and aesthetics.

