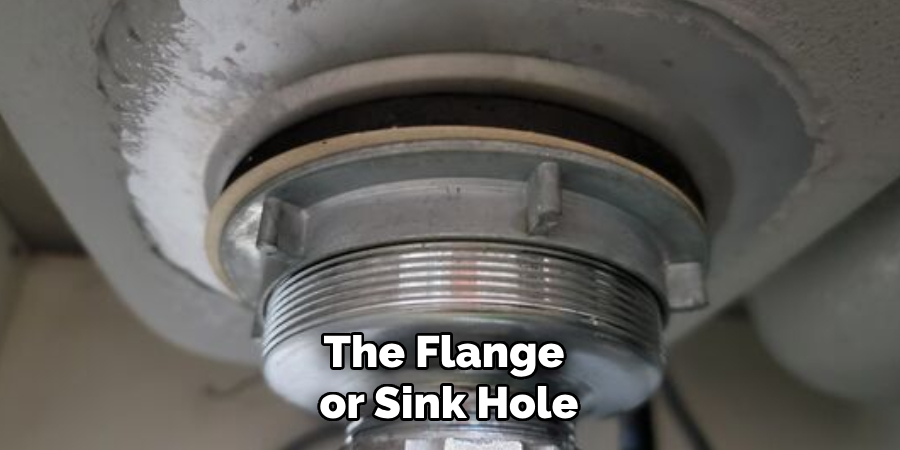
Installing a bathroom sink pop-up drain can seem like a daunting task, but with the right tools and a bit of guidance, it’s a straightforward process that anyone can handle. Whether you’re upgrading your bathroom fixtures or replacing an old, faulty drain, this guide will walk you through how to install a bathroom sink pop-up drain. By following these instructions, you can enhance the functionality and appearance of your sink in no time.
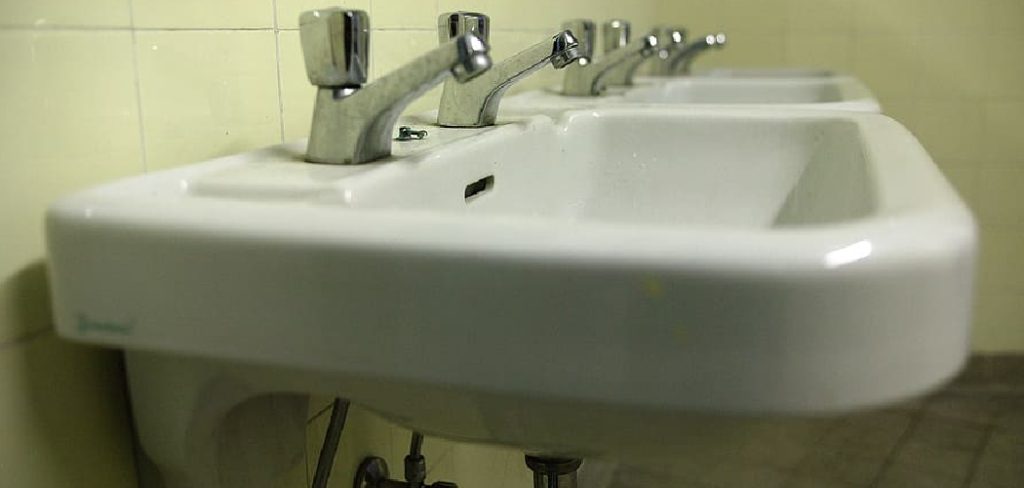
What is a Bathroom Sink Pop-up Drain?
A bathroom sink pop-up drain is a type of drain system designed to provide a seamless way to seal and release water within the sink basin. It consists of a drain stopper that can be opened or closed by using a lever or push mechanism. The pop-up drain is commonly operated via a lift rod located behind the faucet or by simply pressing the stopper itself. This design not only helps control water flow but also prevents debris from entering the plumbing system. Beyond functionality, pop-up drains contribute to a modern and polished look for bathroom sinks, making them a popular choice in many households.
Tools and Materials Needed
Before starting the installation of a bathroom sink pop-up drain, gather the following tools and materials to ensure a smooth process:
- Pop-up drain assembly (typically included with your faucet or purchased separately)
- Adjustable wrench or channel-lock pliers
- Plumber’s putty or silicone sealant
- Bucket or towel (to catch excess water or debris)
- Pipe wrench (optional, for stubborn connections)
- Screwdriver (if required for your specific assembly)
- Clean cloth or sponge (to wipe away excess putty or sealant)
Having these items ready will make the installation quicker and help avoid unnecessary interruptions.
10 Methods How to Install a Bathroom Sink Pop-up Drain
1. Gather the Necessary Tools and Materials
Preparation is key to any successful project. Begin by assembling all required tools and materials. You’ll need an adjustable wrench, plumber’s putty, Teflon tape, a bucket, and a clean rag. Additionally, ensure that you have the pop-up drain assembly kit, which typically includes the drain body, stopper, pivot rod, and clevis strap. Having everything ready before starting prevents unnecessary delays.
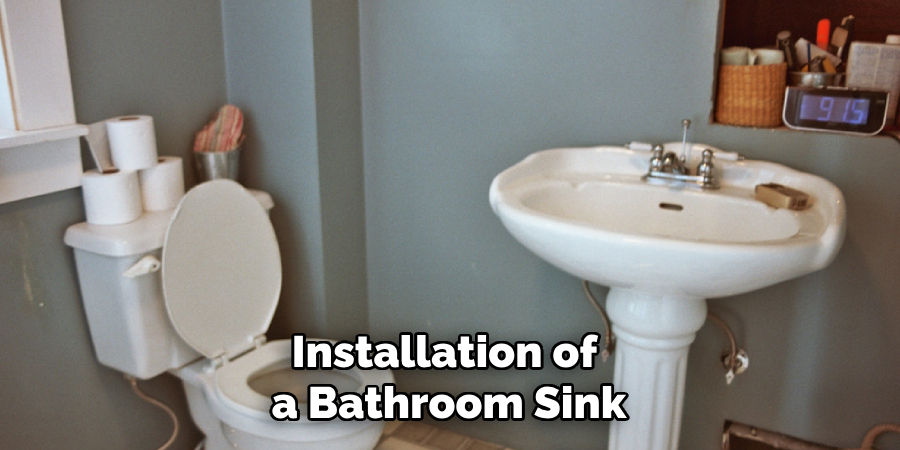
2. Remove the Old Drain Assembly
If replacing an existing drain, start by removing the old assembly. Place a bucket beneath the sink to catch any water residue. Use the adjustable wrench to loosen and remove the P-trap. Unscrew the mounting nut holding the drain body in place. Carefully pull out the old drain and clean the sink hole with a rag to remove debris and old plumber’s putty.
3. Apply Plumber’s Putty
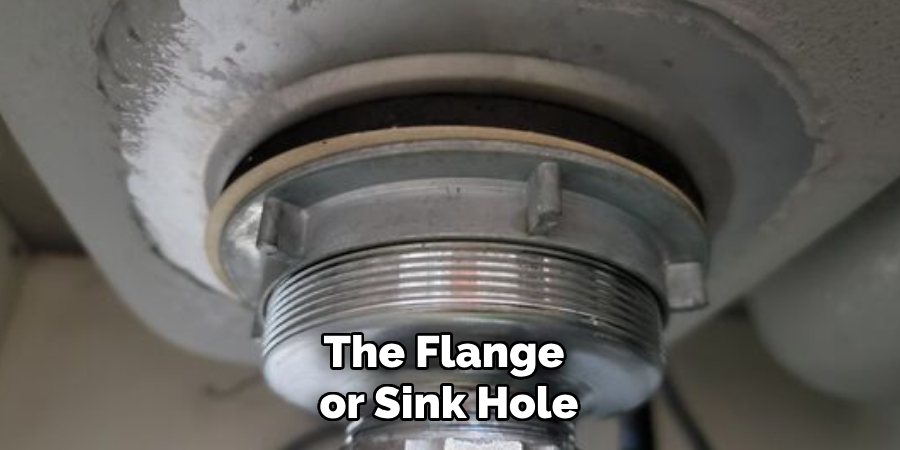
Plumber’s putty creates a watertight seal between the drain flange and the sink. Roll a small amount of putty into a thin rope and place it around the underside of the flange. Position the flange into the sink drain hole and press it firmly to ensure a secure fit. Excess putty will squeeze out, which can be wiped away later.
4. Insert the Drain Body
From underneath the sink, insert the drain body through the flange. Align the threading of the drain body with the flange and screw it in place. Ensure it is hand-tightened to prevent cross-threading. Check that the drain body is centered within the sink hole before proceeding.
5. Secure the Rubber Gasket and Mounting Nut
Slide the rubber gasket and mounting nut onto the drain body from beneath the sink. The rubber gasket provides a seal to prevent leaks, while the mounting nut holds the assembly securely in place. Tighten the nut using an adjustable wrench, but avoid overtightening, as this can damage the sink or components.
6. Attach the Pivot Rod Assembly
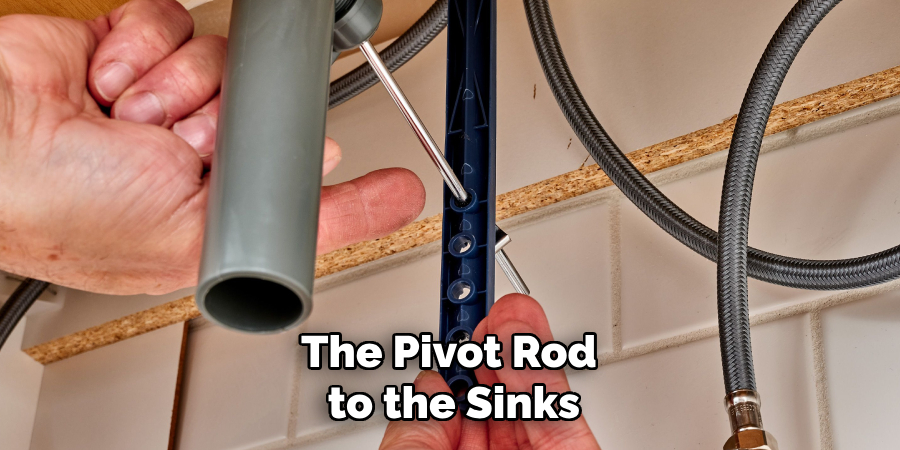
The pivot rod is a critical component that controls the stopper’s movement. Locate the opening on the drain body designed for the pivot rod. Insert the rod into the opening and attach it to the stopper mechanism inside the drain. Secure it with the retaining clip provided in the kit. Ensure the rod moves freely to test its functionality.
7. Install the Clevis Strap
The clevis strap connects the pivot rod to the sink’s lift rod, allowing you to control the stopper from above. Slide the clevis strap over the pivot rod and adjust its position to align with the lift rod. Secure the clevis strap using the screws provided. Attach the lift rod to the strap and test the movement to ensure the stopper opens and closes smoothly.
8. Reconnect the P-trap
Once the drain assembly is securely installed, reconnect the P-trap. Align the P-trap with the drain tailpiece and tighten the slip nuts by hand. Use an adjustable wrench to give them an additional quarter-turn for a snug fit. The P-trap prevents sewer gases from escaping and plays a crucial role in the plumbing system.
9. Test for Leaks
Before concluding the installation, test the assembly for leaks. Run water into the sink and observe the connections beneath. Check around the flange, drain body, and P-trap for any signs of water leakage. Tighten any loose connections as needed. If leaks persist, disassemble and reapply plumber’s putty or Teflon tape to the affected areas.
10. Clean Up and Final Adjustments
After confirming there are no leaks, clean up the workspace. Remove any excess plumber’s putty from around the drain flange using a plastic scraper or your fingernail. Wipe the sink and surrounding area with a clean rag. Make any final adjustments to the stopper mechanism to ensure it operates smoothly and efficiently.
Things to Consider When Installing a Bathroom Sink Pop-up Drain
When installing a bathroom sink pop-up drain, it’s important to keep a few key considerations in mind to ensure a smooth and efficient process:
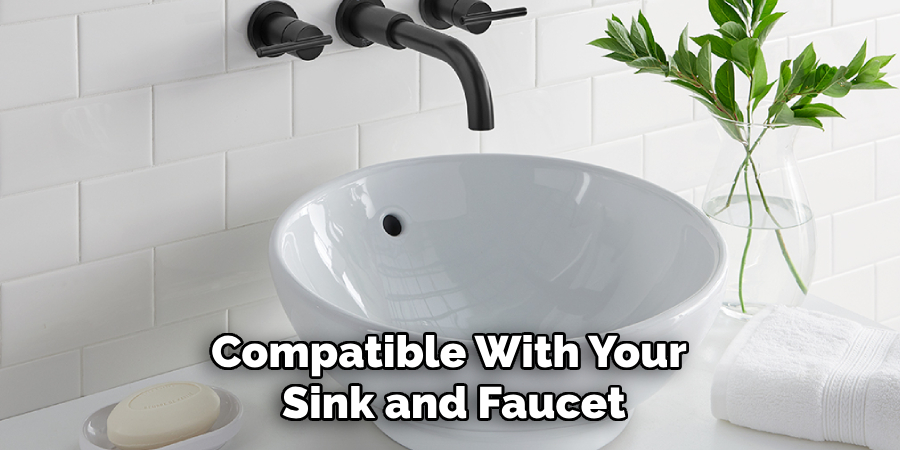
- Compatibility with Sink and Faucet: Verify that the pop-up drain assembly is compatible with your sink and faucet. Some sinks may require a specific size or style of drain assembly, so check the manufacturer’s recommendations before purchasing.
- Proper Tools and Materials: Double-check that you have all the necessary tools and materials, including plumber’s putty, wrenches, and sealants. Missing items can cause delays and increase the likelihood of mistakes.
- Preventing Leaks: Pay special attention to creating watertight seals at critical connection points. Use plumber’s putty or silicone sealant as recommended and tighten all nuts and fittings appropriately without overtightening.
- Ease of Maintenance: Consider how easily the pop-up drain can be disassembled for cleaning or repairs. A well-designed drain should allow you to remove the stopper without difficulty to clear out debris.
- Potential Water Residue: Keep in mind that water and debris may remain in the old drain assembly during removal. Always have a bucket and towels ready to manage any spills.
- Follow Manufacturer Instructions: Every pop-up drain assembly may have slight design differences. Always follow the specific instructions provided by the manufacturer to ensure proper installation and functionality.
By addressing these considerations, you can avoid common pitfalls and ensure that your pop-up drain functions effectively and lasts for years.
Common Mistakes to Avoid
When installing a bathroom sink pop-up drain, it’s easy to overlook certain details that can lead to issues down the line. Here are some common mistakes to avoid:
- Skipping the Plumber’s Putty or Sealant: One of the most frequent errors is neglecting to use plumber’s putty or silicone sealant under the drain flange. This can result in water leaks around the sink hole. Always apply a proper sealant to ensure a watertight connection.
- Overtightening Components: While it’s important to secure connections tightly, overtightening nuts, bolts, or fittings can crack the sink, damage rubber gaskets, or strip threading. Use moderate force and avoid applying excessive torque.
- Misaligning the Drain Body: Failing to correctly align the drain body with the flange or sink hole can compromise the seal and cause leaks. Double-check the alignment before fully tightening the assembly.
- Forgetting to Check for Leaks: Skipping the step of testing for leaks after installation can lead to unnoticed water damage later. Always run water and inspect all connection points to ensure everything is secure and leak-free.
- Improper Pivot Rod Installation: The pivot rod must be properly connected to the stopper mechanism for smooth operation. Misalignment or loose connections can result in difficulty opening and closing the stopper.
- Reusing Damaged Components: If reusing parts of an old drain assembly, ensure there are no cracks, corrosion, or wear that could affect functionality. Damaged components are more likely to fail and should be replaced.
- Failing to Follow Instructions: Each pop-up drain assembly may have unique features or requirements. Ignoring the specific instructions provided by the manufacturer can lead to incorrect installation or malfunction.
Conclusion
Installing a bathroom sink pop-up drain may seem like a daunting task at first, but with the right preparation and attention to detail, it can be completed successfully by most DIY enthusiasts. By following the steps outlined above, from assembling the parts to testing for leaks, you can ensure a functional and leak-free installation. Be sure to follow all instructions on how to install a bathroom sink pop-up drain carefully, and always consult an expert when in doubt.

