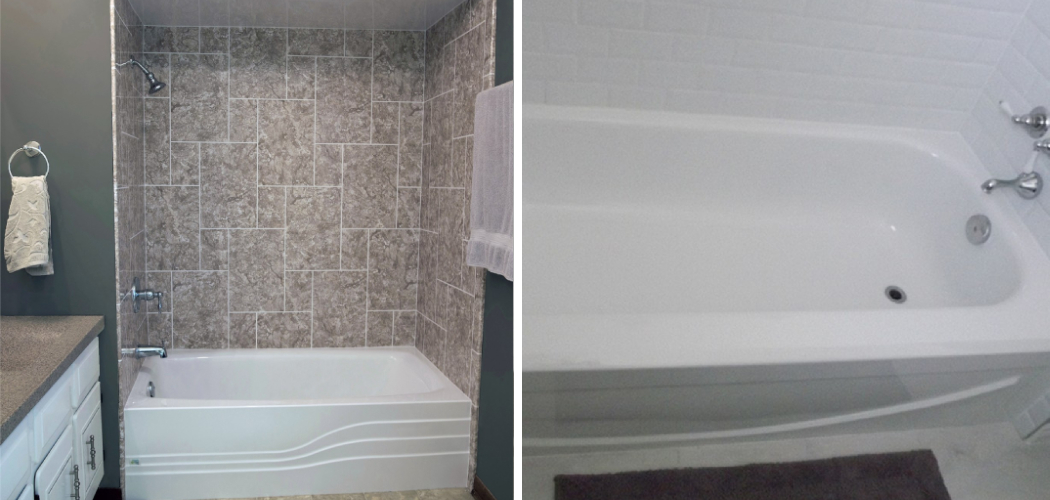
Are you looking to give your bathroom a facelift on a budget? Installing a bathtub liner is one of the quickest and most cost-effective ways to update the look of your bathroom.
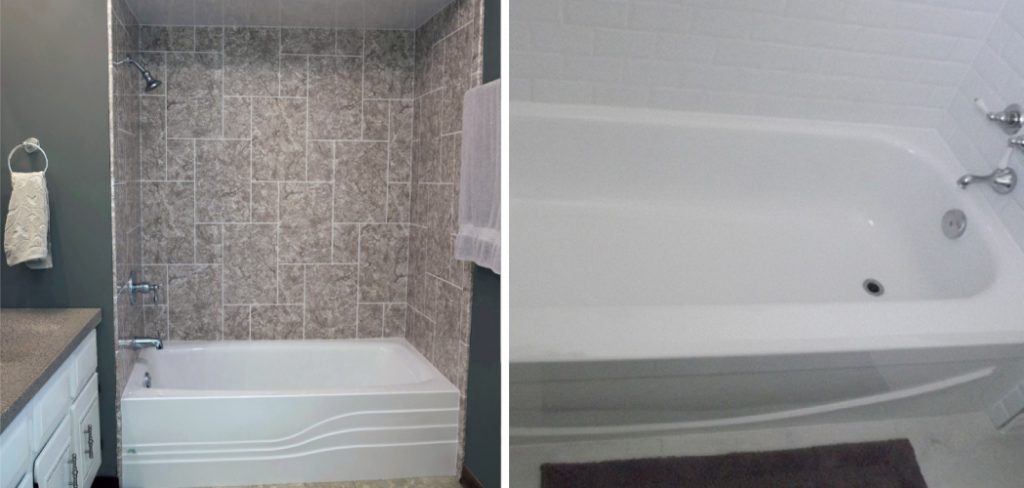
For many homeowners, purchasing and installing a bathtub liner can be daunting. It’s an undertaking that requires considerable skill and preparation to ensure it is done correctly while avoiding any issues along the way. Whether you are replacing an old tub or looking to update the look of your bathroom with a modern touch, taking on this project yourself will save you money in the long run.
In this blog post, we will discuss how to install a bathtub liner step-by-step so that anyone can succeed!
Why Use a Bathtub Liner?
Installing a bathtub liner is an excellent way to improve the look of your bathroom without needing to replace or repair any existing fixtures. The liners come in several colors and styles, allowing you to customize the look of your tub. In addition, using a liner can also help protect your tub from wear and tear over time.
Bathtub liners are also a great way to cover up any chips, scratches, or damage on an existing tub. This can help extend the life of your tub and avoid costly repairs down the road.
Additionally, installing a bathtub liner is much faster and easier than replacing an entire tub. Most liners can be installed in as little as one day, so you can begin enjoying your new look sooner rather than later.
What Will You Need?
Before you start, there are some essential items you will need to purchase to complete the installation. Be sure to have the following on hand:
- Bathtub liner and associated parts
- Leveler tool
- Caulking gun and caulk
- Hammer
- Pliers
- Drill with appropriate drill bits
You can begin the installation process once you have all the necessary materials.
10 Easy Steps on How to Install a Bathtub Liner
Step 1: Prepare Your Tub
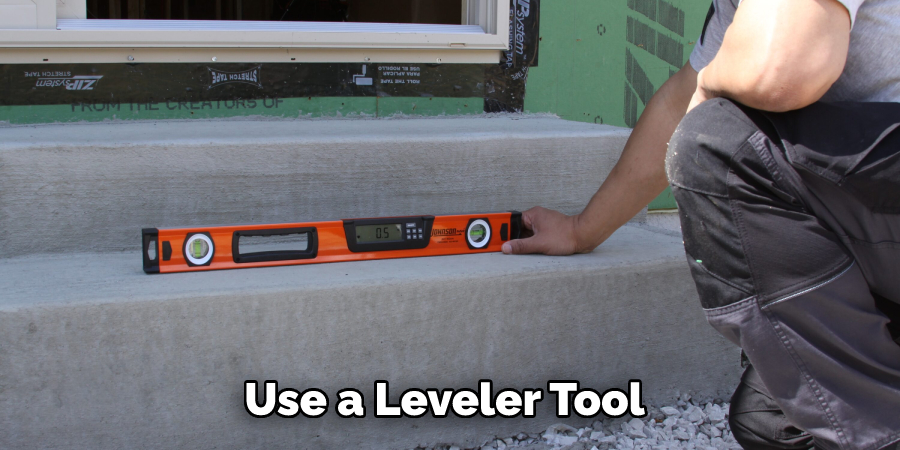
The first step in installing a bathtub liner is to prepare your existing tub for the new one. Start by removing any fixtures, such as drains, faucets, and handles. Once these are removed, use a leveler tool to ensure that the surface of your tub is level.
Step 2: Measure and Cut the Liner
Once you have a level surface, measure the length and width of your existing tub. This will help determine the size of liner you need to purchase and cut for installation. After measuring, carefully trim the liner to fit perfectly over your tub.
Step 3: Secure the Liner
Using a drill, attach the brackets to the tub with screws. Once these are in place, carefully lower the liner onto the tub and secure it using more screws. Make sure that it is securely fastened before continuing.
Step 4: Seal Around the Edges
Now that your liner is in place, use caulk to seal the edges and ensure a water tight fit. Be sure to use enough caulk so that it is completely sealed but not too much that it will be visible. If there is excess caulk, use a damp cloth to clean it up.
Step 5: Install the Drains
The next step in installing your bathtub liner is to install the drains. Begin by inserting the drain pipe into the drain opening of the liner. Secure it with screws and tightly seal it with caulk around the edges.
Step 6: Install the Faucets
Now you can install your faucets. Begin by inserting the faucet pipe into the liner and securing it using screws, just like you did for the drain. Again, make sure to seal it with caulk.
Step 7: Reattach the Handles
You can reattach the handles once your drains and faucets are in place. Ensure they are securely fastened using a screwdriver before testing them out to ensure they function correctly. Be careful not to overtighten the screws.
Step 8: Test for Leaks
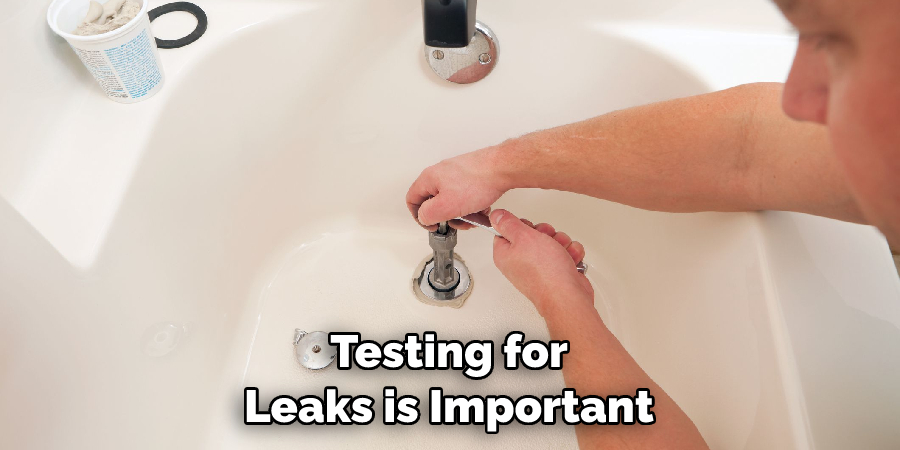
Now that you have installed your bathtub liner, testing for leaks is important. Fill the tub with a few inches of water and let it sit for about an hour or two. Then, check around the edges of the liner to see if any water is leaking out. If there are leaks, dry everything off and use more caulk to seal the area before testing again.
Step 9: Connect the Overflow Drain
If your tub is equipped with an overflow drain, you must connect it to the liner before use. Begin by connecting the overflow pipe to the existing plumbing and securing it with screws. Then, seal around the edges using caulk for a water tight fit.
Step 10: Enjoy Your New Tub
Finally, you’ve made it to the last step! After all your hard work, you can enjoy your newly installed bathtub liner. With a few simple steps, you can create a major upgrade in your bathroom quickly and easily without breaking the bank.
Now that you know how to install a bathtub liner, you can enjoy your bathroom makeover for many years! From refreshing the look of your tub to enjoying a quiet soak in the bath, your new bathtub liner will surely be one of your favorite features in your home.
5 Additional Tips and Tricks
- Use a level to ensure the bathtub liner is installed properly and securely.
- If you need to cut the bathtub liner for a better fit, use a sharp utility knife and lay down a blanket or sheet of plywood to protect your tub surface from scratches.
- Ensure all the seams are well-sealed with caulk before and after installing the liner.
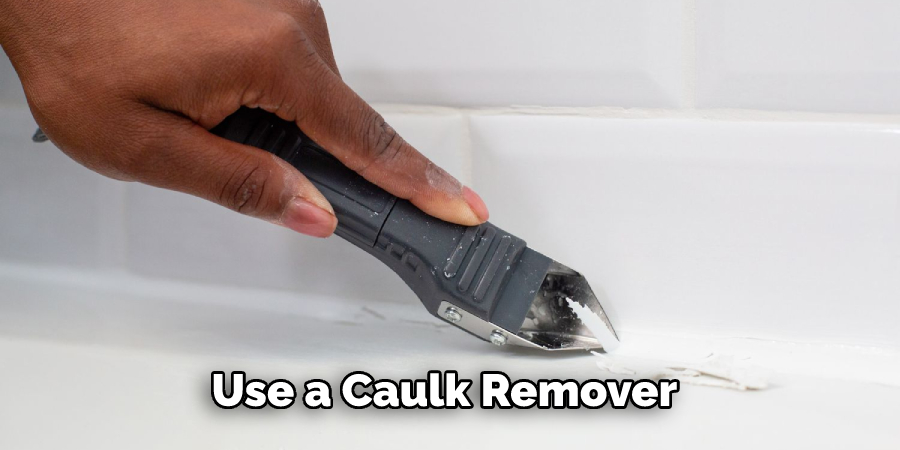
- Use a caulk remover to remove any residue from the tub surface before installing the bathtub liner.
- To ensure that your liner stays in place, use tub sealer as well as adhesives recommended by your manufacturer for best results.
With these easy tips, you should be able to install your bathtub liner with ease. To ensure that the job is done properly, it’s best to hire a professional with experience installing liners.
Important Considerations When Installing Your Bathtub Liner
It’s important to keep in mind that a bathtub liner needs to be installed securely and properly in order to avoid any water damage or other issues. In addition, pay attention to the surface of your tub before installing the liner. If there are any rust stains or cracks, these should be addressed prior to installation for best results.
If you’re looking for an easier way to install a bathtub liner, consider hiring professional help. They can quickly and efficiently install the bathtub liner without risking any damage or water leaks.
Overall, installing a bathtub liner is not as hard as it may seem, but there are still many important things to remember throughout the process. With preparation and time, you should have a correctly installed bathtub liner in no time!
5 Things You Should Avoid
- Take your time with the installation process. Taking your time can help you properly seal your tub and ensure everything is installed correctly.
- Never use an abrasive cleaner on the liner or bathtub surface, as this will cause damage.
- Refrain from skimming on caulk when sealing around the edges of the liner and faucets to ensure a water-tight fit.
- Don’t install the liner on an uneven surface, as this can cause damage to your tub and result in water leaks.
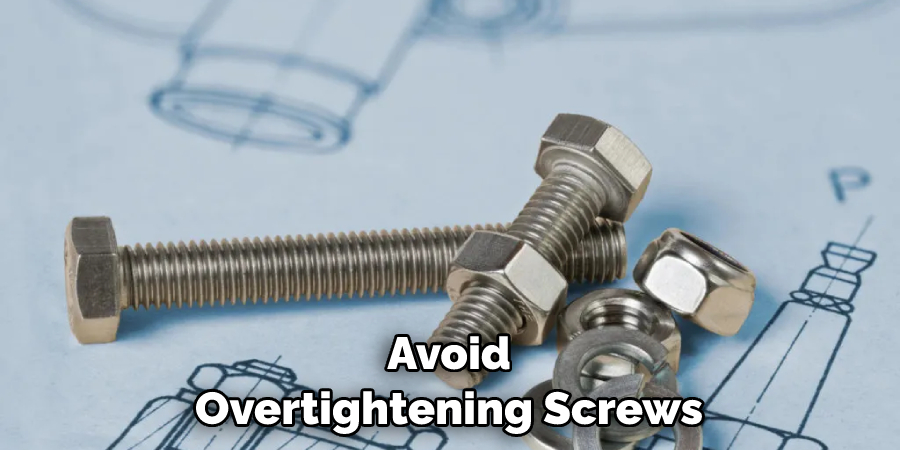
- Avoid overtightening screws when attaching handles or other fixtures, as this may cause them to break or malfunction.
By following these simple tips, you can ensure that your bathtub liner is installed safely and correctly. With the right preparation and knowledge, you should be able to install your bathtub liner without any issues.
Do Tub Liners Leak?
Tub liners can become damaged over time, leading to leaks. However, with proper installation and maintenance, tub liners are designed to last many years without any issues. It’s important to properly seal the edges of your bathtub liner with caulk and periodically check for any signs of damage.
Additionally, be sure to use the right adhesive and sealant recommended by your manufacturer for best results. These measures can help you keep your tub liner in good condition and avoid any potential leaks.
Overall, tub liners are a great way to upgrade your bathroom quickly and easily. You can enjoy your new bathtub liner for many years with proper installation and care!
Conclusion
How to install a bathtub liner is not only time consuming, but it could be costly as well. With the right supplies and knowledge, one can complete the process, however, we recommend consulting an experienced professional if you’re ever in doubt.
Whether installing a new tub liner yourself or hiring a professional for help, this project can enhance bathrooms and give you that spa-like feel you’ve been wanting. Remember to take your time when completing this project and do everything accurately to ensure a successful result.
Ultimately, having a bathtub liner installed is worthwhile, providing you with an updated look that will modernize any bathroom in just a few hours of work.

