Installing a bidet toilet seat is a simple and cost-effective way to enhance your bathroom experience. Bidet seats offer improved hygiene, comfort, and convenience, making them an increasingly popular choice for homes around the world.

Whether you’re new to bidets or upgrading your current setup, this guide on how to install a bidet toilet seat will walk you through the installation process step-by-step, ensuring a smooth and hassle-free setup. With just a few tools and minimal effort, you’ll be ready to enjoy the many benefits of a bidet toilet seat in no time.
Why Install a Bidet Toilet Seat?
There are several reasons why you may want to consider installing a bidet toilet seat in your bathroom. Here are some of the main advantages:
Improved Hygiene
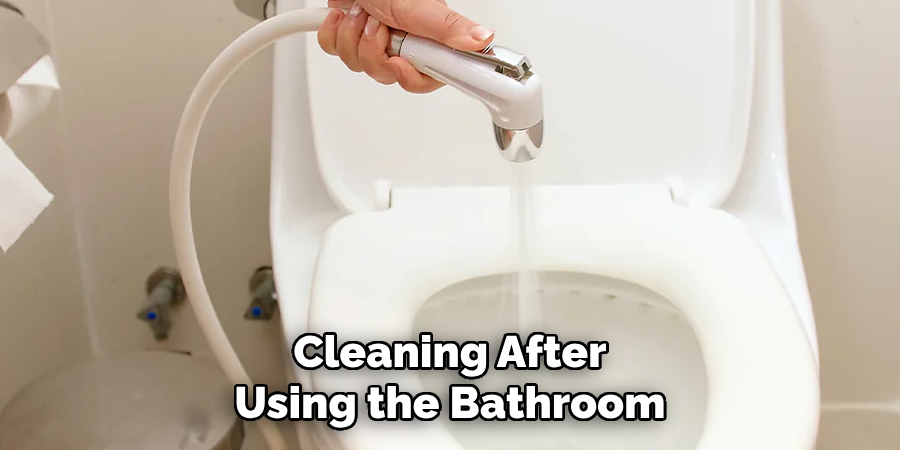
The primary purpose of a bidet is to clean yourself after using the toilet, providing superior hygiene compared to using only toilet paper. Bidets use water to wash away any residue, leaving you feeling fresh and clean. This can also help prevent irritation and discomfort that may occur from using rough toilet paper.
Saves Money
Bidet toilet seats are more cost-effective in the long run compared to regularly purchasing toilet paper. Not only will you save money on buying less toilet paper, but bidets also use considerably less water than traditional methods of cleaning after using the bathroom.

Environmentally Friendly
As mentioned earlier, bidets use significantly less water than other methods of cleaning after using the bathroom. Additionally, they reduce the need for excessive amounts of toilet paper, which can contribute to deforestation and environmental pollution.
Easy to Use
Bidet toilet seats are extremely convenient and easy to use. Most models come with a user-friendly control panel that allows you to adjust the water pressure and temperature to your liking. Some models even have advanced features such as heated seats and deodorizers.
Cost Effective
While the initial cost of a bidet toilet seat may seem expensive, in the long run, it can save you money on toilet paper and other hygiene products. Additionally, some bidet toilet seats come with energy-saving modes, which can help reduce your overall utility bills.
8 Simple Step-by-Step Guidelines on How to Install a Bidet Toilet Seat
Step 1: Turn Off the Water
Begin by shutting off the water supply to the toilet. Locate the water valve, typically found on the wall near the base of your toilet.
Turn the valve clockwise until it is fully closed to prevent water flow during the installation process. This step is crucial to avoid any leaks or spills while working.
Step 2: Remove the Toilet Seat
Next, remove the existing toilet seat from the toilet bowl. Locate the bolts at the back of the toilet seat that secure it in place. These are typically covered with plastic caps, which you can gently pry off using a flathead screwdriver.
Once the caps are removed, use a wrench or your hands to unscrew the bolts. Carefully lift the toilet seat off the bowl and set it aside. Keep the screws and any other hardware in a safe spot, as you may not need to reinstall them with the bidet seat.
Step 3: Install the Mounting Bracket
Take the mounting bracket that came with your bidet seat and align it over the bolt holes on the toilet bowl. Ensure that the bracket is positioned correctly, as per the instructions in your bidet’s manual, since proper alignment is essential for a secure fit. Insert the provided bolts through the slots in the mounting bracket and into the bolt holes on the toilet bowl.
Tighten the bolts using a wrench or screwdriver, but avoid over-tightening to prevent damage to the toilet bowl. The mounting bracket should feel stable and secure, as it will provide the foundation for attaching the bidet seat.
Step 4: Connect the Water Supply and Provide a Proper Seal
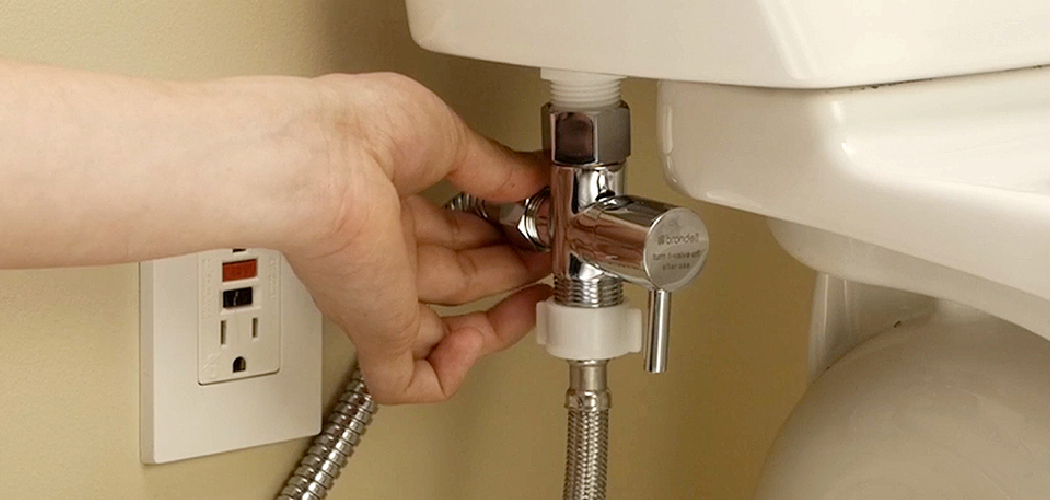
Start by turning off the water supply valve located near the base of the toilet and flushing the toilet to empty the tank. Disconnect the existing water supply hose from the toilet tank, being careful to capture any excess water with a towel or small container. Attach the T-valve provided with your bidet to the fill valve on the toilet tank, ensuring the rubber gasket is in place to prevent leaks. Reconnect the water supply hose to the bottom of the T-valve, and attach the bidet hose to the side connection of the T-valve.

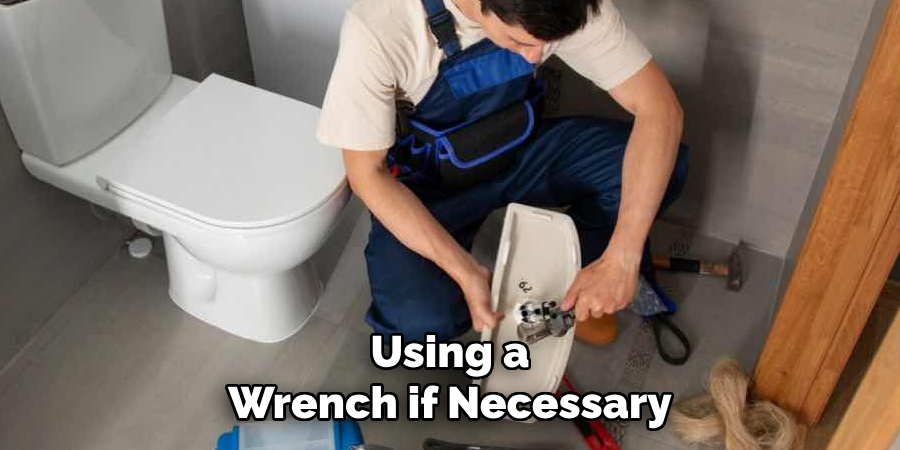
Tighten all connections securely by hand, using a wrench if necessary, but avoid over-tightening to prevent damage. After all connections have been made, slowly turn the water supply valve back on and check for any leaks. If leaks occur, gently tighten the connections until a secure seal is achieved.
Step 5: Attach and Secure the Bidet Toilet Seat onto the Mounting Bracket
Carefully align the bidet toilet seat with the mounting bracket installed earlier. Ensure that the seat slides smoothly into the bracket tracks. Push the seat forward until you hear a distinct click, indicating that it is securely locked into place.
Gently wiggle the seat to confirm stability. If adjustments are needed, refer to the specific instructions provided by the bidet manufacturer. Once the seat is properly secured, proceed to adjust the seat position for user comfort if applicable.
Step 6: Adjust the Positioning of the Bidet Toilet Seat to Your Liking
With the bidet toilet seat securely installed, take a moment to adjust its positioning to suit your preferences. Many models allow slight adjustments forward or backward to ensure optimal comfort and alignment with the toilet bowl.
Refer to the manufacturer’s guide for instructions on making these adjustments without compromising the seat’s stability. Once you have found the ideal position, double-check that all components remain securely in place.
Step 7: Turn on the Water and Test for Leaks
With the bidet toilet seat properly positioned, it’s time to turn on the water supply. Slowly open the water supply valve to allow water to flow into the bidet system. Observe the connections carefully to ensure there are no leaks at the hose or coupling points. If you notice any water leaking, turn off the supply and tighten the connections as necessary.
Once everything appears secure, activate the bidet functions to confirm proper operation and to check for any additional leaks. This step ensures that your installation is both functional and watertight.
Step 8: Enjoy Your New Bidet Toilet Seat!
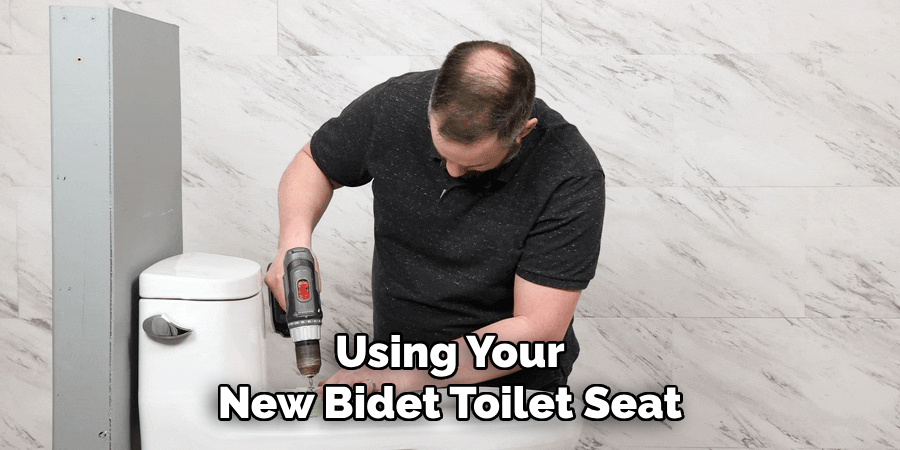
Congratulations! With the installation complete and all connections secure, it’s time to start using your new bidet toilet seat. Take a moment to familiarize yourself with the various settings and features, such as water pressure, nozzle position, and temperature controls, to find the perfect combination for your comfort.

Remember to consult the user manual for detailed guidance on operating and maintaining your bidet. Enjoy the enhanced cleanliness and convenience that your new bidet toilet seat brings to your daily routine!
Following these steps on how to install a bidet toilet seat will ensure a successful and hassle-free experience. However, it’s important to note that some bidet toilet seat models may have slightly different installation steps. Always refer to the user manual for specific instructions on your particular model.
Frequently Asked Questions
Q: Can I Install a Bidet Toilet Seat on My Own?
A: Yes, most bidet toilet seats are designed for easy installation and can be installed by anyone with basic plumbing knowledge.
Q: Do I Need to Hire a Professional Plumber to Install a Bidet Toilet Seat?
A: It is not necessary to hire a professional unless you are uncomfortable with installing it yourself. However, it is always recommended to consult with a plumber if you have any doubts or concerns about the installation process.
Q: What Kind of Water Connection is Required for a Bidet Toilet Seat?
A: Most bidet toilet seats require a connection to the water supply, just like a regular toilet seat. However, some models may also offer options for hot water connections, which may require an additional outlet or plumbing work.
Q: How Do I Know If My Toilet is Compatible with a Bidet Seat?
A: Bidet toilet seats are designed to fit most standard-sized toilets. However, it is important to check the measurements and specifications of your specific model before purchasing to ensure compatibility.
Q: Can I Install a Bidet Seat Myself?
A: While some bidet seats may come with installation instructions that make it seem easy to install yourself, it is recommended to hire a professional plumber for installation. This will ensure proper connections and avoid any potential damage or leaks.

Conclusion
Bidet toilet seats offer a modern and hygienic upgrade to traditional bathroom fixtures. By understanding compatibility requirements and seeking professional assistance for installation, you can enjoy the benefits of enhanced comfort and cleanliness. Investing in a bidet seat is a step toward a more sustainable and luxurious bathroom experience. Thanks for reading this article on how to install a bidet toilet seat.

