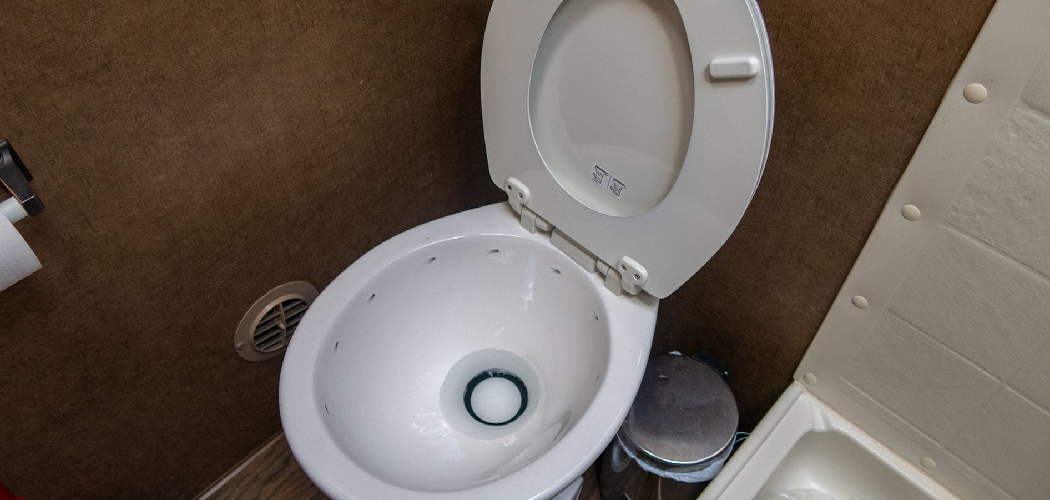
Having a functional toilet in a camper is crucial for ensuring convenience and maintaining hygiene during travel. Whether you’re embarking on a long road trip or camping in remote areas, a reliable toilet is an essential amenity that enhances your overall experience. Installing a camper toilet may seem daunting, but it can be straightforward and rewarding with the right guidance.
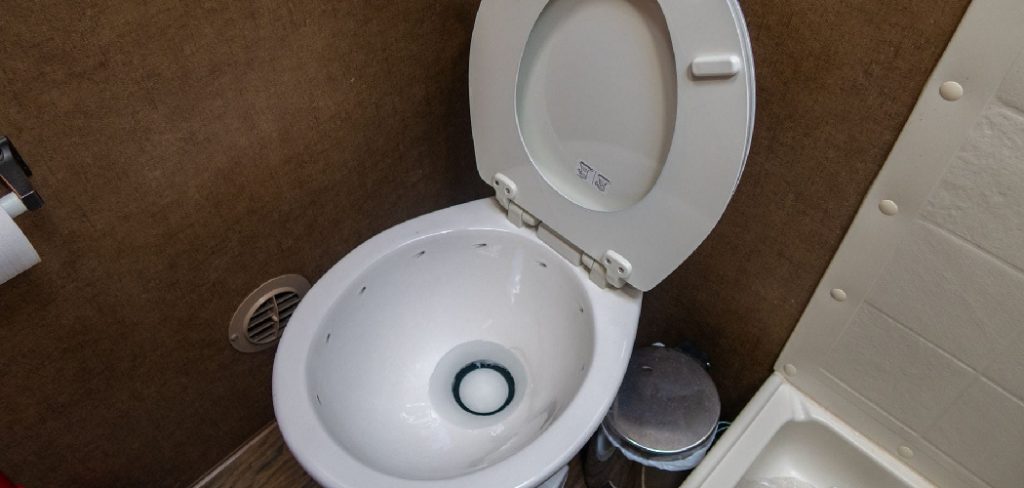
This article will walk you through the entire process, from choosing the right type of toilet to connecting the plumbing and securing it firmly in place. Our goal is to provide you with a clear, step-by-step guide on how to install a camper toilet safely and correctly, empowering you to take on this task with confidence.
Following these instructions saves time and money while ensuring that your camper remains comfortable and functional for all your adventures.
Choosing the Right Camper Toilet
Selecting the right camper toilet is the first step in ensuring a comfortable and efficient bathroom setup in your vehicle. With various options available, understanding their features and suitability for your needs is vital.
Types of Camper Toilets
- Cassette Toilets: These toilets come with a portable holding tank, making them ideal for small campers or situations where access to dump stations is limited. They are easy to remove and empty but may require frequent maintenance in high-use scenarios.
- Composting Toilets: An eco-friendly, waterless solution, composting toilets are perfect for off-grid camping. Separating liquid and solid waste reduces odors and eliminates the need for black water tanks. However, they require manual maintenance and adequate ventilation.
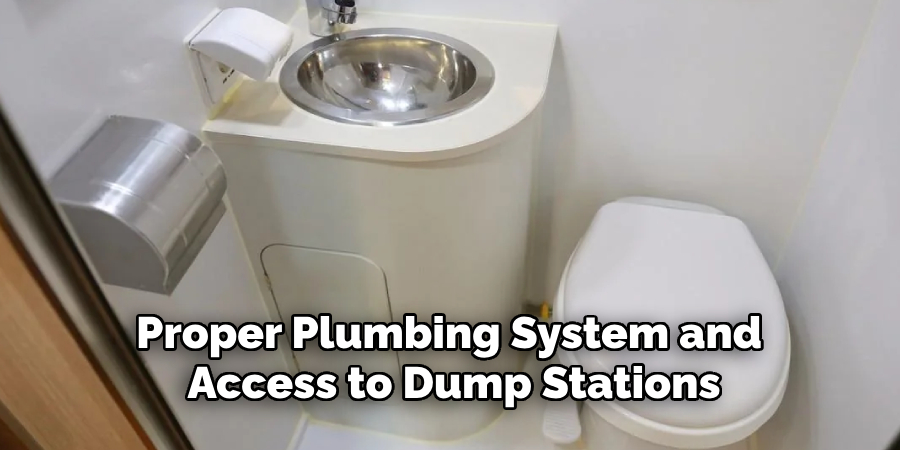
- Gravity Flush Toilets: Similar to traditional home toilets, these connect to a black water tank and use water to flush. They are reliable and user-friendly but necessitate a proper plumbing system and access to dump stations.
Factors to Consider
When choosing a camper toilet, evaluate the following factors:
- Space Availability: Ensure the toilet fits comfortably within your camper’s bathroom area.
- Waste Disposal Preferences and Tank Size: Consider how and where you’ll empty waste and ensure the tank size aligns with your usage needs.
- Compatibility: Confirm that your chosen toilet integrates seamlessly with your camper’s plumbing and holding tank system.
Researching recommended brands and models can add value and provide peace of mind before purchasing your camper toilet.
Tools and Materials Needed
Tools
- Screwdriver
- Drill
- Adjustable wrench
- Level
Materials
- Toilet unit
- Mounting bolts
- Rubber seal or gasket
- Hose fittings
- Teflon tape
- Sealant (if needed)
Safety Gear
- Gloves
- Safety glasses
Pro Tip
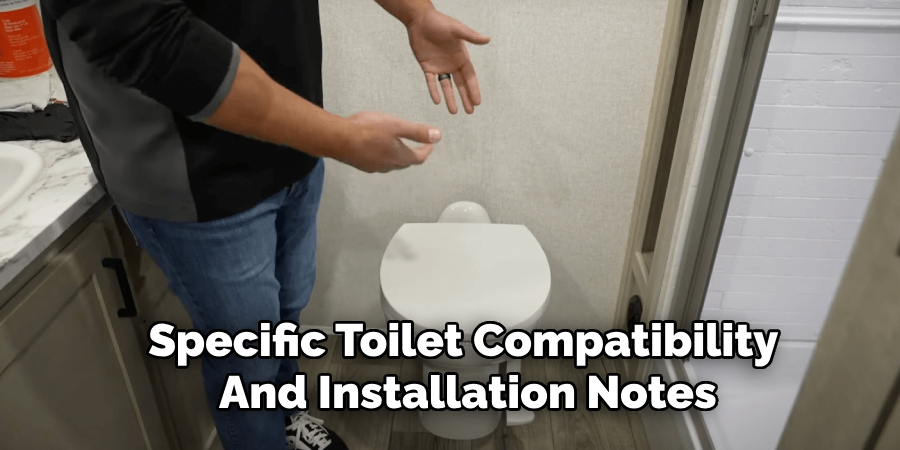
Check your camper manual for specific toilet compatibility and installation notes to avoid potential issues during the setup process. Proper preparation ensures a smooth installation and reliable performance for your camper toilet.
Preparing the Installation Site
Turn Off Water Supply and Power (if applicable)
Before starting the installation, ensure the water supply to your camper is turned off. If your unit has an electrical component, disconnect the power source to avoid accidental operation during the installation process. This step is critical for safety and helps to prevent unexpected leaks.
Remove the Old Toilet (if replacing)
If replacing an old toilet, disconnect the water line attached to the unit. Next, unscrew and remove the mounting bolts securing the toilet to the floor. Carefully lift and remove the old toilet, then inspect the flange area. Clean the surrounding surface thoroughly to remove grime, old sealant, or debris, and check for any damage or wear around the flange that might impact the new installation.
Inspect and Clean the Mounting Area
Examine the mounting area for any irregularities. Ensure the surface is level and clear of debris. Replace any damaged seals, gaskets, or flanges to establish a secure and stable base for the new toilet. This ensures a proper seal and prevents future leaks.
Dry-Fit the New Toilet
Before securing the toilet, perform a dry fit by temporarily positioning it in place. Verify its alignment, fit, and placement over the flange to ensure it sits evenly and appropriately. Adjust as needed before proceeding with the permanent installation steps.
How to Install a Camper Toilet: Installing the New Camper Toilet
Step 1: Attach the Flange Seal or Gasket
Start by attaching the flange seal or gasket to the floor flange. This crucial step creates a watertight barrier that prevents leaks and odors from escaping. Ensure the seal or gasket is positioned correctly and securely in place to form a tight fit with the toilet.
Step 2: Position the Toilet
Carefully align the bolt holes on the toilet with those on the floor flange. Gently lower the toilet into place, ensuring it sits evenly and properly. Take your time to confirm the alignment is correct before proceeding. Proper positioning is essential to avoid issues during operation and use.
Step 3: Secure with Bolts
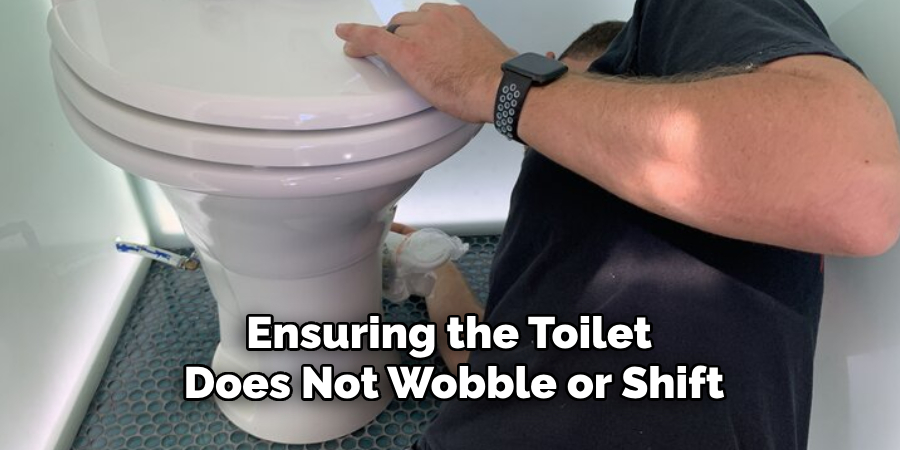
Once the toilet is positioned, use the bolts to secure it to the floor flange. Tighten the bolts evenly with a wrench, ensuring the toilet is firmly in place without overtightening, which could crack the base. Check for stability, ensuring the toilet does not wobble or shift after securing.
Step 4: Connect the Water Line
Attach the water line to the toilet using hose fittings and Teflon tape to ensure a leak-free connection. Carefully tighten the fittings and double-check for any signs of leaking at the connection points. Turn on the water supply and test both the flow and sealing.
Optional Step : For added protection and a polished appearance, apply a sealant bead around the toilet’s base. This helps to create an extra barrier against moisture and gives the installation a clean, finished look.
Testing the Toilet and Final Adjustments
After completing the installation, it’s time to test the toilet and make final adjustments to ensure everything is functioning correctly.
Turn On the Water Supply
Slowly turn on the water supply valve and allow water to fill the tank. Carefully inspect all connection points, including hose fittings, the base of the tank, and under the toilet, for any signs of leaks. If any leaks are detected, turn off the water, tighten the fittings, or reapply Teflon tape as needed.
Flush the Toilet Several Times
Flush the toilet multiple times to confirm smooth operation. Check that the bowl fills and drains properly, and ensure there’s no unusual noise or sluggish drainage. This step also helps identify any hidden leaks.
Inspect Mounting Stability
Ensure the toilet is firmly secured to the floor. Gently apply pressure on different sides of the unit to check for movement. If the toilet shifts or feels unstable, tighten the mounting bolts slightly, being careful not to overtighten and crack the base.
Adjust Water Flow (if applicable)
Some toilet models allow you to adjust water levels within the tank. Use the adjustment controls to ensure the tank fills to the recommended level, optimizing both flush performance and water efficiency.
Once all steps are complete, your new toilet should be ready for use!
Maintenance Tips and Troubleshooting
Regular Maintenance
To keep your RV toilet in top condition, clean it regularly using RV-safe cleaning products to avoid seals and waste system damage. Inspect the seals monthly for any signs of wear or cracking, as if left unchecked, they can lead to leaks or odors. Additionally, be sure to empty and sanitize the holding tanks as recommended to prevent buildup and unpleasant smells.
Common Issues and Fixes
- Leaking Base: If you notice water pooling around the toilet’s base, inspect the flange gasket for damage. Reseal or replace the gasket to resolve the issue.
- Weak Flush: A weak or incomplete flush may be due to a clog or buildup in the water line. Clean the water line thoroughly and check for any obstructions that could hinder performance.
- Odors: Persistent odors can indicate an issue with the venting system or an unsanitary black tank. Ensure that the venting system is intact and clear from blockages, and clean the black tank regularly.
Winterizing Advice
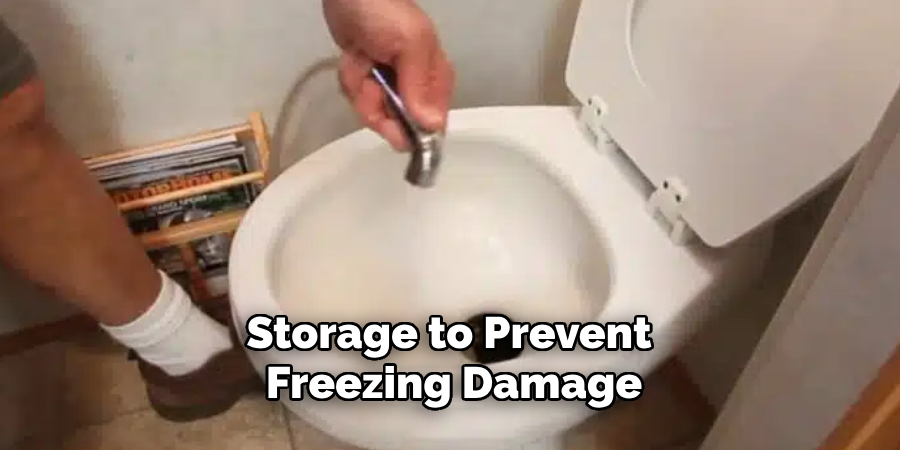
Drain all water from the toilet and associated lines for seasonal storage to prevent freezing damage. Use RV-grade antifreeze for added protection, following the manufacturer’s guidelines to winterize your system properly.
Conclusion
Learning how to install a camper toilet can be a rewarding and cost-effective project. Start by choosing the right toilet that fits your camper’s requirements. Prepare the site carefully by removing the old unit and ensuring clean, secure connections. Follow the steps for proper installation, including attaching the water line, tightening fittings, and applying optional sealant for added protection.
Test thoroughly to confirm functionality and sealing. By handling the installation yourself, you save money and can customize the setup to your liking. Remember to perform regular maintenance to ensure your camper toilet remains reliable and functional for years to come.

