Installing a composting toilet is an eco-friendly solution for managing waste while conserving water. This type of toilet uses natural processes to break down waste into compost, eliminating the need for plumbing and reducing environmental impact. It’s an ideal choice for off-grid living, cabins, boats, or anyone looking to adopt sustainable practices. This guide will walk you through the steps of how to install a composting toilet efficiently.
What is a Composting Toilet?
A composting toilet is a sanitation system that uses aerobic decomposition to process human waste into compost. Unlike traditional toilets, it doesn’t require water for flushing, making it an environmentally friendly alternative. The system typically consists of a waste collection area, a composting chamber, and ventilation to manage odors. Microorganisms and other natural processes break down solid waste over time, turning it into nutrient-rich compost that can sometimes be safely used in soil. Composting toilets are designed to be low-maintenance, odor-free, and adaptable, making them a sustainable option for a variety of settings.
Choosing the Right Composting Toilet
How to Install a Composting Toilet depends on several factors, including your specific needs, intended location, and budget. Start by considering the size of the household or the number of users, as this will determine the required capacity of the system. For residential use, larger units with higher waste-holding capacities are ideal, while compact models may suit RVs, boats, or tiny homes.

Evaluate the climate of your location, as colder environments may require systems with enhanced insulation or additional heating elements to ensure efficient composting. It’s also important to consider whether you prefer a self-contained unit or a split system with a separate composting chamber. Other factors, such as ease of installation, maintenance frequency, and odor control features, should also influence your decision. By carefully assessing these elements, you can choose a composting toilet tailored to your requirements while promoting sustainability in your daily life.
10 Methods How to Install a Composting Toilet
1. Choose the Right Location for Installation
The first and most critical step in installing a composting toilet is selecting the proper location. Since composting toilets require adequate ventilation and often access to a solar-powered or electric vent fan, choosing a well-ventilated, dry, and level area is essential. If installed indoors, the location should have enough space for the toilet unit, a vent pipe to the outside, and access for occasional maintenance like emptying the composting chamber. Outdoor installations—such as in cabins or off-grid locations—should be protected from weather and situated away from high-traffic areas. Good lighting and accessibility are also key considerations for user comfort and maintenance efficiency.
2. Select a Suitable Model for Your Needs
Before you begin the physical installation, you must choose a composting toilet model that matches your household size, climate, and usage expectations. Self-contained units are compact and ideal for small homes, RVs, or boats, while central systems that pipe waste to an external composting chamber are better for larger households or long-term off-grid setups. Some models use electricity to power fans and heating elements, improving composting speed and odor control. Others are completely non-electric, ideal for ultra-rural or environmentally sensitive areas. Your model should also comply with local building or sanitation codes, which may dictate design features such as liquid diversion or sealed compost bins.
3. Prepare the Installation Base and Flooring
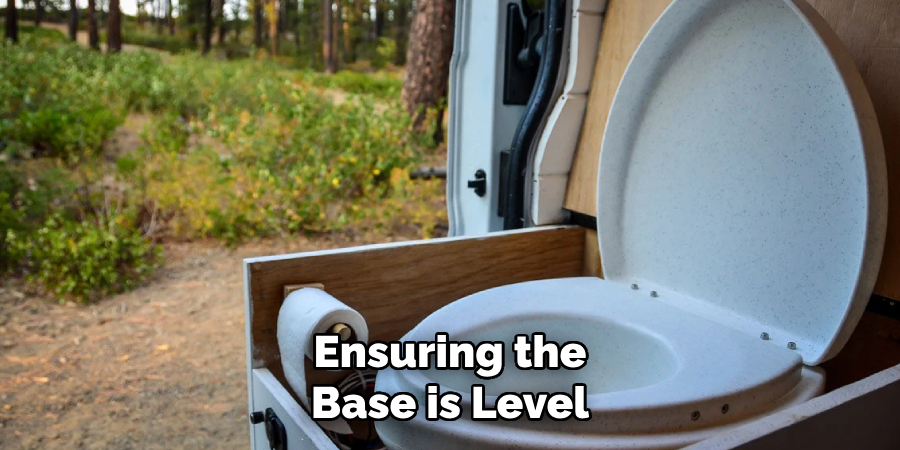
Once your model is selected, prepare the installation site by ensuring the base is level, clean, and sturdy enough to support the weight of the composting toilet and its users. Many units require a solid platform such as a plywood base, tile, or concrete slab. If installing in a wooden structure like a cabin, reinforcing the subfloor may be necessary. Proper leveling ensures the toilet functions efficiently, allowing even distribution of waste and effective draining of any separated liquids. Some models also have mounting brackets or feet that should be securely fastened to the floor to prevent shifting during use.
4. Install the Ventilation System
Proper ventilation is essential to the successful operation of a composting toilet, as it helps control odors and supports aerobic decomposition. Most systems include a vent pipe that runs from the composting chamber through a nearby wall or up through the roof. Begin by assembling the provided pipe sections, ensuring they are tightly connected and sloped slightly upward to aid airflow. If your model includes a fan, connect it to a power source and mount it securely in line with the vent pipe. Seal any wall or roof openings with silicone caulk or flashing to prevent leaks or pest entry. A well-functioning vent is the key to an odor-free experience.
5. Set Up the Drainage or Urine Diversion System
Many composting toilets include a urine separation feature to keep liquids out of the composting mass, which aids in faster decomposition and odor reduction. These systems typically require a drainage hose or pipe that leads to an external greywater tank or absorption area filled with gravel and soil. Make sure the drainage system has a gentle downward slope and no sharp bends to prevent clogs. Secure all hose connections tightly and test the system with clean water before regular use. In colder climates, insulate any external piping to prevent freezing. This step is especially important for high-use or shared toilets.
6. Assemble the Composting Chamber and Internal Components
Follow the manufacturer’s instructions to assemble the composting chamber and any internal rotating drums, trays, or separators that came with your model. These components help distribute waste evenly, promote aeration, and allow for easier removal of finished compost. Some systems use agitators or mixing handles to stir the compost, which you should ensure are properly aligned and operational. Before first use, add a starter layer of organic material such as peat moss, coconut coir, or sawdust to create a balanced composting environment. This layer absorbs moisture and provides a base for microbial activity to begin breaking down the waste.
7. Mount the Toilet Seat and Exterior Enclosure
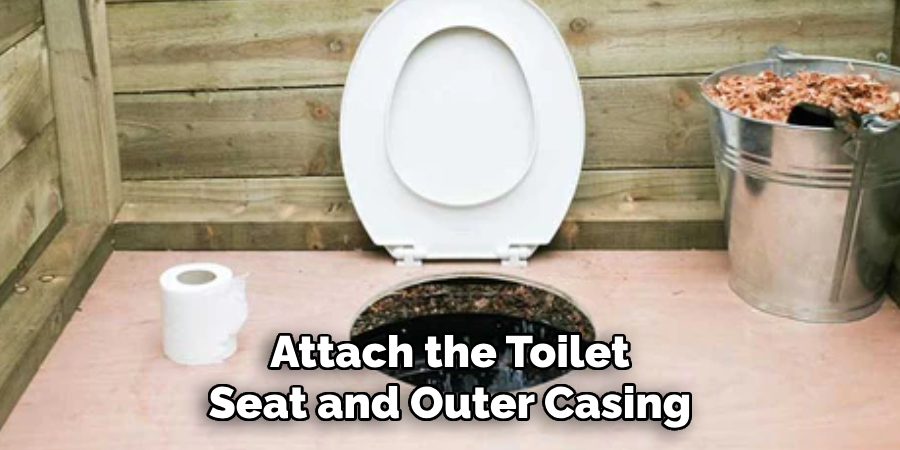
Once the internal mechanisms are in place, attach the toilet seat and outer casing, ensuring all parts are secure and level. Depending on the model, you may need to screw down the seat or snap it into place. Check that the seat aligns correctly with the compost chamber below to avoid any misdirected waste. The exterior enclosure may also house features such as a liquid collection drawer or access door for compost removal. Make sure these access points are unobstructed and operate smoothly. If desired, you can customize the outer appearance with paint or paneling to match your interior décor.
8. Connect Power (if Electric or Solar)
If your composting toilet includes powered components like a ventilation fan or heating element, connect these to your power source. Many modern units can run on 12V DC, 120V AC, or solar panels, offering flexibility for both grid-connected and off-grid setups. Route electrical wiring safely along walls or under floors, using conduit if necessary for protection. Install any switches or controls in convenient and accessible locations. Be sure to follow electrical codes and consult a professional if you’re unfamiliar with wiring. Test all powered components before the first use to ensure they operate quietly and effectively.
9. Test the System for Leaks, Odors, and Functionality
Before using the composting toilet regularly, perform a comprehensive test to ensure everything is functioning correctly. Flush or simulate use of the toilet to check if waste drops into the compost chamber cleanly, urine flows through the diversion system, and the fan operates properly to vent air outdoors. Inspect all seals, joints, and piping for any signs of leaks. Smell the surrounding area for any trace of odor that could indicate an airflow issue. Make adjustments as needed—re-level the base, reseal pipe joints, or adjust ventilation. Catching issues early can prevent long-term maintenance headaches.
10. Establish a Maintenance Schedule and User Routine
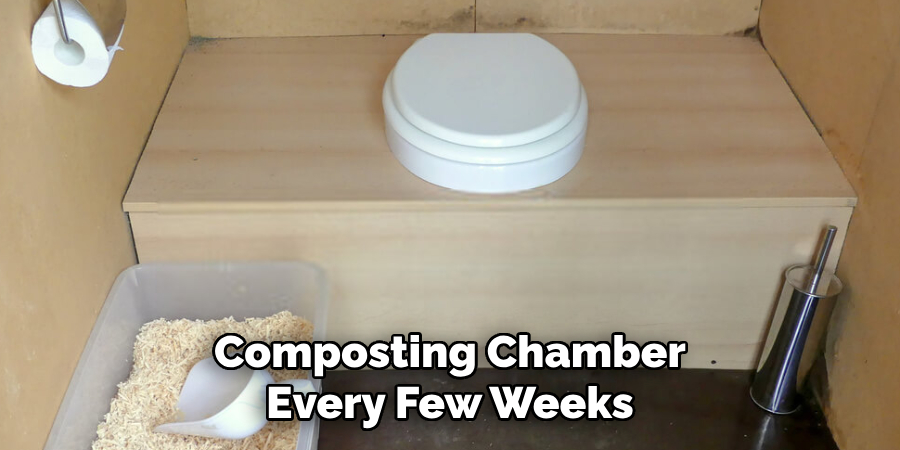
The final method to ensure long-term success with your composting toilet is setting up a clear user routine and maintenance schedule. Inform all users on how to operate the unit—this includes sitting properly, adding cover material after use, and what materials are not allowed (such as chemicals or plastic). Depending on your toilet model and usage, plan to empty the liquid drawer every few days and the composting chamber every few weeks or months. Keep a log or calendar as a reminder. Periodically clean the vent pipe, stir the compost, and inspect the interior for buildup. Proper use and maintenance keep your composting toilet hygienic, odor-free, and environmentally friendly for years to come.
Conclusion
Composting toilets offer an efficient, eco-friendly, and sustainable solution for managing human waste. By adhering to proper usage guidelines and maintaining a regular cleaning schedule, you can ensure that your system continues to operate effectively and odor-free. With a little attention and care, composting toilets not only contribute to reducing environmental impact but also provide a practical alternative for off-grid living, travel, or eco-conscious households. Adopting this system is a step toward a greener future. Thanks for reading our blog post on how to install a composting toilet! We hope you found it helpful and informative.

