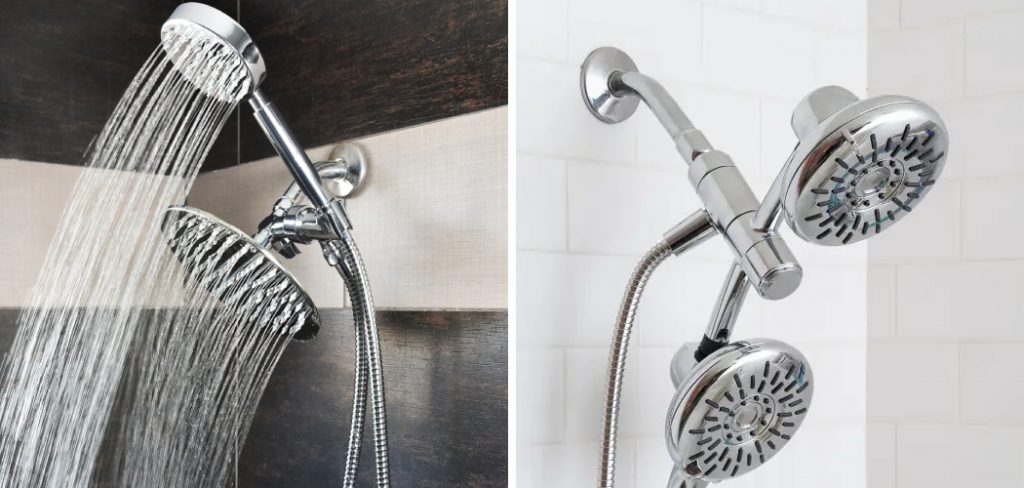
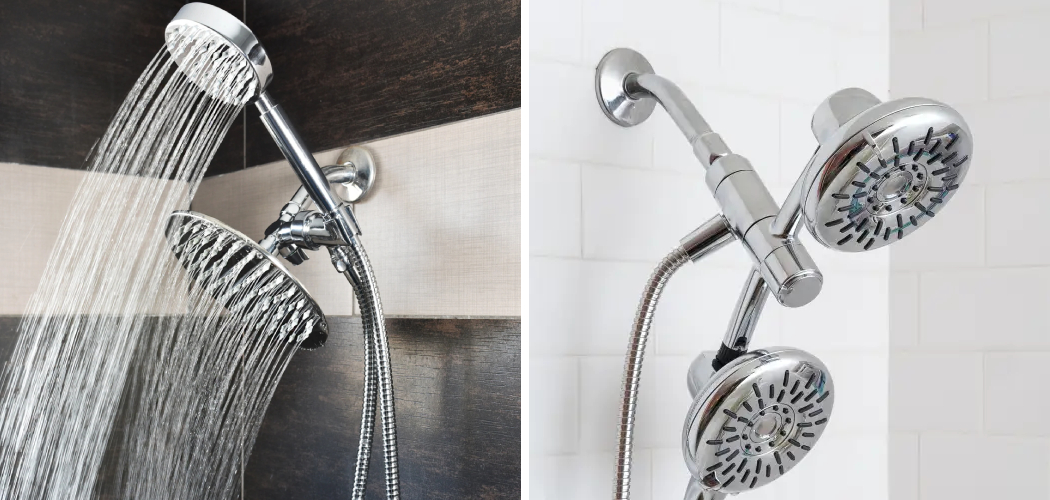
If you’re looking to really upgrade your shower experience, why not install a dual shower head with a handheld? A dual shower head allows you to switch between two different types of water flows like rain or massage while the handheld gives you greater control of how and where the water flows. Installing one is easier than you think so if this project seems intimidating, don’t be discouraged!

In this blog post on how to install a dual shower head with handheld, we’ll walk through all the steps needed for installing a dual shower head with a handheld sprayer step-by-step. Keep reading to learn what tools you need and everything else required so that your luxurious new shower will soon be ready for use!
Why Do You Need a Dual Shower Head With a Handheld?
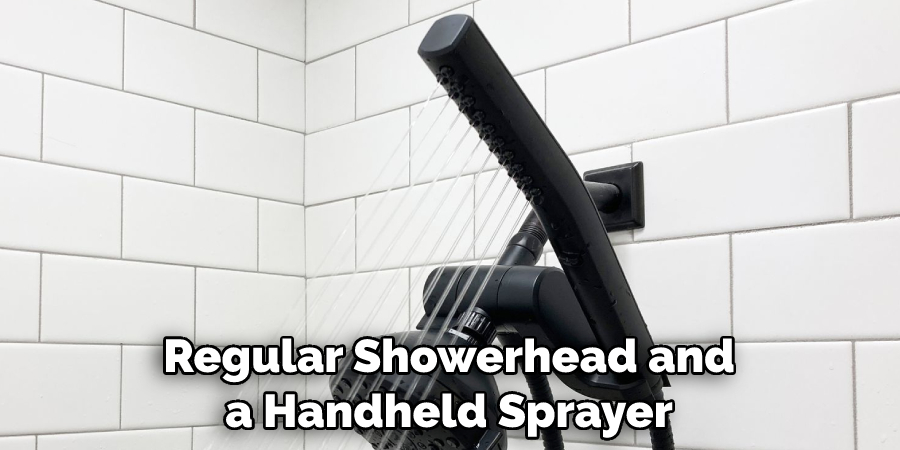
Having a dual shower head with a handheld gives you more options when it comes to your shower experience. The large showerhead provides full coverage, while the smaller one allows for targeted water flows like rain or massage. The handheld sprayer adds even greater control and convenience as you can move it around to easily wash off areas that are hard to reach.
Tools and Materials Required to Install a Dual Shower Head With Handheld
- Adjustable Wrench
- Plumbers Tape
- Drill and Drill Bit (if Needed)
- Replacement Water Supply Lines (as Needed)
- Dual Shower Head With Handheld Sprayer
- New Mounting Hardware or Plate (Depending on Your Setup)
12 Step-by-step Guidelines on How to Install a Dual Shower Head With Handheld
Step 1: Shut Off the Water Supply
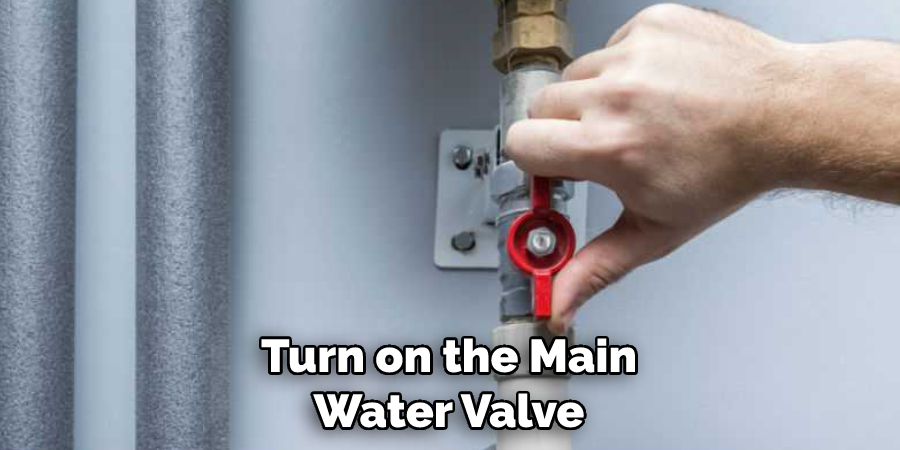
Before you begin, make sure to shut off the water supply by turning the valves located near your shower. If you want to be extra careful, turn off the main water valve in your home. But if you’re not sure how to do this, feel free to contact a professional. It’s important to do this step in order to avoid any accidents down the line. This will also help prevent any water from leaking into the walls or ceiling.
Step 2: Remove Old Showerhead & Assembly
Using an adjustable wrench, remove the old showerhead from the wall and discard it. Then, use the wrench to unscrew any remaining parts of the assembly and set them aside for later disposal. If you’re having trouble with this step, don’t worry! You can always contact a professional to help.
After you’ve removed the showerhead and assembly, it’s important to check if your existing water supply lines are in good condition. If they are, you can continue with the installation. If not, you’ll need to replace them with new lines.

Step 3: Remove the Existing Showerhead and Handheld Sprayer
Using an adjustable wrench, loosen and remove the existing shower head and handheld sprayer from the wall or mounting plate. It is important to set aside the old hardware for disposal later. Otherwise, you can donate it to a local charity or resell it. If you’re having trouble with this step, contact a professional for help.
Step 4: Inspect and Repair Water Supply Lines
Inspect the water supply lines to ensure they are in good working condition before you proceed with installation. If needed, replace any damaged or worn-out parts. But if you’re not sure how to do this, contact a professional plumber for help. This is an important step and shouldn’t be skipped.
Step 5: Wrap Plumber’s Tape Around Pipe Threads
Before attaching your new dual shower head, wrap a few layers of plumber’s tape around the pipe threads on each end to create a watertight seal. This will prevent leaks once the device is securely mounted. But if you’re not sure how to do this, feel free to contact a professional for help. Otherwise, you can find tutorials online.
Step 6: Attach New Dual Shower Head With Handheld Sprayer
Using an adjustable wrench, attach the new dual shower head with a handheld sprayer to the wall or mounting plate as instructed in the packaging instructions. Securely tighten the connection using the wrench. You can also use a drill and bit if needed. It is important to make sure the connection is tight and secure before moving on to the next steps.
Step 7: Attach Water Supply Lines
Attach the water supply lines to both ends of the shower head, making sure they are securely tightened with an adjustable wrench. This will help ensure a watertight seal between the device and the wall or mounting plate. It is important to make sure the connection is not too tight, otherwise, you could damage the shower head or water supply lines.
Step 8: Turn On the Water Supply
Turn on the main water valve and check for leaks by running a few tests after you have completed the installation of your dual shower head with a handheld sprayer. If there are no signs of leakage, turn off the main water valve and proceed to Step 8. It’s important to check for any leaks before using the device.

Step 9: Install Mounting Plate or Hardware (if Needed)
If you’re installing a new mounting plate or hardware, use a drill and bit to create holes in the wall or tile and secure the plate or hardware in place with screws. It is important to follow the manufacturer’s instructions for this step. Otherwise, you could damage your shower head or water supply lines. If you’re unsure how to do this, contact a professional.
Step 10: Mount Your New Dual Shower Head & Handheld Sprayer
Once your mounting plate or hardware is securely in place, mount your new dual shower head and handheld sprayer using an adjustable wrench. But if you’re not sure how to do this, feel free to contact a professional for help. This will ensure the device is securely mounted and ready for use.
Step 11: Test for Leaks
Turn on the main water valve again to check for any leakage around your newly installed dual shower head and handheld sprayer. If everything looks good, go ahead and turn off the main water valve. After that, your installation is complete! Enjoy the convenience and flexibility of your new dual shower head.
Step 12: Enjoy Your New Luxury Shower!
You’re all done! Now you can enjoy a luxurious shower experience with the added convenience of having a dual shower head with a handheld sprayer. This will help you save time and water, while also giving you the flexibility to choose between a relaxing massage-style shower or a powerful overhead spray.
By following these 12 steps on how to install a dual shower head with handheld, you can easily install a dual shower head with a handheld sprayer in your bathroom!
With the added convenience and versatility of having both a regular showerhead and a handheld sprayer, you can create a luxurious spa-like experience right at home. Don’t forget to check for leakage after installation to ensure everything is functioning properly.

Do You Need to Hire a Professional Plumber?
While it is possible to install a dual shower head with a handheld sprayer yourself, some complex installations may require professional help. If you’re unsure of how to properly install the device or if you need assistance with the plumbing involved, it is best to hire a licensed plumber for help.
A professional can make sure your installation goes off without a hitch and ensure that everything is functioning properly after installation.
How Much Will It Cost?
The cost of your installation will vary depending on the complexity of the setup and whether you require professional help. Generally speaking, it should not cost more than a few hundred dollars to install a dual shower head with a handheld sprayer in your bathroom.
Frequently Asked Questions
Q: What Tools Do I Need to Install a Dual Shower Head With a Handheld Sprayer?
A: You will need an adjustable wrench, plumber’s tape, and possibly a drill and bit if you are installing new mounting hardware.
Q: How Often Should I Check for Leaks?
A: It is recommended that you run tests after installation and check for leakage regularly to ensure your device is functioning properly.
Q: What Other Accessories Can I Add to My Dual Shower Head and Handheld Sprayer?
A: You can add a variety of accessories to your dual shower head and handheld sprayer, such as a rain shower head, adjustable body jets, a steam system, a bathtub faucet, and more.
Q: What Are the Benefits of Installing a Dual Shower Head With Handheld Sprayer?
A: Installing a dual shower head with a handheld sprayer offers convenience and versatility. You can easily switch between a regular shower head and the handheld sprayer for maximum relaxation. Additionally, you can add other accessories to create a luxurious spa-like experience in your own bathroom.

Conclusion
Installing a dual shower head with a handheld is a relatively simple process. It allows for more customization of the kind of shower you want, so you can customize it to your own comfort and preference. Moreover, it looks great in any bathroom and would make an excellent addition to any home.
At the end of the day, upgrading your shower head could save you loads of money on your water bill thanks to its efficient technology!
With various spray settings and pulsating massage sprays, this upgrade will definitely make all your showers feel much better than before. With just a few tools and some time dedicated to installation from this article on how to install a dual shower head with handheld, you’ll quickly be enjoying all the benefits that a dual shower head with a handheld has to offer.

