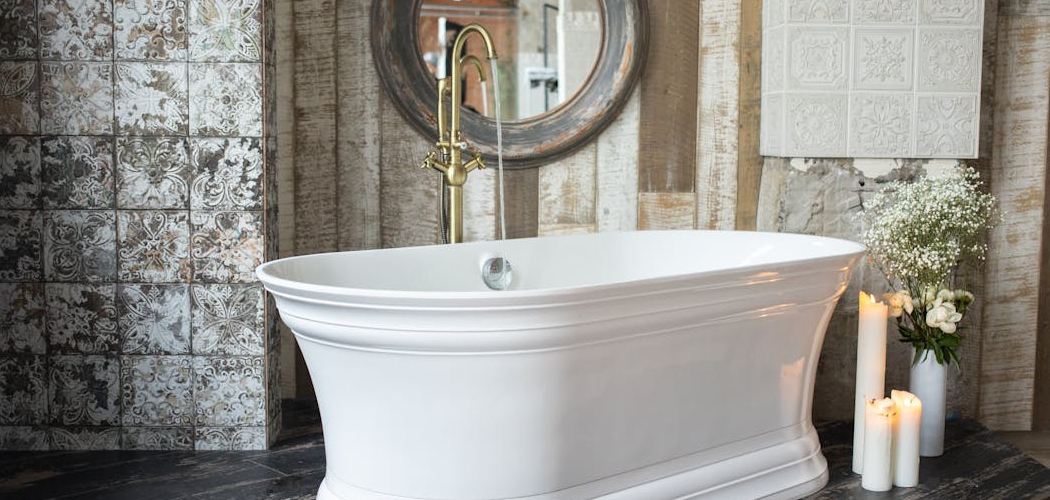
Freestanding baths are stylish and luxurious fixtures that serve as an ultimate statement piece, capable of transforming any bathroom into a spa-like retreat. With their sleek contours and standalone design, these tubs provide an elegant aesthetic that complements both modern and traditional bathroom styles. One of the key benefits of a freestanding bath is its flexibility in placement, as it doesn’t rely on being attached to walls, allowing for more creative layouts in your space. Additionally, they are often easier to clean around, providing convenience and practicality.
The purpose of this article is to equip you with a comprehensive step-by-step guide on how to install a freestanding bath safely and correctly. By following these instructions, you can create a stunning centerpiece in your bathroom while ensuring it functions properly. Whether you’re a seasoned DIY enthusiast or a handy homeowner, this guide will help you complete the installation with confidence.
Tools and Materials Needed
Essential Tools
- Adjustable Wrench: For tightening or loosening nuts and bolts during installation.
- Pipe Wrench: To secure and adjust plumbing connections effectively.
- Level: Ensures the bathtub is perfectly balanced for proper drainage and stability.
- Measuring Tape: For precise measurements during placement and pipe alignment.
- Screwdriver: Used to tighten or secure screws in the drain assembly or other components.
- Silicone Sealant: Essential for sealing gaps and ensuring a watertight connection.
- Pencil or Marker: To mark placement and alignment points.
Materials Required
- Freestanding Bathtub: The centerpiece of your bathroom project.
- Freestanding Bath Filler or Faucet: Provides the water supply to your bathtub.
- Drain Assembly: Ensures efficient water drainage from the tub.
- Plumbing Pipe Fittings (PVC or copper, as needed): For connecting drainage and water supply lines.
- Flexible Water Supply Lines: Allow easy connection between the water source and the tub.
- Towels or Padding: To protect the tub’s surface during the installation process.
Having all these tools and materials ready prior to installation will streamline the process and help you achieve professional results with minimal hassle.
Preparing the Bathroom Space
Properly preparing the bathroom space is essential to ensure a smooth installation process and long-lasting functionality of your tub. By following these steps, you can set the foundation for a successful project.
Planning Placement
Select a location for the tub that has direct access to plumbing lines for both the water supply and drainage. Ensure there is enough clearance around the tub to allow for effective cleaning and comfortable use. Take time to measure and assess the space to avoid potential complications during installation.
Checking the Floor
Inspect the bathroom floor to confirm it is level and structurally sound. The floor must be capable of supporting the weight of the tub when it is filled with water, as well as the weight of the user. Reinforce the flooring as necessary to meet these requirements and provide a solid foundation.
Dry Fitting
Perform a dry fit by positioning the tub in its future location. Align it with the plumbing connections and ensure the drain lines and water supply lines match up properly. Use this step to mark the tub’s outline and key plumbing points on the floor. This will serve as a handy guide during the installation process.
How to Install a Freestanding Bath Installing the Drain Assembly
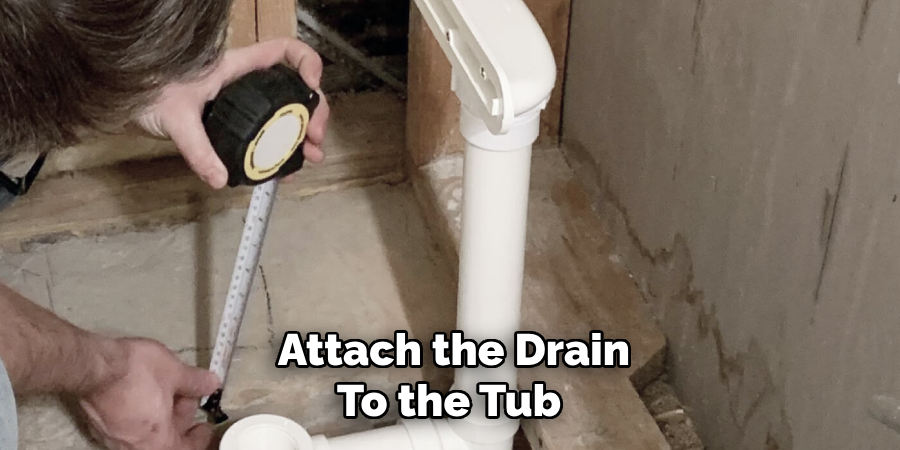
Step 1: Attach the Drain to the Tub
Begin by attaching the drain and overflow assembly to the freestanding tub, following the manufacturer’s instructions carefully. This typically involves connecting the overflow pipe to the drain and securing it in place with the provided screws, gaskets, and seals. Ensure all components are correctly tightened, but avoid overtightening, as this could damage the fittings or compromise the seals.
Step 2: Connect to the Floor Drain
Position the freestanding tub over the floor drain, ensuring the tub’s drain aligns perfectly with the existing plumbing. If the alignment is not exact, use an offset drain connector to bridge the gap and create a proper seal. Secure the connection tightly, verifying that all parts are properly seated and sealed to prevent leaks during use.
Step 3: Test for Leaks
Once the drain assembly is connected, test it for leaks before continuing with the installation. Pour a small amount of water into the tub and let it flow through the newly installed drain. Carefully inspect all connections, including the overflow and floor drain junctions, for any signs of moisture. If leaks are detected, tighten the connections or replace seals as necessary. Confirm that the system is completely watertight before proceeding to the next steps of the installation. This preliminary testing ensures long-term reliability and prevents potential water damage.
Plumbing Water Supply Lines
Installing Water Lines
If not already present, install dedicated hot and cold water supply lines at the location marked earlier during the planning phase. These lines should be positioned accurately to align with the bath filler connections. Flexible braided hoses are an excellent choice for this step, as they allow for easier adjustments and alignment. Ensure the connections are secure and use a wrench to tighten fittings, being careful not to overtighten and damage the components.
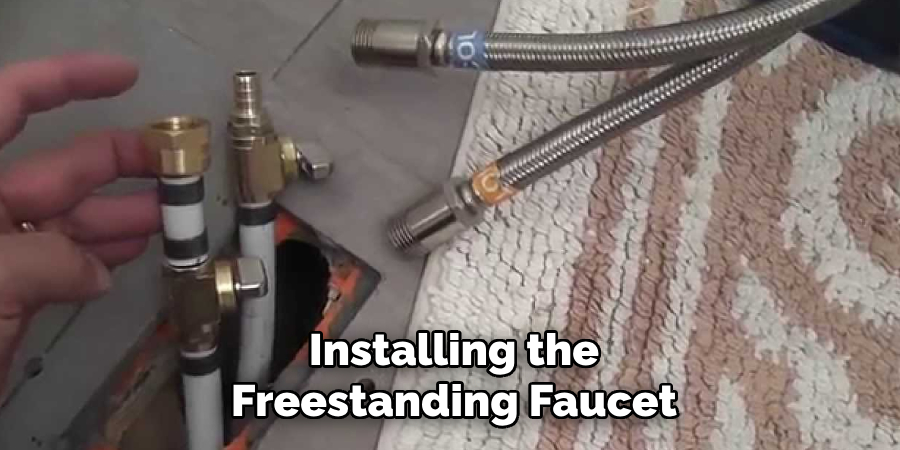
Installing the Freestanding Faucet
Once the water lines are in place, anchor the freestanding faucet base securely to the floor, following the manufacturer’s instructions. Use screws or bolts as required to hold the base firmly in place. Connect the faucet to the water lines using flexible hoses, ensuring that hot and cold water are connected to the correct inlets. Apply thread seal tape to all threaded fittings to prevent leaks. Tighten all connections using the appropriate tools and double-check each joint to ensure a solid fit.
Testing the Faucet
After the faucet is installed, it’s crucial to test its functionality. Turn on the water supply and test both the hot and cold flows. Allow the water to run for a few moments and carefully inspect all connections for drips, leaks, or other issues. If any problems are detected, turn off the water supply and make the necessary adjustments, such as tightening fittings or reapplying seal tape. Confirm that both hot and cold water flow smoothly with consistent pressure before proceeding to the final installation steps.
Securing the Tub in Place
Setting the Tub
Carefully move the tub into its final position over the drain and align it with the floor markings made during preparation. Take your time to ensure that the drain opening lines up perfectly with the existing plumbing. Use a leveling tool to confirm that the tub sits evenly on all sides. An even tub is essential for proper water drainage and to prevent undue stress on the structure.
Securing the Tub
The method for securing the tub will vary depending on the specific model you have. For most models, manufacturers supply brackets, screws, or adhesive strips designed for this purpose. Follow the manufacturer’s instructions carefully, ensuring that all brackets are securely attached and all adhesives are correctly applied. These measures will prevent the tub from moving unwantedly over time and ensure its durability.

Sealing the Edges
To provide additional protection, apply a bead of silicone sealant around the base of the tub where it meets the floor. This step is crucial for preventing water from seeping underneath the tub, which can lead to moisture damage and mold growth. Once applied, smooth the sealant with a gloved finger or a caulking tool for a clean finish. Allow the adhesive to cure fully before using the tub.
Final Touches and Clean-Up
Clean Up Work Area
After completing the installation, take time to clean up your work area. Use a soft cloth or sponge to wipe down the tub, removing any fingerprints, stray debris, or excess sealant that may have been left behind during the process. This ensures that the tub looks pristine and ready for use. Properly dispose of any waste materials, such as used sealant tubes and packaging, to keep your workspace neat and organized.
Check All Connections
Before considering the job finished, carefully inspect all plumbing connections to ensure they are secure and leak-free. Turn on the faucet and test the tub by filling it with water, monitoring for any signs of leaks or irregularities. Address any issues promptly to avoid complications later. Once satisfied with the functionality, drain the water completely and dry the tub.
Finishing Aesthetic Touches
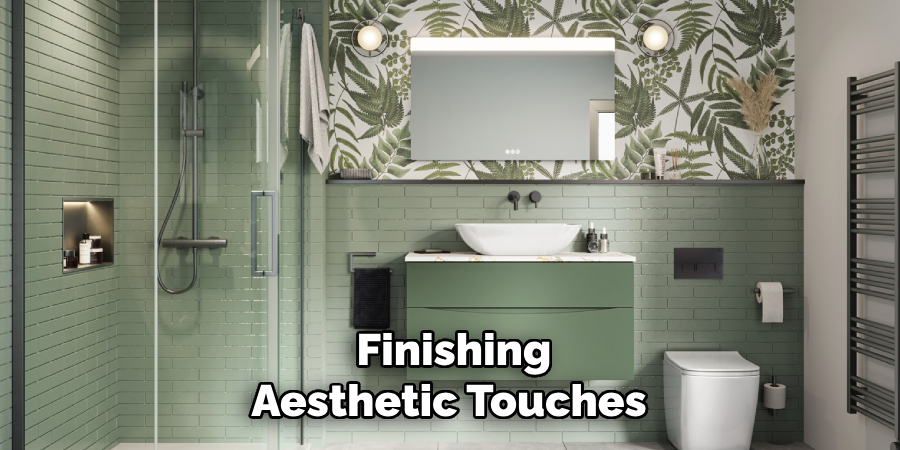
Finally, add the finishing touches to perfect your bathroom’s look. Place bath mats for safety and comfort, select matching accessories such as soap dispensers and towels, and consider adding decorative elements like plants or wall art to enhance the space. These thoughtful details will complement your new tub installation and elevate the overall ambiance of your bathroom.
Conclusion
Installing a freestanding bath may seem daunting, but with the right tools and a well-planned approach, most handy homeowners can confidently complete the task. The process involves careful preparation, setting up the drain, installing the faucet, and securely positioning the tub. To ensure success, always refer to the manufacturer’s guidelines and take your time with each step.
If you’re unsure about water connections or drainage, it’s highly recommended to consult a professional plumber. By following this guide on how to install a freestanding bath, you can transform your bathroom into a luxurious and functional space that you’ll enjoy for years to come.

