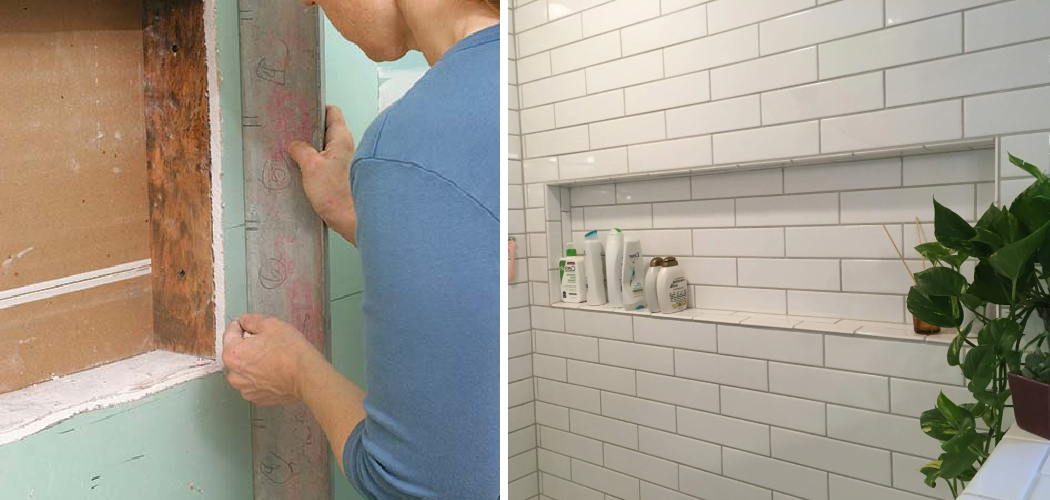
Are you looking to give your existing shower a more stylish, contemporary look? Adding a niche is the perfect way to do just that! This simple project can transform any ordinary shower into one with added beauty and functionality. Not only will it provide storage space for essentials like soap and shampoo, but it will also create a unique design statement.
Installing a niche is not as daunting of an undertaking as it might seem; in fact, with this comprehensive guide on hand, you’ll have it up in no time. Read on to learn how to install a niche in an existing shower—and why doing so makes such great sense! Upgrading your shower is one of the easiest and most cost-effective ways to upgrade the look of your bathroom.
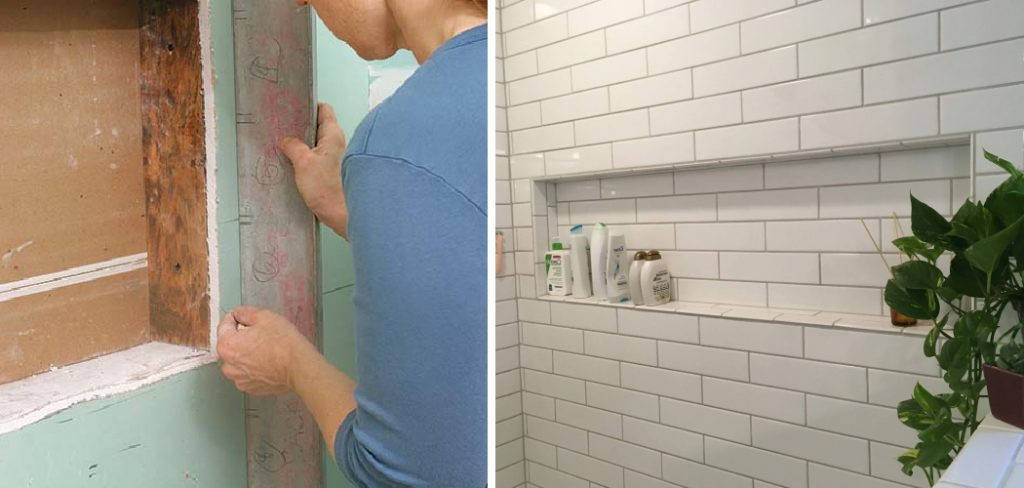
Installing a new niche into an existing shower can be surprisingly quick and easy – without having to spend too much time or money in the process! In this blog post, we’ll give you a step-by-step guide for how to install a niche in your existing shower so you can add both decorative appeal and useful storage space with minimal effort!
Benefits of Installing a Niche in an Existing Shower
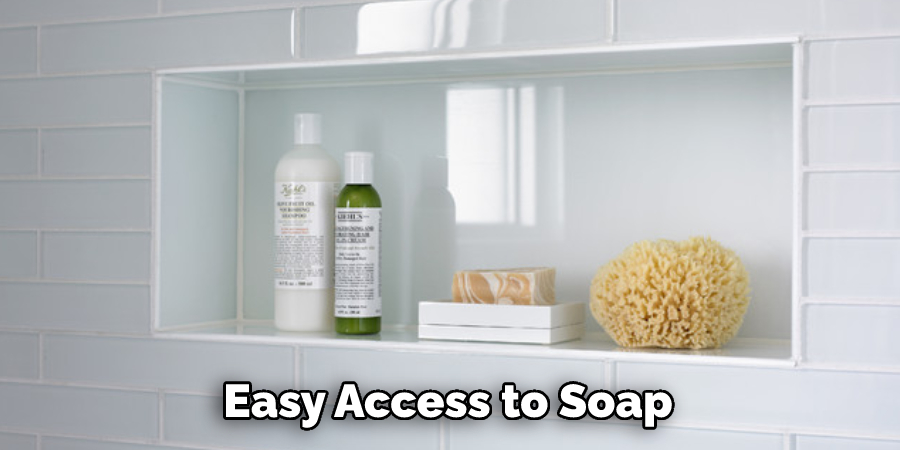
1. Easy Access to Soap and Shampoo
Installing a niche in an existing shower provides easy access to soap, shampoo, body wash, and other shower items within arm’s reach. This makes it easier for you to grab what you need while taking a shower without having to keep running out or searching through cabinets for the products you need.
2. Additional Storage Space
A niche in an existing shower also provides additional storage space for toiletries, cleaning supplies, and other items that you need to keep in the bathroom. This can help keep your bathroom tidy, organized, and free of clutter while still providing easy access to all of your necessary items. Installing a niche can help save you time in the long run.
3. Aesthetic Appeal
Installing a niche in an existing shower can also provide your bathroom with an updated, modern look. Niches come in a variety of sizes and designs, so you can find something that fits in with the overall aesthetic of your bathroom while still providing you with extra storage space. Installing a niche can also make your shower look more inviting and luxurious.
4. Easier Cleaning
Having a niche in an existing shower can make it easier to keep the area clean. Instead of having bottles, cans, and other items scattered around the shower floor, they can all be neatly tucked away in the niches. This makes cleaning the shower much easier and more efficient.
Installing a niche in an existing shower can provide a number of benefits, including easy access to soap, additional storage space, aesthetic appeal, and easier cleaning. If you are looking for an easy way to upgrade your bathroom, consider installing a niche in your existing shower.
How to Install a Niche in an Existing Shower in 6 Easy Steps
Step 1: Prepare the Wall by Making Sure It is Clean and Dry
The very first step is to make sure that the wall where you are going to install a niche is clean and dry. You can use soap and water or an all-purpose cleaner – just be sure to get rid of any dirt, dust, or grime that may have accumulated on the surface over time.
Step 2: Measure Out How Big Your Niche Will Be
Before you start cutting into the wall, measure how big your niche will be. This will make it easier for you to pre-cut the hole in order to fit the niche perfectly. You have to be extra careful when measuring since getting the size of the hole wrong can easily lead to having too much or too little space for the niche.
Step 3: Cut Out a Hole in the Wall
Once you have accurately measured out where you will place your niche, use a drywall saw to cut out a hole in the wall that is slightly smaller than the size of your niche. It is very important to make sure that you do not cut too deep into the wall, as this could damage the shower walls and create a hole in your bathroom!
Step 4: Install a Stud Behind the Hole
Next, install a stud behind the hole so that it will provide extra support for your niche. This is important, especially when dealing with heavier materials such as tile or stone. Make sure that the stud is firmly in place before you move on to the next step.
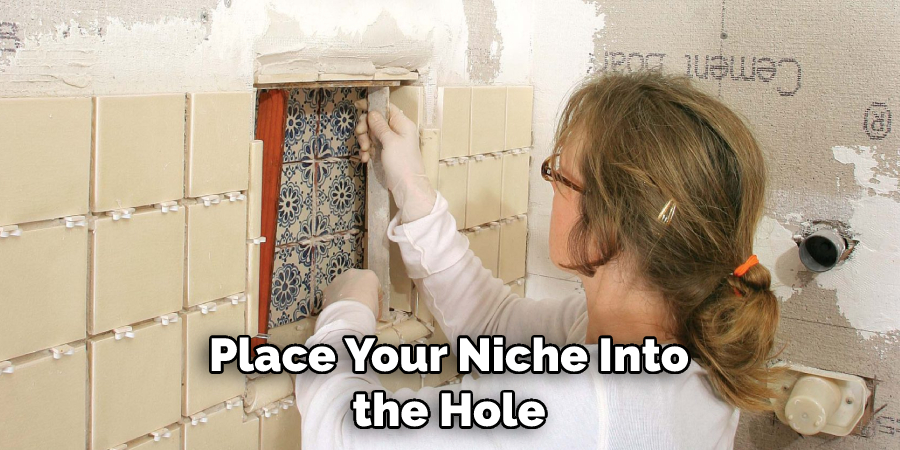
Step 5: Place Your Niche into the Hole
Now it is time to place your niche into the hole. Be careful not to rush this process since rushing can lead to an uneven fit and make it difficult for the niche to sit flush against the wall. You have to make sure that your niche is secure and level.
Step 6: Seal the Niche
The last step is to seal the niche so that it does not become damaged by water or other elements. You can use a waterproof adhesive to make sure that your niche stays firmly in place, no matter what kind of conditions it may be exposed to.
Once you have followed all of these steps, your niche should be firmly in place and ready to be used. Installing a niche in an existing shower may seem like a daunting task at first, but with the right know-how and tools, it can actually be quite simple. Now that you know how to install a niche in an existing shower, you can begin to enjoy the convenience and storage space it can provide.
Good luck!
Some Additional Tips to Install a Niche in an Existing Shower
1. Do Not Over-Tighten the Mounting Screws
This is very important since excessively tight screws can cause damage to the tile and lead to cracking. Tighten them just enough to keep the niche securely in place. Also, make sure to use the proper length screws since longer screws can protrude out and cause damage to the wall.
2. Use Silicone Adhesive or Caulk To Seal Around The Niche
This will help ensure that water won’t be able to penetrate behind the niche and cause damage. Make sure you let it dry properly before using the shower. Make sure to use a quality caulk or silicone adhesive designed for wet areas.
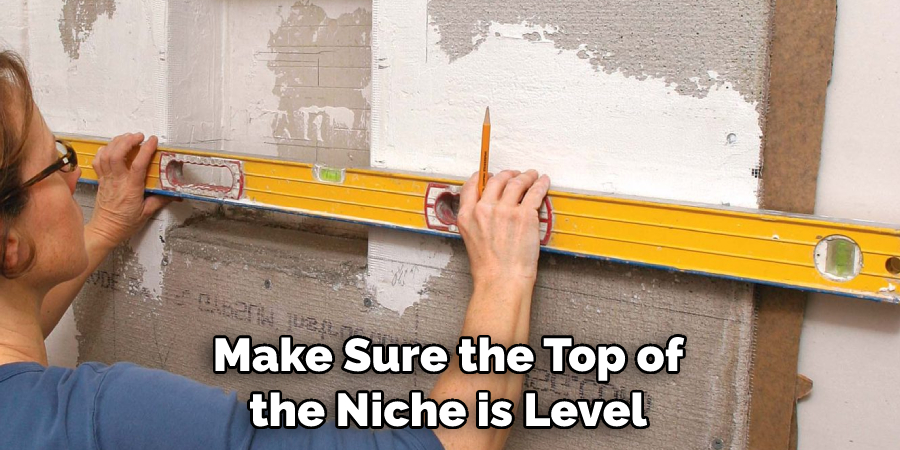
3. Use a Level to Make Sure The Niche is Installed Straight
This will ensure that your niche looks neat and professional when you’re done with the installation. It’s also important to make sure the top of the niche is level with the tile to prevent water from pooling on top of it or behind it.
4. Apply Grout to Fill in Any Gaps Between the Tiles and Niche
This will help to ensure that water won’t be able to penetrate through these areas and cause damage. Also, make sure you use high-quality grout that is designed for wet areas like bathrooms and showers.
5. Let the Niche Dry Completely Before Use
This is very important for keeping the niche in good condition. Make sure to give it plenty of time to dry completely before using the shower. Otherwise you may end up with moisture and mildew buildup, which can cause damage to the tile and niche itself.
By following these tips, you can ensure that your niche will be properly and safely installed in your existing shower. With a little patience and the right tools, you should have no problem installing a niche in an existing shower. Good luck!
Frequently Asked Questions
What Precautions Should I Take When Installing a Niche in an Existing Shower?
The most important precaution to take when installing a niche in an existing shower is to make sure the wall space you are working with is capable of supporting the weight of the material that you plan on using.
You should also ensure that any plumbing and wiring are tucked away and secure before you begin. Additionally, it’s important to check for any obstructions in the wall so that you can properly make adjustments and ensure the niche is installed correctly. Finally, always wear protective gear when working with tools and sharp edges.
What Tools Do I Need For Installing a Niche in an Existing Shower?
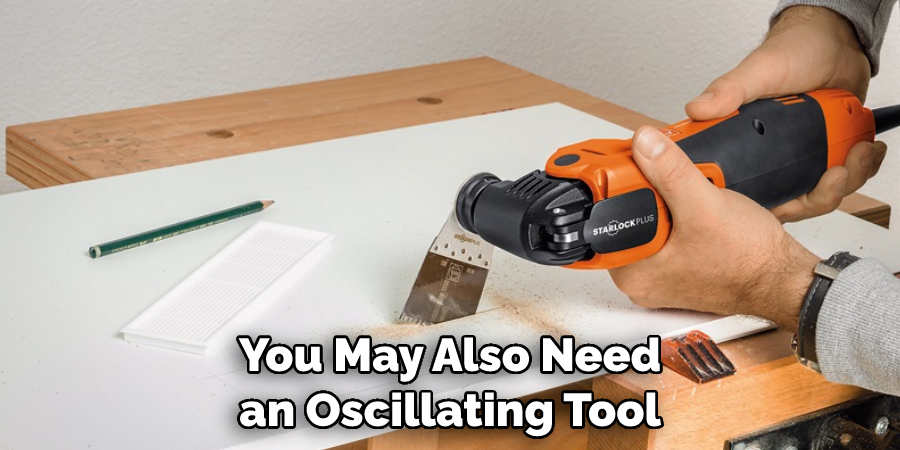
To install a niche in an existing shower, you will need to have the following tools: a drill, masonry bit, level, tape measure, drywall saw and screws. Additionally, depending on the material you are using for your niche, you may also need an oscillating tool or grout saw.
What Type of Material is Best for Installing a Niche in an Existing Shower?
The type of material you use for your niche depends on both the style you are looking for and what will stand up to the moisture that is common in showers. Common materials include ceramic tile, porcelain tile, stone, glass, marble, and concrete. Each of these materials will require specific tools and techniques in order to be properly installed.
Conclusion
Now you know how to install a niche in an existing shower. The process is not too complicated and does not require extensive knowledge or skills. Following the steps outlined in this guide will give you a perfect niche installation without any hassle. With the right tools, measurements, and materials, you can make sure that your niche looks great in your shower.
Just remember to double-check all of your measurements before beginning the installation process. With a few simple steps, you can easily install a niche in an existing shower and make sure that it looks perfect for years to come. Good luck!

