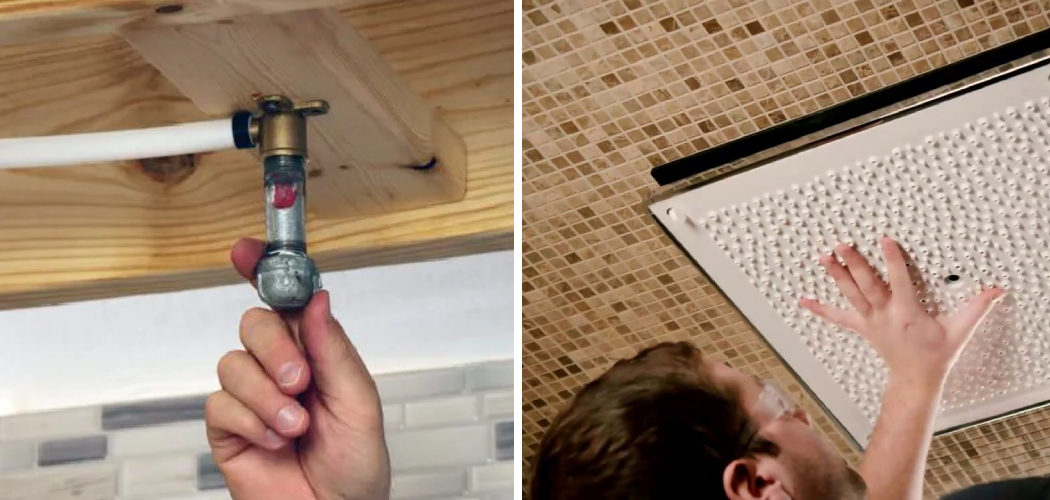
A rain shower head is a luxurious and relaxing addition to any bathroom. Unlike traditional wall-mounted shower heads, a rain shower head is installed in the ceiling, providing a gentle and even flow of water that mimics the feeling of standing outside in a warm summer rain.
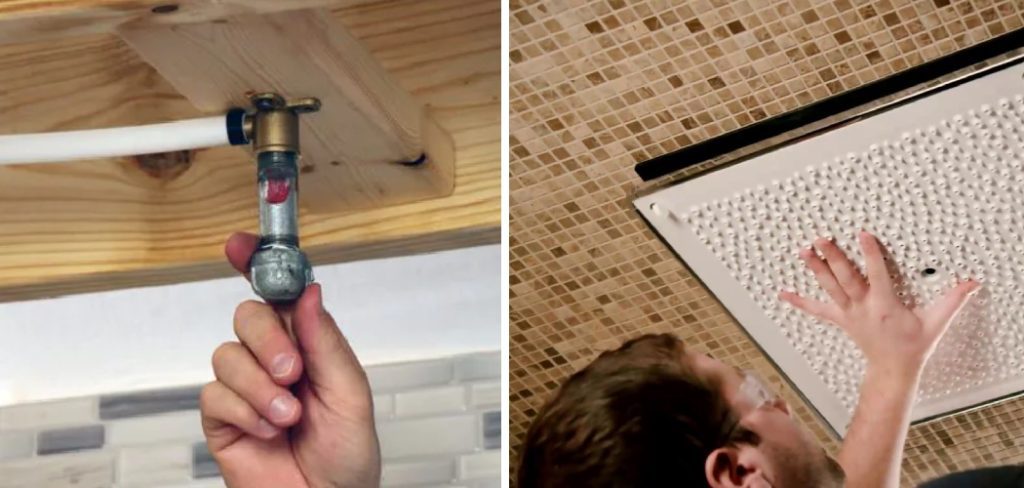
Installing a rain shower head in the ceiling may seem intimidating, but with the right tools and instructions, it can be a simple and rewarding DIY project. This guide will walk you through the steps of how to install a rain shower head in the ceiling. If you are looking to upgrade your bathroom and create a spa-like experience in your own home, then this guide is for you.
Understanding Rain Shower Heads
Before we get into the installation process, it’s important to understand what makes a rain shower head different from traditional shower heads. Rain shower heads are typically larger and have a wider spray pattern, providing a more relaxing and immersive experience. They also have fewer nozzles than traditional shower heads, allowing for a softer and gentler flow of water.
There are two types of rain shower heads: ceiling-mounted and wall-mounted. Ceiling-mounted rain shower heads are installed in the ceiling, while wall-mounted ones are attached to the wall. In this guide, we will focus on installing a ceiling-mounted rain shower head since it provides a more authentic experience.
Tools and Materials You Will Need to Install a Rain Shower Head in the Ceiling
- Rain shower head
- Shower arm (if not included with the rain shower head)
- Adjustable wrench
- Teflon tape
- Drill and drill bit (if necessary)
- Stud finder (if necessary)
- Silicone sealant
- Ladder or step stool
Step-by-step Guidelines on How to Install a Rain Shower Head in the Ceiling
Step 1: Measure and Prepare
Before beginning the installation process, measure and mark the location where you want to install the rain shower head.
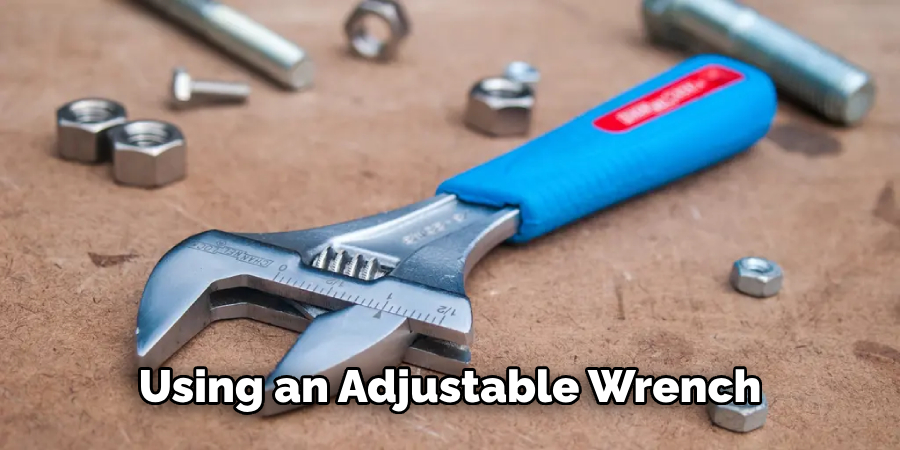
This will ensure that it is centered and at the desired height. If you are replacing an existing shower head, remove it by unscrewing it from the shower arm using an adjustable wrench. Then, clean any debris or old sealant from the shower arm and surrounding area. Measuring and preparing beforehand will save you from any potential mistakes during the installation process.
Step 2: Install the Shower Arm (if Necessary)
If your rain shower head does not come with a shower arm, you will need to install one. Start by wrapping Teflon tape around the threads of the shower arm to create a waterproof seal.
Then, attach it to the threaded pipe in the ceiling and tighten it using an adjustable wrench. If you are unsure about how to install a shower arm, refer to the manufacturer’s instructions. This step is optional if your rain shower head comes with a pre-attached shower arm.
Step 3: Locate and Drill the Holes
Using a stud finder (if necessary), locate the ceiling joists where you will be drilling the holes for the rain shower head.
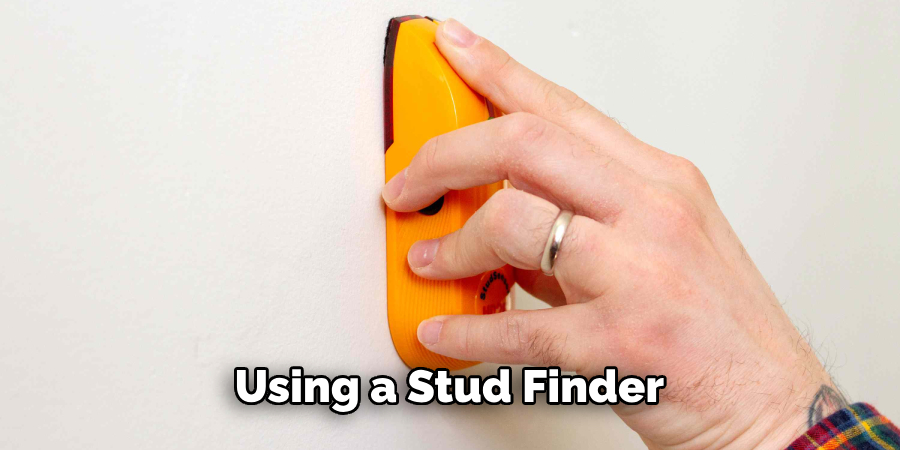
Make sure to follow any specific instructions from the manufacturer regarding the placement and spacing of the holes. If you do not have a ceiling joist in the desired location, you will need to use a drill and appropriate drill bit to create an anchor for the screws.
Step 4: Install the Rain Shower Head
Place the rain shower head into position by inserting the screws into the pre-drilled holes and tightening them with an adjustable wrench.
If necessary, use silicone sealant to create a waterproof seal around the edges of the rain shower head. This will prevent any water from leaking into the ceiling. Make sure to wipe off any excess sealant for a clean finish.
Step 5: Test and Make Adjustments
Once the rain shower head is securely installed, turn on the water supply and test it out. If necessary, make any adjustments to the height or direction of the rain shower head by loosening and tightening the screws.

Once you are satisfied with its position, turn off the water supply and clean up any remaining debris or tools. This is also a good time to install any additional features, such as a handheld shower wand or body jets.
Following these steps will ensure that you have successfully installed a rain shower head in your ceiling and are ready to enjoy a luxurious and relaxing shower experience.
Remember, this is just a general guide, and it’s important to refer to the manufacturer’s instructions for specific details related to your rain shower head model. Happy installing!
Additional Tips and Tricks to Install a Rain Shower Head in the Ceiling
1. If you have limited space in your bathroom, consider installing a small ceiling rain shower head instead of a large one. This will still provide the same rainfall effect without taking up too much space.
2. To maximize the effectiveness of your ceiling rain shower head, make sure to properly seal any gaps or leaks around the edges with caulk or waterproof tape. This will prevent water from leaking onto your ceiling or walls.
3. If you have a low water pressure, consider installing a pressure-boosting device to improve the flow of water from your ceiling rain shower head.
4. To prevent any clogs or buildup in your ceiling rain shower head, regularly clean and soak it in a solution of equal parts vinegar and water. This will help remove any mineral deposits or debris.
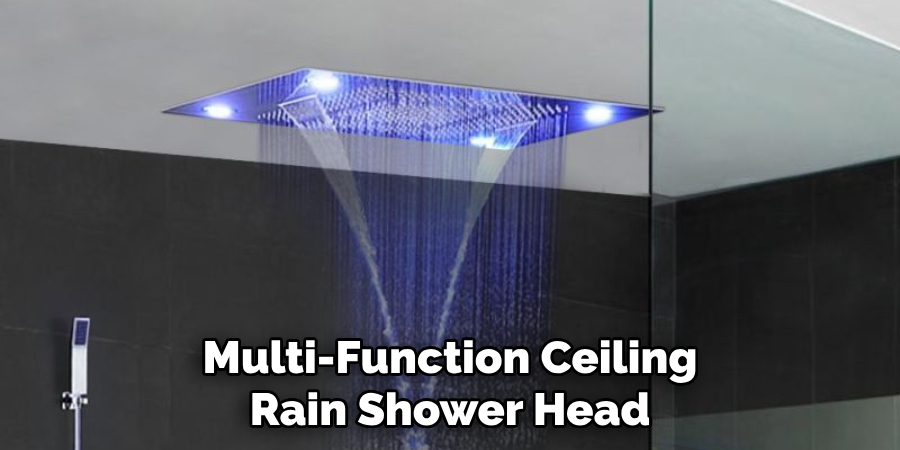
5. Consider installing a multi-function ceiling rain shower head that allows you to switch between rainfall mode and other spray patterns such as massage or mist. This will provide a more versatile and customizable shower experience.
6. If you are installing multiple rain shower heads in your ceiling, consult with a professional plumber to ensure proper water pressure and distribution for each head.
7. For a more luxurious and spa-like experience, consider adding LED lights to your ceiling rain shower head. This will create a relaxing ambiance and enhance the overall showering experience.
8. To save on water usage, look for a ceiling rain shower head with a flow restrictor or aerator installed. This will limit the amount of water used without compromising the rainfall effect.
9. If you live in an area with hard water, consider investing in a water softener or filter system to prevent any mineral buildup on your ceiling, rain shower head, and other bathroom fixtures.
10 . Lastly, feel free to get creative with the design and placement of your ceiling rain shower head. Consider installing it over a bench or seat for a more luxurious and spa-like feel, or incorporate it into a larger shower system with body jets for the ultimate rain shower experience.
Following these tips and tricks will not only help you successfully install a rain shower head in your ceiling but also enhance your overall showering experience. Enjoy the soothing sensation of rainfall in the comfort of your own bathroom with a beautiful and functional ceiling rain shower head.
So go ahead and let the water wash away your stress and worries as you indulge in a rejuvenating shower every day. Happy showering!
Things You Should Consider to Install a Rain Shower Head in the Ceiling
1. The first thing you should consider when installing a rain shower head in the ceiling is the location. It’s important to choose a spot that will provide optimal coverage and water flow for your shower.
2. Another factor to consider is the size and weight of your rain shower head. Make sure that your ceiling can support the weight of the shower head and that there is enough space for it to be installed securely.
3. It’s also important to think about the height at which you want your shower head installed. Ideally, it should be positioned high enough so that you can stand comfortably underneath it and still have ample room for water to fall.
4. The type of ceiling you have will also affect the installation process. If you have a drop or suspended ceiling, you may need additional support to ensure the shower head can be securely mounted.
5. You should also consider the plumbing requirements for your rain shower head. Depending on the model you choose, you may need to modify your existing plumbing to accommodate the new shower head.

6. Before installing a rain shower head, it’s important to check if any building codes or regulations apply in your area. Some locations may have restrictions on water flow or installation of certain fixtures.
7. Make sure you have all the necessary tools and equipment for installation, including a drill, measuring tape, and sealing materials. It’s also a good idea to have someone assist you in the installation process.
8. When choosing a rain shower head, consider the aesthetic of your bathroom. Many different styles and finishes are available, so select one that complements your existing decor.
9. Finally, think about maintenance and cleaning for your rain shower head. Some models may require more frequent cleaning to prevent buildup and maintain optimal water flow.
Following these considerations will help ensure a successful and enjoyable installation of a rain shower head in your ceiling. Professional installation may also be an option if you are unsure or uncomfortable with DIY installation.
With the right preparation and care, a rain shower head can be a luxurious addition to any bathroom. So, it’s important to research and plan carefully before making your final decision and enjoy a relaxing rain shower experience every day!
Maintenance Tips for Rain Shower Head in the Ceiling
1. Regular Cleaning
Like any other shower fixture, rain shower heads can accumulate mineral deposits, soap scum, and bacteria over time. To ensure proper functioning and prevent clogging, it is important to clean your rain shower head regularly.
You can use a mixture of vinegar and water or a mild soap solution to clean the nozzles and remove any buildup. It is also recommended that the shower head be removed and soaked in the cleaning solution for better results.
2. Check for Leaks:
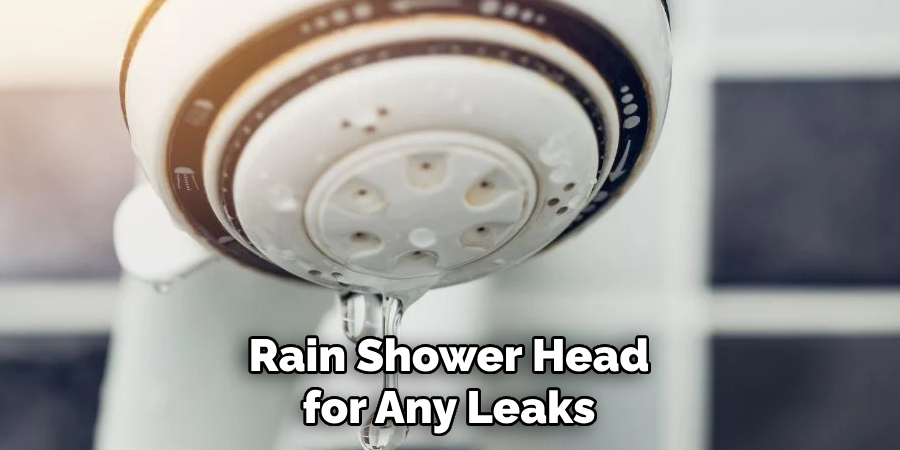
Periodically check your rain shower head for any leaks. If you notice water dripping from the connection point or the nozzles, it could indicate a loose or damaged seal. In such cases, tighten the connections or replace the seal to prevent further leakage and potential water damage. If the leak persists, it is best to consult a professional plumber.
3. Adjust Water Pressure:
Rain shower heads are designed to provide a gentle and relaxing flow of water. However, if your water pressure is too high, it can cause excessive splashing and may even damage the shower head. To avoid this, adjust the water pressure from your main water source or use a flow restrictor to regulate the water flow.
4. Avoid Harsh Cleaners:
When cleaning your rain shower head, avoid using harsh chemical cleaners, as they can damage the finish and nozzles of the fixture. Stick to mild cleaning solutions or natural alternatives such as vinegar or lemon juice. If you must use a cleaner, make sure to rinse the shower head thoroughly afterward.
5. Inspect for Rust:
If your water source has a high iron content, it can cause rust buildup in your rain shower head. Regularly inspect the fixture for any signs of rust and clean it immediately if you notice any. You can also prevent rust by installing a water softener or using a rust-inhibiting filter in your shower head. This will not only prolong the lifespan of your rain shower head but also improve its performance.
6. Address Any Issues Promptly:
If you notice any problems with your rain shower head, such as clogging, reduced water flow, or strange noises, address them promptly. Ignoring these issues can lead to further damage and require costly repairs or replacements in the future. Make sure to read the manufacturer’s manual for troubleshooting tips, and if necessary, seek professional help.
Following these maintenance tips will help keep your rain shower head in top condition and ensure a satisfying shower experience every time. Remember to also periodically check for any loose or damaged parts and replace them as needed to prevent accidents. With proper care and maintenance, your rain shower head can last for many years without any issues. Happy showering!
Precautions Need to Be Followed for Installing a Rain Shower Head in the Ceiling
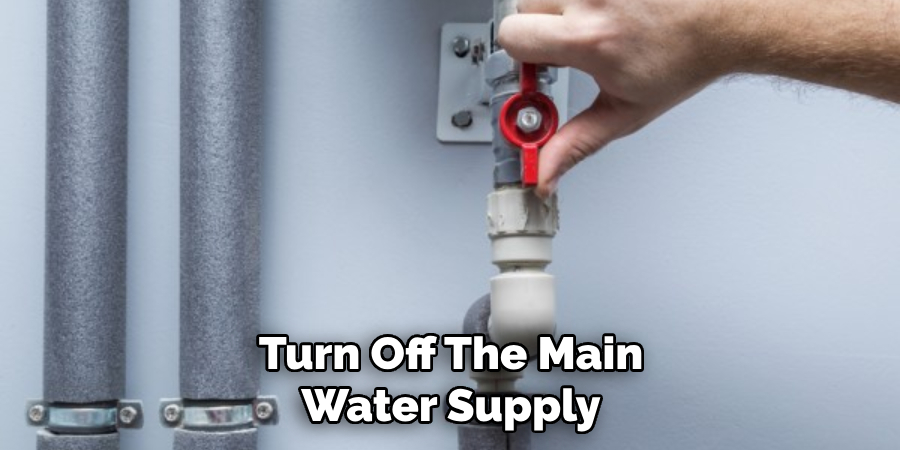
1. First and foremost, turn off the main water supply before starting any installation. This will prevent accidental leaks or water damage.
2. If you are planning on installing the rain shower head in an existing bathroom, make sure there is enough space for the additional plumbing and piping. If not, it may be necessary to consult a professional plumber.
3. Carefully measure and mark the desired location for the rain shower head on the ceiling. It is important to ensure that the ceiling is properly supported for the shower head’s weight and any additional plumbing.
4. Use a stud finder to locate any ceiling joists or beams where you will be installing the shower head. This will provide additional support and prevent any damage to the ceiling.
5. Clean and prepare the existing pipes before attaching any new plumbing. This will help ensure a secure and leak-free connection.
6. Use appropriate tools and materials for your specific installation, following manufacturer instructions carefully. Avoid using excessive force or over-tightening fittings, as this can lead to damage or leaks.
7. When attaching the shower head and any additional plumbing, use the plumber’s tape on all threaded connections to prevent leaks.
8. Double-check all connections and ensure everything is secure before turning the water supply back on. It may also be helpful to test for leaks before fully installing the rain shower head.
9. Once everything is installed and in place, make sure to properly seal any gaps or openings in the ceiling around the shower head. This will help prevent water damage and ensure a clean installation.
Following these precautions will help ensure a successful and safe installation of your rain shower head in the ceiling. It is also important to regularly check and maintain the shower head, as well as inspect for any potential leaks or damage.
With proper care and maintenance, your rain shower head will provide a luxurious and enjoyable experience for years to come. So, it is essential to follow these steps when installing a rain shower head in the ceiling to avoid any potential issues or accidents. Happy showering!
Frequently Asked Questions
What is a Rain Shower Head?
A rain shower head, also known as a rainfall shower head, mimics the feeling of standing in a warm and gentle rainstorm. It typically has a large and wide surface area with many small holes for the water to come out instead of one concentrated stream like traditional showerheads. This creates a softer and more enveloping flow of water, providing a luxurious and relaxing shower experience.
What is the Difference Between a Rain Shower Head and a Regular Shower Head?
The main difference between a rain shower head and a regular shower head is the type of water flow they provide. Regular shower heads have a concentrated stream of water, while rain shower heads have a wider surface area with many small holes for the water to come out. This gives a rain-like effect, providing a more soothing and relaxing shower experience. Additionally, rain shower heads are typically larger in size and are often mounted on the ceiling or high up on the wall for a more natural rainfall feel.
Can You Install a Rain Shower Head in the Ceiling?
Yes, you can install a rain shower head in the ceiling. In fact, this is the most common and recommended way to install a rain shower head as it provides the most authentic rain-like experience. However, it is important to note that installing a ceiling-mounted shower head may require some additional plumbing work and professional installation.
Conclusion
Now you know how to install a rain shower head in the ceiling; you can upgrade your bathroom and enjoy a luxurious rain-like shower experience at home.
Remember to always follow the manufacturer’s instructions and, if needed, seek professional help for installation. With a little bit of effort and some tools, you can transform your daily shower routine into a relaxing spa-like experience with a rain shower head in the ceiling. Happy showering!

