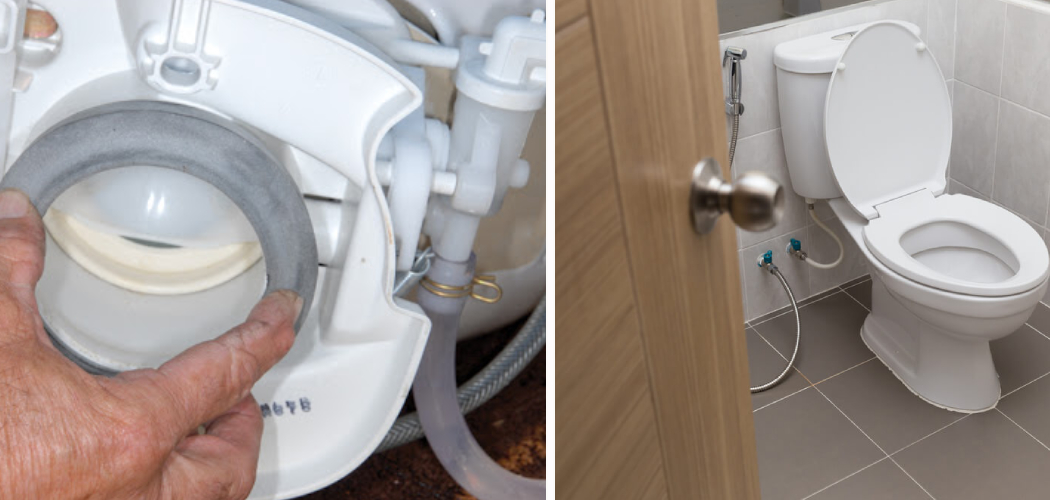
Are you looking to add the convenience of a toilet to your RV? Installing a toilet in your recreational vehicle can be daunting and overwhelming, but it doesn’t have to be! Installing a toilet in an RV may seem like a daunting task, but with the right tools and knowledge, it can be done in just a few hours.
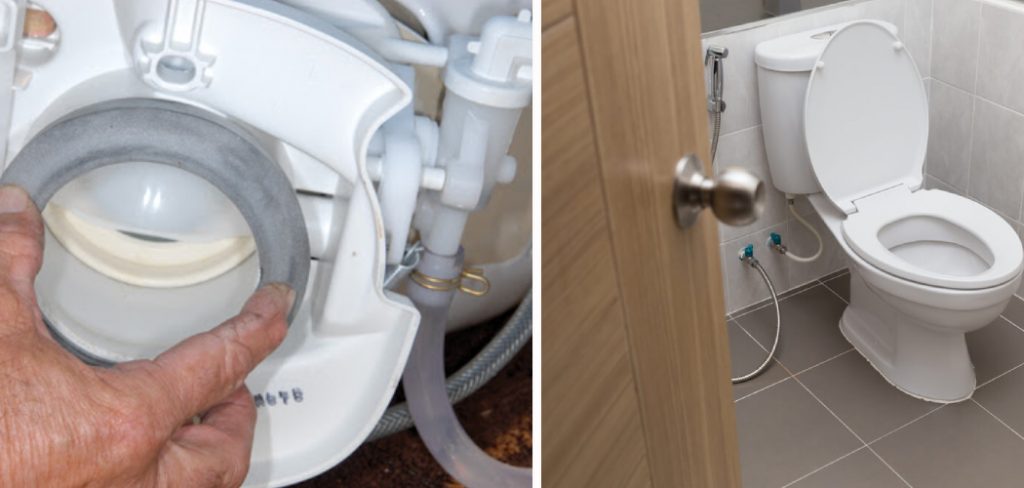
With this guide, you will have everything you need at your fingertips for installing an RV toilet quickly and easily. From important tips and tricks on finding the right type of toilet for your space all the way through to installation DIY instructions, we’ve got you covered. Let’s get started with some helpful information that will help make your installation process smoother and more efficient – read on for all the details on how to install a RV toilet!
Things to Consider Before Starting
Before you begin the installation process, there are a few important things to consider.
- Firstly, make sure you have all of the necessary tools and materials on hand. A tape measure, drill, screws, and sealant are just some of the items you will need.
- Secondly, determine which type of RV toilet is best for your space – this may depend on the size of your RV, as well as what type of toilet you would like to use. It is important to do your research and read reviews before making a decision so that you can be sure that the toilet you purchase will fit in your RV and meet all necessary safety requirements.
- Thirdly, make sure you have enough room for the toilet and all necessary plumbing. Taking measurements of your space before you start is key to ensuring a successful installation.
Now that you have considered these important points let’s move on to the actual installation process!
Choosing the Best Toilet
The first step in installing an RV toilet is to choose the right one for your space. To do this, you will need to consider a few factors.
- Firstly, it’s important to measure your RV bathroom to make sure that the toilet you select fits properly. If you bring an oversized toilet home and it doesn’t fit in your bathroom, you’ll have to return it for a different size.
- Secondly, you will need to choose the right type of RV toilet – either a standard camping or travel trailer unit or a more luxurious residential-style one. Consider all the features that each kind offers before making your choice, as this will help you find the perfect toilet for your space.
- Finally, don’t forget to factor in the cost and any additional installation fees that may be associated with the type of RV toilet you choose. It is surely worth spending a little extra money on a quality product that will last!
Required Materials
Once you have chosen the perfect toilet for your space, it’s time to gather the necessary materials for installation. You will need
- A drill
- Screws
- Sealant
- A tape measure.
Additionally, depending on the type of RV toilet you choose, you may also need some additional plumbing supplies, such as:
- PVC pipes and connectors
Be sure to double-check that you have all the necessary materials before starting – this will help to ensure a successful installation.
10 Steps on How to Install a RV Toilet
Step 1: Assemble the Toilet Seat.
Depending on the type of RV toilet you have chosen, this may involve installing screws and other components. Joints may need to be sealed in place with sealant.
Step 2: Secure the Toilet Base to the Floor.
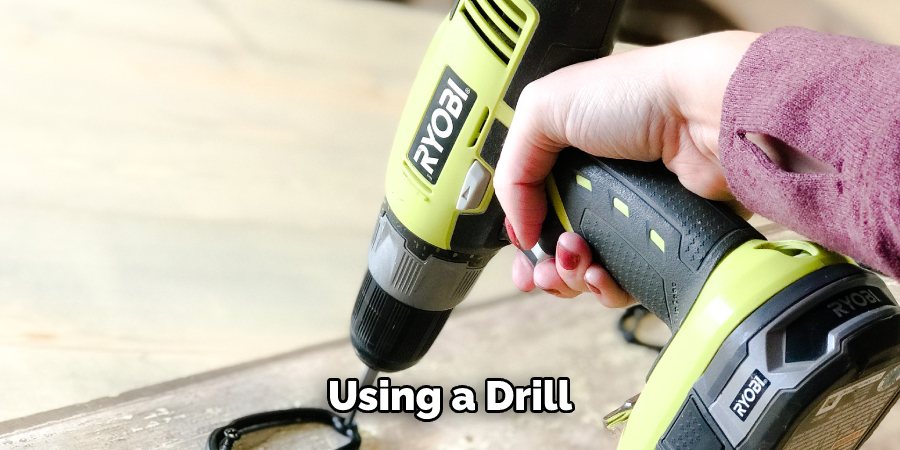
Using a drill, secure the toilet base to the floor of your RV using screws. Make sure that it is firmly secured and level. The base should be attached to a solid surface that can support the weight of the toilet.
Step 3: Connect the Water Supply Line.
Attach the water supply line to your RV’s plumbing system, and ensure it is tightly connected. This may involve connecting PVC pipes and connectors. Follow the manufacturer’s instructions for this step carefully to avoid any leaks.
Step 4: Connect the Drain Line.
Attach the drain line to your RV’s plumbing system, and make sure that it is securely connected. Again, follow the manufacturer’s instructions for this step carefully to avoid any leaks. The line should be connected to the sewer line if you have one or the gray water tank if you don’t.
Step 5: Install the Toilet Tank.
This is where your RV toilet tank will be attached to the base. Make sure that all connections are tightened and secure before continuing. Make sure to use sealant where necessary.
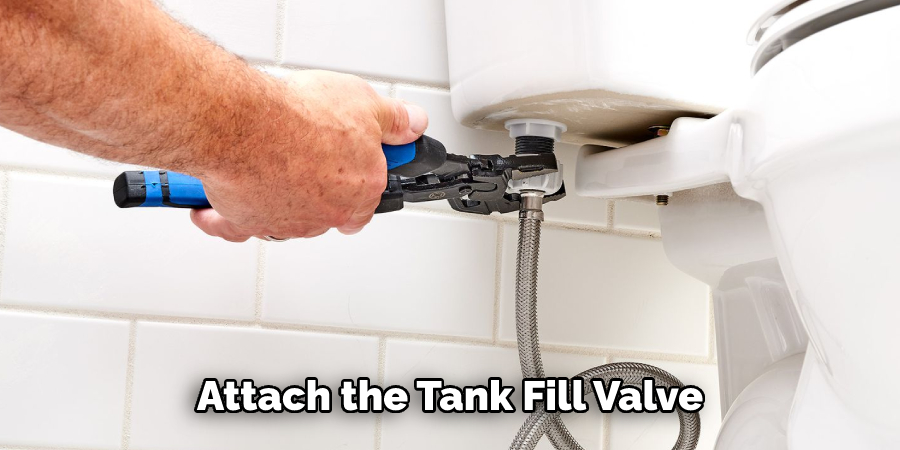
Step 6: Connect the Tank Fill Valve.
Attach the tank fill valve to the toilet tank, and make sure it is securely connected. Follow the manufacturer’s instructions for this step carefully. While connecting the fill valve, make sure that the water supply line is securely connected to your RV’s plumbing system.
Step 7: Connect the Toilet Bowl Fill Valve.
Attach the toilet bowl fill valve to the toilet tank, and make sure it is securely connected. Follow the manufacturer’s instructions for this step carefully. Make sure that all connections are tightened and secure before continuing.
Step 8: Install the Toilet Bowl.
This is where your toilet bowl will be attached to the base. Make sure that all connections are tightly secured before continuing. Use sealant where necessary. The sealant is important for creating a watertight connection between the toilet bowl and the base.
Step 9: Connect the Toilet Bowl Drain Valve.
Attach the toilet bowl drain valve to the toilet tank, and make sure it is securely connected. Follow the manufacturer’s instructions for this step carefully. Make sure that all connections are tightened and secure before continuing.
Step 10: Test for Leaks.
Turn on the water supply and test for leaks by flushing the toilet a few times. Make sure that no water is leaking from any of the connections. If there are any leaks, make sure to address them immediately by tightening or replacing any components as needed.
Once all steps have been completed, and the toilet is secured, your new RV toilet should be ready to use! Enjoy your new addition, and be sure to follow the manufacturer’s instructions for proper care of your RV toilet.
8 Safety Precautions to Follow
When installing an RV toilet, it is important to be aware of some safety precautions. Ensuring a safe installation process will help prevent potential accidents and damage to your RV. Here are 8 safety precautions to follow when installing an RV toilet:
1. Wear Gloves. Always wear protective gloves when handling any part of the installation process, as well as when handling any chemicals used in the process. The protective wear will help to protect your hands from any harm.

2. Unplug the RV. Before beginning the installation of your RV toilet, make sure to unplug the RV from any external power sources. This will help prevent any accidents that may occur due to electricity sparking or short-circuiting within the RV.
3. Read The Instructions. Before beginning the installation process, always read and understand the instructions carefully. This will help to ensure that all steps are followed in order to properly install the RV toilet correctly.
4. Use a Level. To make sure your RV toilet is level, use a level tool to measure before securing it into place. An uneven installation can cause instability and potential accidents. Leveling the toilet will help to make sure that it is secured into place properly.
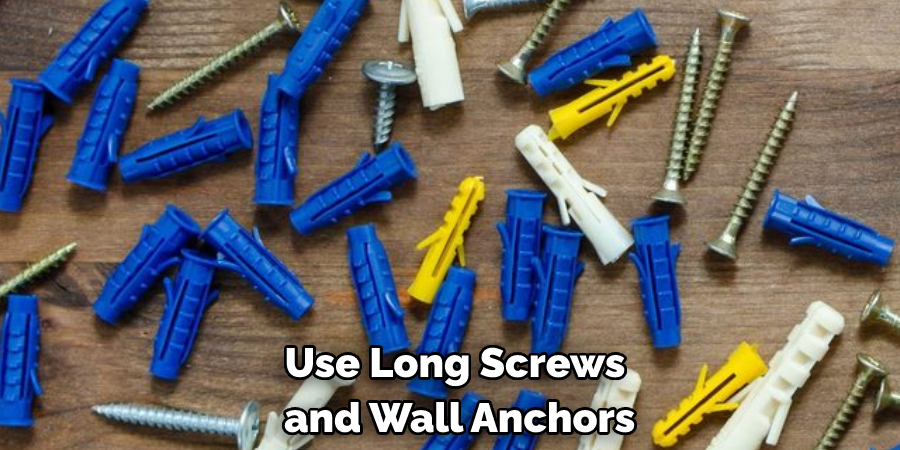
5. Secure the Toilet. When securing your RV toilet, use long screws and wall anchors to secure it firmly in place. This will help ensure that the toilet does not become loose over time, preventing potential accidents or damage caused by an unstable installation.
6. Seal the Toilet. Once your RV toilet is securely in place, use a plumber’s putty or silicone sealant to create an airtight seal around the base of the toilet. This will help to prevent potential water damage and other issues caused by leaking water.
7. Test for Leaks. Once the installation is complete, it is important to test for any potential leaks before using the toilet. Spray some water around the base of the toilet and look for signs of any dripping or leaking. If there are any leaks present, seal them with more putty or silicone sealant before continuing.
8. Clean Up Thoroughly. Finally, always take the time to clean up any messes or debris caused during the installation process. This will help to ensure that your RV toilet is properly installed and free from any potential hazards.
Conclusion
Installing an RV toilet may seem like a difficult task to undertake, but with the right tools and guidance, it can be quite simple! By following these steps, you can have your new toilet installed in no time. Before beginning the installation process, however, make sure you have all of your necessary tools in order to ensure that it’s properly set up.
When it comes to taking care of all of your RV’s needs, installing a new toilet is no exception. It’s important that you do the necessary research first and follow all guidelines on how to install a RV toilet appropriately to get your job done effectively and efficiently. Take charge of your RV’s safety and get started on installing that new RV toilet today!

