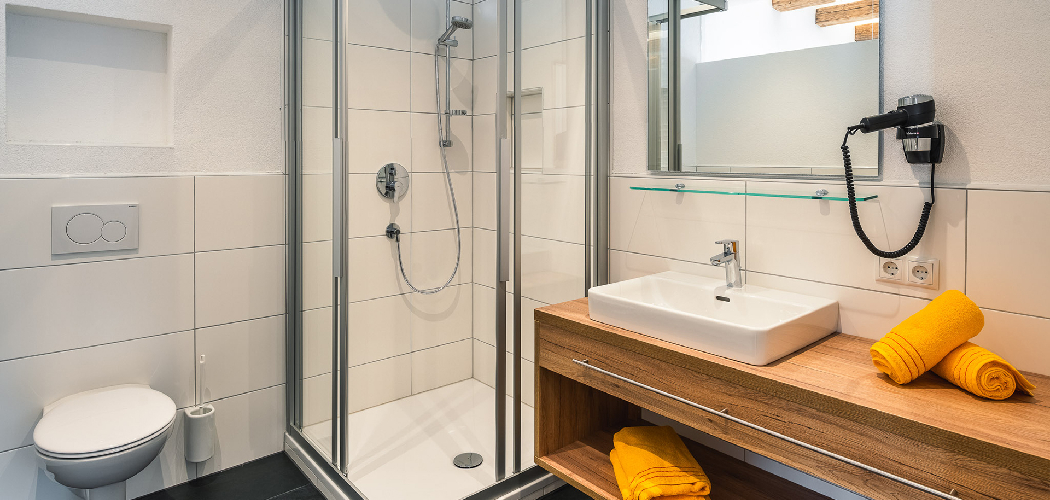
Are you looking to upgrade your half bathroom with a shower? Are you considering adding a shower to your half-bathroom? Whether you’re converting an existing space or building from scratch, installing a shower in your half bath can be a great way to add both convenience and resale value.
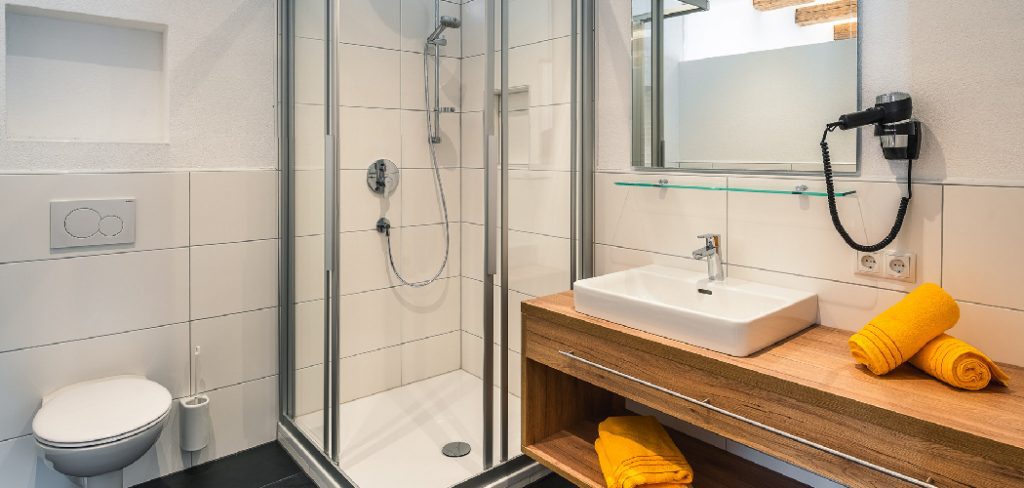
Installing a shower can be an attractive and practical feature in a home, but the process of installation can seem daunting.
Installing a shower in this type of room is tricky, but it can be done. In this blog post, we’ll provide some helpful tips on how to install a shower in a half bathroom for any half bath. From waterproofing techniques to drainage considerations and beyond, we will arm you with all the information you need to get started.
We’ll discuss everything from budgeting for supplies to completing the plumbing connections so that you have all the information necessary to make installing a new shower easier and less stressful. Read on for more!
What is a Half Bathroom?
A half bathroom is one of the most commonly found bathrooms in homes and apartments. It typically consists of a toilet, sink, and sometimes a small countertop space.
Unlike full bathrooms that have both a shower and bathtub, half bathrooms only have space for a toilet and sink, so it’s important to consider how you can best make use of the limited space when installing a shower.
Installing a shower in a half bathroom is possible, but it requires careful planning and consideration of the existing space.
Things You Need to Remember While Installing a Shower in a Half Bathroom
1. Measure the Space
Before installing a shower in a half bathroom, you’ll need to measure the space available. Make sure to measure the width, height, and depth of the area so that you can accurately determine what size shower will fit comfortably in the room. Also, consider if there are any pipes or obstacles that may impede the installation of a shower.
2. Choose the Right Shower
When choosing the right shower for your half bathroom, you’ll want to make sure it fits in with the style of the space and won’t overpower it. Depending on how much space is available, you may be able to fit a standard shower with a door or a walk-in shower without one.
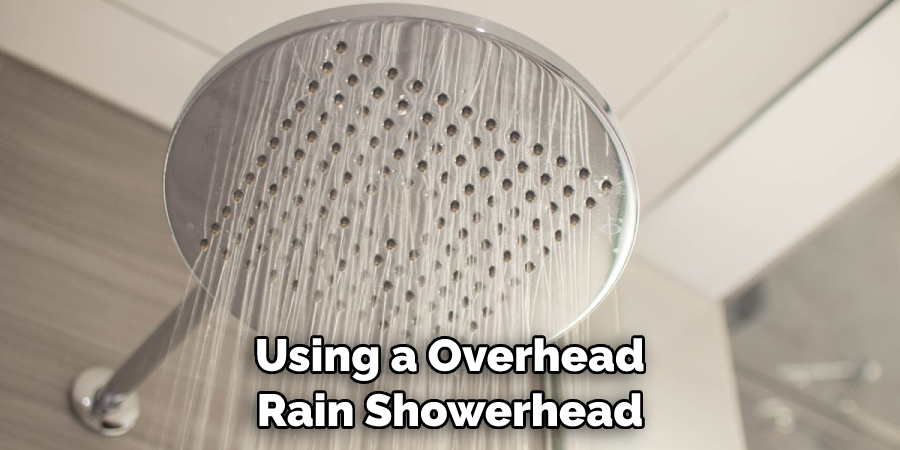
Additionally, you’ll need to consider what type of product is best for your needs – will you be using a handheld showerhead, overhead rain showerhead, or both?
3. Prepare the Room
Once you have chosen the right shower and all the necessary components, you’ll need to prepare the bathroom for installation. First, remove all items that could obstruct or get in the way of the installation process. Then, close off the room with plastic sheeting, if possible, to prevent water from damaging other surfaces. Lastly, be sure to shut off the main water supply before starting any plumbing work.
10 Ways How to Install a Shower in a Half Bathroom
Here are some tips for how to install a shower in a half bathroom:
1. Prepare the Wall
Prepare the wall space and area where you plan to install the shower. This may include patching any cracks or holes in the wall, applying primer, installing drywall, and or plastering and sanding. Also, be sure to measure the space and mark where you’ll need to cut pipes and fixtures.
2. Install the Wall Fixtures
Next, install any wall fixtures, such as a shower valve, showerhead, or handheld unit. Make sure all connections are secure, and there are no leaks before moving on to the next step. Installing a shower diverter to switch between the handheld and overhead fixtures is also recommended.
3. Install the Drain
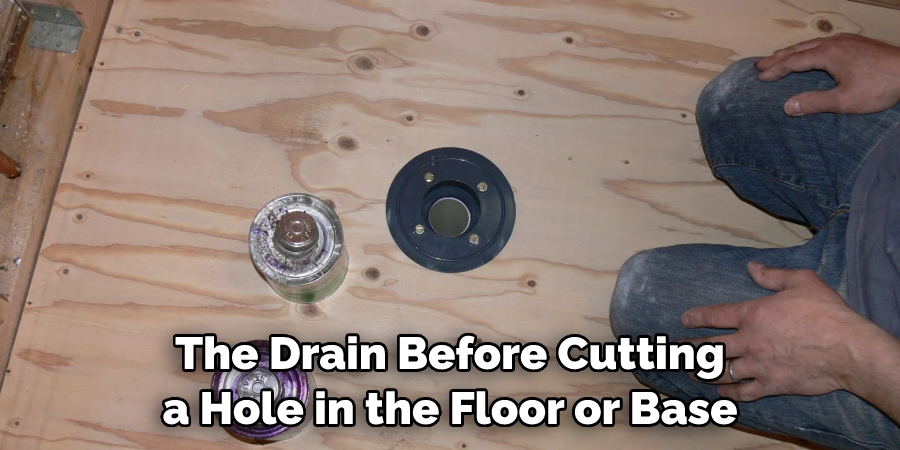
Next, you’ll need to install a drain for the shower. Measure out where you plan to place the drain before cutting a hole in the floor or base of the shower stall if applicable. Most showers are connected to existing plumbing, so make sure to connect the drainpipe and test for any leaks.
4. Install the Shower Base
After installing the drain, you can install the shower base or floor. This should be carefully placed on top of the drain so that it’s level and secure. Seal any gaps with silicone caulk before testing for any leaks again.
5. Install the Walls
Once you’ve installed the base, you can then install the walls of the shower. Take care to measure and cut any necessary holes for pipes and fixtures before attaching them securely to the wall. Caulk all seams and corners to ensure water doesn’t seep into other areas of the room.
6. Install Shower Door
For half bathrooms, a shower door or curtain may be necessary for privacy and to keep water contained. If you plan on installing a glass shower door, make sure it’s the right size and securely installed.
7. Install Accessories
Once all of the major components of the shower have been installed, you can then add any accessories such as towel bars, shelves, and grab bars. Make sure all items are securely attached to the walls and that they don’t interfere with any other fixtures or accessories.
8. Test for Leaks
Before using the shower, make sure that no water is leaking from any of the pipes or fixtures. Check all connections by running some water through them to ensure there are no issues. Leaks can cause major damage to your home, so it’s important to be vigilant when testing for them.
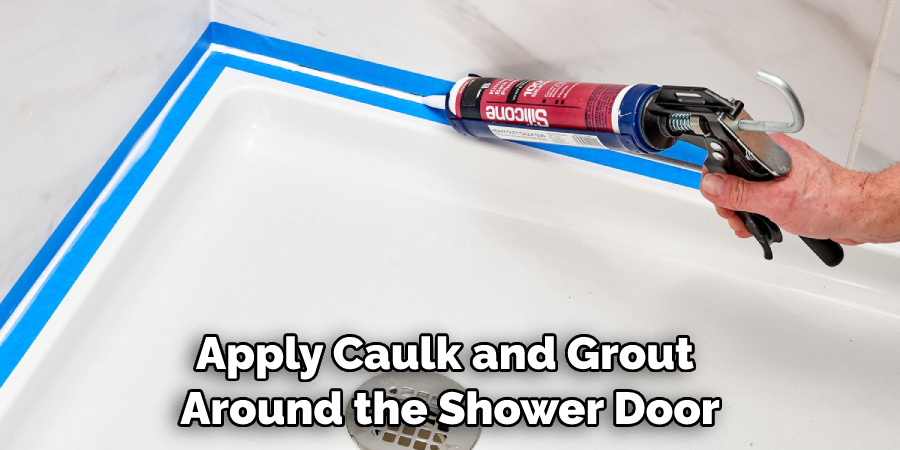
9. Apply Caulk and Grout
Once you’re certain there are no leaks, you can then apply caulk and grout around the shower door or curtain, as well as any other seams and areas that require it. This will help keep water from seeping into other areas of the room.
10. Enjoy Your New Shower!
Once all the above steps have been completed, you can now enjoy your new shower in a half bathroom! Be sure to take proper care of it by cleaning and maintaining it regularly to ensure that it lasts for many years to come.
Installing a shower in a half bathroom may seem like an intimidating process, but it can be done with careful planning and consideration of the space. By following the steps outlined above, you’ll have your new shower installed in no time!
8 Safety Precautions to Follow When Installing a Shower in a Half Bathroom
Installing a shower in your half bathroom can be an exciting and rewarding project, but it’s important that you take the necessary safety precautions to ensure everything goes smoothly. Follow these 8 safety tips when installing a shower in a half bathroom:
- Make sure you have all the proper materials and tools before beginning the installation. The last thing you want is to be in the middle of a project only to find out that you need an additional tool or material.
- Wear protective clothing and gear when working with plumbing materials, such as gloves, safety glasses, and respirators, to protect against dust and fumes. Protective clothing should also include long-sleeved shirts and pants, as well as closed-toe shoes.
- Turn off the main water supply before beginning any work. This will prevent any accidents from occurring in case you forget to turn off a valve or if a pipe breaks during the installation process. Also, make sure to check for any existing water damage in the space before beginning work.
- If you are working on an existing shower, remove it completely and dispose of it safely. This will help prevent any accidents from occurring if there are sharp or hazardous materials left behind.
- Make sure to test all pipes and fittings before installing them to avoid any major issues. This is especially important when working with copper pipes, as they can become brittle over time and cause a leak if not checked regularly.
- If you are installing an electric shower, make sure that you hire a professional electrician to do the job. This will help ensure that your wiring is done correctly and safely, avoiding any potential fires or other dangers.
- Make sure that all pipes and fittings are properly sealed and secured before turning on the water supply. This will help prevent any leaks from occurring after the installation is complete. Making sure that all pipes are properly fitted is especially important when working with plastic pipes, as they can become brittle over time and cause a leak if not sealed correctly.
- Regularly check to make sure the shower is functioning correctly after installation. This will help ensure that there are no leaks or other issues that can lead to costly repairs down the line.

Following these 8 safety tips when installing a shower in your half bathroom can help make the process smoother and ensure that everything goes without a hitch. With the right preparation, you can successfully install a shower and enjoy it for years to come!
Frequently Asked Questions
How Long Will It Take to Finish the Project?
Installing a shower in a half bathroom can be very time-consuming, depending on the scope of the project and the type of materials you choose. If you are doing all of the work yourself, budget at least two days for completing the project.
You may need more time if you are not particularly handy or if this is your first time installing a shower. If you are hiring a contractor to do the work for you, it can take anywhere from one day to several days, depending on the complexity of the project.
What Type of Shower Should I Install?
When it comes to installing a shower in a half bathroom, you have plenty of options. It depends on the size of the room and how much space you have to work with.
A standard shower is typically 4 feet by 2 feet but can range from 3×3 up to 5×4. If space is an issue, consider a corner shower that can fit into tight spaces or even an alcove shower that is placed in a corner and can be as small as 32 inches square. There are also walk-in showers which can have multiple panels to maximize the space.

Conclusion
After reading this article on how to install a shower in a half bathroom, you should now have a good understanding of the steps you need to take in order to successfully install a shower in your half bathroom.
Although it can seem like a daunting task, it is really quite straightforward when broken down into logical steps. You will need to calculate the right size of unit for your room, and buy the supplies needed as well as accessories such as tiles and fittings while ensuring that they coincide with your existing pipelines.
Once you are ready, begin the installation process by measuring up the area before working in reverse order and installing both the shower pan and wallboard on either side of your door frame. With some patience and attention to detail from start until finish, you’ll have soon installed a brand new shower into your half bathroom—giving not only an updated look but also improved functionality.

