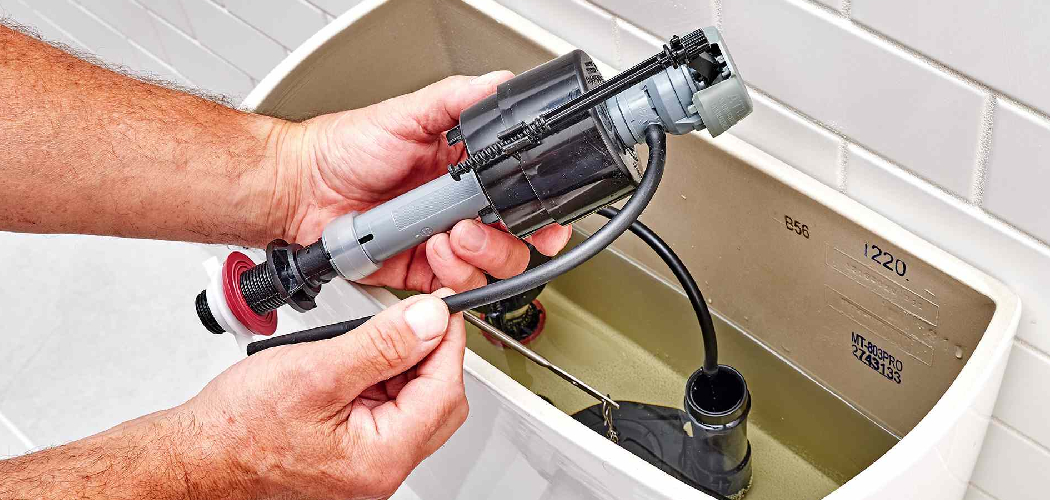
The toilet flush valve plays a crucial role in regulating the water flow required for a proper flush, making it an integral component of your toilet’s functionality. Over time, a faulty flush valve can lead to issues like water leaks, inefficient flushing, and unnecessary water wastage, which can significantly impact both your water bill and the environment.
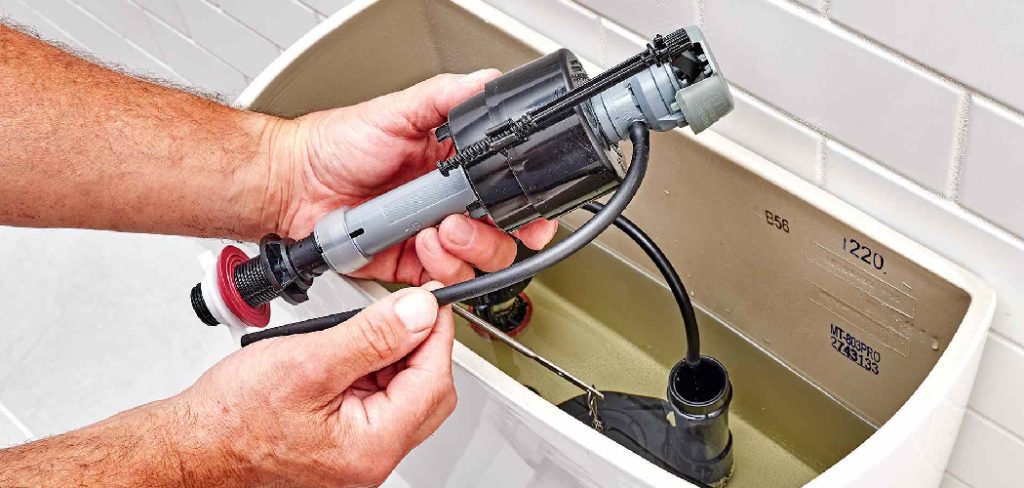
Replacing or installing a new flush valve is not only essential for ensuring optimal flushing performance but also for maintaining overall efficiency. This article aims to provide a comprehensive step-by-step guide on how to install a toilet flush valve.
It covers everything from the necessary preparations and tools you’ll need to effective troubleshooting tips, ensuring that even first-time DIYers can carry out the installation process with confidence and ease.
Materials and Tools Needed
Materials Needed
- New Toilet Flush Valve Kit (includes the flush valve, rubber seal, and other components).
- New Tank-to-bowl Bolts (if necessary).
- Silicone-based Lubricant (optional).
Tools You’ll Need
- Adjustable Wrench for loosening and tightening bolts.
- Channel-lock Pliers or Pipe Wrench for extra leverage.
- Flathead Screwdriver for removing screws.
- Towels or Sponges to clean up excess water.
- Bucket or Bowl to collect drained water from the tank.
- Utility Knife (optional, for cutting away old seals).
Having all the listed materials and tools handy ensures a smooth and hassle-free installation process. Proper preparation minimizes interruptions and allows you to focus on completing the task efficiently. Before starting, double-check that you have everything to avoid unnecessary delays. A well-organized workspace is key to a successful DIY installation.
Preparing the Toilet for Installation
Step 1: Turn Off the Water Supply
Locate the water shutoff valve near the toilet’s base and turn it clockwise to close. This step is crucial to prevent any water flow during the installation process. Once the water supply is shut off, flush the toilet to empty the tank of any remaining water. You may need to hold down the handle during the flush to ensure as much water as possible is removed from the tank.
Step 2: Disconnect the Water Supply Line
Carefully disconnect the water supply hose from the toilet’s fill valve using an adjustable wrench. A small amount of water will leak out during this step, so have a towel or bucket underneath to catch any residual water. Place the hose out of the way to keep your workspace tidy.
Step 3: Remove the Toilet Tank from the Bowl
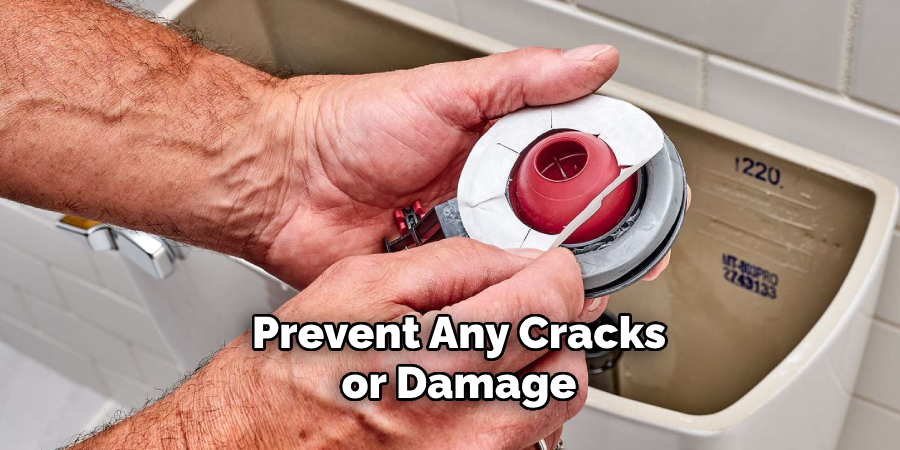
Locate the bolts securing the tank to the toilet bowl, usually at the tank’s base. Using a wrench or screwdriver, unscrew these bolts. Once the bolts are fully removed, gently lift the tank off the bowl. Be cautious here, as the tank may be heavier than expected. Place it on a soft, flat surface, like a towel, to prevent any cracks or damage.
Step 4: Inspect the Tank Components
Before proceeding, inspect the internal components of the toilet tank, particularly the flush valve and other seals. If any parts appear worn, damaged, or cracked, replace them with the new flush valve or other components provided in your installation kit. This inspection ensures a properly functioning toilet once the installation is complete.
How to Install a Toilet Flush Valve: Removing the Old Flush Valve
Step 1: Detach the Flush Valve from the Tank
Begin by locating the nut that secures the old flush valve to the toilet tank. Using a screwdriver or wrench, carefully loosen and remove the nut. Once the nut is detached, check for any washers or rubber seals that may be stuck to the flush valve or tank. Gently pry these components away if necessary, as they might be adhered due to years of usage. Exercise caution during this process to avoid cracking or damaging the tank.
Step 2: Remove the Old Valve from the Tank
With the nut and any additional seals removed, lift the old flush valve out of the tank. This step may require some gentle maneuvering, especially if the valve has been in place for a long time. Ensure that all parts of the old valve, including any residual pieces of the seal or gasket, are completely removed from the tank interior. A complete removal is essential to prevent potential leaks once the new flush valve is installed.
Step 3: Clean the Tank
Before proceeding with the installation of the new flush valve, thoroughly clean the inside of the tank with a sponge or cloth. Clear away any debris, mineral deposits, or remnants of the old seal. Cleaning the tank ensures that the new flush valve and gasket will fit securely while creating an effective seal to prevent leaks. A clean surface also improves the longevity and functionality of the new valve.
Installing the New Flush Valve
Step 1: Position the New Flush Valve
Place the new flush valve in the opening at the bottom of the toilet tank. Ensure it is aligned correctly with the mounting holes and that the overflow tube is facing the center of the tank. Proper alignment is key to ensuring the valve functions correctly and facilitates straightforward connections later in installation.
Step 2: Secure the Flush Valve to the Tank
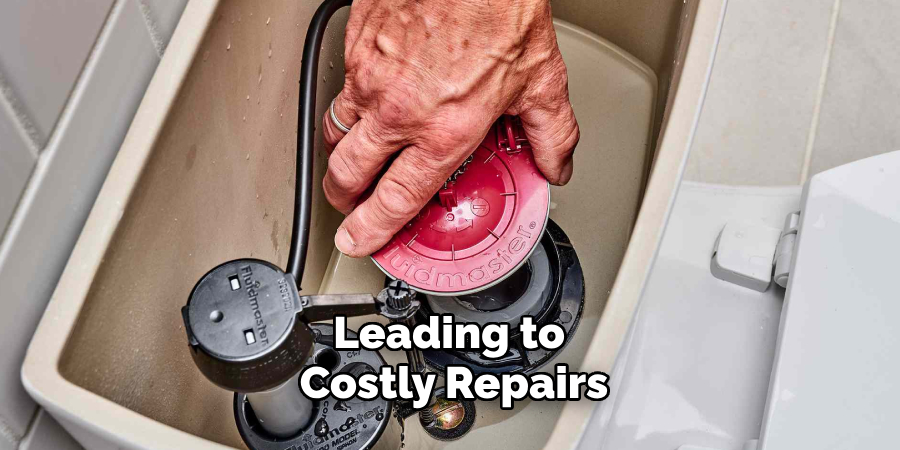
Slide the rubber gasket over the base of the flush valve and press it firmly against the inside of the tank. The gasket provides a watertight seal and helps prevent leaks. Once the gasket is in place, insert the mounting nut underneath the valve and tighten it using your wrench. Be cautious not to over-tighten the nut, as applying excessive force could crack the tank, leading to costly repairs. A firm but moderate seal is sufficient for securing the valve.
Step 3: Install the Tank-to-Bowl Bolts
If the old tank-to-bowl bolts are corroded or worn, replace them with new ones to ensure a strong and stable connection. Insert the bolts through the designated holes at the bottom of the tank, securing them firmly with washers and nuts. Tighten these connections gradually and evenly to maintain the tank’s alignment with the bowl. This step is critical for avoiding uneven pressure, which could result in leaks where the tank connects to the bowl.
Reconnecting the Water Supply
Step 1: Reattach the Water Supply Line
Reconnect the water supply hose to the flush valve’s fill valve. Begin by aligning the hose with the fill valve’s threaded inlet, ensuring a snug fit. Once in place, use pliers to tighten the connection securely. Be careful not to overtighten, as this could damage the threads or the fill valve, leading to future leaks or operational issues.
Step 2: Check for Leaks
Once the supply line is firmly reattached, turn on the water supply valve by rotating it counterclockwise. Allow the tank to fill with water, and carefully monitor the area around the flush valve and all connections for any signs of leaks. Inspect the specific area to identify the issue if a leak is detected. Tighten the connection incrementally or, if necessary, replace faulty seals or washers to ensure a watertight seal.
Patience and attention during this step are important for preventing water wastage and ensuring the long-term reliability of the setup. Once the tank is fully filled and no leaks are present, the reconnection process is complete, and your toilet is ready for use.
Testing the Flush Valve
Step 1: Test the Flushing Mechanism
Press the flush lever to check if the valve opens and closes properly. Observe the tank as it empties and refills, ensuring smooth operation throughout the cycle. The flush valve’s primary function is to allow water to flow from the tank to the bowl and then shut off completely once the tank reaches the proper water level.
Pay close attention to ensure the valve forms a tight seal after flushing. Any signs of water continuously flowing into the bowl could indicate an issue with the flush valve or its seal.
Step 2: Adjust the Flush Valve as Needed
If the water level in the tank appears too high or too low, locate the float mechanism or refill valve and make the necessary adjustments. The float mechanism controls the water level in the tank, and proper adjustment is crucial for efficient flushing and preventing water wastage.
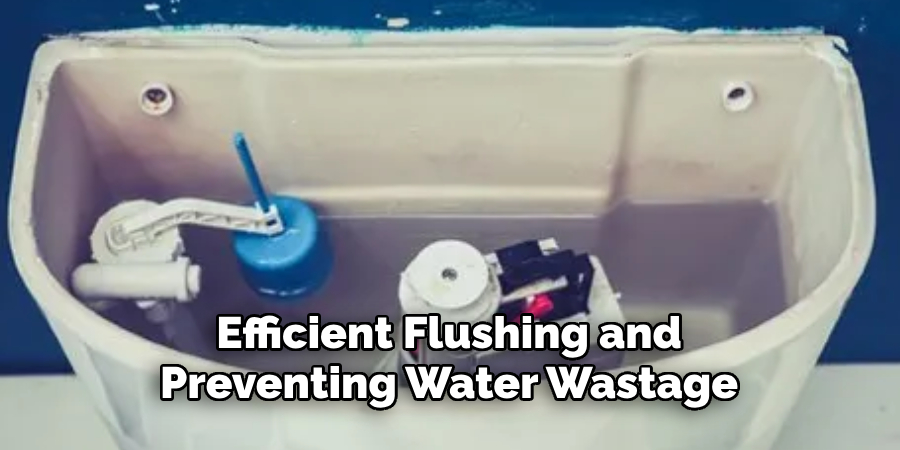
Additionally, check for irregularities such as a weak flush or constant running water. These signs may require fine-tuning the valve settings or even repairing or replacing faulty components. Regular testing and adjustments will ensure the flush valve operates reliably and contributes to the overall efficiency of your toilet system.
Finishing Touches and Cleanup
Step 1: Final Inspection
Double-check all connections to ensure everything is securely fastened and there are no leaks. Pay attention to the area around the flush valve and water inlet for any signs of dripping. Test the flush mechanism several more times to confirm it operates smoothly without any issues. If you notice anything out of place, make the necessary adjustments before proceeding to the next step.
Step 2: Clean the Area
Take a moment to clean the toilet tank and the surrounding workspace. Use a damp cloth to wipe away any dust, debris, or water marks on the tank. Gather all tools and ensure they are cleaned and stored properly. Dispose of any old parts, seals, or packaging materials responsibly, following proper waste management practices. A clean and organized finish will leave your toilet system looking pristine and functioning efficiently.
Conclusion
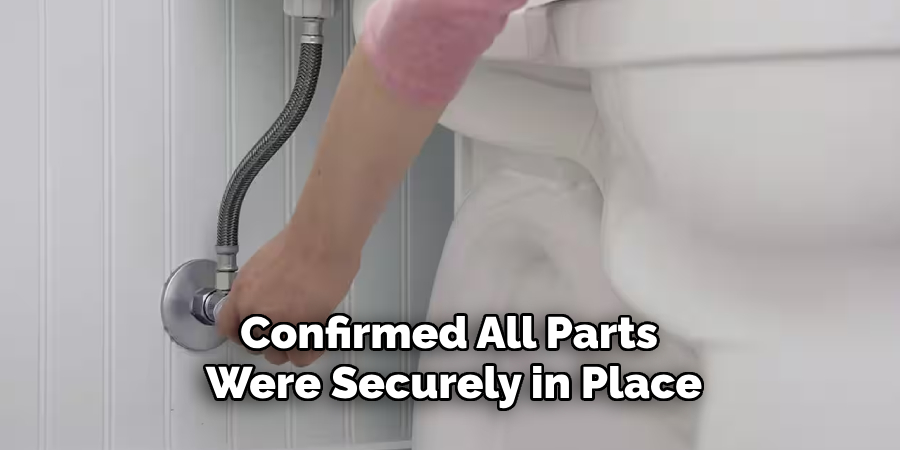
In this guide on how to install a toilet flush valve, we walked through the essential steps for a successful installation. First, we removed the old flush valve, ensuring the tank was clean and prepared for the new part. Next, we installed the replacement valve carefully, then reconnected the water supply and confirmed all parts were securely in place.
Finally, testing the flush and making necessary adjustments guarantees optimal performance. Remember, regular flush valve maintenance keeps your toilet running smoothly and prevents costly repairs down the line. With these steps, your toilet system will function efficiently for years to come.

