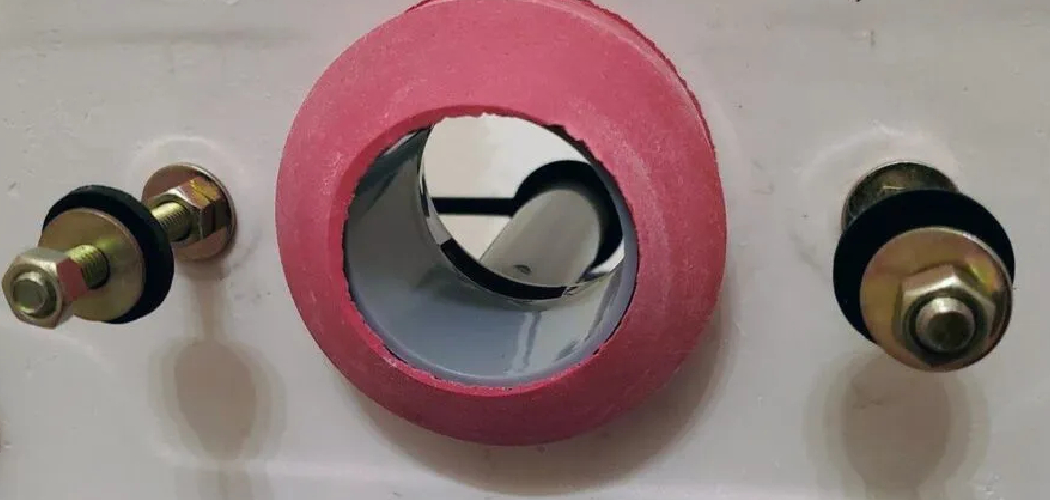
Installing toilet tank bolts is an essential step in ensuring your toilet functions properly and remains securely fastened. Whether you’re replacing old, rusty bolts or installing a new toilet, understanding the process can save you time and help prevent leaks.
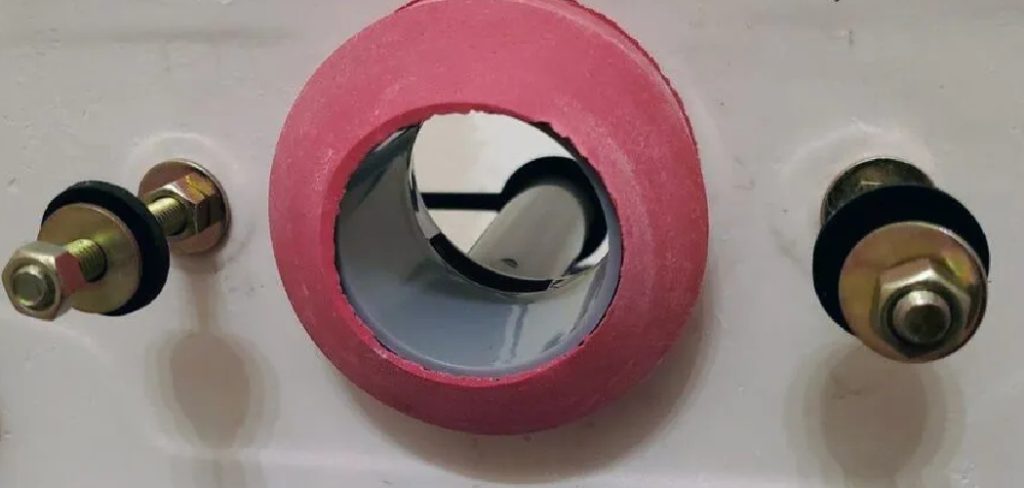
This guide on how to install a toilet tank bolts will walk you through the necessary tools, preparation, and steps to get the job done efficiently and effectively.
Why is It Important to Install Toilet Tank Bolts Correctly?
Installing toilet tank bolts may seem like a simple task, but if not done properly, it can lead to major issues down the line. A loose or improperly installed bolt can cause leaks in your toilet, which can damage your bathroom floor and potentially lead to mold growth. It can also result in an unstable toilet that shifts and wobbles when in use.
Therefore, taking the time to install toilet tank bolts correctly is crucial for maintaining a functional and safe bathroom.
Tools Needed
Before starting the installation process, make sure you have these tools on hand:
Adjustable Wrench
You will need an adjustable wrench to tighten the bolts securely. Make sure it is the right size for the bolts on your specific toilet model.
Screwdriver
A screwdriver may be needed to remove any old bolts or screws from the tank before installation.
Washers and Nuts
Most toilet tanks come with washers and nuts included, but if not, make sure you have these on hand as they are essential for securing the bolts.
11 Step-by-Step Guides on How to Install a Toilet Tank Bolts
Step 1: Shut off the Water Supply
Before starting, locate the water shut-off valve near the base of your toilet. Turn the valve clockwise to close it and stop the flow of water to the tank.
Flush the toilet to drain as much water as possible from the tank and bowl, then use a sponge or towel to soak up any remaining water. This ensures a clean and dry working area for the installation process.
Step 2: Remove the Old Tank Bolts
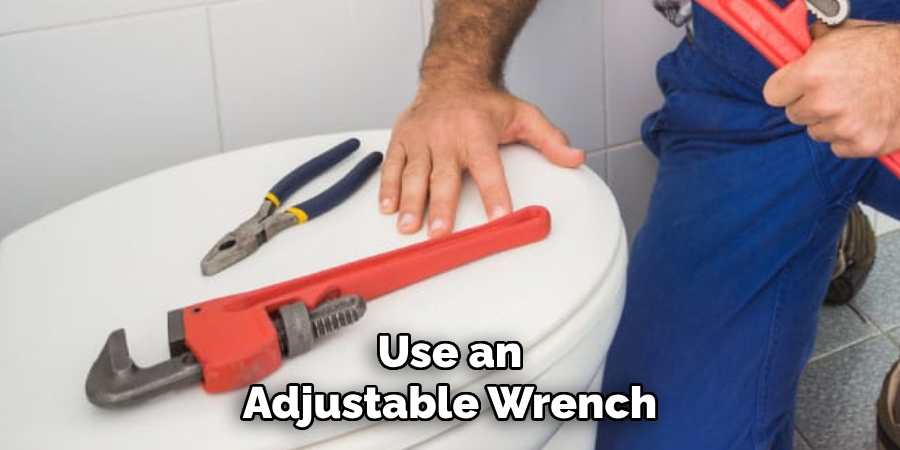
First, use an adjustable wrench or pliers to hold the nut beneath the tank and secure the old bolt in place. Then, using a screwdriver, carefully turn the bolt from inside the tank counterclockwise to loosen it. Repeat this process for each bolt. If the bolts are rusted or stuck, apply a penetrating lubricant and allow it to sit for a few minutes to ease removal.
Once the bolts are removed, clean the area around the bolt holes to ensure a smooth surface for the new bolts. Dispose of the old bolts properly.
Step 3: Place Washers on New Bolts
Take the new bolts and slide a rubber washer onto each one. The rubber washers are essential for creating a watertight seal and preventing leaks. Ensure the washers are positioned snugly against the bolt head. This step helps provide a secure and tight fit once the bolts are installed.
Double-check that the washers are the correct size and compatible with the new bolts to avoid any issues during the reassembly process.
Step 4: Install Nuts on Bolts
After securing the washers on the bolts, thread a nut onto each bolt. Turn the nuts clockwise by hand until they are snug against the washers. Once hand-tightened, use a wrench to further secure the nuts, ensuring they are firmly in place but not overtightened.
This step guarantees a stable and reliable connection that will hold securely under pressure. Make sure all nuts are evenly tightened to distribute the force uniformly and prevent any misalignment or damage.
Step 5: Use a Wrench to Secure Nuts
With the nuts already hand-tightened in the previous step, proceed to fully secure them using a wrench. Place the wrench firmly over each nut and turn it clockwise until the nut is tightly fastened.
Avoid applying excessive force, as overtightening can strip the threads or damage the components. Once all nuts are securely tightened, double-check their alignment and ensure each connection is stable. This step ensures the assembly is robust and capable of withstanding operational stress.
Step 6: Repeat Steps for Remaining Bolts
After securing the initial set of nuts, proceed to repeat the same process for the remaining bolts. Begin by hand-tightening each nut onto its corresponding bolt to ensure proper alignment. Once in place, use a wrench to fully tighten the nuts, turning clockwise and being cautious not to overtighten.
Confirm that all bolts are evenly fastened, and double-check the stability of the assembly. Ensuring consistency across all bolts is crucial for maintaining structural integrity and reliable performance.
Step 7: Attach Tank Lid
Carefully position the tank lid over the top opening of the tank. Ensure that it aligns properly with the edges and any guiding notches. Once aligned, gently press it into place to avoid any misalignment or damage. If the lid features fasteners or clips, secure them firmly to hold the lid in place.
After attaching, inspect the lid to confirm it is evenly and securely seated without any gaps. This step ensures the tank is properly enclosed and ready for use.
Step 8: Connect Water Supply
Locate the water inlet port on the tank and attach the water supply line securely. Ensure the connections are properly aligned to prevent leaks. Use a wrench, if necessary, to tighten any fittings, being cautious not to overtighten and risk damaging the threads.
After connecting the water supply, slowly turn on the water to check for any leaks at the connection point. If leaks are detected, turn off the water, adjust the connection, and retest. Once confirmed that the water supply is securely connected and leak-free, the tank is ready for operation.
Step 9: Test for Leaks
With the water supply securely connected, start testing for leaks throughout the system. Begin by filling the tank partially with water and carefully inspect all connection points, valves, and seals for any signs of dripping or moisture. If any leaks are observed, immediately shut off the water supply, tighten the connections or replace faulty components, and retest the system.
Continue testing until the entire setup is completely leak-free. Thoroughly checking for leaks ensures a safe and efficient operation of the system.
Step 10: Reattach the Toilet Bowl
Carefully lift the toilet bowl and position it over the flange, aligning the bolt holes with the bolts in the floor. Gently lower the bowl into place, ensuring it sits evenly and securely. Press down slightly to create a good seal with the wax ring.
Once the bowl is positioned, attach the washers and nuts onto the bolts and tighten them evenly on both sides to avoid cracking the porcelain. Be cautious not to overtighten. Finally, check that the toilet bowl is stable and does not rock.
Step 11: Test Flushing
Once the toilet bowl is securely in place, turn the water supply back on by opening the shutoff valve. Allow the tank to fill completely, then carefully test the flushing mechanism. Check for any leaks around the base of the toilet and ensure that the water drains smoothly and thoroughly. If you notice any issues, such as leaks or poor flushing, double-check the connections and the alignment of the wax ring. Repeat the process until the toilet functions properly. Be thorough to ensure a watertight seal and proper operation.
Following these steps on how to install a toilet tank bolts and taking the time to properly install a toilet will save you from potential headaches in the future. The key is to be patient and meticulous during the installation process.
Maintaining Your Toilet
Regular maintenance is important to keep your toilet functioning properly. Here are a few tips to help you maintain your toilet:
- Regularly check for any leaks and fix them immediately to prevent any damage.
- Clean your toilet regularly with a mild cleaner to prevent the buildup of grime and bacteria.
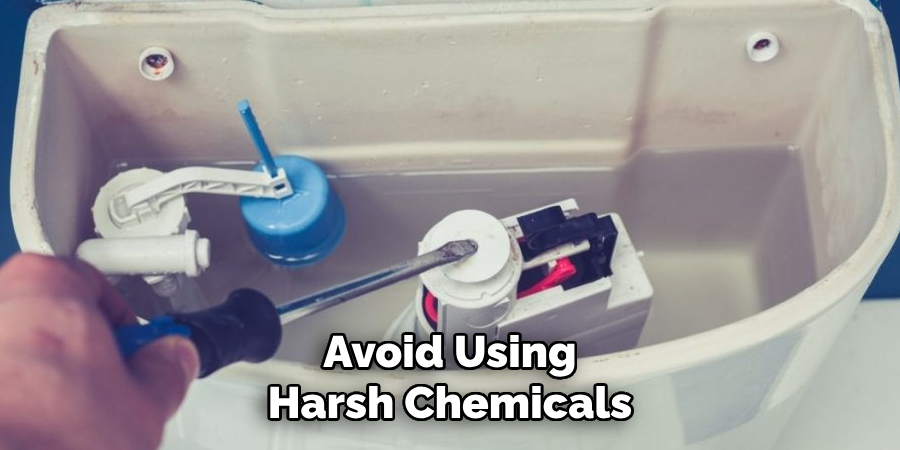
- Avoid using harsh chemicals, as they can damage the components of your toilet.
- Check the parts inside the tank (flapper, chain, etc.) every 6 months and replace them if necessary.
- If you notice any changes in water level or flushing power, it may be time to call a plumber.
- Consider installing a water-saving toilet to reduce water usage and save on utility bills.
Frequently Asked Questions
Q1: How Often Should I Clean My Toilet?
A: It is recommended to clean your toilet at least once a week. However, if you have a large household or frequently use the bathroom, it may need to be cleaned more often. It is important to regularly clean your toilet to prevent the buildup of bacteria and germs.
Q2: How Do I Choose a Toilet Cleaner?
A: There are many different types of toilet cleaners available, including bleach-based, natural, and multi-purpose cleaners. When choosing a cleaner, consider any allergies or sensitivities you may have and opt for a gentle yet effective option.
Q3: Can I Use DIY Cleaners on My Toilet?
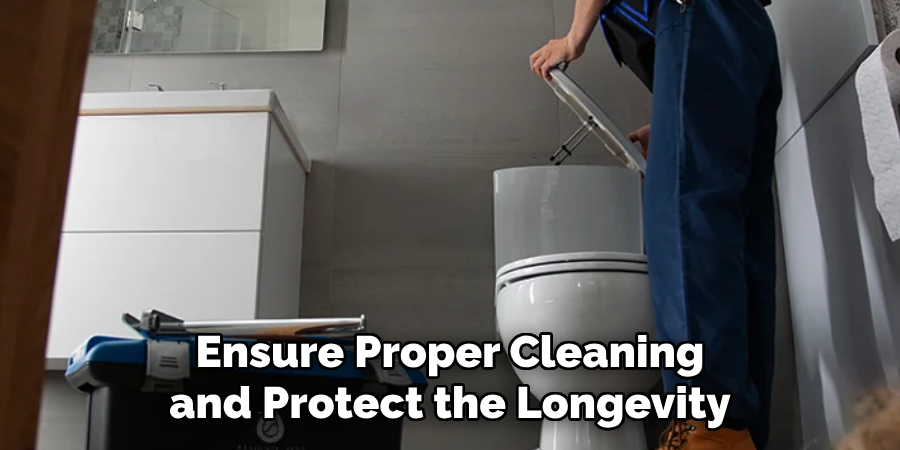
A: While there are many DIY toilet cleaner recipes available online, it is important to note that they may not be as effective as store-bought cleaners. Additionally, some homemade cleaners may contain ingredients that could damage your toilet’s surfaces. It is best to use a cleaner specifically designed for toilets to ensure proper cleaning and protect the longevity of your toilet.
Conclusion
Maintaining a clean and hygienic toilet is essential for a healthy home environment. By choosing the right type of cleaner and understanding the best practices for use, you can ensure effective cleaning while protecting your toilet’s surfaces.
Whether you prefer store-bought options or are curious about DIY solutions, always prioritize safety, effectiveness, and the longevity of your fixtures. A little effort goes a long way in keeping your bathroom fresh and sanitary. Thanks for reading this article on how to install a toilet tank bolts.

