Installing a toilet water supply line is a straightforward process that can save you time and money compared to hiring a professional. Whether you are replacing an old supply line or installing a new one, this guide will help you complete the task with ease.
By following a few simple steps on how to install a toilet water supply line and using the right tools, you can ensure a leak-free connection and proper water flow to your toilet. Before you begin, it’s essential to gather the necessary materials and understand the procedure to avoid any common pitfalls.
Why Install a Toilet Water Supply Line?
Water supply lines are essential for any toilet as they deliver water from the main water line to your toilet tank. Without a functioning supply line, your toilet won’t be able to flush properly, causing inconvenience and potentially leading to costly repairs in the future.
Moreover, old or damaged supply lines can cause leaks that can damage your floors and walls, leading to mold growth and structural damage. By installing a new toilet water supply line, you can prevent these issues and ensure the proper functioning of your toilet.
Materials Needed
To install a new toilet water supply line, you will need:
Adjustable Wrench:
This tool will come in handy for securing the supply line and connecting it to both the toilet tank and water shut-off valve.
Supply Line:
Choose a supply line made of braided stainless steel or plastic, as they are more durable and less prone to leaks compared to traditional metal lines.
Teflon Tape:
This tape is used to create a watertight seal between the supply line and the toilet tank.
Water Shut-Off Valve:
You will need to locate the water shut-off valve near your toilet before beginning. This valve controls the flow of water to your toilet and needs to be turned off during installation to prevent any water leakage.
8 Step-by-step Guidelines on How to Install a Toilet Water Supply Line
Step 1: Turn Off the Water Supply
The first step in installing a toilet water supply line is to turn off the water supply to your toilet. Locate the water shut-off valve, which is typically located on the wall or floor near the base of your toilet. Turn the valve handle clockwise until it is fully closed to stop the flow of water. Once the valve is closed, flush the toilet to drain the remaining water from the tank.
This step ensures that no water leaks or spills during the installation process. If any water remains in the tank, use a sponge or towel to soak it up completely.
Step 2: Remove the Old Supply Line
If you are replacing an old supply line, the next step is to carefully remove it. Start by using an adjustable wrench to disconnect the supply line from the water shut-off valve. Turn the fitting counterclockwise until it is loose enough to remove by hand. Next, disconnect the other end of the supply line from the toilet tank by twisting the nut counterclockwise.
Once the old supply line is fully detached, inspect the connection points on both the tank and the shut-off valve for any signs of debris or damage. Clean the threads if necessary and ensure that they are in good condition before proceeding to install the new supply line. This preparation will help ensure a secure and leak-free connection.
Step 3: Prepare the New Supply Line
Before connecting the new supply line, it’s crucial to prepare it by wrapping Teflon tape around the threads on both ends. This helps create a tight seal and prevents any water from leaking. Begin by wrapping the tape in a clockwise direction around one end of the supply line, overlapping each layer slightly until you reach the end. Repeat this process for the other end.
You can also use plumbing compound as an alternative to Teflon tape.
Step 4: Connect the Supply Line to the Water Shut-Off Valve
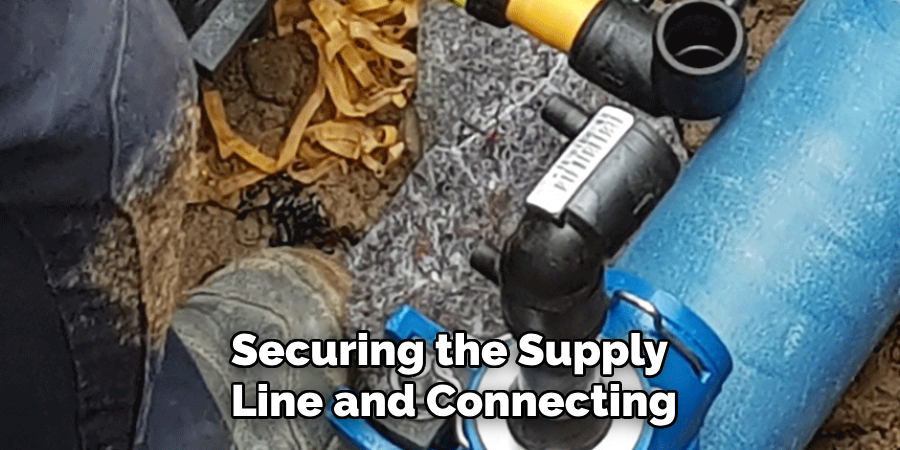
With the new supply line prepared, it’s time to connect it to the water shut-off valve. Start by hand-tightening the nut onto the valve and then use your adjustable wrench to turn it clockwise until it is snug.
Avoid over-tightening, as this can damage the threads and cause leaks.
Step 5: Attach the Supply Line to the Toilet Tank
Next, attach the other end of the supply line to the toilet tank by twisting the nut onto the threaded connector on the bottom of the tank. Tighten the nut using your adjustable wrench until it is snug.
Step 6: Turn on the Water Supply
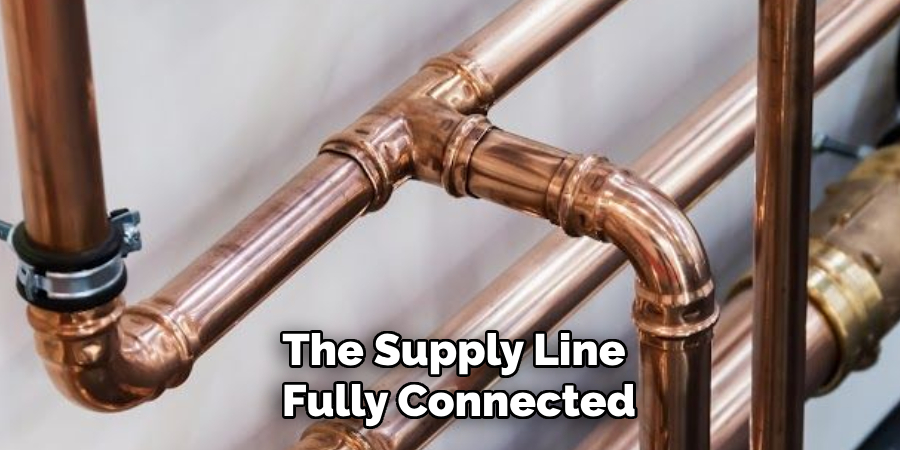
With the supply line fully connected, turn the water shut-off valve counterclockwise to allow water to flow back into the toilet tank and fill it up. Check for any leaks around both connection points and tighten them if necessary.
Once you have confirmed that there are no leaks, flush the toilet a few times to ensure proper water flow.
Step 7: Adjust as Needed
If you notice any issues with water flow or connections, adjust the supply line accordingly by hand-tightening or loosening the nuts at either end. Remember not to over-tighten as this can damage the threads.
The supply line should be straight and aligned properly to prevent any kinks or bends that can impede water flow.
Step 8: Clean Up and Test
After you have confirmed that the supply line is properly installed and there are no leaks, clean up any excess water or debris around the toilet tank. Turn off the water shut-off valve again to prevent any potential issues in the future.
Finally, flush the toilet a few times to make sure everything is working correctly. Congratulations, you have successfully installed a new toilet water supply line!
Following these step-by-step guidelines on how to install a toilet water supply line will help ensure a smooth and successful installation process. Remember to regularly check your supply line for any signs of wear or damage and replace it as needed to prevent any potential issues in the future.
Do You Need to Use Professional Support?
While installing a toilet water supply line is a straightforward DIY task for many homeowners, there are situations where seeking professional support may be beneficial. If you encounter difficulties such as a damaged shut-off valve, corroded connections, or uncertain plumbing configurations, it’s best to consult a licensed plumber. Professionals possess the tools, expertise, and experience necessary to address complex issues and ensure a secure, leak-free installation.
Additionally, if you’re uncomfortable working with plumbing fixtures or lack the confidence to complete the job on your own, calling a professional can save you time and prevent potential water damage caused by mistakes. Prioritizing safety and efficiency will always help achieve the best results, whether you opt for DIY or hire an expert.
How Much Will It Cost?
The cost of installing a toilet water supply line can vary depending on several factors, including the type of supply line, the cost of tools and materials, and whether you choose to hire a professional plumber. Typically, a basic water supply line can cost anywhere from $10 to $30, depending on the brand and material quality. Additional materials like Teflon tape or plumbing compound are inexpensive and usually cost less than $10.
If you already own the necessary tools, such as an adjustable wrench, there may be no additional expenses for equipment. However, if you need to purchase tools, your costs could increase by $15 to $50 or more, depending on the quality and brand of the tools.
Should you decide to hire a professional plumber, installation costs can range from $100 to $300, depending on the plumber’s rates and the complexity of the job. This may be a worthwhile investment if you encounter challenging plumbing conditions or prefer a professional’s expertise.
It’s always a good idea to plan your budget in advance, accounting for the type of supply line and any possible additional expenses. A DIY approach is generally more cost-effective, but hiring professional support ensures reliability and long-term security for your plumbing system.
Frequently Asked Questions
Q: How Often Should I Replace a Toilet Water Supply Line?
A: It’s recommended that you replace your toilet water supply line every five years to prevent potential issues and ensure proper functioning. The frequency may vary depending on factors such as the quality and material of the supply line, water pressure levels, and wear and tear caused by regular use.
Q: How Do I Know If My Supply Line Needs to Be Replaced?
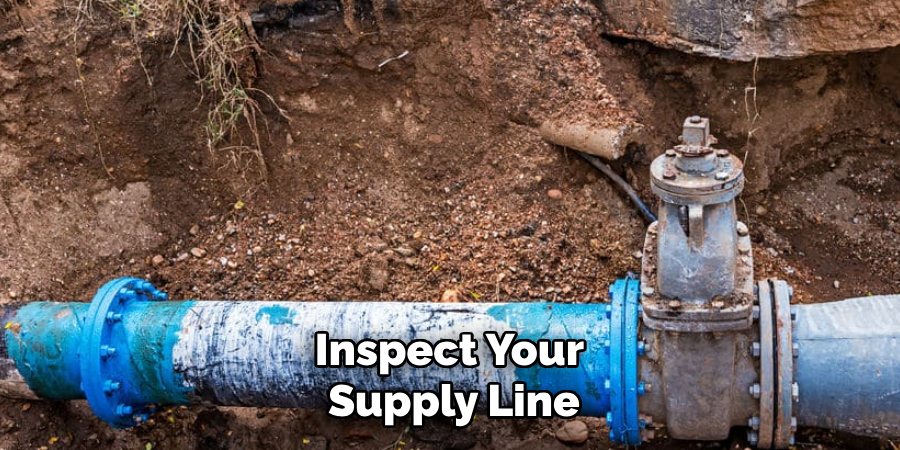
A: Signs that it’s time to replace your toilet water supply line include leaks or visible damage, reduced water flow to the toilet tank, or a musty odor in the bathroom. It’s also a good idea to regularly inspect your supply line for any wear or corrosion.
Q: Can I Use Any Type of Supply Line for My Toilet?
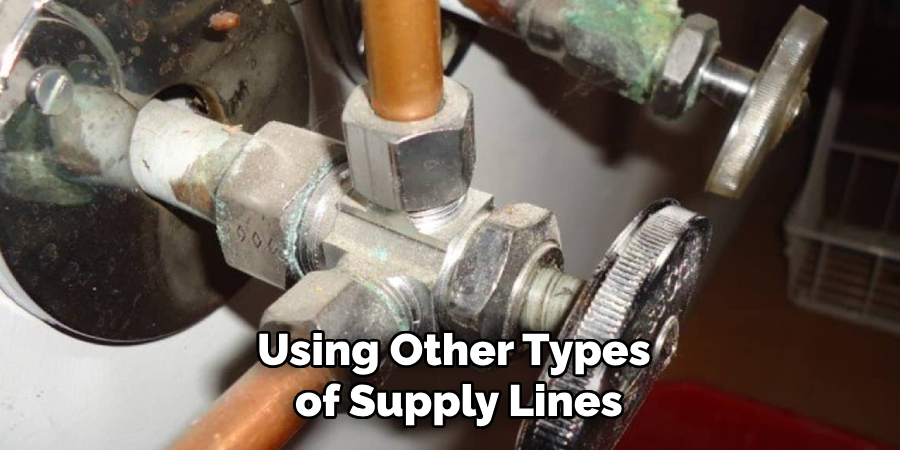
A: No, it’s essential to select a supply line specifically designed for toilets. Using other types of supply lines, such as those meant for sinks or washing machines, can lead to potential issues and leaks.
Q: Should I Use Teflon Tape or Plumbing Compound on the Threads?
A: Both options are suitable for creating a tight seal on threaded connections. However, it’s recommended to use Teflon tape for plastic threads and plumbing compound for metal threads.
Conclusion
Installing a toilet water supply line may seem like a daunting task, but with the right tools and proper preparation, it can be easily completed by anyone. Regularly checking and maintaining your supply line will help prevent any potential issues and ensure the proper functioning of your toilet.
If you encounter any difficulties during installation or notice leaks, it’s always best to seek professional help to avoid further damage and ensure a safe and efficient water supply. So, make sure to follow these guidelines and keep your bathroom running smoothly! Thanks for reading this article on how to install a toilet water supply line.

