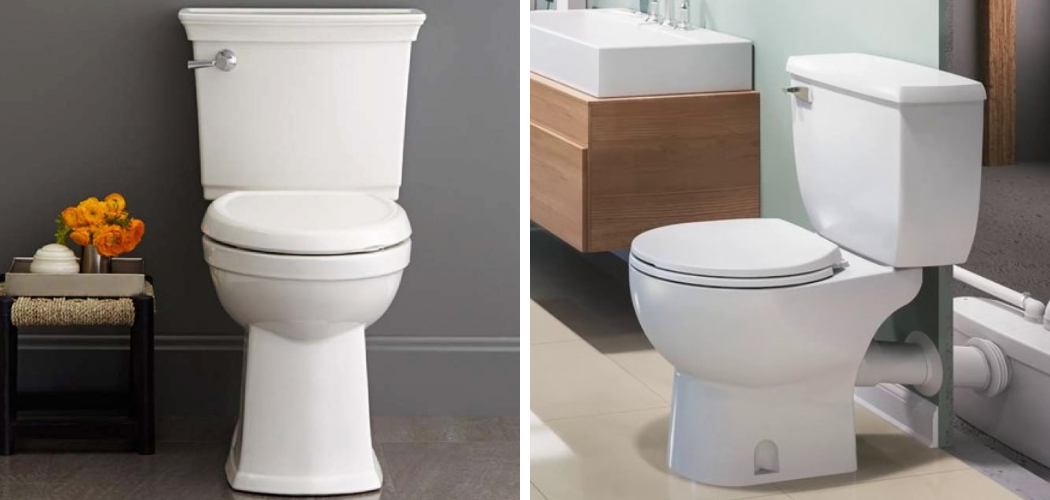
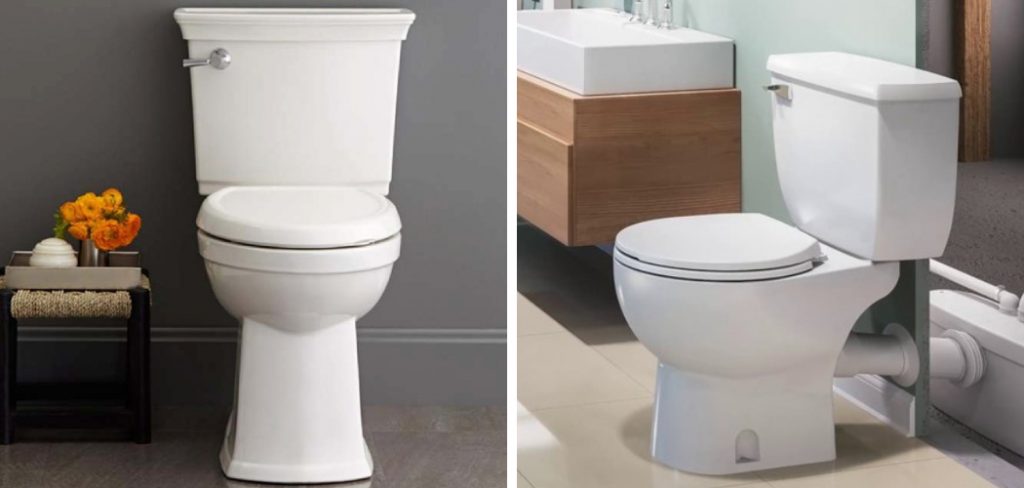
Do you want to install a new toilet in the basement but don’t have access to plumbing? An up-flush toilet might be the perfect solution for your project. Upflush toilets look like a traditional units and allow you to easily add modern conveniences like flushing power and waste containment directly into an existing drainage system or even into the main sewer line of your home.
Are you wondering how to take on the big challenge of installing an upflush toilet in your home? It may sound daunting, but with a bit of research and some basic knowledge about plumbing, it is possible for even those who are inexperienced with DIY projects to give it a go. In this post, we’ll provide tips and advice on how to install an upflush toilet and what you need to know before getting started so that you can tackle the task successfully. Read on to learn more!
What is an Upflush Toilet?
An upflush toilet is a type of macerating system used in areas where traditional plumbing isn’t available. It uses a powerful grinder-like device to break down and liquefy solid waste before it is sent through small pipes to the main sewer line or septic tank. This system allows you to install toilets, sinks, showers, and other fixtures in locations with limited plumbing infrastructure, such as a basement or garage.
The Benefits of Having an Upflush Toilet
1. Cost-Effective
Installing an upflush toilet is much more cost-effective than installing traditional plumbing in a new location. This type of system is designed to be used in areas that don’t have access to existing water lines, so it eliminates the need for expensive re-plumbing projects.
2. Space Saving
Upflush toilets are usually smaller than traditional units, so they don’t take up as much space in the bathroom. This makes them ideal for bathrooms with limited floor space or those that are difficult to access due to stairs or tight corners.
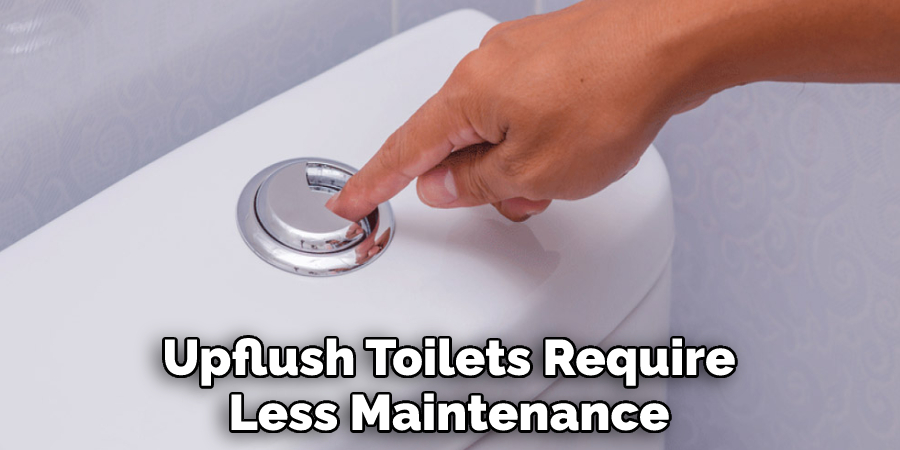
3. Low Maintenance
Upflush toilets require less maintenance than a traditional unit because there is no need for regular flushing and frequent cleaning. The grinder mechanism in the upflush toilet macerator makes it easy to break down the solid waste, and it also prevents clogs and reduces odors.
Things to Consider Before Installing an Upflush Toilet
1. Power Source
The most important factor to consider before installing an upflush toilet is the power source. The unit has to be connected to an electrical outlet in order for it to work properly. Make sure that the outlet you use is compatible with the model of your chosen upflush toilet and that it can provide enough power for the unit to function correctly.
2. Plumbing Connections
You will also need to make sure that your plumbing connections are compatible with the upflush toilet system before you begin the installation. Check if the existing pipes are sized correctly and free from any blockages, as this can affect the performance of the upflush toilet.
3. Location
Finally, consider the location of where you’ll be installing the upflush toilet. Make sure that it is away from any sources of heat or moisture in order to prevent potential damage and malfunction.
Tools You’ll Need to Install an Upflush Toilet
Before you start the installation process, it’s important to have the right tools on hand. Here are some of the essential items you’ll need:
- A power drill
- A level
- Pliers
- Adjustable wrench
- Pipe cutter
- Thread seal tape
- Silicone caulk and adhesive.
10 Steps on How to Install an Upflush Toilet
Step 1: Turn Off the Water Supply
Turn off the water supply and disconnect the existing plumbing fixtures. It will be necessary to remove the existing toilet and other plumbing fixtures in the area before you can begin installing your upflush toilet.
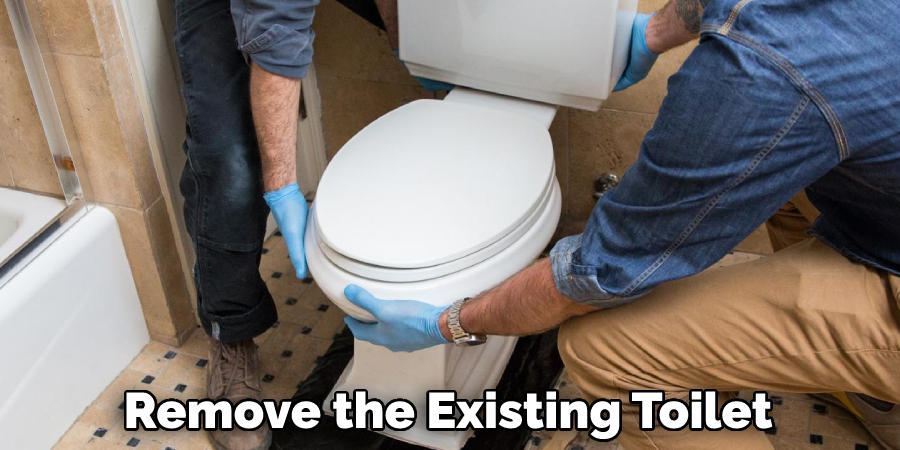
Step 2: Remove the Old Toilet
Remove the old toilet by unscrewing and disconnecting the bolts that secure it to the floor. Use a power drill for this task if needed, as it will make it easier to remove the old toilet.
Step 3: Install the Macerator Unit
Install the macerator unit directly below the toilet. Make sure it is level and secured firmly in place with screws or bolts. Connect the inlet hoses from your sink, bathtub, and shower into the macerator unit according to the manufacturer’s instructions.
Step 4: Connect the Piping
Connect the piping to the macerator unit and make sure it is securely fastened with nuts and washers. Use thread seal tape to ensure a secure fit, and then attach the outlet hose from the macerator unit to your sewer line or septic tank.
Step 5: Install the Toilet Bowl
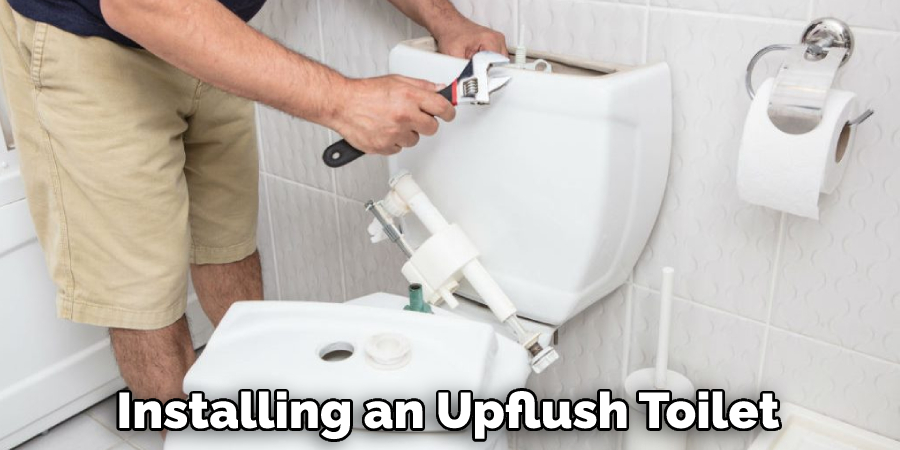
Install the toilet bowl on top of the macerator unit and make sure it is level. Connect the inlet hose from the macerator unit to the back of the toilet bowl and secure it with a clamp. Be careful not to overtighten the clamp, as this can cause damage to the toilet bowl.
Step 6: Connect the Waste Line
Connect the waste line from the toilet bowl to the macerator unit and secure it with clamps or a flexible connector. Make sure that all connections are tight and free of leaks before moving on to the next step.
Step 7: Connect the Water Supply Line
Connect the water supply line from the toilet to the macerator unit and secure it with a clamp or flexible connector. Make sure that all connections are tight and free of leaks before moving on to the next step.
Step 8: Electrical Connection
Make an electrical connection from the outlet to the macerator unit and secure it with a clamp. Make sure that all connections are tight and free of leaks before moving on to the next step. It will be necessary to use a ground fault circuit interrupter (GFCI) for the electrical connection in order to prevent potential shock hazards.
Step 9: Finalize Plumbing Connections
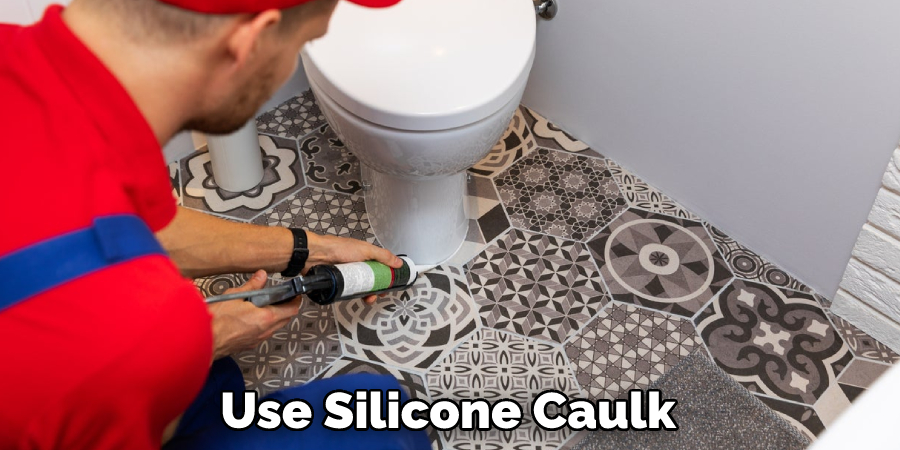
Make final adjustments to any plumbing connections, such as tightening nuts and bolts, and verify that all connections are watertight. Use silicone caulk and adhesive to provide an extra layer of security for your connections.
Step 10: Test the Upflush Toilet System
Turn on the water supply and test the upflush toilet system by flushing it several times. Make sure that there are no leaks or issues with performance before use. If any problems are detected, contact the manufacturer for assistance.
And you’re done! With these easy steps, you can now enjoy the convenience of an upflush toilet in your home. Be sure to follow all manufacturer instructions and keep up with regular maintenance to ensure optimal performance.
8 Safety Measures to Follow
1. Make sure you have all the necessary components for installation. This includes an upflush toilet, a sink, and a drain system. Count the pieces to make sure nothing is missing.
2. Shut off the main water supply and turn on all existing taps to drain out any residual water before beginning installation. It will reduce the risk of water damage and flooding.
3. Put on protective gear such as gloves, goggles, and a face mask before starting any work. This will protect you from possible hazardous materials that could be present in the installation area.
4. Wear protective clothing while working in case of any accidental spills or splashes from plumbing components.
5. Read the instructions carefully and make sure you understand each step before beginning the installation. The instruction manual should include diagrams that show the correct way to assemble the components.
6. Choose a suitable location for installation and make sure it is level with no obstructions, such as pipes or other objects that could interfere with the process.
7. Use a professional-grade sealant for all connections and inspect them regularly for signs of leakage or damage. The sealant should be approved for use with the upflush toilet.
8. Test the upflush toilet by running it through a flush cycle to make sure that it is functioning properly and there are no leaks or blockages in the system. Make any necessary adjustments as needed. Keep an eye on the system for several days after installation to make sure everything is working correctly.
Follow these safety measures when installing an upflush toilet, and you will be able to complete the job with confidence. A well-installed and maintained upflush toilet can provide many years of reliable performance. Enjoy the convenience of having a plumbing system that works without needing to remodel your bathroom or hire a professional plumber.
Conclusion
In conclusion, installing an upflush toilet is an easy and efficient way to add a bathroom to any space you choose. The ability to have a functioning toilet without the need for running water or large piping can provide convenience and save time and money on your plumbing project. While installation of this type of toilet may appear daunting at first glance, with the right supplies and simple instructions, you can accomplish this task in no time!
With their ease of installation, upflush toilets are among the most common solutions for creating secondary bathrooms in residential homes. By taking the proper steps on how to install an upflush toilet and learning more about the process before beginning, you, too can experience the benefits and convenience of adding a bathroom with an upflush toilet!

