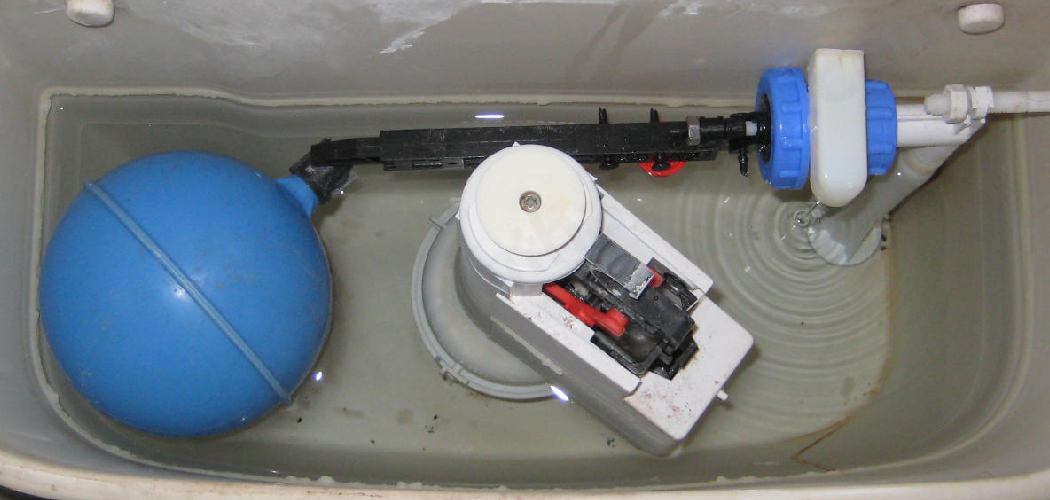
An anti-siphon valve is an essential component designed to prevent the unwanted backflow of water in irrigation systems, plumbing, and other water-related applications. By ensuring that contaminated water does not siphon back into the clean water supply, these valves help maintain the safety and integrity of your system. Proper installation of an anti-siphon valve is crucial for its functionality and effectiveness. This guide will walk you through the steps of how to install anti siphon valve correctly and efficiently.
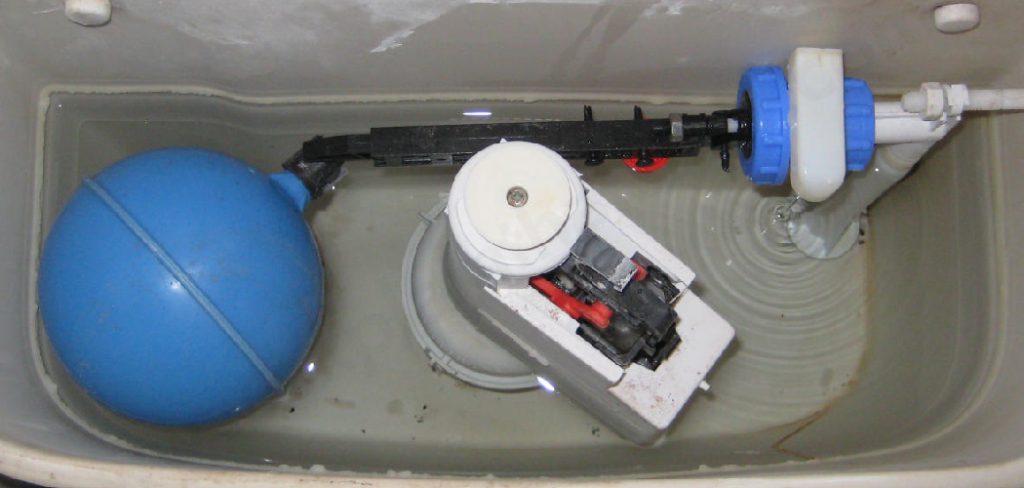
Why You Need an Anti-Siphon Valve
An anti-siphon valve is a critical component for maintaining both water safety and system efficiency. Without this device, there is a risk of contaminated water being drawn back into the clean water supply during pressure changes, which can pose serious health risks. This is especially important in irrigation systems where fertilizers, pesticides, or dirt can mix with the water.
Additionally, anti-siphon valves help to prevent damage to your plumbing system by ensuring that water flows in the correct direction, reducing the risk of costly repairs. Whether in residential or commercial settings, installing an anti-siphon valve is a simple yet effective step to protect the integrity of your water supply and system.
Tools and Materials Needed
To install an anti-siphon valve, you will need the following tools and materials:
- Anti-Siphon Valve (appropriate size for your system)
- Pipe Wrench or adjustable wrench
- Teflon Tape to ensure a secure seal at threaded connections
- PVC Primer and Cement (if working with PVC pipes)
- Hacksaw or pipe cutter (for cutting pipe to the correct length)
- Measuring Tape for accurate measurements
- Gloves to protect your hands during installation
- Bucket or Tarp to catch any excess water during the process
Having the right tools and materials on hand will make the installation faster, safer, and more efficient.
10 Methods How to Install Anti Siphon Valve
1. Understanding the Function of an Anti-Siphon Valve
Before installing an anti-siphon valve, it is essential to understand its function and purpose. An anti-siphon valve works by creating a one-way passage that allows water to flow out but prevents it from flowing back in. This is crucial when using irrigation systems, garden hoses, or any plumbing fixtures that may come into contact with contaminated water.
The valve typically features a spring-loaded mechanism that closes when water pressure drops, effectively stopping any reverse flow. Knowing the purpose and mechanics of the valve will help you select the appropriate model and ensure proper installation.
2. Selecting the Right Anti-Siphon Valve
Anti-siphon valves come in various designs and sizes, depending on the application. Some are integrated into hose bibs, while others are stand-alone units for irrigation systems or toilets. Identify your specific needs and choose a valve that matches your plumbing setup.
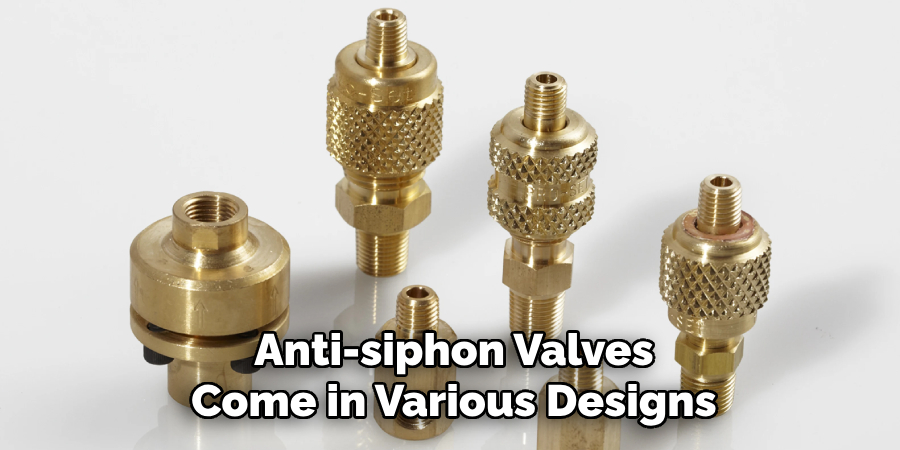
For outdoor use, a brass or heavy-duty plastic anti-siphon valve is recommended for durability. For indoor applications, such as toilets, choose a valve compatible with your existing pipe material (PVC, CPVC, or copper). Selecting the correct valve ensures efficient operation and a secure fit during installation.
3. Gathering the Necessary Tools and Materials
Proper installation requires the right tools and materials. Gather the following items:
- Pipe cutter or hacksaw
- Adjustable wrench
- Teflon tape
- PVC primer and cement (for plastic pipes)
- Plumber’s tape
- Thread sealant
- Pipe wrench
- Safety goggles and gloves
Having all these tools ready before starting the installation ensures a smooth process without unnecessary interruptions. Proper preparation minimizes the risk of leaks and ensures a secure fit.
4. Turning Off the Water Supply
Before installing the anti-siphon valve, turn off the main water supply to prevent accidental flooding. If you are working on an outdoor irrigation system, locate the main shutoff valve and close it completely.
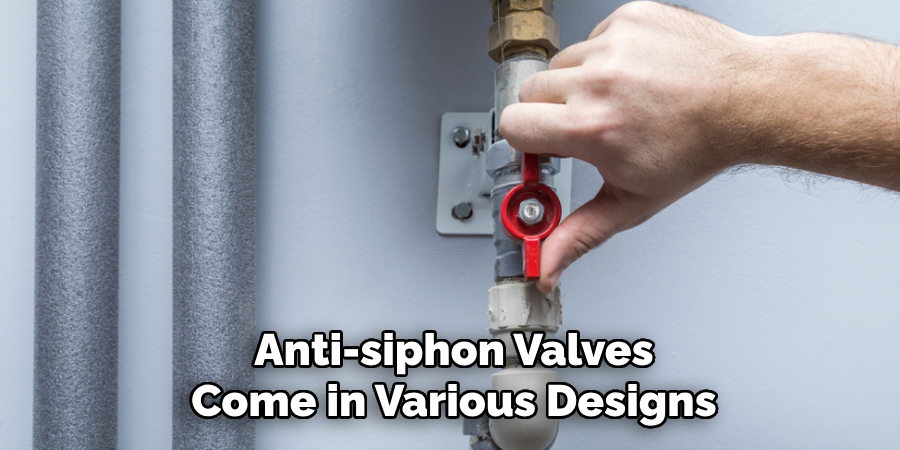
Once the water is turned off, relieve the system pressure by opening a nearby faucet or draining the pipes. This step is crucial to avoid water spraying when you cut into the line. Properly isolating the area ensures a safer and cleaner installation.
5. Cutting the Pipe for Installation
To install the anti-siphon valve, you may need to cut into an existing pipe. Measure the length needed for the valve and mark the pipe with a pencil. Use a pipe cutter or hacksaw to make a clean, straight cut.
Smooth out the cut edges with sandpaper or a deburring tool to remove sharp burrs that might impede fitting. Cleaning the cut ends ensures a tight connection, preventing potential leaks. Precise cutting is essential for proper valve alignment.
6. Attaching the Anti-Siphon Valve
Depending on your valve type, attach it using threaded connections or solvent welding. For threaded valves, wrap Teflon tape around the male threads to ensure a tight, leak-proof seal. Use a pipe wrench to tighten the connection securely.
For PVC connections, apply primer to the pipe ends and the inside of the valve fitting. Once the primer dries, apply PVC cement and quickly push the valve onto the pipe. Hold it in place for about 30 seconds to allow the bond to set. Following manufacturer instructions ensures a durable and reliable installation.
7. Securing the Valve in Place
Once the valve is connected, ensure it is securely fixed and properly aligned. If you are installing it on a vertical line, make sure the arrow on the valve points in the direction of water flow.
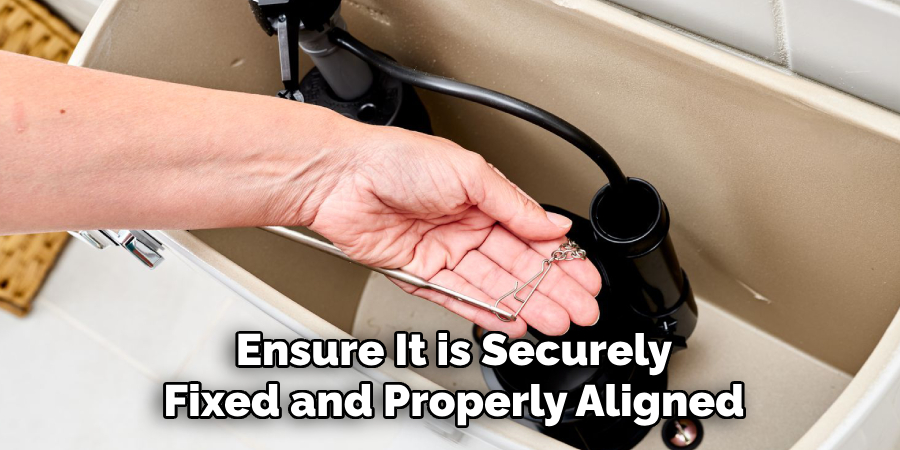
Use pipe straps or brackets to anchor the valve to a wall or surface if necessary. This step prevents the valve from moving under pressure and reduces the risk of joint stress. Proper support increases the longevity of the installation and maintains system stability.
8. Testing the Installation for Leaks
After the valve is securely in place, turn on the water supply slowly to check for leaks. Open the downstream faucet or irrigation system to release trapped air and observe the valve for any drips or water seepage.
If you notice leaks, turn off the water and recheck your connections. Tighten any loose fittings or add more Teflon tape where needed. Conducting a thorough leak test ensures that the valve operates correctly and the installation is secure.
9. Adjusting the Valve Operation
Some anti-siphon valves come with adjustment features, such as pressure regulation or manual shutoff. Refer to the manufacturer’s instructions to fine-tune these settings as needed.
If your valve has a built-in backflow prevention mechanism, ensure it activates correctly by briefly lowering the water pressure. The valve should shut off to prevent backflow, indicating proper functionality. Adjusting the valve correctly ensures consistent performance and compliance with local plumbing codes.
10. Maintenance and Periodic Inspection
To keep your anti-siphon valve in optimal condition, perform routine maintenance and inspections. Check for signs of corrosion, mineral buildup, or leaks every few months, especially in outdoor settings where weather exposure can cause deterioration.
If the valve begins to malfunction or does not fully close, clean the internal components and remove any debris. Replace worn gaskets or washers as needed to maintain a tight seal. Regular maintenance not only prolongs the valve’s lifespan but also ensures safe and efficient operation.
Maintenance and Upkeep
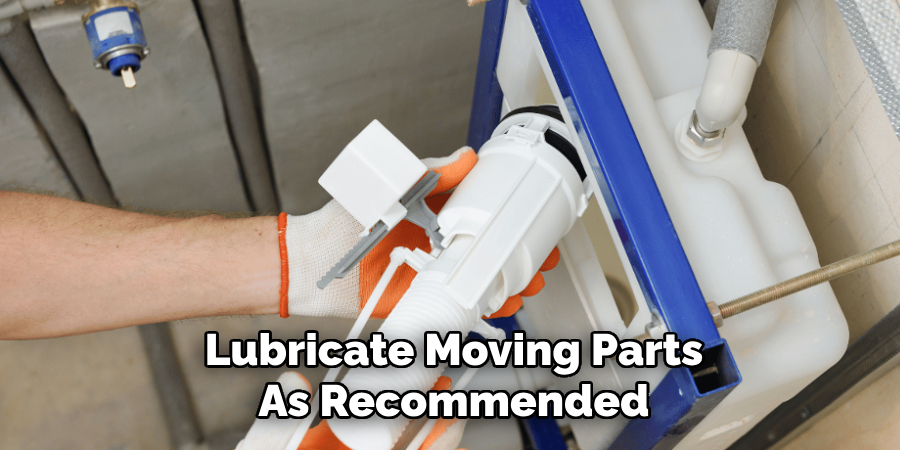
Proper maintenance and regular inspections are crucial to ensure optimal performance and longevity of any mechanical system. Begin by establishing a consistent schedule for checking critical components, such as seals, gaskets, and joints, for wear or damage. Lubricate moving parts as recommended by the manufacturer to reduce friction and prevent premature wear. Periodically clean any accumulated debris or sediment, which could obstruct functionality or reduce efficiency.
When storing equipment or components, protect them from exposure to extreme temperatures, moisture, and corrosive environments to avoid unnecessary deterioration. Always use replacement parts that comply with original specifications to maintain safety and operational standards. Proper documentation of maintenance activities, including repairs and part replacements, helps to track performance over time and prevents overlooking essential tasks, ensuring system reliability and safe operation.
Safety Considerations
Ensuring safety during maintenance and operation is paramount. Always follow established safety protocols and wear appropriate personal protective equipment (PPE) such as gloves, goggles, and hard hats when necessary. Make sure to de-energize and isolate equipment before performing any inspections or repairs to prevent accidental injuries.
Be cautious of moving parts and hazardous materials, and keep a clean, organized workspace to reduce the risk of tripping or other accidents. Regularly train personnel on safety procedures and emergency response protocols to quickly address potential hazards. Prioritizing safety not only protects individuals but also contributes to the overall reliability and efficiency of operations.
Conclusion
Installing an anti-siphon valve is a practical way to protect your plumbing system from contamination and backflow. By carefully selecting the right valve, gathering the necessary tools, and following precise installation steps, you can ensure a reliable and leak-free setup.
Proper preparation, including turning off the water and cutting the pipe correctly, is essential for a successful installation. Securing the valve, performing leak tests, and maintaining the unit regularly will ensure that it remains functional for years to come. By following these ten methods, you can confidently install an anti-siphon valve and protect your water supply from potential hazards. So, there you have it – a quick and easy guide on how to install anti siphon valve.

