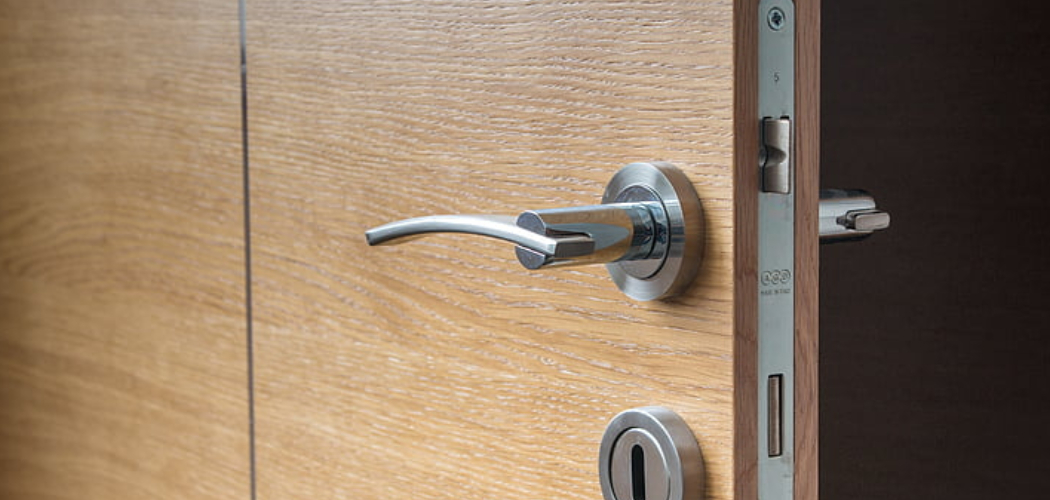
Installing a bathroom door knob might seem like a daunting task, but with the right tools and a few simple steps, it can be accomplished easily and efficiently. Whether you’re replacing an old knob or installing a new one, understanding the process will ensure a smooth and secure fit.
This guide on how to install bathroom door knob will walk you through each phase of the installation, providing clear instructions so you can complete the task with confidence. Taking the time to properly install your door knob will not only enhance the functionality of your bathroom but also add a touch of style to your space.
Needed Tools and Materials
Tools:
- Screwdriver (Flathead or Phillips, Depending on the Screws on Your Door Knob)
- Hammer
- Chisel
- Pencil
Materials:
- Bathroom Door Knob Set (Including Latch, Strike Plate, and Mounting Screws)
- Door Knob Template (Optional but Recommended)
8 Step-by-step Guidelines on How to Install Bathroom Door Knob
Step 1: Measure and Mark Placement
Begin by measuring the backset of your door. The backset is the distance from the edge of the door to the center of the hole where the knob will be installed. Common backset measurements are typically 2 3/8 inches or 2 3/4 inches. Using a pencil, mark the correct backset measurement on the edge and face of the door.
It’s important to ensure the marks are level and properly aligned, as this will guarantee that the door knob and latch will fit correctly and function smoothly once installed. If you’re using a door knob template, align it with the marks and tape it in place. The template will make it easier to accurately mark the placement of the holes.
Step 2: Prepare the Door
Before drilling any holes, ensure the door is securely stabilized to avoid any movement during the process. Use a chisel and hammer to create a small indentation at the marked positions on the edge of the door where the latch will be installed. This step will help the drill bit grip more effectively and ensure accuracy.
Next, drill pilot holes at these marked spots, starting with a small bit and then gradually moving to larger sizes until it matches the size of the latch. Be careful to drill straight and avoid over-drilling. This preparation lays the foundation for a well-fitted latch and ensures the doorknob will operate smoothly.
Step 3: Install the Latch
Place the latch into the hole on the edge of the door and hold it in place. Using a screwdriver, secure it onto the door with the mounting screws provided in your door knob set.
Next, insert the latch plate into its corresponding hole on the frame of your bathroom door. Ensure that it’s aligned correctly with both marks, then use a pencil to mark where you need to chisel out an indentation for it. Once marked, create an indentation using a hammer and chisel. This step is crucial as it allows for smooth interaction between the latch and strike plate.
Step 4: Prepare for Door Knob Installation
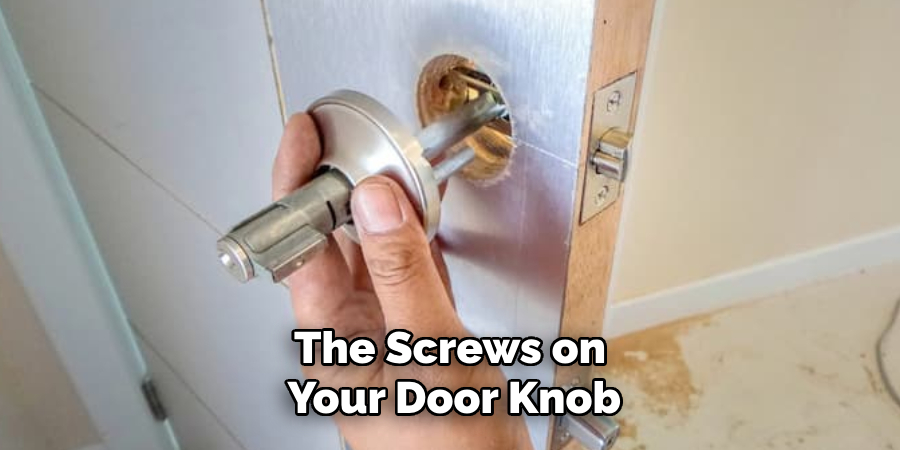
Now that the latch is installed, it’s time to prepare for installing the door knob. Start by removing all components, including the knobs and screws, from your door knob set. Take note of any specific instructions provided in the installation manual.
YOu can also use the template to mark the placement for the doorknob and screw holes if you haven’t already.
Step 5: Install the Door Knob
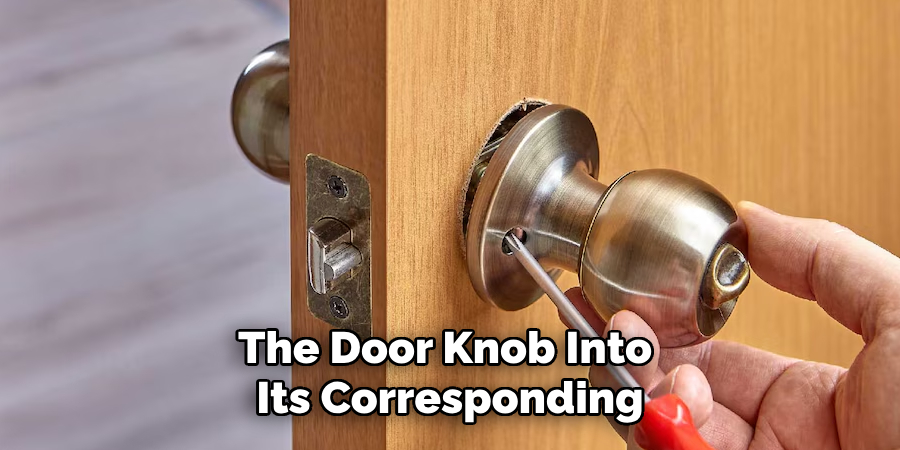
Begin by inserting one side of the door knob into its corresponding hole on the edge of your bathroom door. Use a screwdriver to tighten the mounting screws until they are snug.
Next, insert the other side of the door knob into its corresponding hole and ensure it aligns with both marks made earlier. Once aligned, use a screwdriver to tighten the mounting screws until secure.
Step 6: Test Operation
With the door knob securely installed, it’s time to test its operation to ensure everything functions correctly and smoothly. Begin by gently turning the knob to observe if the latch retracts without any hitches. Close and open the door multiple times to verify that the latch and strike plate are aligned and that the door catches appropriately without sticking.
Check if the knob turns easily and relocks smoothly. If you encounter any resistance or misalignment, you may need to slightly adjust the latch or strike plate. Testing ensures the installation is successful, providing both functionality and security to your bathroom door.
Step 7: Install the Strike Plate
Once you have verified that the door knob operates correctly, it’s time to install the strike plate. Using a screwdriver, secure it onto the frame of your bathroom door with the provided screws. Ensure that it aligns with the latch and creates a snug fit when closing your door. If necessary, adjust its positioning for a perfect fit.
You may also need to chisel out a slightly deeper indentation for the strike plate if it does not align correctly with the latch. This step requires patience and attention, but it is essential to ensure the proper functionality of your bathroom door knob.
Step 8: Finishing Touches
Congrats! You now have successfully installed your bathroom door knob. To give it a polished look, remove any excess markings from the installation process with a damp cloth or mild cleaner. Check that all screws are securely tightened, and wipe down the knobs to remove any fingerprints or smudges.
Following these steps on how to install bathroom door knob will ensure a successful and professional installation of your bathroom door knob. Remember to take your time, measure accurately, and make necessary adjustments for proper alignment and functionality. With this simple DIY project, you can upgrade the look and feel of your bathroom with a stylish and functional door knob. Enjoy the satisfaction of completing this task and admiring your finished project every time you enter your bathroom. Happy installing!
Do You Need to Use Professionals?
Installing a bathroom door knob can be a straightforward and rewarding DIY project for many homeowners, especially with detailed step-by-step instructions like the ones provided above. However, some circumstances might necessitate hiring a professional. If you lack the necessary tools or feel uncomfortable with using them, a professional can ensure the job is done safely and accurately. Homes with non-standard door sizes or custom framing might also require expert intervention to ensure proper fitting and functionality.
Additionally, if the door is a valuable antique or made of a delicate material, a professional’s experience can prevent unintended damage. Ultimately, deciding whether to go the DIY route or hire a professional depends on your confidence in your skills, the complexity of the task, and your personal preferences.
How Much Could It Cost?
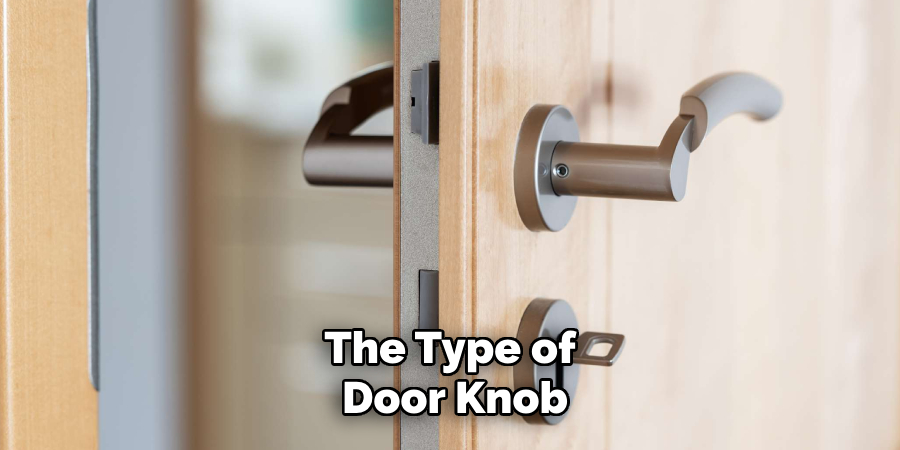
The cost of installing a bathroom door knob can vary depending on several factors, such as the type of door knob, whether you hire a professional, and your location. On average, the cost of purchasing a standard door knob ranges from $10 to $50. Higher-end options with advanced features or unique designs can cost upwards of $100 or more. If you decide to hire a professional for the installation, labor charges may range from $50 to $150, depending on the complexity of the installation and local rates.
Additionally, if any additional materials or specialized tools are required, this could add to the overall expense. By taking a DIY approach and handling the installation yourself, you can save on labor costs, providing a more budget-friendly solution. However, ensure you have the necessary tools and comfort level to perform the task effectively.
Frequently Asked Questions
Q: Can I Use the Same Door Knob for Both Interior and Exterior Doors?
A: It’s essential to choose a doorknob suitable for the intended purpose and location. Interior door knobs are not designed to withstand outdoor elements, such as harsh weather or potential intruders. Exterior doors require more durable and secure options that can withstand external forces. It’s generally not advisable to use the same door knob for both interior and exterior doors.
Q: Can I Replace a Door Knob with a Lever Handle?
A: Yes, it is possible to replace a door knob with a lever handle, but it may require some modifications to the door itself. Lever handles typically have larger backsets (the distance from the edge of the door to the center of the handle) than traditional door knobs, so you may need to adjust or replace the latch and strike plate accordingly. It’s best to consult a professional if you are unsure about making these modifications.
Q: What Should I Do If My Bathroom Door Knob Becomes Loose Over Time?
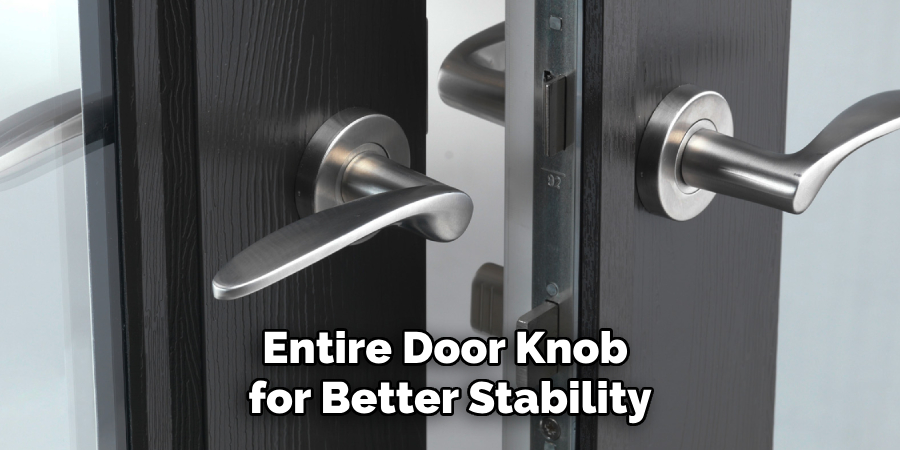
A: As with any door knob, regular use can cause it to become loose over time. To fix this issue, simply tighten the mounting screws on both sides of the door using a screwdriver until they are snug. If the problem persists, you may need to replace the screws or consider replacing the entire door knob for better stability. Keep in mind that regular maintenance and proper installation can help prevent this issue from occurring frequently.
Conclusion
Installing a bathroom door knob can seem like an intimidating task, but by following these clear and simple guidelines on how to install bathroom door knob, you can confidently tackle this DIY project. From measuring the backset to testing the latch and strike plate alignment, each step is crucial for a successful installation.
Take your time and make the necessary adjustments for smooth operation and a polished look. Enjoy the satisfaction of completing this task and admiring your finished project every time you enter your bathroom. Happy installing!

