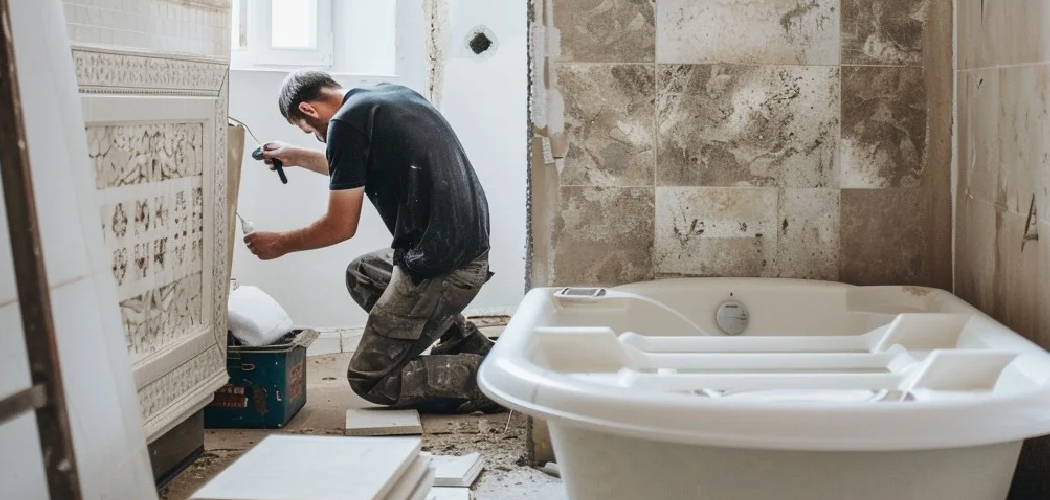
Installing bathroom tiles can transform the look and feel of your space, adding a touch of elegance and durability to one of the most frequently used rooms in your home. While the process may seem intimidating at first, how to install bathroom tiles step-by-step can make it manageable for anyone, even those new to DIY projects. This guide will walk you through the essential steps to ensure a professional-quality finish for your bathroom tile installation.
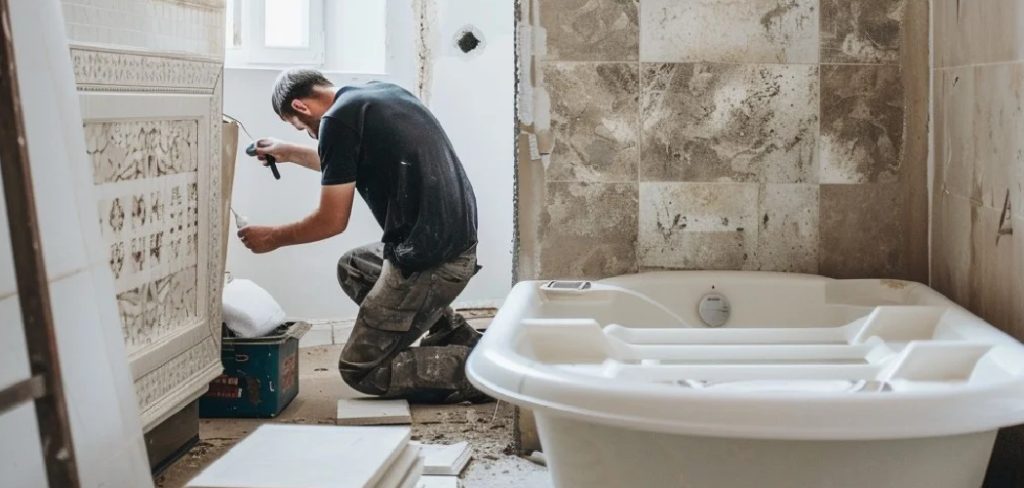
Benefits of Installing Bathroom Tiles
Bathroom tiles offer numerous benefits that make them a popular choice for homeowners. First and foremost, they are highly durable and resistant to water, making them well-suited for a humid and moist environment. Tiles are also easy to clean and maintain, ensuring a hygienic and appealing bathroom space with minimal effort. Additionally, they come in a wide variety of colors, sizes, textures, and patterns, allowing you to customize your bathroom’s design to match your personal style.
Tiles can also increase the value of your home by adding a sleek and polished look, making them a smart investment for the long term. Lastly, they are an environmentally friendly option as many tiles are made from natural materials and can help improve the energy efficiency of your home by maintaining cooler temperatures.
Tools and Materials Needed
Before you begin installing bathroom tiles, it is essential to gather all the necessary tools and materials to ensure a smooth and efficient process. Here is a list of what you will need:
Tools:
- Tape measure – For accurate measurements of the area to be tiled.
- Tile cutter or wet saw – To cut tiles to the required size and shape.
- Notched trowel – For applying adhesive evenly.
- Tile spacers – To maintain consistent spacing between tiles.
- Rubber grout float – For spreading grout into the gaps between tiles.
- Level – To ensure tiles are installed straight and even.
- Mixing bucket and drill with paddle attachment – For mixing mortar or grout.
- Sponge and clean cloths – For cleaning off excess grout and adhesive.
- Putty knife – Useful for scraping or applying small amounts of material.
- Protective gear – Such as gloves, safety glasses, and a mask for safe handling.
Materials:
- Tiles – The desired tiles based on your chosen design and size.
- Tile adhesive or thin-set mortar – To securely bond tiles to the surface.
- Grout – To fill the gaps between tiles and secure them in place.
- Underlayment or backer board – If the surface requires additional preparation for proper tiling.
- Sealant – To protect grout lines and tiles from moisture and stains.
Having all these tools and materials prepared before starting the installation will save time and help you achieve a seamless and professional result.
10 Absolute Methos for How to Install Bathroom Tiles Step-by-Step
1. Prepare the Surface Properly
The first step in any tiling project is to ensure the surface is clean, dry, and level. Remove any old tiles, paint, or wallpaper, as these can interfere with tile adhesion. Fill in any cracks or holes with a suitable patching compound, and sand the area for smoothness. For surfaces prone to moisture, like shower walls, install a waterproof backer board to prevent water damage. A clean and prepared surface is crucial for the longevity of your tiles.
2. Measure and Plan the Layout
Accurate measurements and a well-thought-out layout ensure a professional finish. Measure the width and height of the tiling area to calculate the number of tiles and spacers needed. Start by marking the center of the wall or floor and work outward to ensure symmetry. Dry-lay the tiles on the floor or use a laser level on walls to visualize the placement and avoid cutting tiny tile slivers at the edges.
3. Gather the Right Tools and Materials
Having the correct tools and materials is essential for a smooth installation. You’ll need tiles, adhesive, spacers, a notched trowel, a tile cutter, a spirit level, a rubber mallet, a sponge, and grout. Choose the adhesive based on the surface type and the size of the tiles. For wet areas, opt for waterproof adhesive and grout. Organize everything within easy reach to streamline the process.
4. Mix and Apply Tile Adhesive
Prepare the adhesive as per the manufacturer’s instructions, ensuring it has a smooth, lump-free consistency. Use a notched trowel to spread the adhesive onto the surface, working in small sections to prevent it from drying out before you place the tiles. Hold the trowel at a 45-degree angle to create grooves in the adhesive, which helps the tiles bond securely.
5. Lay the Tiles Carefully
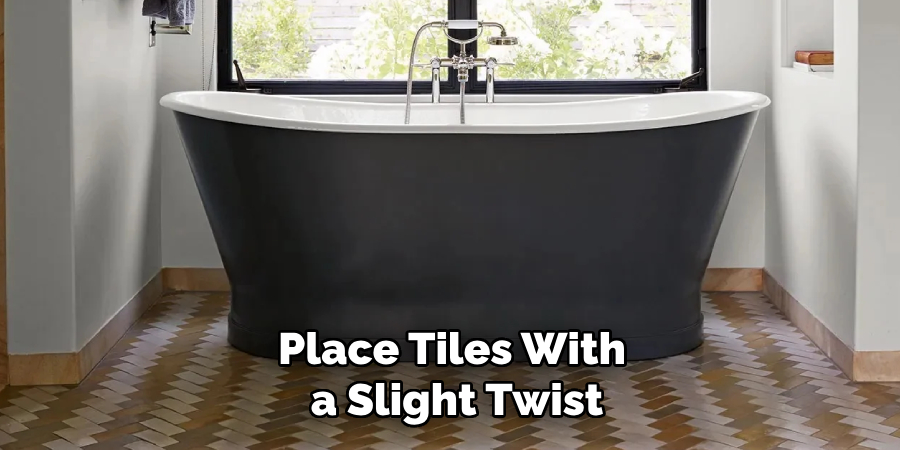
Begin laying tiles at the center point you marked earlier, pressing them firmly into the adhesive. Use tile spacers to maintain uniform gaps between tiles, which are crucial for proper grouting. Place tiles with a slight twist to ensure a good bond with the adhesive. Regularly check with a spirit level to ensure the tiles are straight and adjust as needed before the adhesive sets.
6. Cut Tiles to Fit Edges and Corners
When you reach the edges or corners, measure the space carefully and mark the tiles for cutting. Use a tile cutter for straight cuts or a wet saw for intricate shapes. Smooth any rough edges with a tile file or sandpaper to avoid injuries during installation. Double-check the fit before applying adhesive and placing the tile.
7. Let the Adhesive Set
Allow the adhesive to cure for the recommended time, usually 24 hours, before proceeding to the next steps. Avoid walking on floor tiles or applying pressure to wall tiles during this period. This waiting time ensures the tiles are firmly bonded to the surface and prevents shifting when grouting.
8. Grout the Tile Joints
Once the adhesive has set, remove the spacers and prepare the grout according to the manufacturer’s instructions. Use a rubber grout float to apply grout diagonally across the joints, pressing it firmly to fill the gaps. Wipe away excess grout with the edge of the float, holding it at a nearly vertical angle to avoid pulling grout out of the joints.
9. Clean the Tiles Thoroughly
After grouting, allow it to set for 10–15 minutes, then use a damp sponge to clean the tile surface. Wipe in a circular motion to remove grout haze while avoiding pulling grout from the joints. Rinse the sponge frequently and wring it out well to prevent excess water from diluting the grout. Once the grout has cured completely, use a grout haze remover or a dry cloth to polish the tiles.
10. Seal the Grout and Enjoy the Results
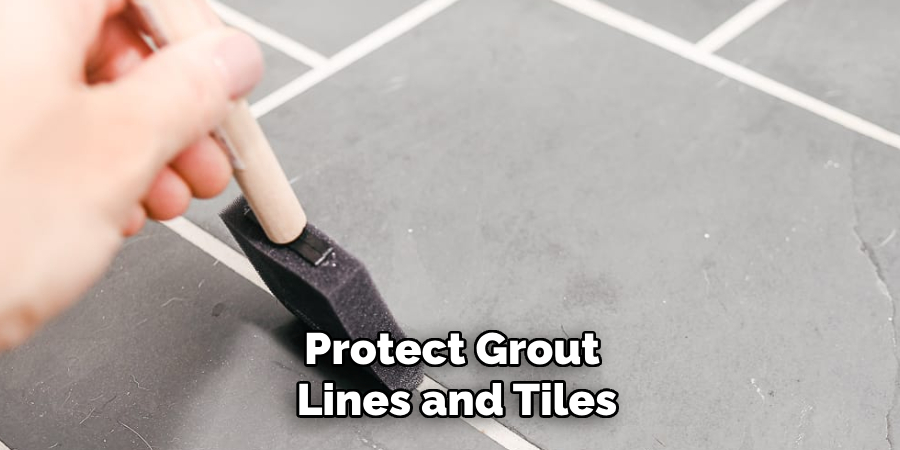
To protect the grout from moisture and stains, apply a grout sealer using a small brush or applicator. Focus on covering the joints evenly and avoid spilling onto the tiles. Allow the sealer to dry completely before using the bathroom. Regular maintenance, like cleaning and resealing every few years, will keep your tiled surface looking great for years to come.

Alternative Methods and Tips
If you’re looking for alternative methods to simplify your tile installation or achieve a unique finish, consider the following tips:
- Peel-and-Stick Tiles – For a quicker and less labor-intensive option, peel-and-stick tiles can be a great alternative. These adhesive-backed tiles require no mixing of adhesive or grout, making them ideal for DIY beginners or temporary solutions.
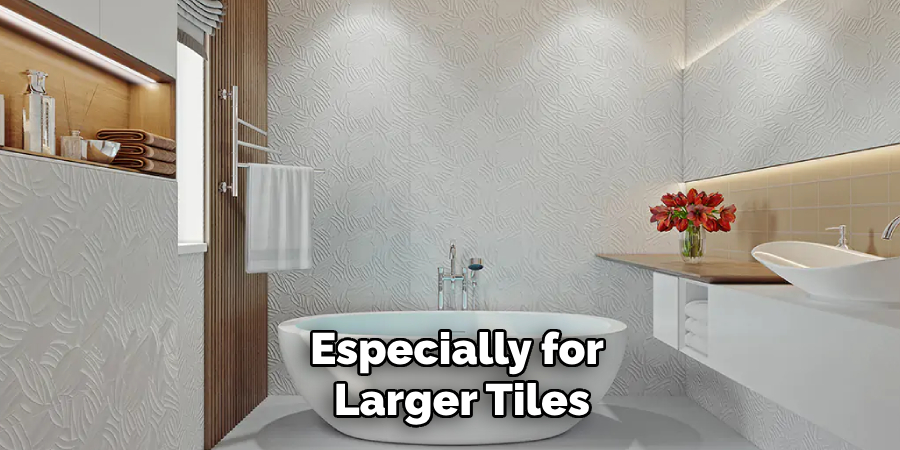
- Tile Leveling Systems – To ensure a perfectly level surface, especially for larger tiles, use a tile leveling system. These tools help reduce lippage (uneven tile edges) and make the installation process more straightforward for evenly spaced results.
- Pre-Mixed Adhesive and Grout – For smaller projects or efficiency, pre-mixed adhesive and grout can save time and reduce mess. These products come ready to use and eliminate the need for measuring and mixing.
- Patterned Layouts – Experimenting with unique tile patterns, such as herringbone, basket weave, or diagonal layouts, can add a stylish touch to your space. Keep in mind that these designs require extra planning and precise cuts.
- Use Mosaic Tiles for Intricate Areas – Mosaic tiles, which come in pre-assembled sheets, are excellent for complex areas such as niches, curved surfaces, or borders. Simply cut the sheets to fit, and they’ll save time while adding decorative detail.
- Warm Up Your Tiles – If installing floor tiles, consider adding a radiant heating system underneath. This can enhance comfort and add luxurious functionality to your bathroom space.
- Invest in High-Quality Tools – Using high-quality tools, like a professional-grade tile cutter or wet saw, will yield cleaner cuts and reduce waste.
- Test Layouts Before Installation – Dry lay your tiles in the chosen pattern beforehand to ensure satisfaction with the design and avoid surprises during installation.
Conclusion
Installing bathroom tiles step-by-step requires careful planning, the right tools, and patience. By following these detailed methods, you can achieve a professional finish that enhances your bathroom’s appearance and functionality. So, there you have it – a quick and easy guide on how to install bathroom tiles step-by-step.

