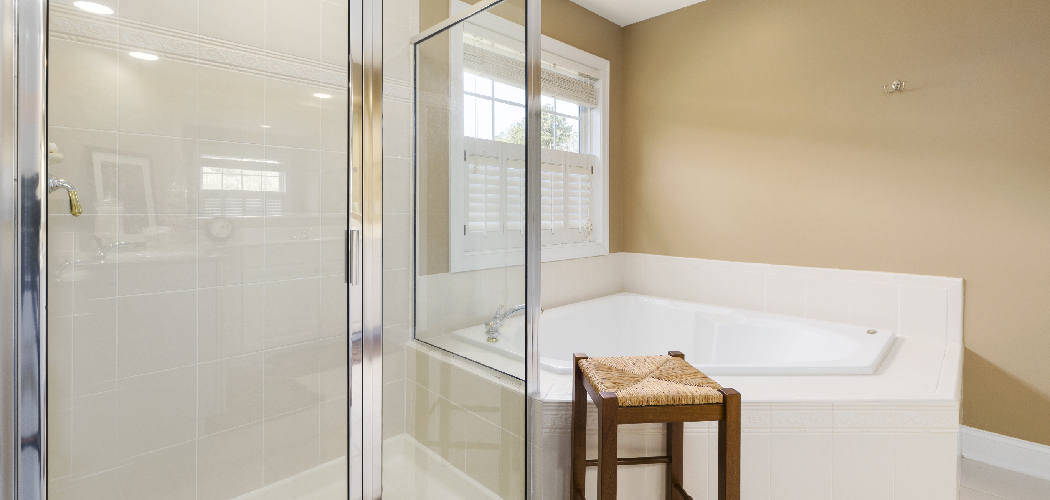
If you want to spruce up your bathroom, installing a bathtub glass door can be easy and attractive. They add a modern look while still providing privacy at the same time. Not only are they aesthetically pleasing, but bathtub glass doors have been designed with multiple benefits, including enhanced safety, better insulation, and easier cleaning.
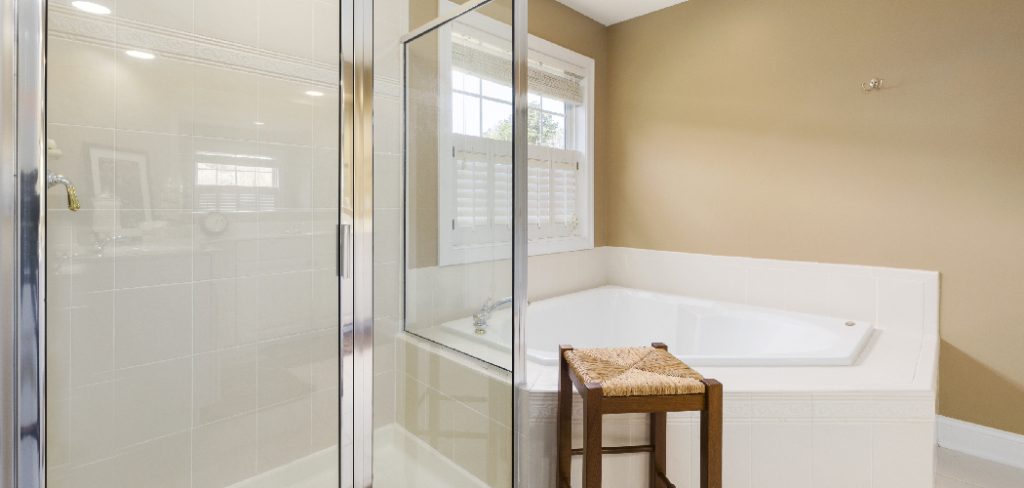
If you’ve been considering making this upgrade in your home but feel intimidated by the idea of taking on such an ambitious project yourself, rest assured that it’s much simpler than many homeowners imagine!
In this blog post, we will provide helpful instructions for how to install bathtub glass door – all you need is some basic DIY knowledge and supplies that can be purchased from most hardware stores. So without further ado – let’s get started!
What Will You Need?
Before you embark on installing a bathtub glass door, make sure that you have all of the necessary supplies and materials. Here is a quick checklist to ensure that everything is in order before beginning:
- Glass bathtub door
- Tape measure
- Leveler
- Stud finder
- Drill or screwdriver
- Safety glasses
- Door handle
- Silicone sealant
- Finishing nails
Once you have gathered the tools and supplies, it’s time to begin installing your new bathtub glass door.
10 Easy Steps on How to Install Bathtub Glass Door
Step 1: Measure the Space
Using a tape measure, you will want to determine the dimensions of the door opening. This will help you decide what size glass door you need to purchase. If you already have the door, double-check that it fits in the space.

Step 2: Choose the Right Door
Once you have determined the size of your opening, it’s time to choose a glass door that fits your needs! Look for Doors with tempered safety glass and stainless steel hardware. Try to find one that is easy to install and has all the necessary components.
Step 3: Check and Prepare the Walls
Using a stud finder, check the walls around the tub area for any obstacles or obstructions, such as pipes or wires. If necessary, mark these areas, so they can be avoided when installing the new bathtub glass door. Remember to wear safety glasses when using a drill or screwdriver.
Step 4: Install Header/Top Track & Bottom Track
You will now want to install header/top track and bottom track sections onto the desired wall. Use a leveler to ensure the tracks are in a straight line and level with each other. Another tip is to drill at least one hole in each track before nailing them onto the wall, allowing for easier adjustments if needed later on.
Step 5: Place Door on Tracks
Now it’s time to place the door onto the tracks you just installed, ensuring it is centered on both sides of the wall opening. You can use a leveler to make sure that the door is even. It is also important to ensure the door is properly aligned with the top and bottom tracks.
Step 6: Secure Hinges & Wheels
Using a drill or screwdriver, secure the hinges and wheels onto the door itself, following manufacturer instructions. You can get creative if you’d like by choosing a different style of handle or adding decorative touches to the door. There are many different options available on the market.
Step 7: Install Handle
Next, install the handle (or handles) onto your bathtub glass door. Make sure they are placed precisely in order for them to be operational later on. Be careful not to over-tighten the screws.
Step 8: Seal Door Frame
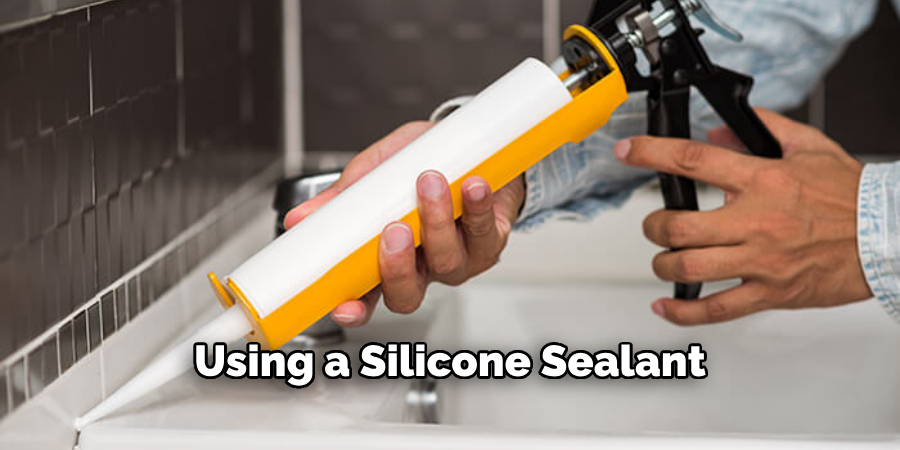
Using a silicone sealant, go around the frame of the door to ensure that there are no gaps or openings. This will help provide better insulation for your bathroom area. Moreover, it helps keep out any moisture that could cause damage to the door.
Step 9: Add Finishing Nails
Lastly, add finishing nails onto the inside edge of the track frames to secure them in place. Check that the door is still level and make any adjustments if necessary. Remember that the more nails you use, the sturdier your bathtub glass door will be.
Step 10: Test & Enjoy!
Once your new bathtub glass door is installed, it’s time to test it out and enjoy the fruits of your labor! With these easy steps, you can give your bathroom an upgraded look quickly. Remember to be extra careful when cleaning, as you don’t want the glass to break.
By following these instructions on installing a bathtub glass door, you can make this upgrade with ease and confidence. You can transform your bathroom into a modern oasis with the right materials and steps.
6 Additional Tips and Tricks
- Make sure the measurements of your glass door are exact. Measure twice, cut once!
- Use a spirit level to ensure that the bottom of the door is even and that the walls are level.
- Drill directly into the wall studs or tile using appropriate anchors and screws to keep everything secure.
- Place silicone sealant along the edges of the bathtub glass door to make it watertight when closed.
- Test your work by opening and closing the shower door several times to be sure everything is working correctly before you call it done!
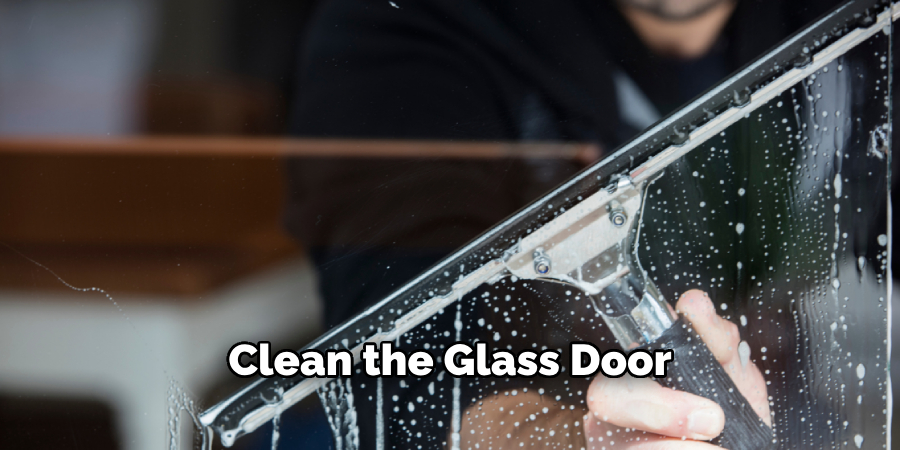
- Clean the glass door and frame thoroughly after installation to remove dust, dirt, or debris.
These five tips will help ensure a successful installation of your bathtub glass door! Remember, safety should always come first – if you need clarification on any step of this process, feel free to ask for help from a professional installer.
6 Things You Should Avoid
- Avoid having gaps between the glass door and the walls – this can cause water leakage.
- Don’t use too large of screws or anchors as this may damage your wall/tile structure.
- Never hang a bathtub glass door without using silicone sealant to make it watertight when closed.
- Try to avoid installing glass doors with sharp edges, which could prove hazardous if touched accidentally.
- Never attempt to install a heavy glass door on your own; always get help from two people for safety’s sake!
- Don’t forget to test your work by opening and closing the shower door several times before you call it done.
Following these tips will help you install a bathtub glass door while avoiding common pitfalls along the way! With careful planning and attention to detail during installation, you can rest assured that your shower door will be secure and functioning properly for many years.
Which Glass Door is Best for Bathroom?
When it comes to installing a bathtub glass door, there are many different types to choose from. Sliding doors are popular because they save space and open up the area in your bathroom, while framed models offer more stability and provide extra protection from water splashes.
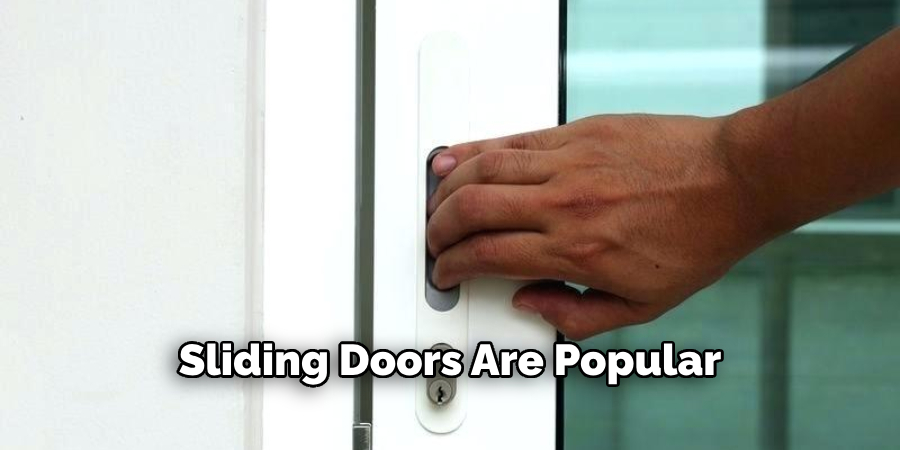
Frameless doors also add an elegant touch. Ultimately, the best type of glass door for your bathroom will depend on your personal preferences and needs. Whichever option you choose, ensure the measurements are exact before purchasing and installing!
Overall, having a bathtub glass door can be an excellent way to update any bathroom space. Whether you want a sliding, framed, or frameless door, follow the above instructions and tips for a successful installation. With the right care and maintenance, your glass door will add beauty and convenience to your bathroom for years.
What is the Disadvantage of Glass Doors?
One of the main disadvantages of a glass door is its fragility. Due to their delicate nature, it’s important to take extra care when installing and cleaning them. Glass doors are also more prone to scratches and other damage due to daily use, so they may require more frequent maintenance than other shower doors.
Finally, glass doors can be more expensive than other options, such as acrylic or plastic. While they have many benefits, you should consider the potential drawbacks before deciding.
Overall, a bathtub glass door can be an excellent way to update any bathroom space. Though some disadvantages are associated with this type of door, they provide a modern look that will last for years with proper care and maintenance.
Conclusion
How to install bathtub glass door is a great way to make it more interesting and stylish. After reading this guide, you now know the basics for installing one of these doors: measuring and installing the support panels, cutting out the hinges, mounting up the handle, and attaching the door panel itself.
You should also know how to properly care for your newly installed glass door with regular cleaning practices and what to do if something brought wrong.
With all this information, you can now go ahead confidently and install a beautiful glass door for your bathtub! Knowing how helpful it can be to have an extra barrier between yourself and all the moisture that tends to come with using a bathtub, having this type of protection has its benefits too.
Now that you know how easy it can be to install a glass door for your tub, why not start today?

