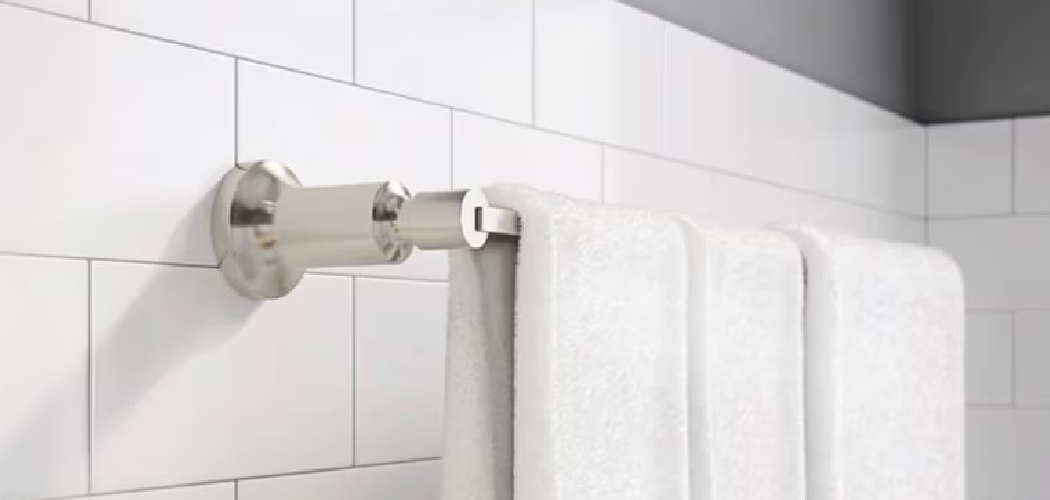
Are you planning to install a new ceramic towel bar in your bathroom? How to install ceramic towel bar is not as difficult as it may seem.
Installing a ceramic towel bar in your bathroom not only enhances functionality but also adds a touch of elegance to the space. Whether you are replacing an old towel bar or installing a new one, the process is straightforward and can be completed with a few basic tools. This guide will walk you through each step of the installation, from selecting the right location to securing the towel bar firmly onto your wall.
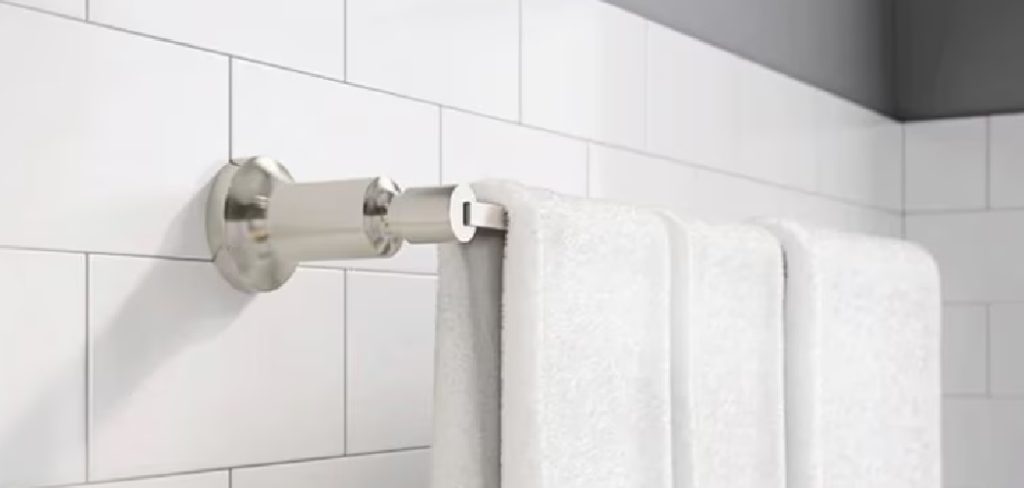
With a little patience and careful attention to detail, you can achieve a professional-looking result that will provide both utility and style for years to come.
What Will You Need?
Before you start the installation process, make sure you have all the necessary tools and materials at hand. This will save you time and hassle when you are in the middle of the project. Here is a list of items that you will need:
- A ceramic towel bar
- Mounting brackets (usually included with the towel bar)
- Anchors suitable for your wall type (e.g. drywall anchors or masonry anchors)
- Measuring tape
- Level
- Screwdriver
- Power drill (optional, but recommended)
Once you have all the necessary tools and materials, you are ready to begin the installation process.
10 Easy Steps on How to Install Ceramic Towel Bar
Step 1. Select the Location:
Choosing the right location for your ceramic towel bar is crucial for both convenience and practicality. Ideally, the towel bar should be installed at a comfortable height, typically around 48 inches from the floor, to ensure easy access for most users. Consider the placement relative to your sink or shower for maximum functionality.
Make sure to avoid areas where the bar could potentially obstruct any cabinets, doors, or other bathroom fixtures. Use a measuring tape to confirm the desired height and a pencil to mark the points where the brackets will be installed. This step lays the foundation for a seamless installation and ensures that your towel bar will not only be accessible but also blend harmoniously within your bathroom space.
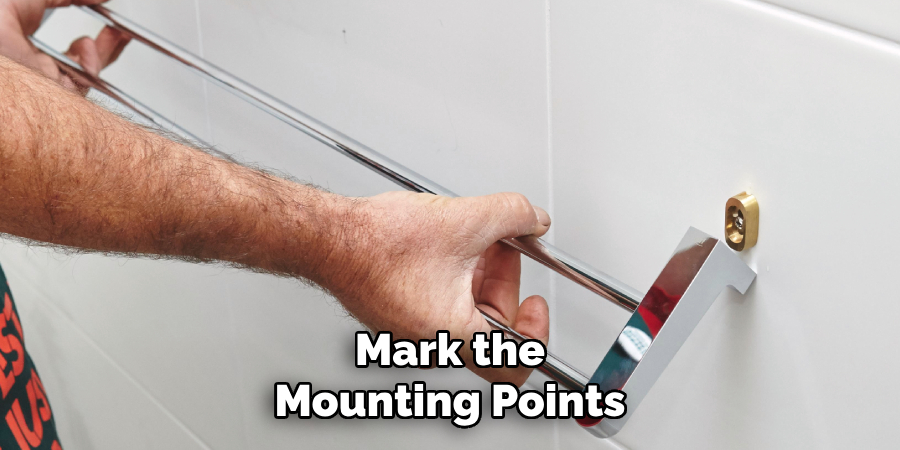
Step 2. Mark the Mounting Points:
After selecting the ideal location for your towel bar, it’s time to mark the mounting points for the brackets. Begin by holding one of the mounting brackets up to the wall where you made your initial height marking. Use a level to ensure that the bracket is perfectly horizontal. Once leveled, use a pencil to mark the spots where the screws will go.
Repeat this process for the second bracket, ensuring that both brackets are horizontally aligned and spaced according to the length of the towel bar. Accurately marking these points is essential for a secure and stable installation.
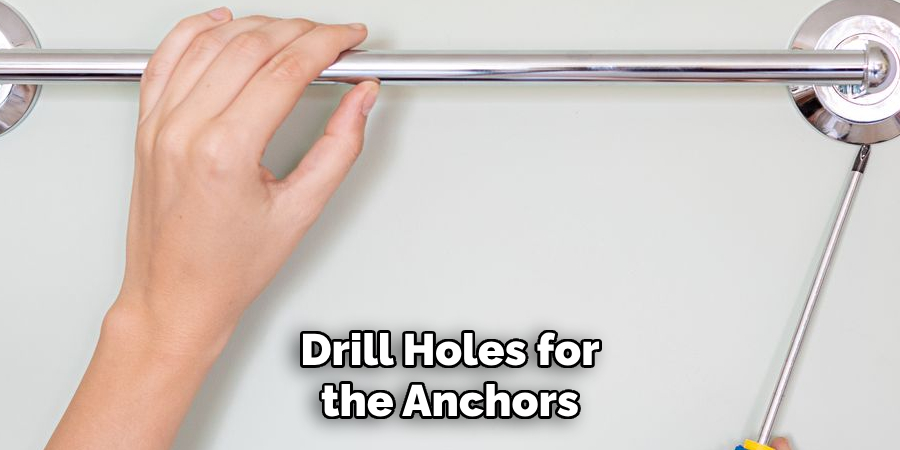
Step 3. Drill Holes for the Anchors:
With the mounting points marked, it’s time to drill holes for the anchors. Select a drill bit that matches the size of your anchors and carefully drill holes into the wall at each marked spot. If you are installing on drywall, be cautious not to apply too much pressure to avoid damaging the wall.
For tile walls, use a drill bit specifically designed for ceramic tiles to prevent cracking. Drilling the correct size holes ensures the anchors will fit snugly and provide a strong hold for your towel bar. Clean out any debris resulting from the drilling process to ensure the area is clear for the next steps.
Step 4. Insert the Anchors:
Once the holes are drilled, gently insert the anchors into each hole. If you’re working with drywall anchors, you may need to tap them in lightly with a hammer until they sit flush with the wall surface. For masonry anchors designed for ceramic tile installations, ensure they are securely positioned within the drilled holes. The anchors create a firm foundation that prevents the towel bar from pulling out of the wall under weight or usage. Double-check that each anchor is level with the wall before proceeding to the next step to ensure a stable installation.
Step 5. Attach the Mounting Brackets:
With the anchors securely in place, the next step is to attach the mounting brackets to the wall. Position the first bracket over the corresponding anchors, aligning the pre-drilled bracket holes with the anchors in the wall. Use a screwdriver to drive screws through the bracket holes into the anchors, ensuring that each screw is tightened sufficiently to hold the bracket firmly against the wall.
Be careful not to overtighten, as this can damage the anchors or wall surface. Repeat this process for the second bracket, making sure both brackets are aligned and level with each other. The precision of this step is crucial, as the brackets serve as the main support for your ceramic towel bar. Take a moment to double-check that the brackets are aligned, using a level if necessary, to confirm they’re perfectly horizontal.
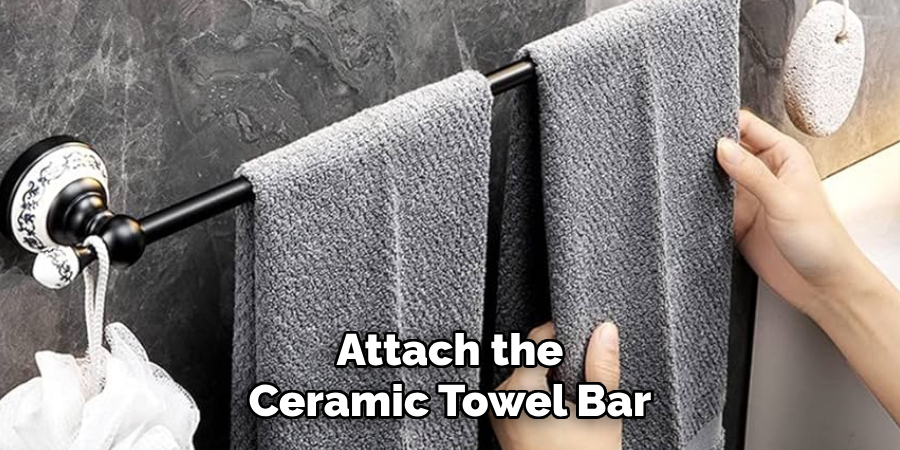
Step 6. Attach the Ceramic Towel Bar:
After securing the mounting brackets, it’s time to attach the ceramic towel bar. Carefully slide the towel bar into the open ends of the brackets. Ensure that the bar is centered and fits snugly within the mounts. Some towel bar designs may require you to secure the bar with set screws; if so, use a screwdriver to tighten these screws securely, ensuring the bar does not rotate or loosen when in use.
Take a moment to check that the towel bar is level and firmly affixed, which will provide both functional support for towels and add a polished look to your bathroom. With the towel bar properly installed, you can enjoy the practicality and style it brings to your space.
Step 7. Test the Installation:
Now that the ceramic towel bar is installed, it’s important to test the installation to ensure it is secure and functional. Gently pull on the towel bar to check its stability. The bar should not wobble or come loose from the brackets. Place a towel or two on the bar and observe if it supports the weight without any issues.
Testing the installation helps you verify that all components are correctly installed and capable of withstanding regular use. If any movement or instability is detected, revisit previous steps to identify and correct any loose screws or improperly set anchors. Ensuring a secure installation at this stage will provide peace of mind and long-term durability of your towel bar setup.
Step 8. Final Touches:
With the towel bar securely in place, it’s time to add the final touches to complete the installation. Ensure that any residual marks from the pencil have been wiped clean from the wall for a professional finish. If you have installed the towel bar on a tile wall, inspect the surrounding area for any dust or debris and clean it thoroughly. Consider any decorative elements or accents you may wish to add, such as matching towel rings or hooks, to enhance the functionality and aesthetic harmony of your bathroom. Taking the time to refine these small details will leave you with a polished, stylish, and fully functional space.
Step 9. Maintenance and Care:
To keep your ceramic towel bar in pristine condition and ensure its longevity, regular maintenance and care are essential. Periodically check the stability of the towel bar and tightening of any set screws as needed. Clean the bar and brackets using a mild soap and water solution to remove any dirt or residue that may accumulate over time. For ceramic surfaces, avoid harsh chemicals that could damage the finish. Regular upkeep not only maintains the appearance and functionality of your towel bar but also enhances its durability as a key component of your bathroom décor.
Step 10. Troubleshooting Common Issues:
While installing a ceramic towel bar is a fairly straightforward process, there may be some common issues that arise during installation. Some potential problems and their solutions include:
- Loose or Wobbly Anchors: If the anchors used are not secure enough, they may come loose over time. In this case, carefully remove the towel bar and mounting brackets and replace the anchors with larger or sturdier ones.
- Uneven or Unlevel Brackets: If the mounting brackets are not perfectly aligned, it can cause the towel bar to sit at an angle. Use a level to ensure both brackets are even before securing them in place.
- Difficulty Drilling into Wall: Depending on your wall material, you may encounter difficulty drilling into it. If this happens, try using a different type of anchor or switch to mounting the towel bar on an adjacent stud for added support.
- Set Screws not Holding: If your towel bar has set screws but they are not holding the bar in place, try adding a small amount of threadlocker or adhesive to increase their grip and prevent movement.
By following these steps and troubleshooting any potential issues, you can successfully install a ceramic towel bar in your bathroom.
With its practical benefits and decorative appeal, a ceramic towel bar is a valuable addition to any bathroom setup.
Conclusion
How to install ceramic towel bar can transform your bathroom by providing both functionality and a touch of elegance.
The process involves careful planning, precise measurements, and a step-by-step approach that ensures a secure and aesthetically pleasing result. By following the outlined steps—securing proper alignment with anchors, attaching the bar confident in its stability, and conducting regular maintenance—you can achieve a professional installation. Troubleshooting common issues helps address any challenges, ensuring a durable and effective fixture in your bathroom.
With attention to detail and commitment to quality, your new ceramic towel bar will offer both utility and style for years to come.

