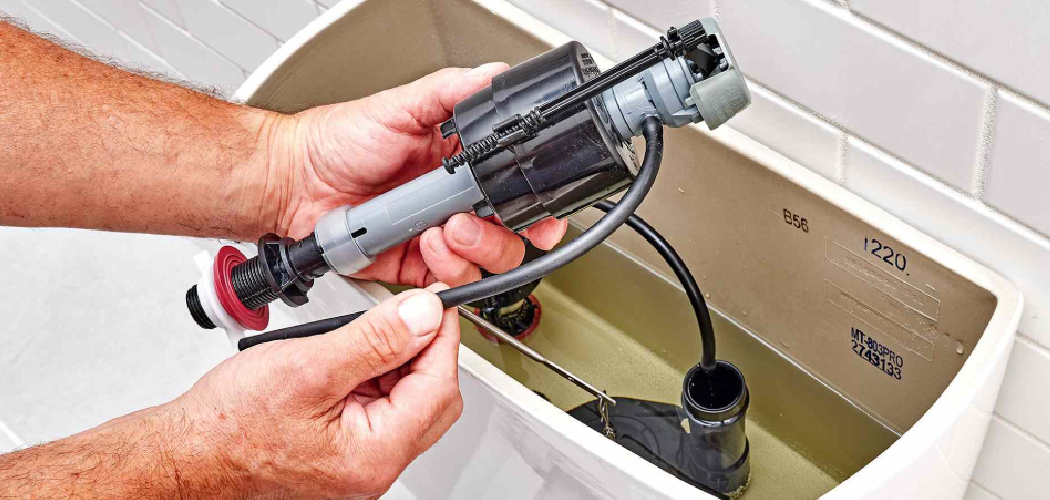
A dual flush valve is a modern toilet flushing mechanism designed to offer two flush options — a low-volume flush for liquid waste and a high-volume flush for solid waste. This innovative system helps to conserve water by using only the necessary amount of water for each flush. By upgrading to a dual flush valve, homeowners can significantly improve water efficiency, reduce water bills, and make an eco-friendly upgrade to their bathrooms. It’s a small change that can make a big difference in reducing water consumption over time.
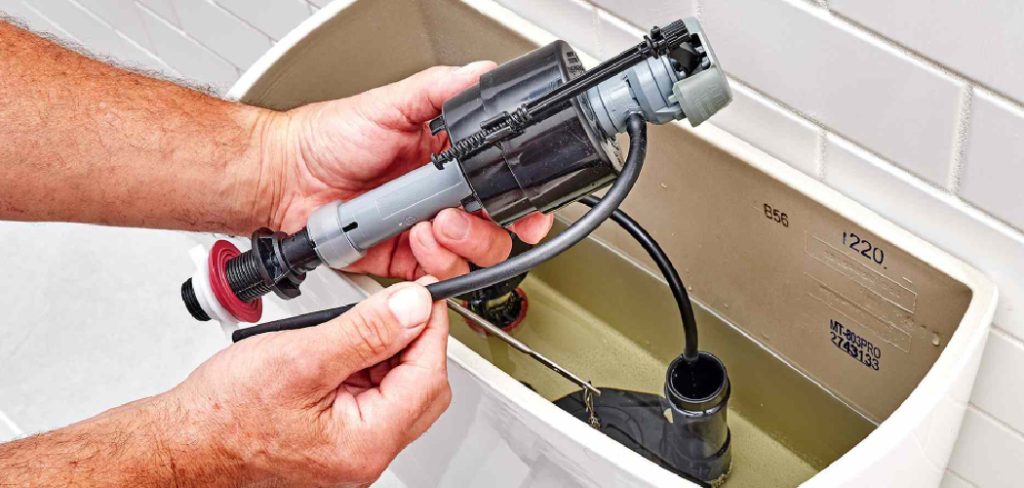
This article aims to provide a comprehensive step-by-step guide on how to install dual flush valve systems in standard toilet tanks. Whether you are a DIY enthusiast or a homeowner looking to increase your toilet’s efficiency, this guide will walk you through the process, ensuring a smooth installation and long-term functionality for your dual flush valve system.
Tools and Materials Needed
Before beginning the installation process, gather the necessary tools and materials to ensure a smooth and efficient setup. Having everything on hand will save time and avoid interruptions.
Essential Tools
- Adjustable wrench – For loosening and tightening nuts and bolts in the tank.
- Screwdriver (flathead and/or Phillips) – Depending on your toilet’s specifications, you may need one or both types.
- Towel or sponge – To clean up any water that might spill during the process.
- Bucket – Useful for catching excess water when draining the tank.
Materials
- Dual flush valve kit – Ensure the kit is compatible with your specific toilet model. Check product specifications before purchase.
- New tank-to-bowl gasket – Optional but recommended to prevent leaks and improve the seal.
- Teflon tape or plumber’s tape – Used to secure threaded connections and prevent leaks.
- Replacement supply line – Only needed if the current supply line shows signs of wear or damage.
Safety Note
Before starting, turn off the water supply to the toilet and flush it to empty the tank. Make sure the area around the toilet is dry to reduce the risk of slipping or water damage.
How to Install Dual Flush Valve: Removing the Old Flush Valve
Step 1: Turn Off the Water Supply
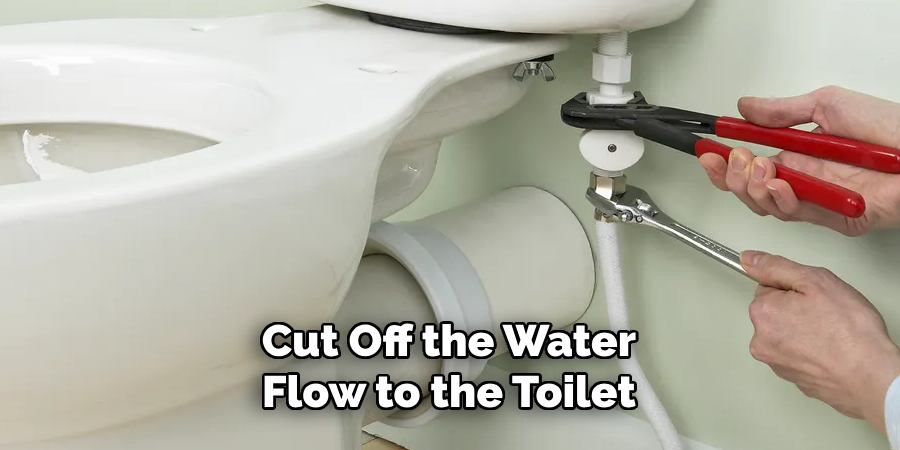
Locate the shut-off valve behind the toilet and turn it clockwise until it stops. This will cut off the water flow to the toilet, preventing any spills.
Step 2: Drain the Toilet Tank
Flush the toilet and hold down the handle to allow as much water as possible to leave the tank. To ensure the tank is completely dry, soak up any remaining water using a towel, sponge, or small container.
Step 3: Disconnect the Water Supply Line
Using an adjustable wrench, carefully unscrew the nut connecting the water supply line to the bottom of the toilet tank. While disconnecting the line, keep a towel ready to catch any residual water that may drip.
Step 4: Remove the Tank (If Necessary)
If your toilet design requires access to the flush valve from below, you’ll need to remove the tank. Unscrew the bolts beneath the tank, securing it to the bowl. Once loose, carefully lift the tank off and place it on a flat, stable surface, like a towel or cushion, to avoid cracks or scratches.
Step 5: Remove the Old Flush Valve
At the bottom of the tank, locate the large plastic nut securing the flush valve. Unscrew it using an adjustable wrench or large pliers. After removing the nut, lift out the old flush valve and gasket. Be sure to inspect the opening and clean away any debris or residue before installing a new valve.
Installing the Dual Flush Valve
Step 1: Insert the New Valve
Place the new dual flush valve in the same position as the old one. Align the valve carefully with the tank opening and the overflow tube to ensure a proper fit. Make sure the rubber seal at the bottom of the valve sits snugly in the tank opening to prevent leaks.
Step 2: Secure the Valve
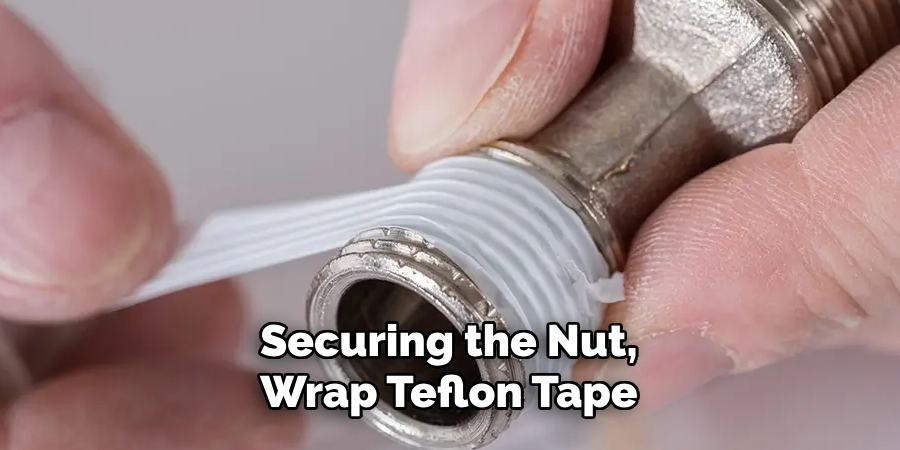
Tighten the locking nut on the underside of the tank to hold the dual flush valve securely in place. Use an adjustable wrench to ensure the nut is firmly tightened. Before securing the nut, wrap Teflon tape around the threads to create a watertight seal. This step is crucial to avoid water leakage during future flushes.
Step 3: Replace the Gasket and Bolts
If your kit includes a new tank-to-bowl gasket, install it by sliding it onto the tank’s base. Next, reinsert the mounting bolts through the tank holes and tighten them evenly using a screwdriver and wrench. Be careful not to overtighten, as this could damage or crack the ceramic tank. Tightening the bolts evenly helps maintain a secure, balanced connection between the tank and the bowl.
Step 4: Reattach the Water Supply Line
Finally, screw the water supply line back into the fill valve and tighten it securely by hand, followed by a light turn with pliers. Ensure the connection is snug but not overly tight to prevent damage to the fittings. Once completed, turn the water supply back on and test for leaks before using the toilet.
Connecting the Flush Mechanism
Step 1: Install the Flush Buttons or Lever
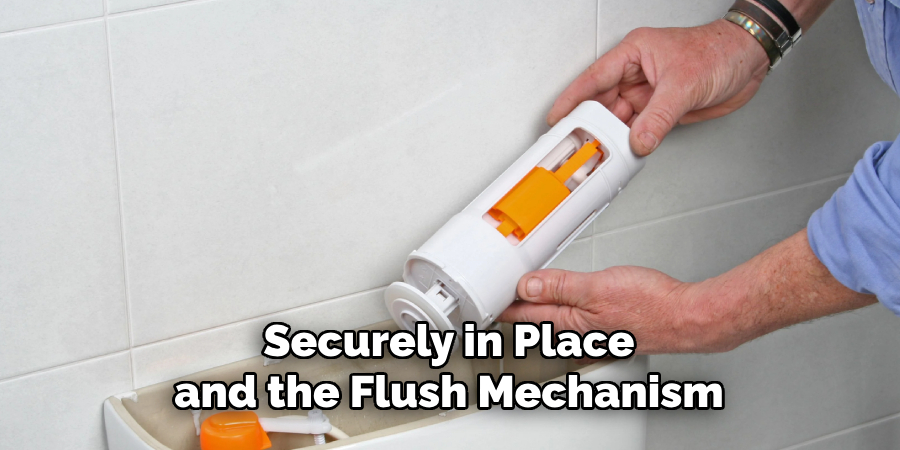
Follow the manufacturer’s instructions to attach the flush mechanism to the top or side of the tank lid. The process may vary depending on the toilet’s design, so ensure you carefully review the guidelines provided. Secure the flush buttons or lever into place, ensuring they are tight but not overtightened, which could damage the components.
Step 2: Adjust Flush Volumes
Set the low and high flush volumes using the adjustable sliders or dials on the valve body as per your preferences and water-saving needs. Most modern toilets are designed with dual-flush mechanisms to optimize water usage. Test each flush setting multiple times to confirm that it operates smoothly and clears the bowl effectively while maintaining efficiency. Make any necessary adjustments to fine-tune the water levels.
Step 3: Final Assembly
Once all components are securely in place and the flush mechanism functions properly, place the tank lid back on carefully. Double-check that the flush buttons or lever align properly with the valve underneath the lid to ensure smooth operation. With the lid in place, test the flush mechanism one final time to confirm everything works as intended. Your toilet is now fully reassembled and ready for use!
Testing for Leaks and Functionality
Step 1: Turn On the Water Supply
Slowly open the shut-off valve to allow water to flow back into the tank. Monitor the tank as it fills to ensure the water level reaches the designated mark on the overflow tube or as specified by the manufacturer.
Step 2: Inspect for Leaks
Carefully inspect the entire system for signs of leaks. Pay close attention to the base of the flush valve, the supply line connection, and the bolts securing the tank to the bowl. If you notice any dripping water or moisture, gently tighten the connections using an appropriate tool. Avoid overtightening, as it could damage the components.
Step 3: Test Both Flush Modes
Test the flush mechanism by pressing both flush buttons—one for the low-volume flush and the other for the high-volume flush. Observe each flush for strength and efficiency, ensuring a smooth operation. Additionally, note the refill rate to confirm it operates within normal parameters. If any issues arise during the test, double-check all settings and adjustments before concluding the process.
Maintenance Tips for Dual Flush Valves
Keep the Valve Clean
Regular maintenance ensures your dual flush valve functions efficiently. Clean the valve periodically to remove any mineral buildup, leading to sticking or reduced performance. Use a gentle cleaner to avoid damaging the components.
Monitor Water Efficiency
Monitor water efficiency by periodically testing the flush strength. Ensure that both the low-volume and high-volume flush settings are performing properly. Adjust as necessary to prevent water waste and maintain optimal flushing power.
Replace Worn Components
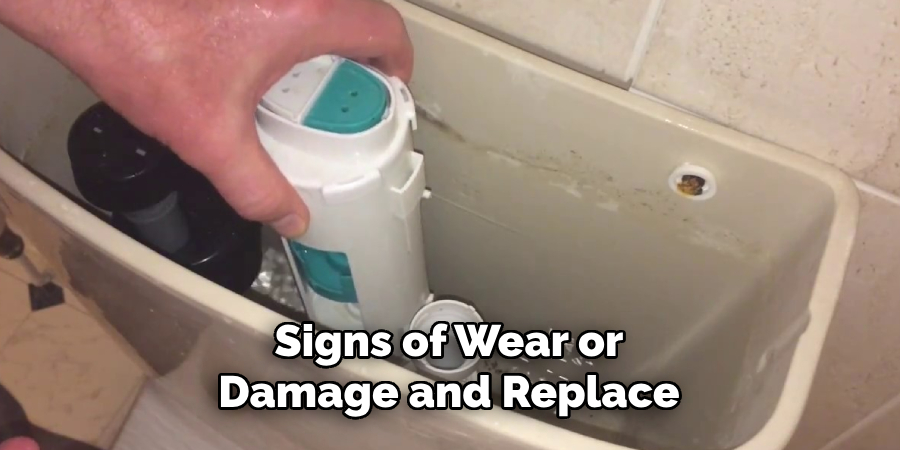
Components such as gaskets, seals, and flush buttons may wear out over time. Inspect these parts regularly for signs of wear or damage and replace them as needed. Proactive replacement ensures consistent performance and prevents potential issues from turning into costly repairs.
Conclusion
Installing a dual flush valve is a straightforward process that involves removing the old unit, securing the new one in place, and carefully adjusting the flush mechanism for optimal performance. By learning how to install dual flush valve systems, you can enjoy significant benefits such as reduced water usage, enhanced flushing efficiency, and a positive environmental impact. Regular checks and maintenance are essential to ensure the system remains efficient, prevents leaks, and delivers consistent performance over time. Taking these steps increases your toilet’s lifespan and contributes to sustainable water conservation efforts.

