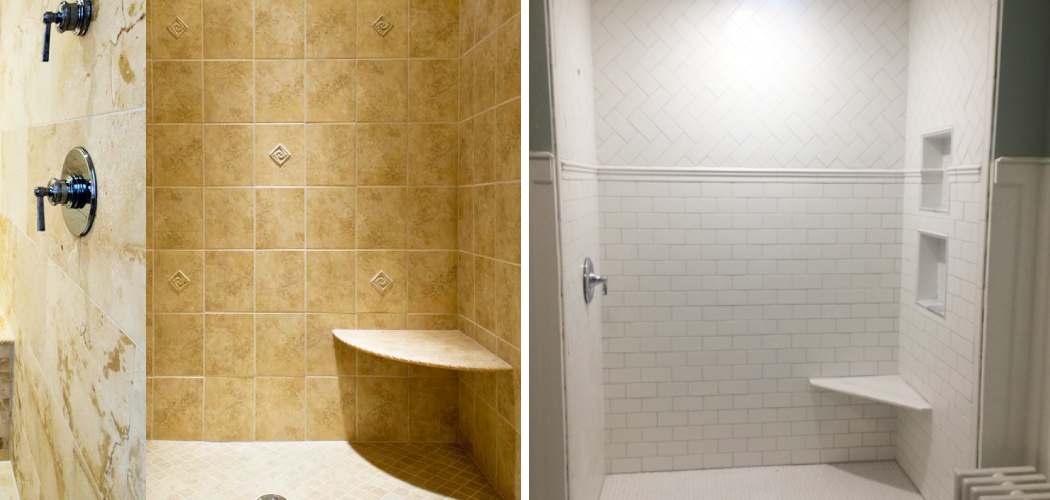
Having a comfortable and accessible bathroom can make a huge difference for people with disabilities or limited mobility. Installing a floating corner seat in your shower is a step towards achieving that comfort and accessibility.
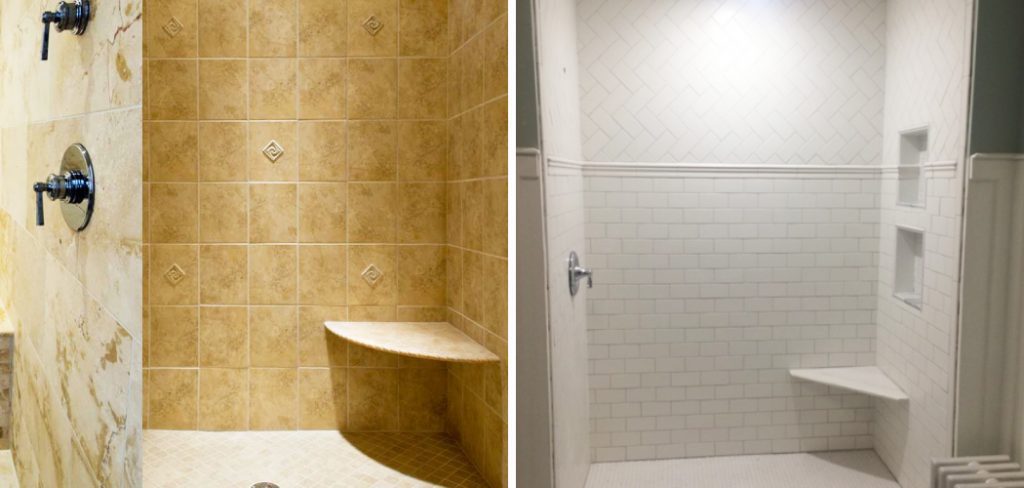
This type of shower seat takes up minimal space and can be adjusted to various heights, making it ideal for all kinds of users. That said, installing it requires some basic DIY skills and tools. In this blog post, we’ll show you how to install floating corner seat in shower in 7 easy steps.
Can You Install a Floating Corner Seat in the Shower?
There’s nothing like a relaxing shower after a long day, but what if you could take your shower experience to the next level with a floating corner seat? If you’re looking to revamp your bathroom and turn your shower into a spa-like oasis, a floating corner seat might be just the thing for you.
Not only does it add a stylish touch to your space, but it’s also a practical solution for those who have trouble standing in the shower for long periods of time. So, can you install a floating corner seat in the shower? Absolutely! With the right tools and some basic DIY skills, you can easily transform your shower into a luxurious retreat.
Why Should You Install Floating Corner Seat in Shower?
The act of taking a shower can become a refreshing and relaxing experience, especially after a long and tiring day. However, without the proper seating arrangement, standing for an extended period in the shower can get quite tiresome. This is where a floating corner seat comes in.
A floating corner seat is a small bench installed in the corner of a shower that allows you to sit down while you wash. This addition to your shower provides a comfortable and safe space to sit and enhances your shower experience by allowing you to fully relax and unwind in the comfort of your own bathroom.
What’s more, the installation process is simple, making it a practical and worthwhile investment for any household.
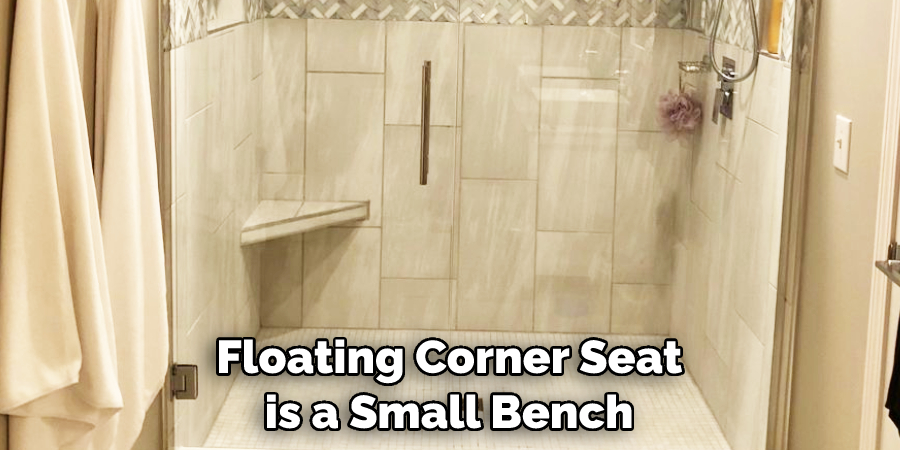
How to Install Floating Corner Seat in Shower – in 7 Easy Steps
Step 1. Choose the Right Spot
Before you start installing the floating corner seat, decide on the right spot where you want it to be placed on the wall. Make sure it’s a sturdy and water-resistant area that allows you to sit comfortably without obstructing the showerhead or faucet. Measure the height and width of the area to ensure that you purchase the right size of the seat.
Step 2. Gather the Tools and Materials
To install the floating corner seat, you’ll need some essential tools and materials such as a drill, screws, anchors, a mounting bracket kit, and the seat itself. Make sure you have all of these before you proceed with the installation.
Step 3. Install the Mounting Brackets
Once you have the tools and materials ready, it’s time to install the mounting brackets on the wall. Position the brackets at the same height and level on both sides of the corner. Use a level to make sure the brackets are straight and upright.
Then, mark the spots where you want to drill the holes for the screws. Use a drill to make holes in the wall and insert the anchors into them. Use screws to attach the brackets to the wall securely.
Step 4. Attach the Seat to the Brackets
Once the brackets are installed, it’s time to attach the reversible seat to the brackets. Each bracket usually has two slots that allow you to adjust the seat to different heights. Insert the seat pins into the brackets’ slots and adjust the height to your preference. Make sure both pins are securely locked in place.
Step 5. Connect the Supporting Cable
The floating corner seat also comes with a supporting cable that needs to be attached to the brackets as well. Unravel the cable and thread it through the holes in each bracket. Securely attach it using screws or clips, depending on what type of material you’re using.
Step 6. Test the Seat
Once you’ve installed the seat and attached all of the components, it’s time to test it out. Sit on the seat and make sure that it can support your weight without any issues. If everything seems to be working properly, then you’re ready for the last step.
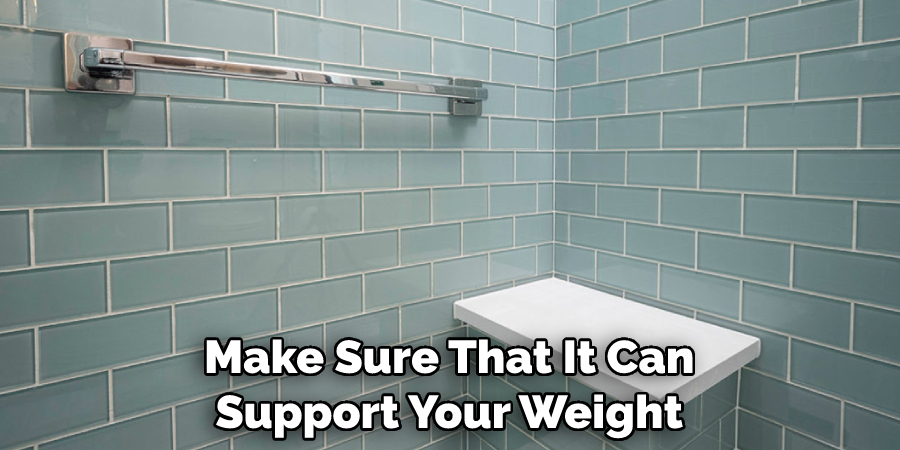
Step 7. Add Finishing Touches
The last step is to add the finishing touches to your new floating corner seat. You can paint it in a color of your choice or add some decorative elements such as curtains and other accessories. Whatever you choose, make sure that it’s waterproof and resistant to humidity so that it lasts longer.
That’s it! You’ve now learned how to install floating corner seat in shower. With this step-by-step guide, you can now create the perfect seating nook for yourself and enjoy your showers even more! So go ahead and get started on installing your own floating corner seat today.
5 Things You Need to Know Before Install Floating Corner Seat in Shower
1. The first thing you need to know before installing a floating corner seat in your shower is what type of shower you have. There are two shower types: walk-in and tub/shower combos. If you have a walk-in shower, you will need to purchase a corner seat specifically designed for walk-in showers.
These seats are typically made from waterproof materials and have suction cups on the bottom to prevent them from sliding around. If you have a tub/shower combo, then you can use any type of corner seat as long as it is small enough to fit in the tub.
2. You also need to measure the dimensions of your shower before purchasing a corner seat. This will ensure that you get a seat that is the right size for your shower. You should measure the length and width of your shower and the height of the shower walls.
3. Another important consideration is what material you want your seat to be made from. Corner seats are typically made from either plastic or metal. Plastic seats are usually less expensive but may not be as durable as metal seats. Metal seats are more expensive but will last longer and are more durable.
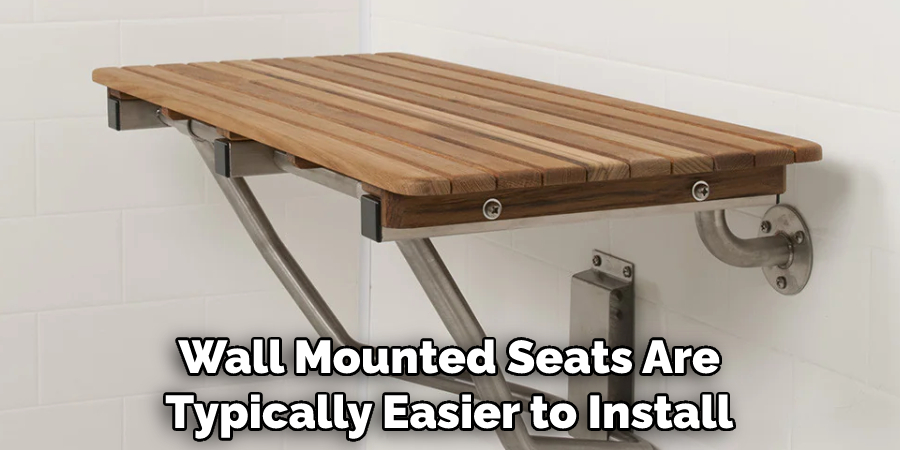
4. You also need to decide how you want your seat to be mounted. Corner seats can be either wall-mounted or floor-mounted. Wall-mounted seats are typically easier to install but may not be as sturdy as floor-mounted seats. Floor-mounted seats are more difficult to install but usually more sturdy and durable.
5. Once you have considered all of these factors, you should be able to choose the perfect floating corner seat for your shower. Make sure to follow the installation instructions carefully, and you will be able to enjoy your new floating corner seat in no time!
Benefits of Install Floating Corner Seat in Shower
When it comes to bathroom design and remodeling, more and more people are looking for creative ways to maximize space and make their daily routines as efficient as possible. One exciting option that is gaining popularity is the floating corner seat in the shower.
This sleek and modern seating solution can provide a range of benefits, from added comfort and relaxation during a long shower or bath to improved accessibility for those with mobility challenges. Since corner seats typically do not take up much space, they can be installed in even the smallest of bathrooms without too much trouble.
So if you’re looking for a way to take your shower experience to the next level, you may want to consider installing a floating corner seat in your own bathroom!
Some Common Mistakes People Make When Trying to Install Floating Corner Seats in Shower
Installing floating corner seats in the shower can be a great addition to any bathroom, but it’s important to remember that it’s not as easy as it may seem. Many people make common mistakes when trying to install these seats, which can result in problems down the line.
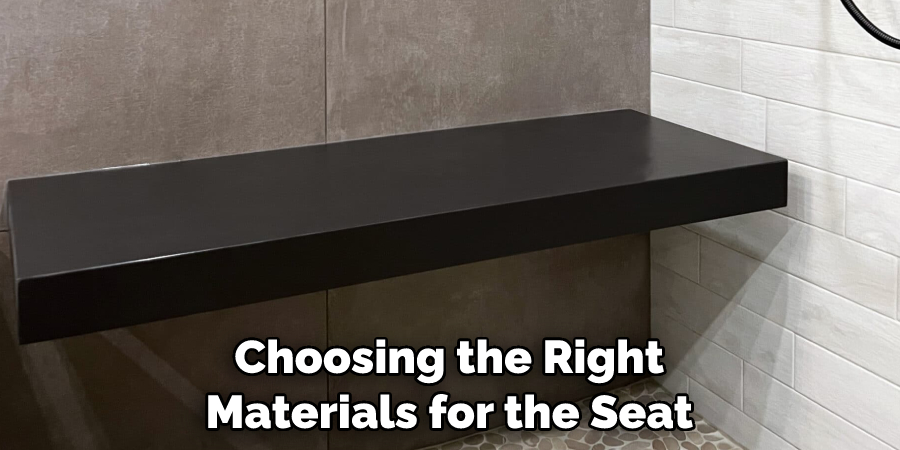
One of the biggest mistakes is not properly measuring the size of the seat and the space in which it will be placed. This can lead to the seat being too small or too big for the shower, causing discomfort or even creating a safety hazard. Another mistake is not choosing the right materials for the seat, which can break or become damaged over time.
By avoiding these mistakes and seeking professional help if needed, you can achieve a beautiful and functional floating corner seat in your shower.
Conclusion
Installing a floating corner seat in your shower is an excellent way to improve your bathroom’s accessibility and ease of use. By following the steps we’ve outlined in this blog post, you can easily install a floating corner seat in your shower without the need for a professional contractor.
Just remember to choose the right spot, gather the essential tools and materials, install the brackets securely, attach the seat carefully, and test everything before use. That way, you can enjoy a comfortable and safe shower experience for years to come. Thanks for reading our post about how to install floating corner seat in shower.

