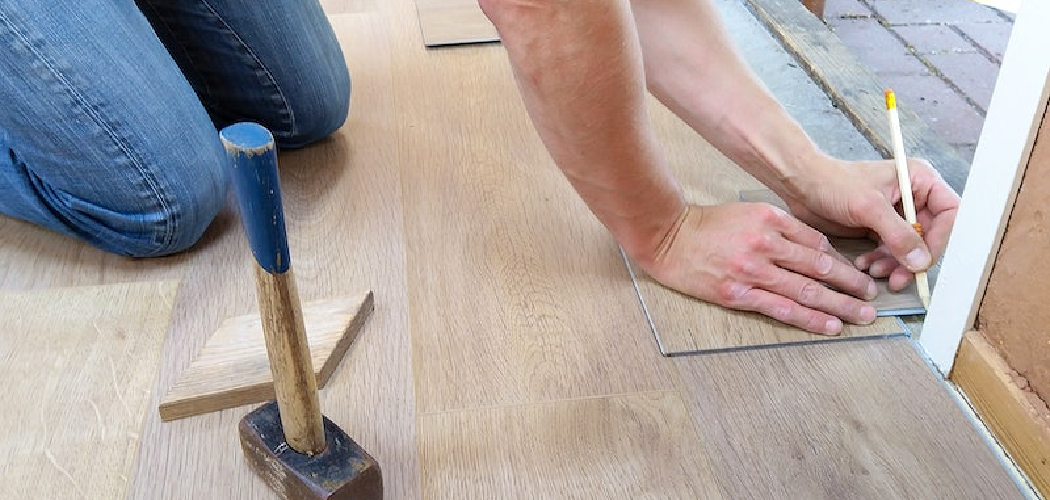
Installing laminate flooring in a bathroom can be a cost-effective and visually appealing way to upgrade the space and create a fresh, modern look. Laminate flooring offers the charm of hardwood with added durability and water-resistance, making it a suitable option for bathroom environments.
However, proper installation is crucial to ensure a long-lasting and functional flooring solution.
In this article, we will guide you through the step-by-step process of how to install laminate flooring in bathroom. From essential preparations and choosing the right materials to mastering installation techniques and addressing potential challenges, we’ll provide expert tips and insights to help you achieve a beautiful and resilient laminate floor that transforms your bathroom into a stylish oasis.
The Benefits of Laminate Flooring in Bathrooms
Laminate flooring is a popular choice for bathrooms due to its waterproof nature, ease of installation, and affordable cost. Laminate is also highly durable and has an attractive appearance that won’t fade over time.
Installing laminate in the bathroom can help protect against water damage, make cleaning easier, improve visual appeal, and increase home value.
Water-Resistant:
One of the main benefits of using laminate in a bathroom is that it’s naturally waterproof. Laminate floors are made up of layers that form a protective seal which keeps water from seeping into the core material and causing swelling or warping.
Additionally, the surface layer is usually treated with special moisture-resistant coatings to further safeguard against water damage.
Easy to Install:
Laminate flooring is designed with a special locking system that makes installation relatively simple and fast compared to some other types of flooring. Most lam floors can be installed directly over existing surfaces like tile or vinyl, which eliminates the need for messy and time-consuming tear outs.

Attractive Look:
Laminate flooring comes in a wide range of colors, textures, and patterns so you can easily find something to match your style preferences. The high-quality protective finish also helps retain its original luster while withstanding daily wear and tear from foot traffic.
Inexpensive:
Compared to hardwood or stone flooring, laminate is generally less expensive—making it a great option for those on a budget. The cost of the material and ease of installation will vary depending on factors like size, type, and quality.
Increasing Home Value:
Installing laminate flooring in your bathroom is an excellent way to add value to your home. It’s attractive look can help make it easier to sell and potential buyers may be more likely to pay full asking price if they know that the floor has been well maintained.
To sum up, installing laminate flooring in bathrooms offers many benefits including increased water-resistance, easy installation, attractive looks, affordability, and improved home value. With careful installation and regular maintenance it can last for years with minimal effort or expense required.
Importance of Proper Installation for Longevity and Aesthetics
The proper installation of laminate flooring in a bathroom is essential for both its longevity and aesthetic appeal. Poorly installed laminate flooring can warp, crack, and be prone to water damage.
In addition, an improperly installed laminate floor in a bathroom will not look as attractive as one that is correctly installed. Understanding how to properly install the laminate flooring is essential for achieving the desired results.
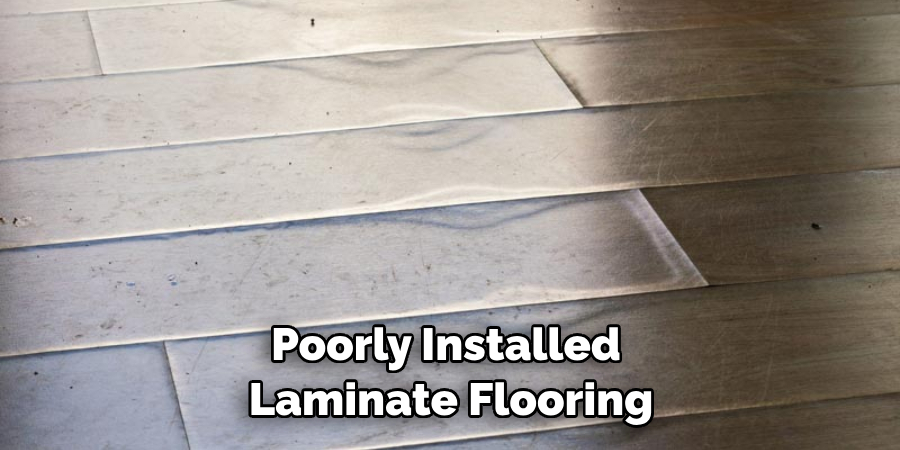
The most important step when installing a laminate floor in a bathroom is to make sure that the subfloor or subfloor structure is structurally sound and dry before beginning installation. This means checking for cracks, holes, warping, and other problems with the existing subfloor or subfloor structure before continuing with the installation.
If any of these issues are present, they must be addressed before proceeding with installation. Additionally, it is important to ensure that the space has adequate moisture protection before installation. This can be achieved by laying down a vapor barrier, ensuring proper seals around windows, and using moisture-resistant adhesives or tape when necessary.
Once the subfloor is ready for installation, it’s important to choose the right type of laminate flooring for the bathroom environment. The most popular types of laminate flooring are those that are water-resistant and have anti-slip properties.
It’s important to read all product specifications carefully in order to make sure that the chosen laminate flooring meets all requirements for use in bathrooms.
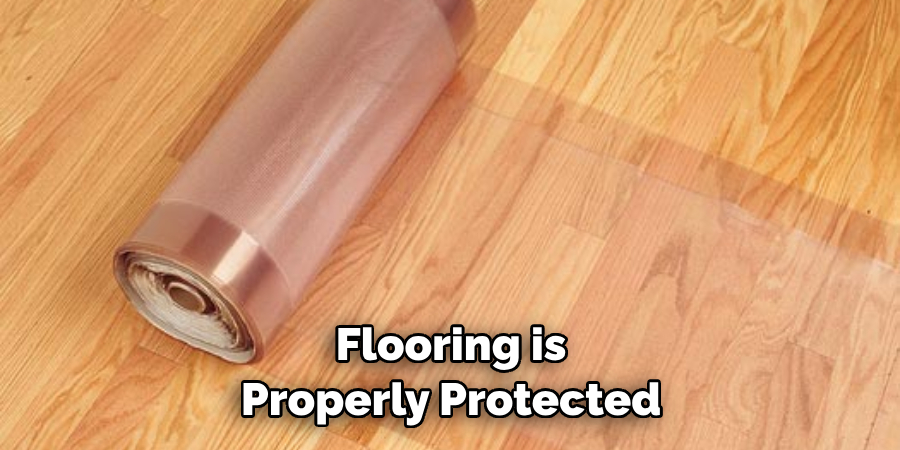
Once the correct type of laminate flooring has been selected, it should be properly measured and cut to fit into the space before being installed. All edges should be sealed with protective tape to ensure that the flooring is properly protected from moisture and other elements.
10 Methods How to Install Laminate Flooring in Bathroom
Method 1: Choose the Right Laminate Flooring
Selecting the appropriate laminate flooring for a bathroom is crucial. Opt for laminate specifically designed for high-moisture environments. Look for products labeled as water-resistant or waterproof, with a core that can withstand exposure to humidity without warping or swelling.
Consider laminate with a high AC rating (abrasion class) for increased durability, ensuring it can handle foot traffic and potential bathroom hazards.
Method 2: Measure and Prepare the Bathroom
Accurate measurements are vital to calculate the amount of laminate flooring needed for the bathroom. Start by measuring the length and width of the room and multiplying the two to get the square footage. Add 10% to the total to account for wastage during installation.
Remove the baseboards and any existing flooring, and ensure the subfloor is clean, level, and dry before proceeding.
Method 3: Acclimate the Laminate Flooring
Allow the laminate flooring to acclimate to the bathroom’s conditions before installation. Stack the unopened boxes in the room for at least 48 hours to let the planks adjust to the temperature and humidity of the space.
This step is essential to prevent warping or buckling after installation. Once the laminate flooring has acclimated, it should be ready to install.
Method 4: Install a Vapor Barrier
To protect the laminate flooring from moisture coming up through the subfloor, lay down a vapor barrier before installation. Use a 6-mil polyethylene sheet, ensuring it overlaps the edges by at least 8 inches and is securely taped together.
Cut the sheet so it lies underneath the toilet and other bathroom fixtures by at least 6 inches. Staple the polyethylene underlayment in place with 1⁄4-inch staples. Be sure to seal the seams around toilet and other fixtures tightly.
After installation, cover the edges of the vapor barrier with a thin bead of silicone caulking to ensure the moisture is sealed out.
Method 5: Start the Installation
Begin installing the laminate flooring from the longest wall in the bathroom. Lay the first row of planks with the tongue side facing the wall and the groove side facing outward.
Insert spacers between the planks and the wall to maintain an expansion gap (usually around 1/4 inch) that allows the laminate to expand and contract with changes in humidity.
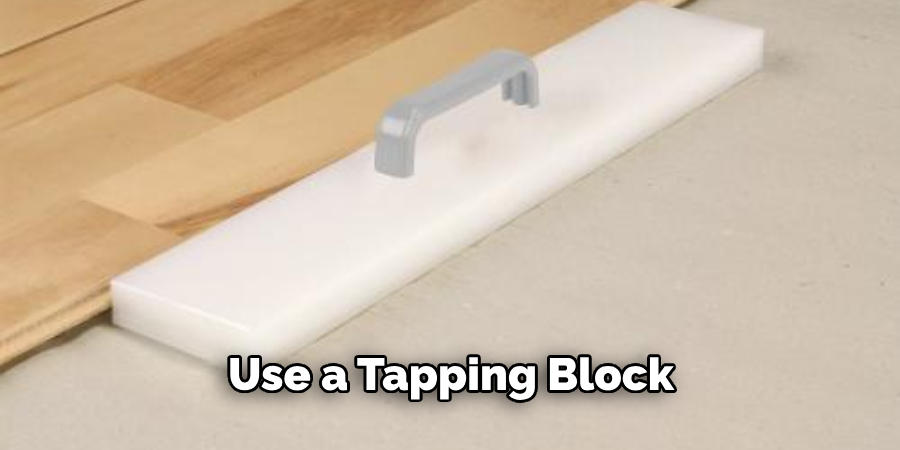
Method 6: Use a Tapping Block and Pull Bar
As you continue laying the planks, use a tapping block and a pull bar to ensure a snug fit between the planks. The tapping block helps to close the gaps along the short edges, while the pull bar facilitates tight connections along the long edges. Be gentle during this process to avoid damaging the planks.
Method 7: Stagger the Joints
To create a more stable and visually appealing floor, stagger the joints of the laminate planks. Start the second row with a plank cut to at least one-third its length to offset the seams from the first row. Avoid aligning the joints of adjacent rows, as this weakens the flooring structure.
Method 8: Cut Around Fixtures and Obstacles
As you approach fixtures, pipes, or other obstacles in the bathroom, carefully measure and mark the laminate planks to fit around them. Use a jigsaw or a laminate flooring cutter to make precise cuts, ensuring a professional-looking finish.
Method 9: Install Transition Pieces
Once the main area of the bathroom is complete, install transition pieces where the laminate meets different flooring surfaces or areas of the house. Transition pieces, such as T-moldings, reducers, and thresholds, provide a smooth and attractive transition between spaces.
Method 10: Reinstall Baseboards and Check for Gaps
After completing the laminate flooring installation, reinstall the baseboards using a brad nailer or finishing nails. Check the entire floor for any visible gaps or imperfections. If you find any, gently tap the planks into place or use wood putty to fill small gaps for a flawless finish.
Conclusion
Installing laminate flooring in the bathroom is not a quick and easy process, but if you take your time and carefully follow every step outlined in this article, you’ll have beautiful new floors in no time. It’s also important to remember that you should always use quality materials when planning a do-it-yourself project like this.
The right type of underlayment, adhesive sealer, and other supplies can make all the difference in the end product.
With some hard work and patience, however, your bathroom will soon look stylish and luxurious with its freshly installed laminate flooring. But don’t stress too much over it; completing a big project like this can be satisfying in more ways than one.
Follow these simple instructions outlined in this blog post about how to install laminate flooring in bathroom, and you’ll be able to get the job done with ease.

