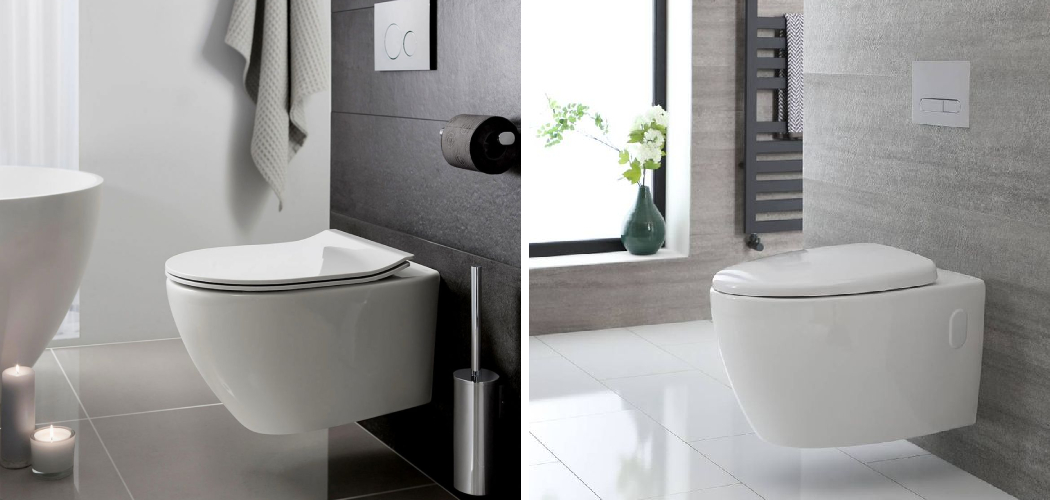
Installing a Lavavo wall hung toilet rimless model can significantly enhance the aesthetics and functionality of your bathroom. This modern design not only provides a sleek and minimalist look but also offers practical advantages such as easier cleaning and improved hygiene. In this guide, we will walk you through how to install lavavo wall hung toilet rimless, ensuring your new toilet operates efficiently while complementing your bathroom’s decor. Whether you’re a seasoned DIY enthusiast or a first-time installer, this comprehensive guide will equip you with the knowledge and confidence to undertake the project with ease.
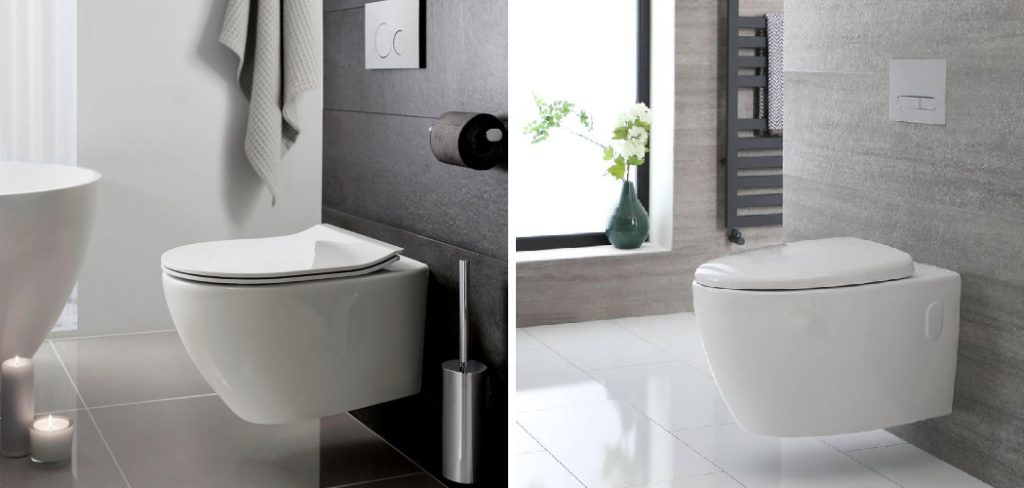
Importance of Proper Installation
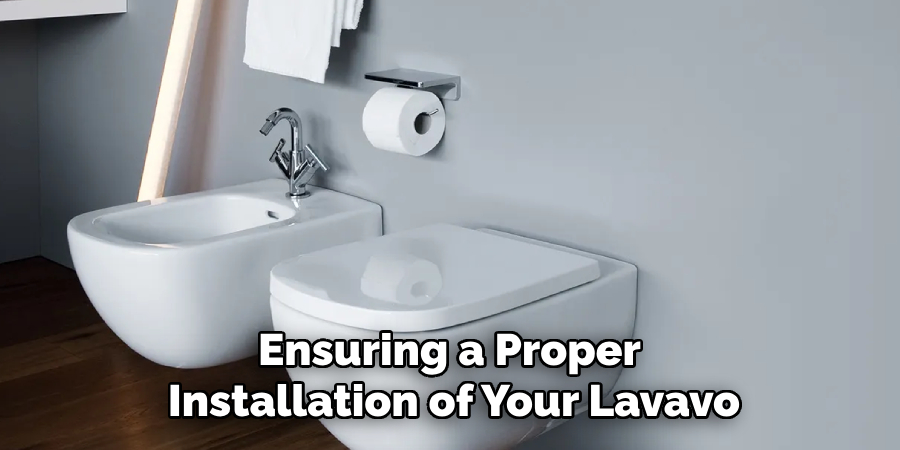
Ensuring a proper installation of your Lavavo wall hung toilet rimless is crucial for both performance and longevity. Incorrect installation can lead to a range of issues, including leaks, instability, and inefficient flushing, which can compromise the overall functionality of the toilet. Moreover, a well-installed toilet not only enhances the bathroom’s aesthetic appeal but also contributes to improved hygiene and maintenance. By taking the time to follow the installation guidelines meticulously, you safeguard against future plumbing problems and help maintain optimal performance, ultimately resulting in a more enjoyable and worry-free bathroom experience.
Tools and Materials Needed for Installing a Lavavo Wall Hung Toilet Rimless
Before beginning the installation of your Lavavo wall hung toilet rimless, it’s essential to gather all the necessary tools and materials to ensure a smooth process. Here’s a checklist to assist you:
Tools
- Adjustable Wrench: For tightening and loosening nuts and bolts.
- Level: To ensure the toilet is perfectly aligned.
- Drill: Needed for making holes in the wall for the mounting brackets.
- Screwdriver: Both flathead and Phillips types for various screws.
- Measuring Tape: To measure the distances accurately for mounting.
- Plumb Bob: To check vertical alignment if necessary.
Materials
- Lavavo Wall Hung Toilet Rimless Kit: This includes the toilet bowl, flushing mechanism, and mounting hardware.
- Wall Frame or Concealed Cistern: Essential for securely mounting the toilet.
- Silicone Sealant: For creating a watertight seal around the toilet base.
- Teflon Tape: To wrap around plumbing threads for a leak-proof fit.
- Flexible Water Supply Line: To connect the toilet to the water supply.
- Screws and Anchors: Specifically designed for mounting on your wall type.
Having these tools and materials ready will facilitate a more efficient installation process, ultimately leading to a successful completion of your Lavavo wall hung toilet rimless setup.
10 Methods How to Install Lavavo Wall Hung Toilet Rimless
1. Understand the Components of the Wall-Hung Toilet System
Before beginning the installation, it’s crucial to understand all the components involved in a wall-hung toilet system. A wall-hung toilet consists of a mounting frame (often called a carrier), a concealed cistern, a flush plate, the toilet bowl itself, and necessary plumbing connections. The carrier is installed within the wall, and it must support the weight of the user as well as the toilet. The concealed cistern is hidden behind the wall, with only the flush plate visible. Having a clear understanding of how each part fits together will help streamline the installation process.
2. Prepare the Installation Area
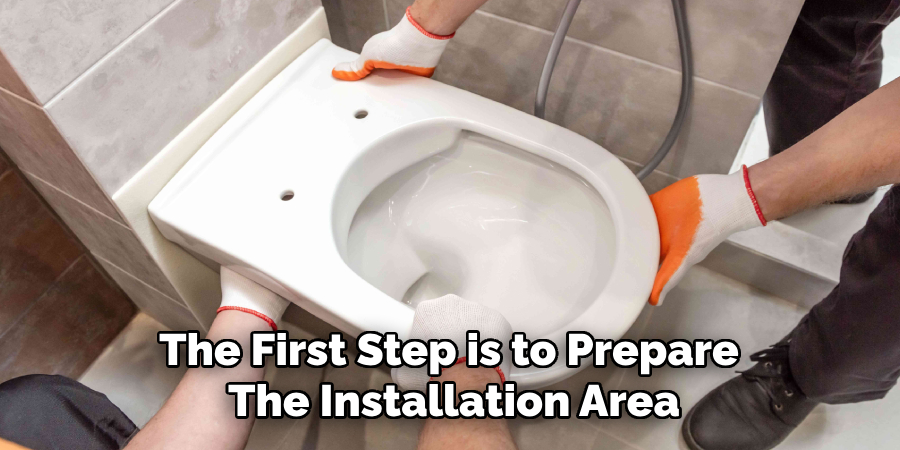
The first step is to prepare the installation area by marking the wall where the toilet will be mounted. Begin by locating the studs in the wall or reinforcing the area with additional supports to ensure the carrier can be securely fastened. Wall-hung toilets require a solid, well-supported structure because they don’t have a base on the floor. Remove any old plumbing fixtures and clear out space for the new installation. Ensure that you have access to the waste pipe and water supply, as these will need to be connected to the concealed cistern.
3. Install the Mounting Frame
The mounting frame is the most critical part of the installation, as it supports the toilet bowl and the user’s weight. Follow the manufacturer’s instructions to position the frame at the correct height. Typically, the toilet seat should be about 16-18 inches from the floor, but this can be adjusted to suit personal preferences or bathroom design. Once the height is determined, secure the frame to the wall and floor using heavy-duty bolts or screws. Ensure that the frame is level and tightly fastened, as any misalignment can lead to problems down the line.
4. Connect the Water Supply and Waste Pipe
After installing the mounting frame, the next step is to connect the water supply and waste pipe. The concealed cistern, which is part of the frame, needs to be connected to the water supply. Use the provided fittings to attach the water inlet to the cistern. Similarly, connect the waste outlet to the waste pipe using appropriate plumbing seals and connections. Ensure that all connections are tight and secure to prevent leaks. It’s advisable to test the water connection by briefly turning on the water supply and checking for leaks before proceeding.
5. Install the Concealed Cistern
The concealed cistern is installed within the mounting frame, and it is responsible for holding and releasing water during flushing. Place the cistern in the allocated space within the frame, ensuring that it is properly aligned with the water supply line and the flush pipe. Attach the flush pipe to the toilet bowl connection point on the frame. Make sure the cistern is securely fastened and that all pipes and connections are properly sealed. This is a critical step, as any errors in the cistern setup can result in poor flushing performance or leaks.
6. Cover the Frame and Cistern with Drywall or a Wall Panel
Once the frame and plumbing connections are secure, the next step is to conceal them. Use moisture-resistant drywall or a specialized wall panel to cover the frame and cistern. The drywall should be cut to fit around the flush plate, and any other openings, such as the pipe connections for the toilet bowl, should be properly aligned. Secure the drywall or panel with screws, ensuring that it is level and flush with the surrounding wall. Once the wall covering is in place, it can be finished with tiles, paint, or other bathroom wall treatments to match the rest of the decor.
7. Attach the Rimless Toilet Bowl to the Frame
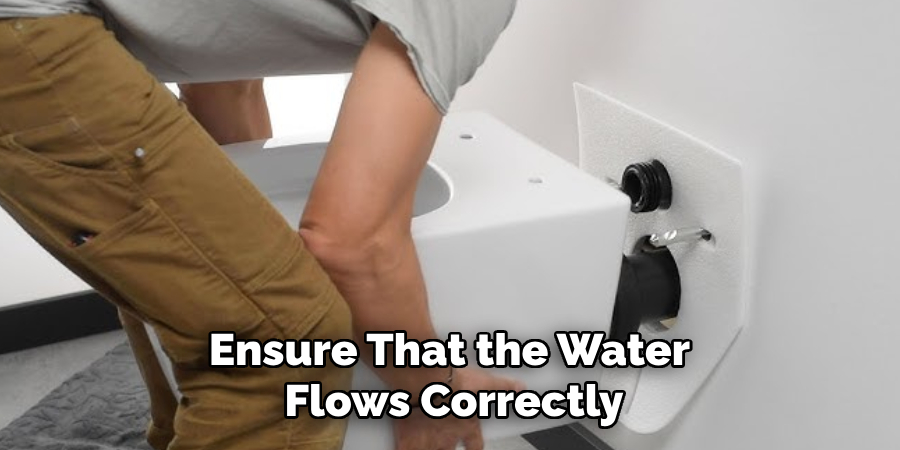
Now it’s time to attach the rimless toilet bowl to the frame. The rimless design of Lavabo toilets improves hygiene by eliminating the traditional rim, where bacteria can accumulate. Position the toilet bowl so that it aligns with the mounting bolts protruding from the frame. Slide the bowl onto the bolts and secure it with the provided nuts and washers. Tighten the bolts carefully to avoid cracking the porcelain, but ensure the toilet bowl is firmly secured to the frame. Double-check that the bowl is level before proceeding to the next step.
8. Install the Flush Plate
The flush plate is the only visible part of the concealed cistern, and it is responsible for controlling the flushing mechanism. Depending on the model of your Lavabo toilet, the flush plate may offer dual-flush options, allowing for more efficient water use. Attach the flush plate to the corresponding opening in the wall panel. Most flush plates are designed to clip into place, but some may require screws. Once the flush plate is installed, test it by pressing the buttons to ensure that the cistern flushes correctly and that water flows smoothly into the bowl.
9. Seal the Edges and Finish the Installation
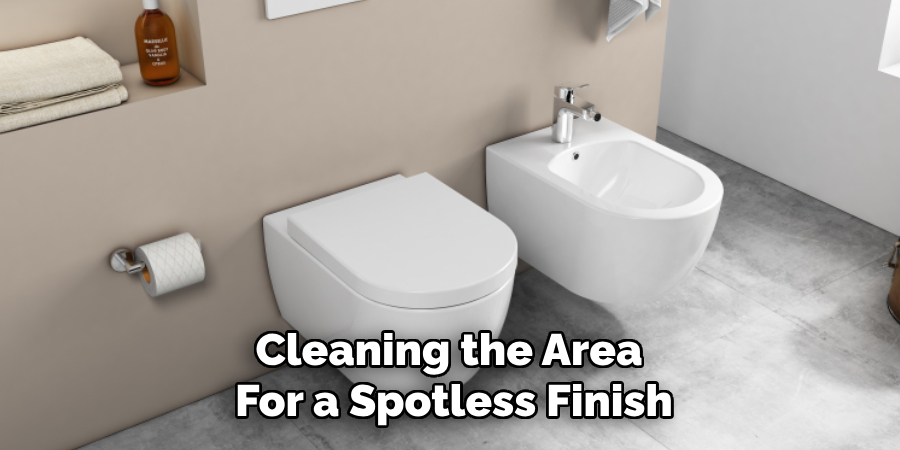
Once the toilet bowl and flush plate are installed, the next step is to seal the edges between the toilet and the wall to create a clean, finished look. Apply a thin bead of silicone caulk around the edges where the toilet bowl meets the wall. This will help prevent water from seeping behind the toilet and also give the installation a professional appearance. Smooth the caulk with a damp finger or a caulking tool, and allow it to dry fully. You can also perform any final touches, such as grouting around the wall panel or cleaning the area for a spotless finish.
10. Test the Installation for Leaks and Stability
Before declaring the installation complete, it’s essential to thoroughly test the toilet for leaks, stability, and overall functionality. Begin by turning on the water supply and filling the cistern. Flush the toilet several times to ensure that the water flows correctly and there are no leaks around the connections. Check the stability of the toilet bowl by sitting on it and gently shifting your weight. If the toilet wobbles or feels unstable, tighten the bolts securing it to the frame. Address any issues before using the toilet regularly to avoid long-term problems.
Conclusion
Successfully installing a rimless toilet, especially one with a concealed cistern, can greatly enhance both the aesthetics and functionality of your bathroom. By following the outlined steps methodically, you can ensure a reliable and efficient installation that not only meets your needs but also adheres to best plumbing practices. A well-installed toilet not only improves bathroom hygiene and maximizes space but also contributes to water conservation when equipped with modern flushing technology. Thanks for reading, and we hope this has given you some inspiration on how to install lavavo wall hung toilet rimless!

