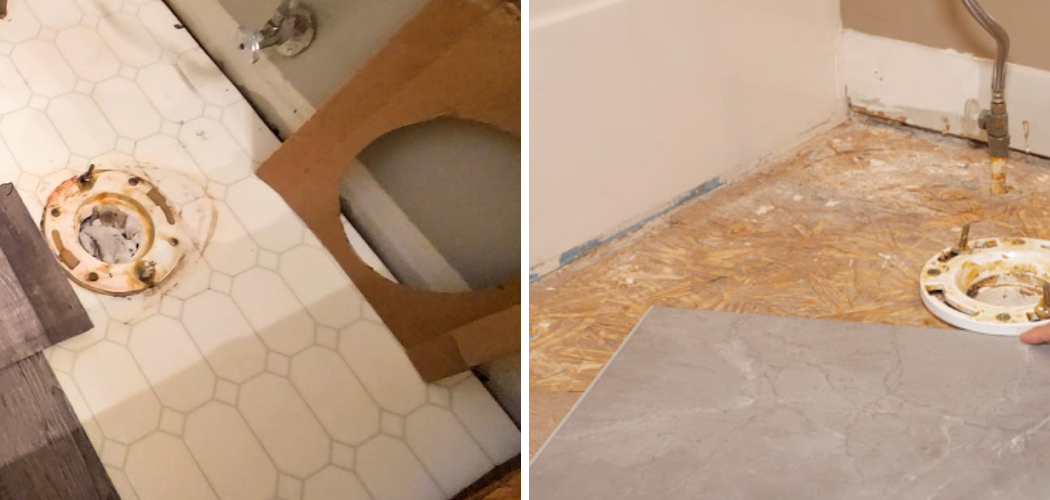
Are you looking for a way to give your bathroom an updated visual appeal while keeping materials durable and secure? Look no further than Luxury Vinyl Plank (LVP) flooring!
Easy to install and maintain, LVP can transform any bathroom into a stunning, modern space without breaking the bank. Whether you’re looking to do it yourself or hire a professional, this guide will walk you through all the steps necessary to achieve the perfect luxurious look successfully.
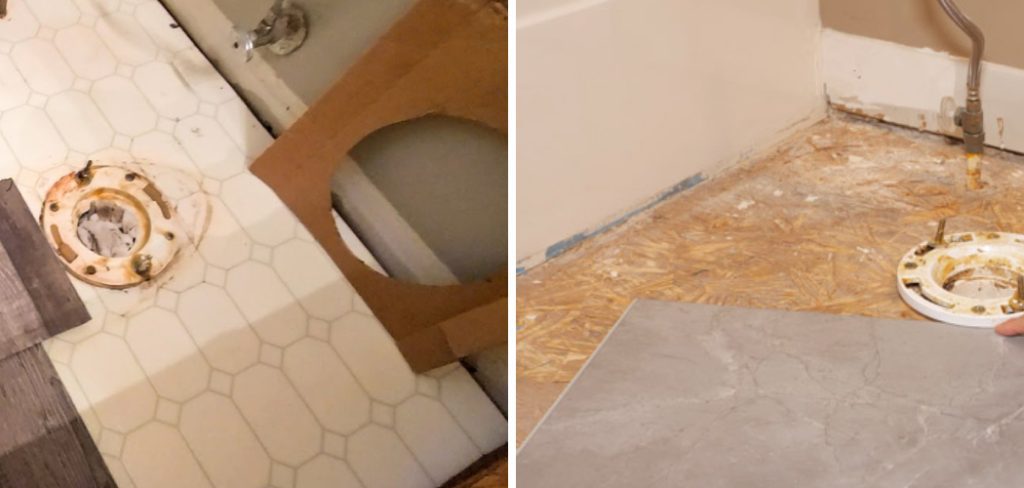
We’ll touch on tools needed, types of LVP best suited for bathrooms, and installation methods so that by the end of this post, you can confidently create your dream bathroom with beautiful new LVP floors!
If you’re ready to get started, keep reading for a comprehensive guide on how to install LVP in bathroom.
What Will You Need?
First and foremost, gather the following tools to make installation quick and easy:
- Tape measure
- Utility knife
- Pencil or marker
- Leveler
- Spacers
- Nail setter and hammer drill (for click lock LVP)
- Jigsaw or handsaw (for pieces that need to be cut)
Before you start the installation process, selecting the material that will best meet your needs is important. There are a few different types of LVP available, each with unique benefits and features.
10 Easy Steps on How to Install LVP in Bathroom
Step 1: Preparing the Subfloor
Before you start the installation process, it’s imperative to prep your subfloor. Ensure that it’s clean, dry, and level. If there are any uneven areas or blemishes, they need to be fixed before laying down the LVP.
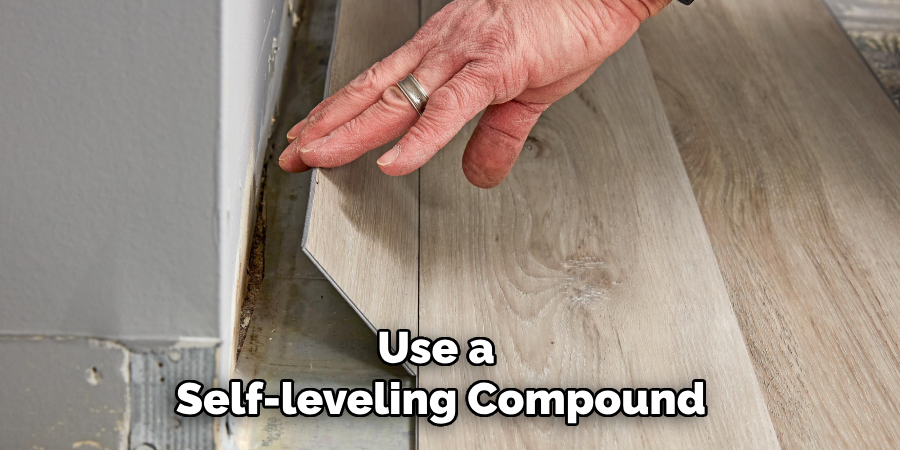
Remember that LVP flooring can highlight imperfections, so a flat and smooth surface is crucial. You can use a self-leveling compound to address any inconsistencies in the subfloor. Allow the subfloor to dry completely after cleaning or leveling before proceeding to the next step.
Step 2: Acclimating the LVP
It’s important to let your LVP acclimate to the temperature and humidity of your bathroom for at least 48 hours before installation.
His prevents any warping or shrinking after installation. Store the LVP in the bathroom, still in its packaging, and spread it out as much as possible to allow the pieces to adjust to the room conditions.
Step 3: Layout Planning
Before you start installing your LVP, it’s wise to plan the layout. This will help ensure that you have only a few short pieces or narrow slivers around the edges of the room. Begin by measuring the room’s dimensions and then lay out your LVP in a pattern that best fits the space.
This is also the time to decide the direction you’d want your planks to lay. In general, running the planks parallel to the longest wall or the main light source gives the best aesthetic results. Remember to leave room for expansion around the edges – about 1/8 inch is usually sufficient.
Step 4: Cutting and Fitting the Planks
Now that you’ve planned the layout, it’s time to cut and fit the LVP planks. Start from one corner of the room and lay your first row of planks. Measure and trim the planks as needed using your utility knife or jigsaw.
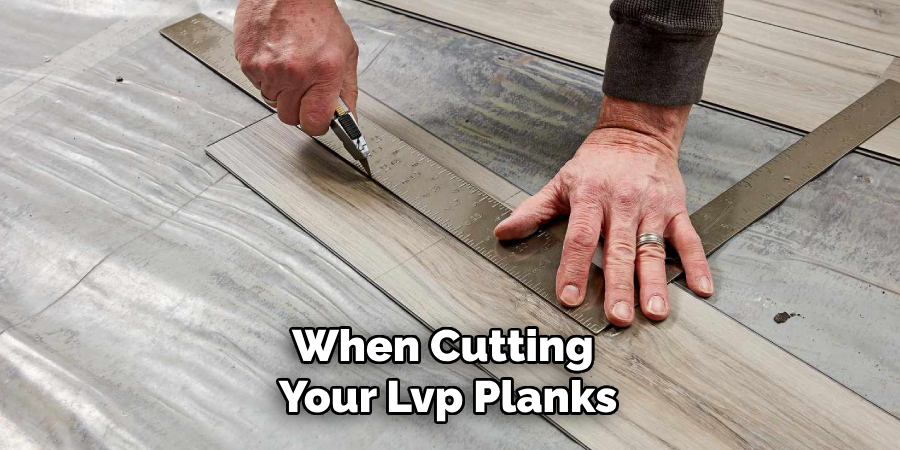
To cut a plank, simply mark the cutting line using a pencil, then score along the line with your utility knife and snap the plank along the scored line. Remember to cut the planks so the cut end is against the wall. This ensures the factory-finished edges are towards the visible part of the floor.
Step 5: Installing the LVP
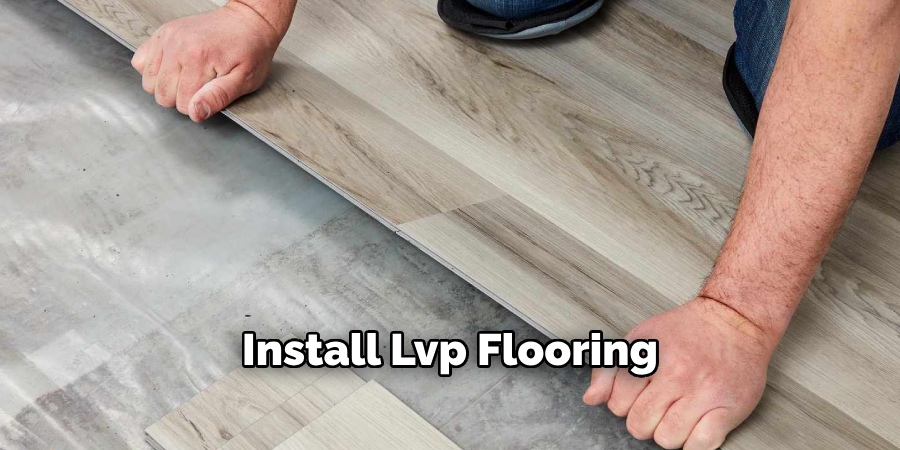
Begin installing your LVP from the left corner of the room and work your way toward the right. Place the first plank in the corner of your room and gently press it down onto the subfloor.
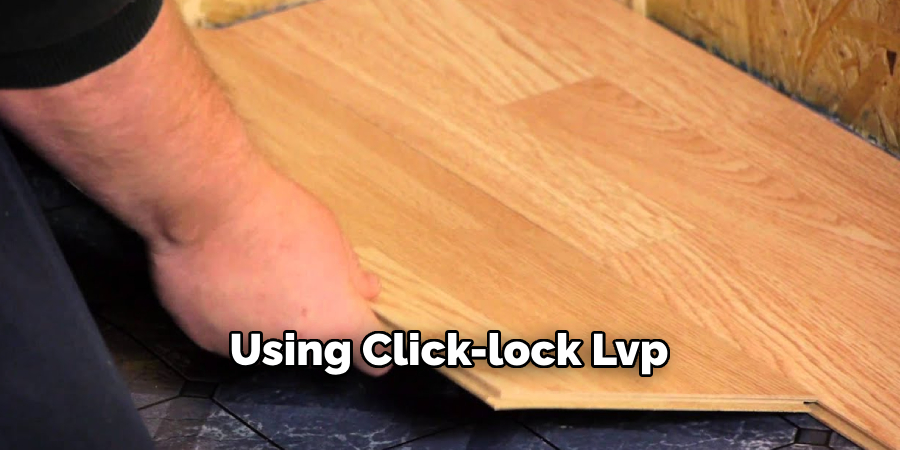
When installing the next plank in the row, connect the short end of the plank with the previous one. If you’re using click-lock LVP, you’ll need to angle the plank and snap it into place. Ensure that the planks are snugly fitted together with no gaps.
Step 6: Trimming Around Fixtures
When you reach a point where you need to trim around fixtures, such as the toilet or vanity, you’ll need to create a paper template. To do this, lay a piece of paper over the area that needs to be trimmed and cut around the fixture.
Then, place the template over the LVP plank and mark where you need to trim. Use your utility knife or jigsaw to cut the LVP. After cutting, ensure the plank fits correctly around the fixture before installing.
Step 7: Completing the Installation
Continue installing the rest of the LVP, making sure to stagger the joints and maintain the expansion gap around the room’s perimeter. Once you’ve reached the last row, you may need to trim the planks lengthwise to fit.
To do this, measure the width of the gap, subtract the expansion gap, and then cut your last row of planks to this width. This can be done using a utility knife or a jigsaw for more precise cuts. After installing the last plank, remove the spacers from around the room.
Step 8: Installing the Trim
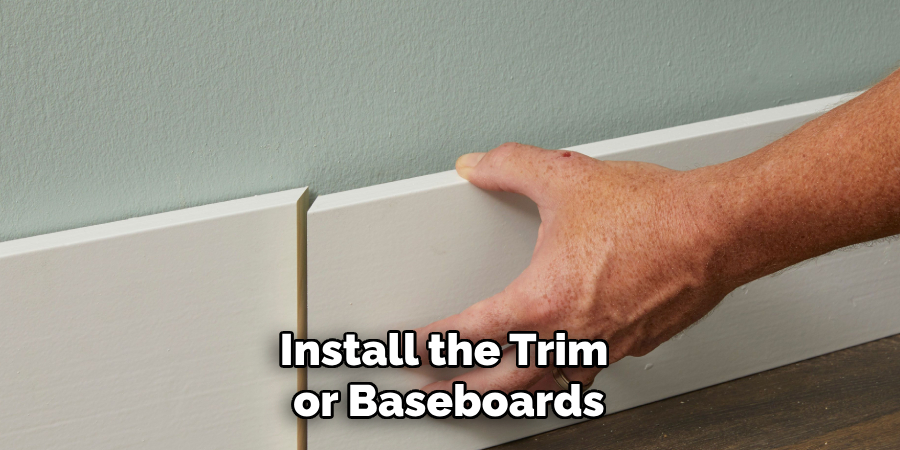
Now that all the LVP is installed, you can install the trim or baseboards. This will cover the expansion gaps and give your room a professional, finished look. Trim should be attached to the wall, not the flooring, to ensure the LVP can move as needed. Depending on the type of trim or baseboard, you may need to nail it in place, or it may simply snap into place.
Step 9: Post-Installation Cleaning
After the installation is complete, perform a thorough cleaning of the area. Remove any debris or dust that has accumulated during the installation process. Use a soft broom or a vacuum cleaner (without a beater bar) to clean the LVP floor. Avoid using harsh chemicals that may damage the LVP. Most LVP manufacturers recommend cleaning the floor with a damp mop and a mild, non-abrasive cleaner.
Step 10: Enjoy Your New Bathroom Floor!
Congratulations, you’ve successfully installed LVP in your bathroom! Now, you can enjoy the new look and feel of your space. Remember to maintain your LVP flooring properly to ensure it lasts long and retains its luxurious appeal. Regular cleaning and avoiding direct exposure to sunlight will help keep your LVP flooring in top condition. Enjoy your new, stylish, and durable bathroom floor!
By following these steps, you can easily install LVP in your bathroom and create a stylish space that will last for years to come. With its realistic wood-like appearance, LVP is an excellent choice for bathroom flooring, adding elegance and luxury to the space.
5 Additional Tips and Tricks
- Make sure to use a high-grade underlayment when installing LVP in bathrooms. This will help keep moisture out and protect the flooring against wear and tear.
- If you’re dealing with uneven surfaces, use self-leveling compounds or other leveling solutions to create an even base for your LVP installation.
- Make sure to seal the bathroom’s perimeter with either a silicone or latex caulk. This will help prevent moisture from seeping into grout lines and compromising your LVP installation.
- When cutting your LVP planks, use a sharp utility knife or table saw for clean and precise results. Be sure to measure twice before you cut!
- It’s important to leave a space of about 1/8″ between the edges of your LVP planks and the walls so that they have room to expand and contract with temperature changes. This will help prevent your flooring from buckling or warping over time.
Following these tips can help you achieve a beautiful, long-lasting LVP installation in your bathroom!
5 Things You Should Avoid
- Avoid rushing the preparation process. The durability and appearance of your LVP flooring largely depend on the quality of the subfloor preparation. Any dust, grime, or unevenness can affect the installation, causing issues in the long run.
- Be sure to complete moisture testing. Especially in the bathroom, where water is prevalent, it’s vital to ensure that your subfloor is adequately damp before laying your LVP flooring.
- Refrain from using harsh chemicals for cleaning. These could potentially damage the surface of your LVP flooring. Instead, utilize gentle, pH-neutral cleaners specially designed for vinyl floors.
- Only install LVP flooring with an underlayment in the bathroom. Although LVP has a waterproof top layer, employing an underlayment provides an added layer of protection against moisture and preserves the longevity of your floor.
- Avoid neglecting the need for expansion gaps. While it’s crucial to maintain these gaps around your floor’s perimeter, remember to account for them around fixtures such as bathtub bases and toilet flanges.
Avoiding these mistakes can help ensure successful, long-lasting LVP installation in your bathroom!
Can You Install LVP Directly Over Tile?
In most cases, it is not recommended to install LVP directly over ceramic tiles. This is because the mortar used beneath the tiles can be prone to cracking and shifting, which may affect the integrity of your LVP flooring installation. Removing any existing tiles before installing your new LVP flooring for optimal results is best.
Additionally, if you plan on installing LVP over existing tiles, inspect the area to ensure it has no existing damage. If there are cracks or hollow spots in the tile, this can compromise your flooring installation in the long run. In these cases, using a self-leveling compound to level out the surface and repair any damages before laying LVP planks is best.
By following these recommendations, you can ensure the success and longevity of your LVP flooring installation in the bathroom!
Conclusion
Ultimately, how to install LVP in bathroom can be a bit more challenging because of the large amount of moisture present. With a little extra preparation and the right tools, you can have an amazing looking, high-end bathroom at a fraction of the cost. Strongly consider exploring this solution for your next project.
Plus, if you do it right the first time, you’ll save yourself time in the long run for any repairs or maintenance. Now is the perfect time to take advantage of this awesome opportunity and transform your space into something spectacular.
With just a few small steps and proper preparation beforehand, anyone can achieve beautiful results quickly and easily. So don’t wait any longer! Go forth and install luxury vinyl planks in your bathroom today!

