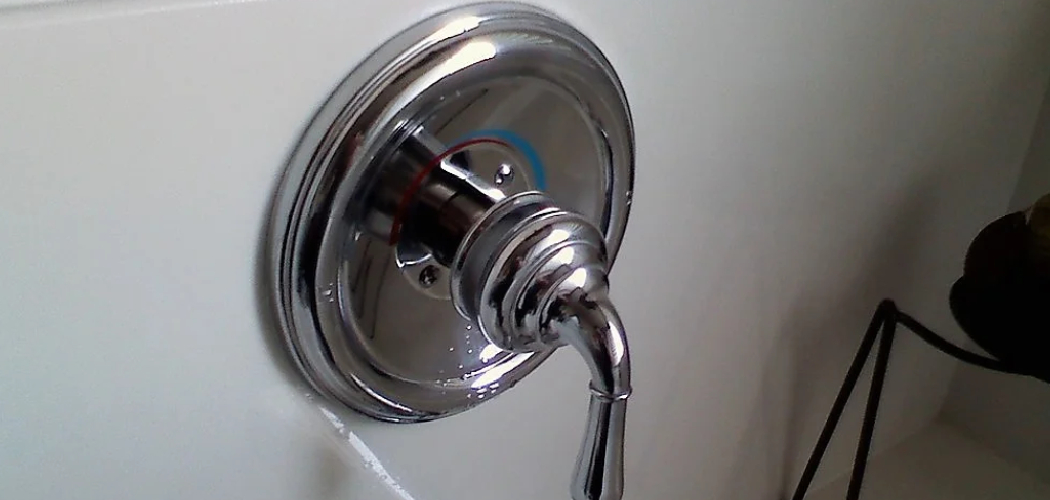
Moen faucet cartridges are essential components in maintaining the efficient functionality of your faucet by regulating water flow and temperature. Over time, these cartridges may wear out or become damaged due to regular use, leading to common issues such as leaks, reduced water pressure, or difficulty adjusting the handle.
Replacing a faulty cartridge is crucial to restoring your faucet’s optimal performance and preventing further complications. It’s important to identify the correct Moen replacement cartridge for your specific faucet model, as this ensures a proper fit and reliable operation.
The good news is that learning how to install moen faucet cartridge is a straightforward process that can be easily accomplished with a few basic tools. With the right guidance and preparation, this do-it-yourself task can save you time and money while extending the life of your faucet.
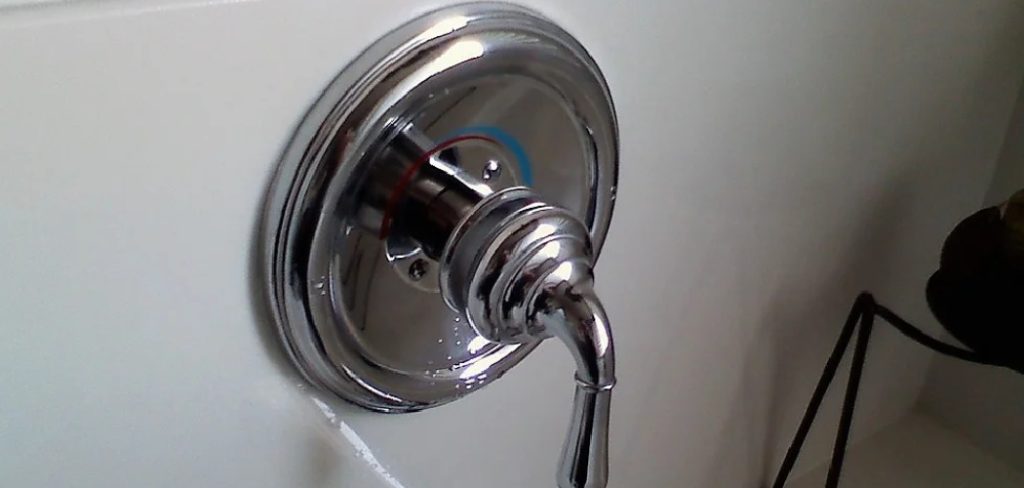
Tools and Materials Needed
To successfully replace your Moen faucet cartridge, it’s essential to have the right tools and materials prepared ahead of time. Having these items ready will streamline the process, reducing potential delays and ensuring a smooth installation.
Tools
- Adjustable wrench
- Channel-lock pliers
- Screwdrivers (flathead and Phillips)
- Cartridge puller (optional but highly recommended for easier removal)
Materials
- Replacement Moen cartridge (ensure compatibility with your specific faucet model)
- Plumber’s tape
- Silicone grease
Each tool and material plays a vital role in the process, from securely loosening parts to preventing leaks and ensuring a snug fit. A cartridge puller, while optional, can significantly simplify removing the old cartridge, especially if it’s stuck due to wear or debris. Assemble everything beforehand to make your DIY project efficient and hassle-free.
Turning Off the Water Supply
Before starting any work on your faucet, it is crucial to turn off the water supply to avoid leaks or water damage.
Locate the shut-off valves
Begin by locating the shut-off valves under the sink. Typically, you will find two valves – one for the hot water supply and another for the cold water supply. Turn both valves clockwise until they are fully closed.
Test the faucet
Once the valves are shut off, turn on the faucet to ensure that no water is flowing. This step is essential to confirm that the water supply has been successfully cut off.
Relieve the water pressure
To prevent any sudden spurts of water when disassembling the faucet, allow the faucet to run until any remaining water pressure is released. This precaution helps create a safer and more controlled environment for the replacement process. Properly relieving the pressure ensures a smoother workflow moving forward.
Removing the Faucet Handle
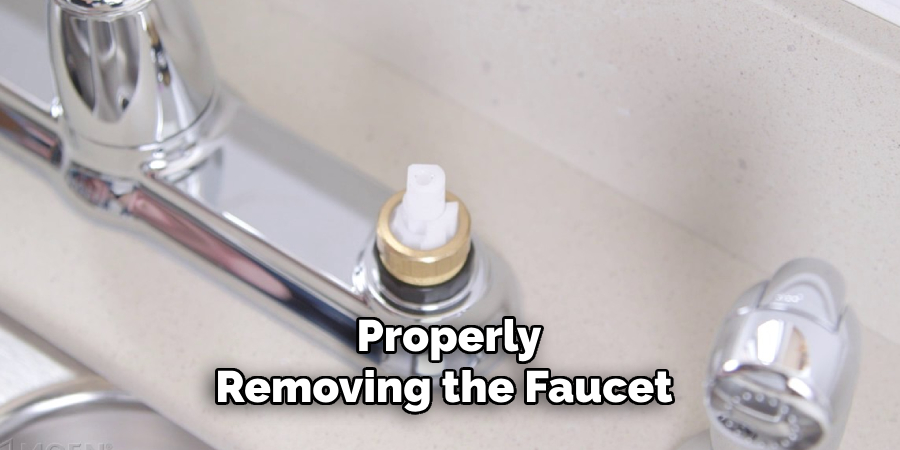
Properly removing the faucet handle is an important step in replacing or repairing your faucet. The process can vary slightly depending on the specific model, so it is essential to identify how the handle is attached before proceeding.
Identify how the handle is attached
Start by examining the faucet handle closely. Some models, particularly those from Moen, may feature a decorative cap or cover that conceals the fasteners underneath. If a cap is present, gently pry it off using a flathead screwdriver. Be cautious to avoid scratching the surface during removal.
Once exposed, locate the set screw that secures the handle. These screws are often hexagonal and may require the use of an Allen wrench, but in some cases, a Phillips or flathead screwdriver may be needed instead.
Carefully unscrew and remove the set screw. If the handle does not loosen immediately, check for additional fasteners or obstructions.
Lift the handle off the faucet
Once all screws or fasteners have been successfully removed, carefully lift the handle off the faucet base. If the handle feels stuck, apply gentle wiggling to loosen it, but avoid using excessive force to prevent damage.
Some handles may have additional components, such as escutcheons or decorative covers, which can also be removed at this stage by unscrewing or sliding them free.
Common variations across Moen faucets
Different models of Moen faucets may feature variations in handle design. For example, single-handle faucets often have the set screw located at the base of the handle, while two-handle models may have individual screws for each knob.
Familiarizing yourself with your faucet’s design is crucial for navigating this step effectively. Following these steps ensures safe and efficient handle removal, setting the stage for further repair or replacement tasks.

Accessing and Removing the Old Cartridge
Locate the retaining clip or nut
To access the old cartridge, first identify the retaining clip or nut securing it in place. Most Moen faucets use a U-shaped retaining clip, visible at the top of the cartridge, while some models may feature a retaining nut instead.
Use a pair of needle-nose pliers to carefully pull out the retaining clip, or employ an adjustable wrench to unscrew the retaining nut, depending on your faucet’s design.
Loosen and remove the cartridge
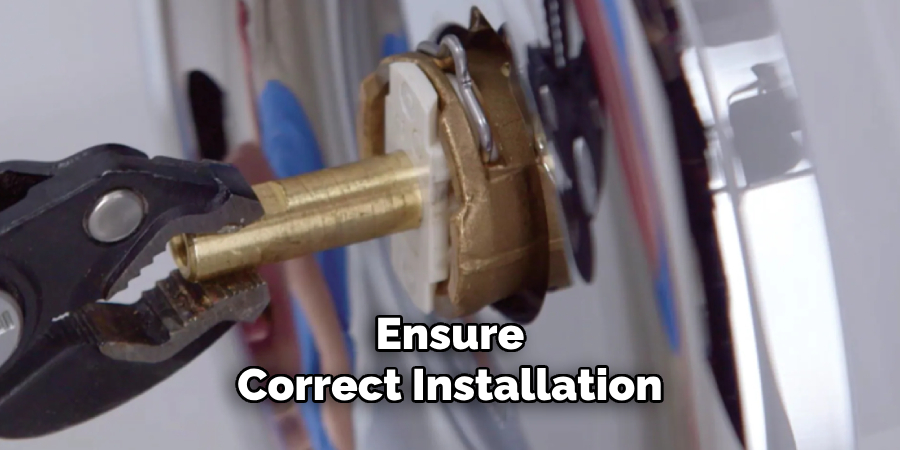
Once the retaining mechanism is removed, proceed to gently loosen the cartridge. Grip the cartridge stem using pliers and wiggle it back and forth to free it from its position. Be cautious to avoid excessive force, as this may damage internal components.
If the cartridge remains stuck despite your efforts, a Moen cartridge puller can provide additional leverage and make the removal process significantly easier.
Inspect and clean the cartridge housing
After successfully removing the old cartridge, inspect it thoroughly for signs of wear, cracks, or mineral deposits, which are common causes of faucet issues. Discard the old cartridge if it is damaged or degraded.
Before installing a replacement cartridge, clean the cartridge housing carefully with a soft cloth or brush to remove any debris, mineral buildup, or other residue. Proper cleaning ensures a smooth installation of the new cartridge and helps to prevent future issues.
How to Install Moen Faucet Cartridge: Installing the New Cartridge
Prepare the New Cartridge
Before installing the new cartridge, ensure it is the correct replacement model for your faucet. To facilitate a smooth installation process, apply a thin layer of silicone grease to the rubber O-rings on the cartridge.
This step reduces friction during insertion and helps prevent potential leaks by ensuring a watertight seal. Avoid using petroleum-based lubricants, as they may degrade the O-rings over time.
Insert the Cartridge
Align the new cartridge with the notches in the cartridge housing. Proper alignment is crucial, as the cartridge must sit securely in the correct orientation to function optimally.
With the notches aligned, gently push the cartridge into the housing. Apply firm, even pressure until the cartridge is fully seated. If you encounter resistance, double-check the alignment to avoid damaging the cartridge or housing.
Secure the Cartridge
Once the cartridge is properly positioned, secure it by reattaching the retaining clip or screwing the retaining nut back into place, depending on your faucet’s design. Be careful not to overtighten, as excessive force can strain the components or cause threading issues.
After securing the cartridge, verify that it remains aligned and firmly seated, as misalignment can lead to water leaks or operational problems.
Taking the time to ensure correct installation of the new cartridge is essential to restore your faucet’s functionality and prevent future issues. Once the cartridge is in place, turn on the water supply and test the faucet to confirm smooth operation and the absence of leaks. If any issues arise, revisit the installation steps to verify proper placement and alignment.
Reassembling the Faucet
Replace Removed Components
Begin by replacing any components you removed earlier, such as the escutcheon or handle adapter. Carefully align these parts with their original positions to ensure a proper fit. Use any mounting hardware, screws, or clips to reattach them securely, avoiding over-tightening, which may cause damage to the materials.
Reattach the Faucet Handle
Reattach the faucet handle by aligning it with the cartridge’s stem. Use the set screw or other mounting hardware to fasten the handle in place. Make sure the handle is firm and properly seated, but avoid excessive force that could strip the screws or damage the threads.
Once installed, test the handle by gently moving it through its full range of motion. Verify that it operates smoothly and without resistance, as this indicates everything is aligned and functioning properly.
Final Check Before Testing
Take a moment to double-check that all components, including screws and clips, are securely fastened. This step helps ensure stability and prevents any loose parts from causing future issues. Only once you’re confident in the reassembly should you proceed to turn the water supply back on, testing the faucet thoroughly for leaks and consistent operation.
Testing the Faucet
Turn the Water Supply Back On Gradually
Slowly turn the water supply back on to avoid any sudden surges that could disturb the reassembled components. Observe the faucet closely as the water begins to flow, paying particular attention to areas around the cartridge and handle. If you notice any leaks, immediately turn the water off and revisit the affected components for resealing or tightening as needed.
Check Flow and Temperature Control
Run both the hot and cold water to ensure steady flow and proper temperature control. Move the faucet handle through its full range of motion to verify smooth operation. Pay attention to any irregularities, such as uneven water pressure, delayed flow, or unusual noise, as these could signal underlying issues.
Troubleshooting Tips
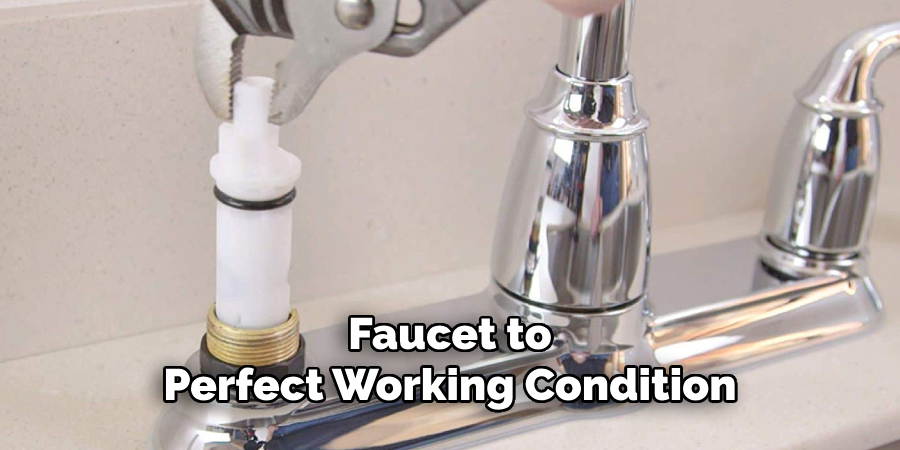
If drips persist after testing, the cartridge may not be seated properly or could require replacement. Double-check all seals and gaskets to ensure they are positioned correctly without wear or damage. For uneven water pressure, inspect the aerator for blockages and clean it if necessary. Taking these steps can help resolve common issues and restore your faucet to perfect working condition.
Conclusion
Replacing a Moen faucet cartridge is a straightforward task when armed with the right tools and preparation. By following the outlined steps—turning off the water supply, disassembling the faucet, replacing the cartridge, and reassembling carefully—you can master how to install Moen faucet cartridge effectively.
Regular maintenance is key to extending the lifespan of your faucet and avoiding future problems. This DIY approach not only saves money compared to hiring a plumber but also empowers you as a homeowner. Thanks to Moen’s user-friendly design, the process is accessible and manageable for all skill levels.

