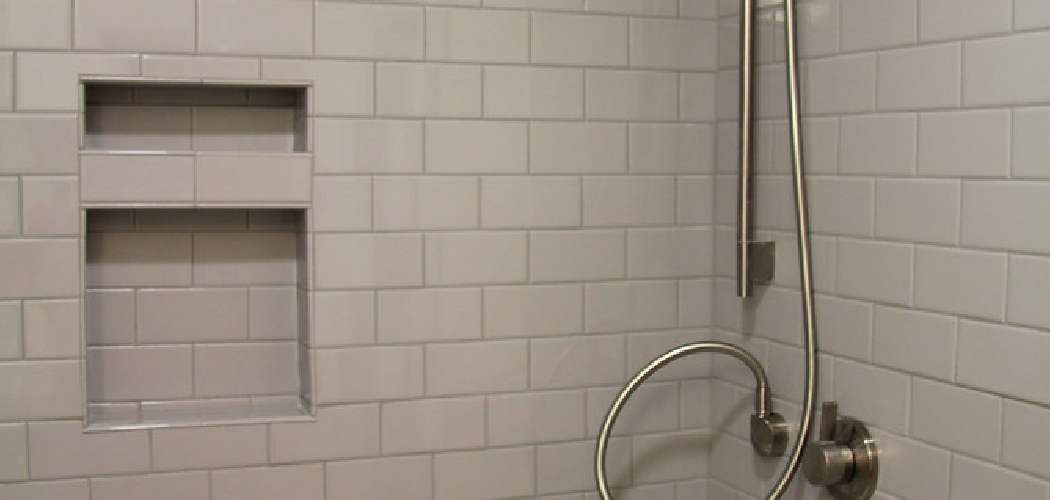
Onyx shower walls are popular among homeowners and contractors for their durability, low maintenance, and sleek appearance. These walls are made from a combination of natural materials and resin, resulting in a strong and seamless surface that can withstand daily use in the bathroom.
If you have your heart set on installing Onyx shower walls in your bathroom, this guide will provide step-by-step instructions on how to install onyx shower walls. By following these steps, you can have a beautiful and functional shower in no time. If you need more confidence in your DIY skills, hiring a professional for installation is always best.
Understanding Onyx Shower Walls
Before we begin the installation process, it’s important to understand Onyx shower walls. As mentioned earlier, they are made from a combination of natural materials and resin, creating a solid surface that is resistant to cracks, chips, and scratches. The material is also non-porous, making it easy to clean and maintain.
One of the biggest advantages of Onyx shower walls is the range of colors and patterns available. From classic white to bold marble designs, an Onyx option suits every bathroom style. For added grip, you can also choose from various textures, including smooth, matte, or even textured surfaces.
Tools and Materials You Will Need to Install Onyx Shower Walls
- Measuring tape
- Level
- Drill with masonry bits
- Caulking gun
- Adhesive (recommended by manufacturer)
- Corner pieces (if using in a corner shower)
- Silicone caulk (for sealing edges)
- Onyx shower wall panels (measure and order according to your specific shower dimensions)
Step-by-step Guidelines on How to Install Onyx Shower Walls
Step 1: Measure and Prep
Using measuring tape, measure the dimensions of your shower walls. Accurate measurements are important to ensure you order the panels of the correct size. Before beginning installation, make sure your walls are clean and dry. Measuring and prep are crucial steps that should be completed on time. If you need clarification on measuring, get help from a professional.
Step 2: Check the Walls for Level and Plumb
Using a level, check your walls for any irregularities. If you find any bumps or dips, use a filler material to even out the surface. If the walls are not level, it can cause issues with the installation and may result in the panels not fitting properly. This step is important for achieving a seamless and professional-looking finish. If you need more confidence in your DIY skills, hiring a professional for this step is best.
Step 3: Drill Holes and Apply Adhesive
Using a drill with masonry bits, create holes along the edges of the shower walls where the panels will be installed. This allows for better adhesion between the wall and the panel. Next, apply the recommended adhesive to the back of the panel, following the manufacturer’s instructions. Carefully press the panel onto the wall, using a level to ensure it is straight and evenly applied. While the adhesive sets, add pressure to the panel using a clean cloth or roller.
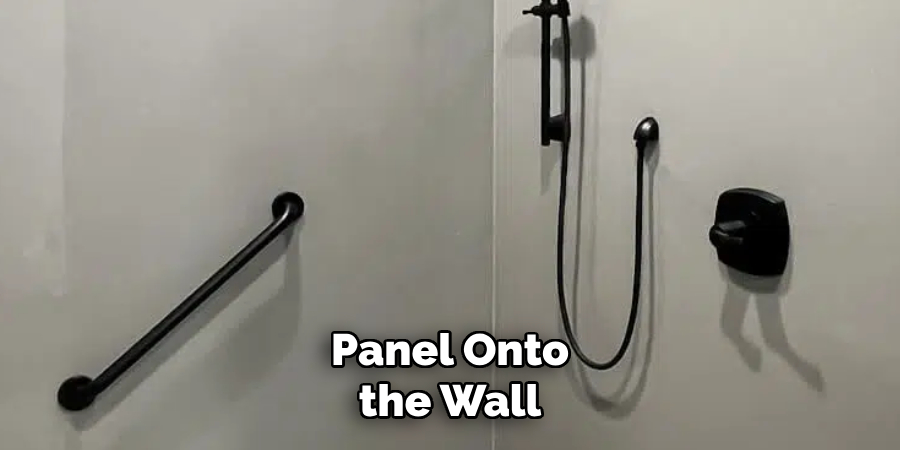
Step 4: Install Corner Pieces (if applicable)
This step is crucial if you are installing Onyx shower walls in a corner shower. Measure and cut the corner pieces to fit your specific dimensions. Apply adhesive to both the back of the panels and the walls and press them into place. Use a level to ensure they are straight and secure. This step may require some assistance from another person.
Step 5: Seal Edges with Silicone Caulk
Once all the panels are installed, use silicone caulk to seal the edges and corners for a waterproof finish. Smooth out any excess caulk using a damp cloth or your finger. This step is important for preventing water damage and mold growth in the long run. Make sure to use a high-quality silicone caulk for best results. If you need clarification on this step, it’s best to seek professional help.
Following these steps, you can successfully install Onyx shower walls in your bathroom and enjoy a beautiful and durable shower for years to come. Remember to take your time, measure accurately, and seek professional help if needed. With proper installation and maintenance, Onyx shower walls can be a long-term investment in your bathroom. So go ahead and create the luxurious shower space you’ve always wanted. Happy installing!
Additional Tips and Tricks to Install Onyx Shower Walls
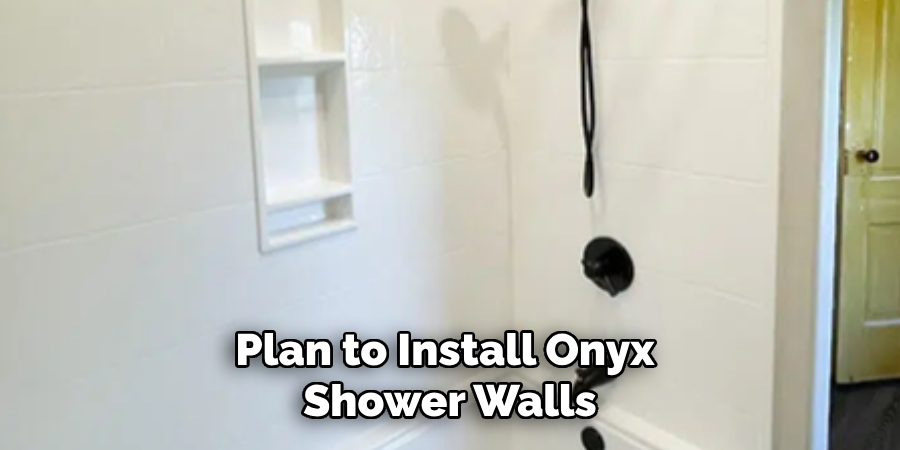
- If you plan to install Onyx shower walls on an existing bathroom, ensure the walls and floors are level and even. Any unevenness can result in gaps or lumps that can affect the installation process.
- Always read the manufacturer’s instructions carefully before starting the installation process. This will ensure you have all the necessary tools and materials and avoid any mistakes.
- Use a level to ensure that each panel is straight and aligned properly before attaching it to the wall. This will help create a seamless look and prevent any gaps or unevenness.
- For corners, use corner trim pieces provided by Onyx to create a clean and finished appearance. These trim pieces also help cover any gaps or imperfections in the corners.
- When attaching the panels to the wall, use adhesive specifically recommended for Onyx shower walls. This will ensure a strong and durable bond between the panel and the wall. If using screws, make sure they are rust-resistant and do not penetrate through the panel.
- If you are installing multiple panels, make sure to use silicone caulk between each joint and around the edges for a watertight seal. This will prevent water from seeping through and damaging the walls behind.
- To maintain the glossy finish of your Onyx shower walls, avoid using abrasive cleaners or harsh chemicals. Instead, use a non-abrasive cleaner and a soft cloth to wipe down the panels regularly.
- If you encounter any issues during installation, do not hesitate to contact Onyx’s customer service for assistance. Their team of experts can guide you through the process and provide solutions for any problems that may arise.
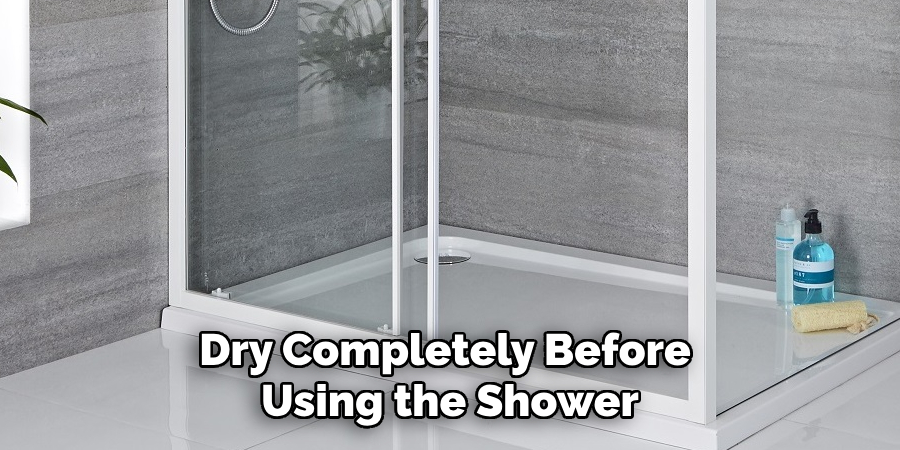
- After the installation is complete, allow the adhesive to dry completely before using the shower. This will ensure the panels are securely attached and prevent shifting or movement.
- Inspect your Onyx shower walls for cracks, chips, or damage. If any issues are found, contact a professional for repairs to prevent further damage.
Following these additional tips and tricks will help ensure a successful installation of Onyx shower walls and maintain their beauty and durability for years to come. Remember, proper installation is crucial for the longevity of your shower walls, so take your time and follow the steps carefully. Happy installing!
Things You Should Consider to Install Onyx Shower Walls
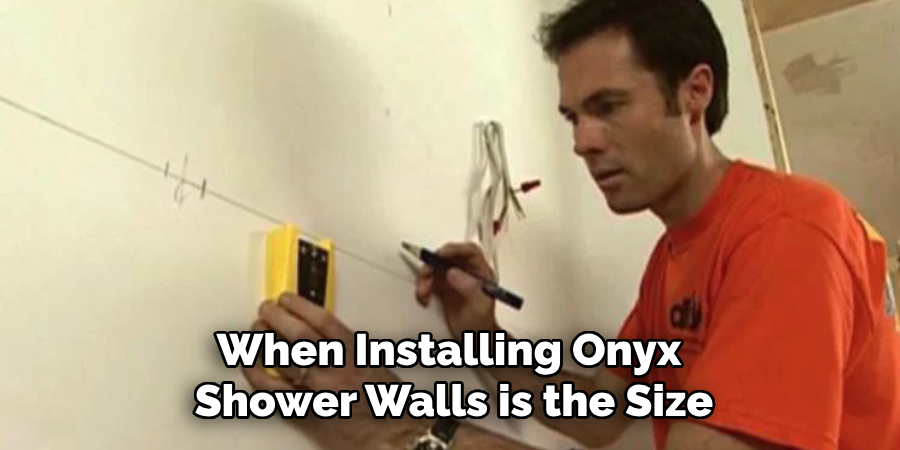
1. The first thing to consider when installing Onyx shower walls is the size of your bathroom. Measuring the space where you want to install the walls is important to ensure they will fit properly and be manageable.
2. Another factor to consider is the color and style of Onyx shower walls that best match your bathroom decor. Onyx offers a wide variety of colors and patterns, so take some time to browse their options and find the perfect fit for your bathroom.
3. The material used for your shower walls is also important to consider. Onyx offers both solid surface walls and tile walls. Solid surface walls are made from a single piece of material, providing a seamless look, while tile walls consist of individual tiles that are grouted together. Choose the option that best suits your personal style and maintenance preferences.
4. Ensuring that a professional properly installs your shower walls is also crucial. Onyx has certified dealers who are trained in installing their products, so be sure to hire someone with experience and knowledge in working with Onyx materials.
5. In addition to installation, it’s important to consider the maintenance of Onyx shower walls. Solid surface walls are non-porous and easy to clean, while tile walls may require more upkeep due to the grout lines between each tile.
6. To further enhance your shower experience, you can also add accessories such as shelves, corner seats, and soap dishes to your Onyx shower walls. These additional features add functionality to your shower and complement your bathroom’s overall aesthetic.
7. Regarding cost, Onyx shower walls are generally more affordable than other materials, such as natural stone or ceramic tile. However, it’s important to factor in the cost of installation and any additional accessories you may want to add.
8. Consider your Onyx shower walls’ long-term durability and warranty. Onyx offers a limited lifetime warranty on its products, giving you peace of mind that your investment will last for years to come.
Following these considerations will ensure that you make the best decision when choosing Onyx shower walls for your bathroom. From proper measurements to maintenance and accessories, carefully assessing all factors will result in a beautiful and functional addition to your shower space. Explore the various options available from Onyx and find the perfect fit for your unique style and needs. Happy showering!
Maintenance Tips for Onyx Shower Walls
1. Regular Cleaning:
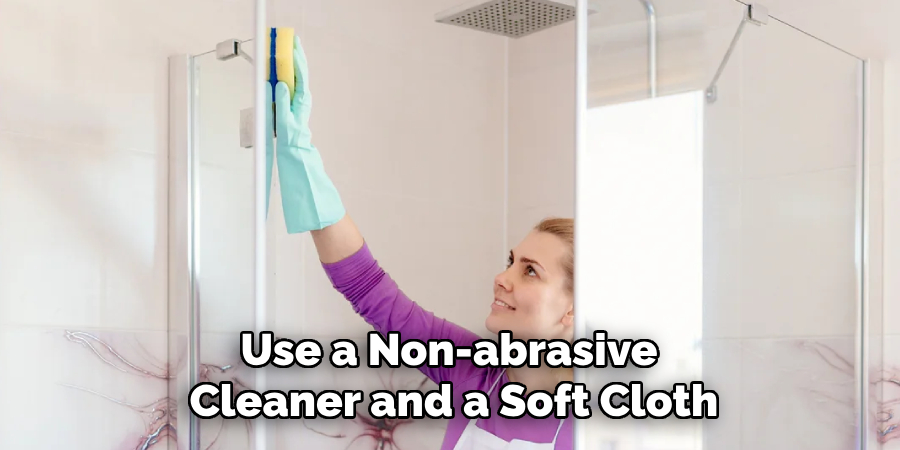
To keep your Onyx shower walls looking brand new, it is important to clean them regularly. Use a non-abrasive cleaner and a soft cloth to wipe down the walls after each use. Avoid using harsh chemicals or abrasive materials, as they can damage the surface of the walls. This simple step will help prevent the build-up of soap scum and dirt, keeping your shower walls looking shiny and clean.
2. Avoid Harsh Cleaners:
When cleaning your Onyx shower walls, use a gentle cleaner that is safe for stone surfaces. Avoid using harsh chemicals such as bleach or ammonia, as they can discolor or damage the walls. Instead, opt for a mild soap or a cleaner specifically designed for stone surfaces. If you need help deciding which cleaner to use, consult the manufacturer or a professional.
3. Wipe Down After Use:
After each use, make sure to wipe down the shower walls with a soft cloth or squeegee. This will help remove excess water and soap residue that can build up over time. By doing this simple step, you can prevent hard water stains and soap scum from forming on the walls. This will also help keep your shower walls looking shiny and new.
4. Use a Mildew Inhibitor:
Mildew can be a common problem in bathrooms, especially in areas with high humidity. Use a mildew inhibitor spray after each use to prevent mildew from growing on your Onyx shower walls. Spray the solution onto the walls and let it sit for a few minutes before wiping it off. This will help eliminate any existing mildew and prevent it from coming back.
5. Address Stains Immediately:
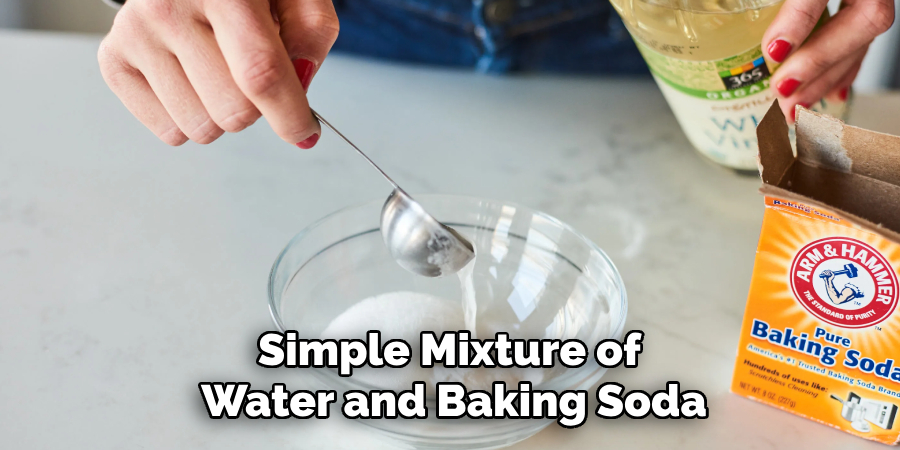
If you notice any stains on your Onyx shower walls, make sure to address them immediately. A simple mixture of water and baking soda can do the trick for most stains. Apply the paste onto the stain and let it sit for a few minutes before scrubbing it with a soft cloth. You can also use a stone cleaner specifically designed for Onyx surfaces for tougher stains.
6. Avoid Sharp Objects:
When using your shower, make sure to avoid using sharp objects that can scratch or damage the surface of your Onyx walls. This includes razors, jewelry, or anything with a rough edge. If you accidentally drop something on the walls and notice a scratch, use fine-grit sandpaper to gently buff out the scratch.
7. Avoid Extreme Temperatures:
Onyx is a durable material that can be prone to cracking under extreme temperatures. Avoid exposing your shower walls to extreme hot or cold temperatures to prevent this. This includes sudden changes in temperature, such as using hot water immediately after a cold shower. Instead, allow the walls to adjust gradually to the changing temperature.
8. Seal Your Shower Walls:
Seal your Onyx shower walls regularly to protect them from staining and damage. This will help create a protective barrier against moisture, preventing water from seeping into the surface and causing damage. Follow the manufacturer’s instructions for sealing and resealing every few years or as needed.
9. Address any Damage:
If you notice cracks or chips in your Onyx shower walls, address them immediately. If left untreated, these damages can lead to further issues, such as water damage or discoloration. Contact the manufacturer or a professional to properly repair any damages and keep your shower walls in top condition.
Following these maintenance tips will help keep your Onyx shower walls looking beautiful for years to come. With just a little bit of care and attention, you can enjoy the luxurious look and feel of Onyx in your bathroom. Always use gentle cleaners, wipe down after each use, and promptly address any issues. So go ahead and indulge in a relaxing shower without worrying about damaging your Onyx shower walls! Soaking in the beauty of your onyx shower will be a pleasure for you. Enjoy!
Frequently Asked Questions
What is Onyx Shower Walls?
Onyx Shower Walls are high-quality, durable shower walls made from a solid surface material that is resistant to water, mold, and mildew. They come in various colors and patterns to match any bathroom design.
Can I Install Onyx Shower Walls Myself?
Yes, with the proper tools and instructions, the installation of Onyx Shower Walls can be a DIY project. However, for best results, it is recommended that you have some experience with home renovations and closely follow the manufacturer’s installation guidelines. If you need more clarification about the process, hiring a professional to ensure proper installation is always better.
What Tools Do I Need for Installation?
Some of the tools you will need to install Onyx Shower Walls include a level, drill, saw, measuring tape, and caulking gun. Additional items like adhesive and screws may also be needed depending on the specific installation method.
How Long Does the Installation Process Take?
The installation process for Onyx Shower Walls can vary depending on the size and complexity of your shower. It typically takes a few hours to properly install the walls, but it is recommended to allow 24 hours for the adhesive to fully dry before using the shower.
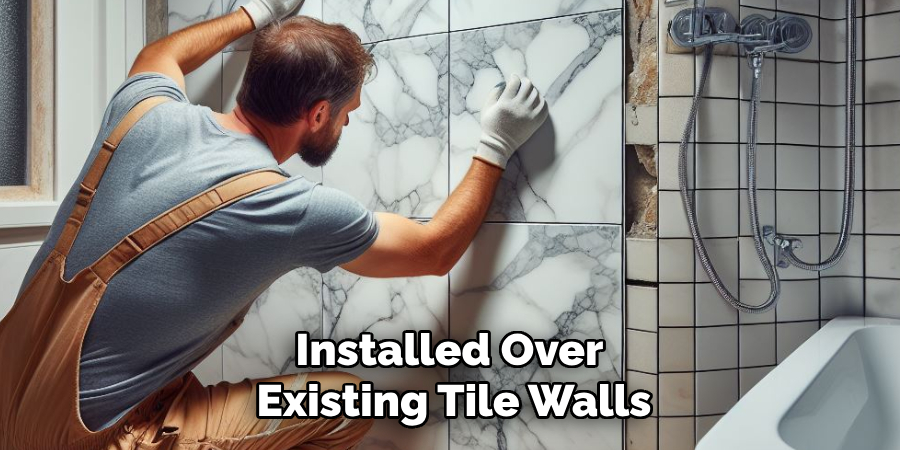
Can Onyx Shower Walls Be Installed Over Existing Tile Walls?
Yes, Onyx Shower Walls can be installed over existing tile walls as long as the tiles are in good condition and securely attached to the wall. However, it is important to properly prepare the surface by cleaning and sanding down any high spots or uneven areas before installation.
Conclusion
Now you know how to install onyx shower walls and have a beautiful, durable shower in no time. Whether you choose to do it yourself or hire a professional, make sure to closely follow the manufacturer’s guidelines for best results.
With proper installation and maintenance, Onyx Shower Walls will last for years to come and add a touch of luxury to your bathroom. So why wait? Start planning your dream shower now! Let Onyx Shower Walls be the centerpiece of your bathroom, and enjoy a stylish and functional space for years to come. So go ahead and upgrade your shower with Onyx Shower Walls today! Happy renovating!

