PUR faucet filters provide a convenient and affordable solution to enhance the quality of your tap water by significantly reducing harmful contaminants such as chlorine, lead, and pesticides. With their advanced filtration systems, these filters ensure you and your family enjoy cleaner, better-tasting, and healthier drinking water straight from your faucet. Additionally, using a PUR faucet filter can help you save money over time by eliminating the need to purchase expensive bottled water, making it an environmentally friendly choice as well.
The purpose of this article is to offer a comprehensive step-by-step guide on how to install pur faucet filter, ensuring proper setup and optimal filtration performance. By following these easy instructions, you’ll be able to make the most of your PUR faucet filter, providing you with peace of mind and consistently pure water for drinking and cooking.
Materials and Tools Needed
Before installing your PUR faucet filter, gather all the necessary materials and tools to ensure a smooth process. Having everything readily available will save time and help you complete the task efficiently. Below is a list of required and optional items:
Required Items:
- PUR faucet filter system (choose the model that suits your needs, such as basic or advanced).
- Adjustable wrench (to easily attach or adjust components during installation).
- Mild dish soap (for cleaning the faucet area to ensure a secure and hygienic setup).
- A clean towel or rag (to absorb water drips, protect your sink, and wipe the area after cleaning).
Optional Tools:
- Flathead screwdriver (required for some PUR models if additional assembly is necessary).
- Plumber’s tape (helpful for creating a tight seal on connections, though it may not always be required).
By preparing these materials and tools in advance, you can ensure a hassle-free installation process and enjoy the full benefits of your PUR faucet filter.
Preparing Your Faucet for Installation
Step 1: Turn Off the Water Supply
Ensure the faucet is turned off and that the water supply valve is closed to avoid leaks during installation. This step is crucial for preventing accidental water flow while setting up your PUR faucet filter. Double-check to make sure no water is running before proceeding.
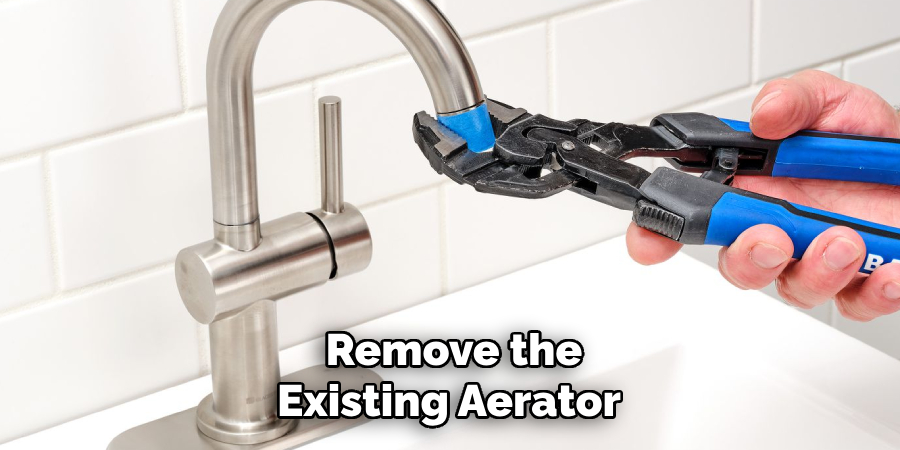
Step 2: Remove the Existing Aerator
Using an adjustable wrench, carefully unscrew the current aerator (the small screen located at the end of the faucet spout). If the aerator seems overly tight, apply gentle but steady pressure to loosen it without causing damage. Once removed, place the aerator in a secure location, as you might need to reinstall it later if you decide to remove the filter in the future.
Step 3: Clean the Faucet Area
Before attaching the filter system, use mild dish soap and a clean rag to thoroughly wipe down the faucet’s spout and the surrounding area. This step helps eliminate any dirt, debris, or grime that may interfere with the filter’s connection. Cleaning ensures a proper seal and helps maintain the cleanliness of the installation site.
How to Install Pur Faucet Filter: Installing the PUR Faucet Filter
Step 1: Attach the Adapter to the Faucet
Depending on the type of faucet, attach the appropriate adapter included in the PUR filter kit to the faucet spout. Ensure you choose the correct adapter that matches your faucet’s threading. Screw the adapter securely into place by hand, but be careful not to overtighten, as this could strip the threads or damage the faucet.
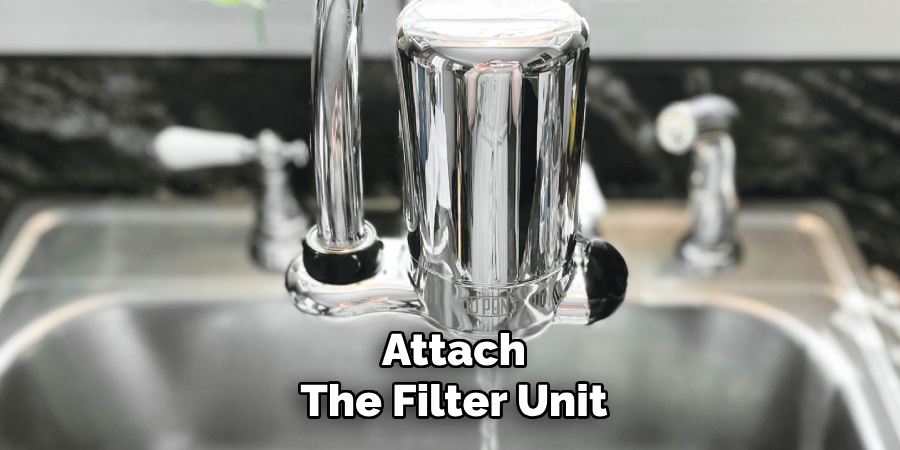
Step 2: Attach the Filter Unit
Take the PUR filter unit and align it with the adapter on the faucet spout. Carefully screw the filter unit onto the adapter until it is firmly attached. Make sure the filter is aligned correctly and tightly connected to prevent leaks during use. While it’s important to secure the connection, avoid applying excessive force that could cause damage to the unit.
Step 3: Secure the Filter
If the filter unit seems loose or leaks are present, you may need to use a wrench to tighten it slightly. Wrap the wrench in a cloth to avoid scratching or damaging the unit’s surface. Tighten carefully, ensuring you don’t overtighten, as this could harm the threads or compromise the filter’s functionality. Finally, if your filter model features a switch to toggle between filtered and unfiltered water, familiarize yourself with its operation and set it to your preferred setting.
Flushing the Filter Before Use
When installing a new water filter, it’s essential to flush it properly before use to ensure optimal performance and remove any impurities. Follow these steps to prepare your filter for fresh, clean water:
Step 1: Turn On the Faucet
Turn on the cold water and allow it to flow through the new filter for at least 5 minutes. This process flushes out any carbon dust or particles that may have accumulated during manufacturing or shipping, ensuring the water is pure.
Step 2: Check for Leaks
While the water is flushing, carefully inspect the filter connections and the faucet for any leaks. If you notice water dripping or leaking, turn off the faucet immediately. Adjust and tighten the filter or adapter as needed to eliminate the leak. Be sure to avoid overtightening to prevent damaging the connection points.
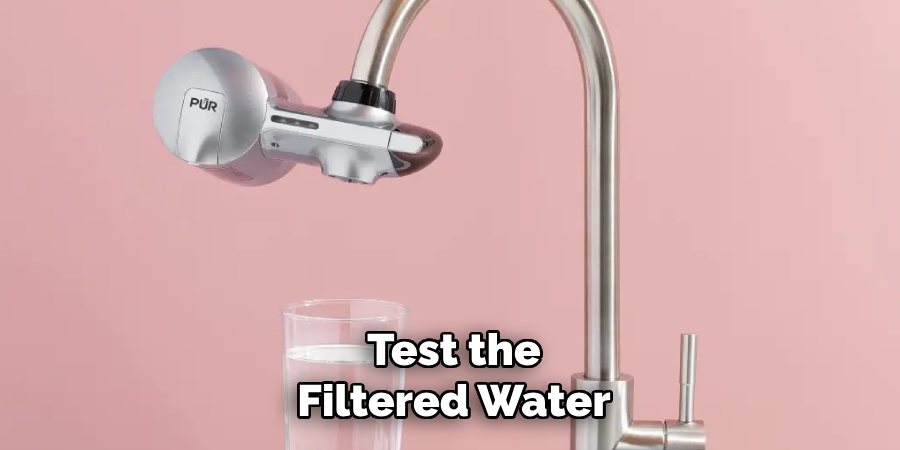
Step 3: Test the Filtered Water
After flushing the filter, pour a small amount of filtered water into a glass and test both the flow and quality. Ensure the water flows smoothly and has no irregularities in taste or appearance. If the water passes these checks, your filter is now ready to use and will deliver clean, filtered water efficiently.
Troubleshooting Common Installation Issues
Issue 1: The Filter Won’t Fit
If the filter doesn’t fit your faucet, check the adapter kit provided with your product for additional sizes. Select the adapter that matches your faucet type. Remember, some faucet filters are designed for standard threads, and you may need an extra adapter for non-standard or unique faucet designs. Refer to the user manual for guidance on compatibility or contact customer support for assistance.
Issue 2: Leaks at the Connection Points
Leaks can occur if the connections are not secure. Carefully tighten the filter and adapter connection points, but avoid overtightening as this can damage the threads or rubber seals. If the leak persists, apply plumber’s tape around the threads to form a watertight seal. Make sure the seals and O-rings are in place and undamaged before reassembling.
Issue 3: Poor Water Flow
If you experience slow or poor water flow, ensure the filter has been flushed adequately as directed in the setup instructions. Confirm that the filter unit is securely attached to the faucet. Additionally, check the filter’s expiration date—an expired or clogged filter cartridge may hinder water flow and require replacement. Regular maintenance will help keep your water flowing efficiently.
Maintaining Your PUR Faucet Filter
Proper maintenance of your PUR faucet filter ensures optimal performance and clean, filtered water. Follow these steps to keep your filter in top condition:
Step 1: Regular Filter Replacements
PUR faucet filters need to be replaced every 2-3 months or after filtering a specific number of gallons, depending on the model. Keeping track of the filter’s lifespan is crucial—replace it on time to maintain maximum filtration efficiency and water quality.
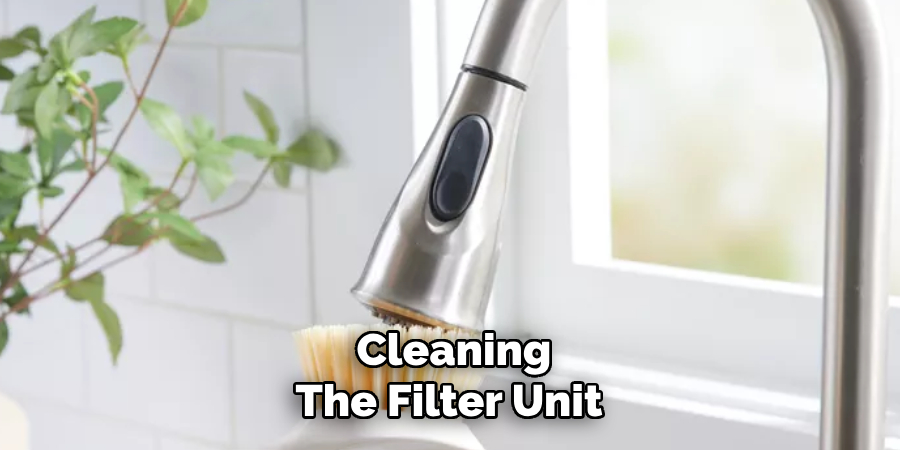
Step 2: Cleaning the Filter Unit
To prevent mineral build-up and maintain cleanliness, periodically clean the filter unit and faucet spout. Use a damp cloth with mild soap to gently wipe the exterior surfaces of the filter and faucet. Avoid abrasive cleaners, as they can damage the unit.
Step 3: Checking for Leaks and Damage
Inspect the connections regularly for any signs of leaks, cracks, or wear. Please pay particular attention to the seals and O-rings, ensuring they are intact and functioning correctly. If you detect any damage, replace the affected parts immediately to avoid potential water damage and ensure seamless operation.
By following these maintenance steps, you can extend the life of your PUR faucet filter and enjoy fresh, filtered water every time.
Alternative Methods for Installing a Water Filter
Under-Sink Water Filtration Systems
If you prefer a more permanent solution, under-sink water filtration systems provide an excellent option. These filters are installed directly beneath the kitchen counter, connecting to your existing plumbing. They typically offer higher filtration capacity compared to faucet filters and can handle larger volumes of water. While the installation process might require basic plumbing skills or professional assistance, the convenience of having filtered water directly at the tap makes it a worthwhile investment.
Pitcher-Style Filters
For those with limited space or who want a hassle-free solution, pitcher-style filters are a good alternative to consider. These filters require no installation and are ideal for small-scale filtration needs. Simply pour water into the pitcher, and the filter element purifies it as it passes through. However, they may not provide the same on-demand convenience or high capacity as faucet or under-sink systems, but are a budget-friendly and portable option.
Conclusion
Learning how to install PUR faucet filter systems is a simple process that begins with proper preparation, including checking for faucet compatibility and assembling the necessary components. The installation itself is straightforward, involving attaching the filter unit to your faucet securely. Once installed, flushing the filter for a few minutes ensures it’s ready for use.
Regular maintenance and timely filter replacements are essential to keep your system running efficiently. By using a PUR faucet filter, you’re investing in cleaner, better-tasting water for your household. Remember, consistent care will maximize performance and provide long-lasting benefits for your health and convenience.

