Quartz shower walls are popular for homeowners due to their durability, low maintenance, and aesthetic appeal. These man-made surfaces come in various patterns and colors, making it easy to find one that fits your bathroom’s design. Not only are they visually appealing, but they also provide excellent water resistance and are highly resistant to stains and scratches.
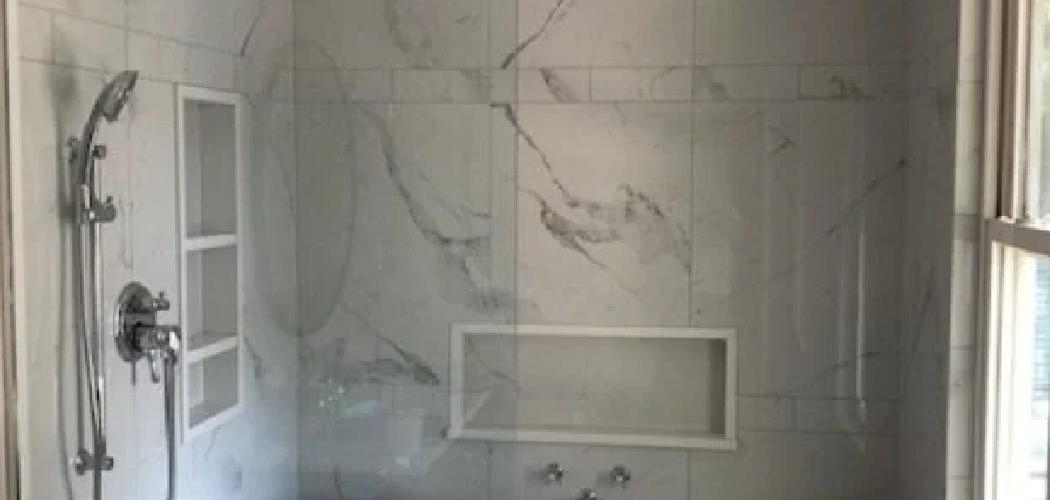
If you’re considering installing quartz shower walls in your bathroom, you may wonder how to go about it. In this guide, we’ll walk you through the steps of how to install quartz shower walls in your bathroom. If you have basic handyman skills and the right tools, this can be a DIY project that will save you money on hiring a professional installer.
Understanding Quartz Shower Walls
Before diving into the installation process, it’s essential to understand what quartz shower walls are. Quartz is a composite material made of natural quartz minerals and resins, making it highly durable and non-porous. This means that it won’t absorb water or harbor bacteria, making it an excellent choice for high-moisture areas like bathrooms.
Quartz shower walls come in two forms: slabs and panels. Slabs are solid, custom-cut pieces that cover the entire shower wall, while panels are smaller sections that can be joined together to create a larger surface. The installation process may vary depending on the type of quartz shower walls you choose.
Tools and Materials You Will Need to Install Quartz Shower Walls
- Measuring tape
- Level
- Drill with masonry bit
- Caulking gun
- Silicone adhesive (specifically for quartz)
- Jigsaw with a diamond blade (if cutting slabs)
- Sandpaper or sanding block (if cutting slabs)
- Cleaning cloth
- Safety glasses and gloves
Step-by-step Guidelines on How to Install Quartz Shower Walls
Step 1: Measure and Prep the Shower Area
The first step is to measure your shower area accurately. Use a measuring tape to measure the length and height of each wall, including the ceiling, if you plan on installing quartz on the ceiling as well. It’s crucial to have precise measurements to ensure that you purchase enough material and avoid unnecessary seams. Measuring the shower area also allows you to identify any potential obstacles that may affect the installation process, such as pipes or uneven walls.
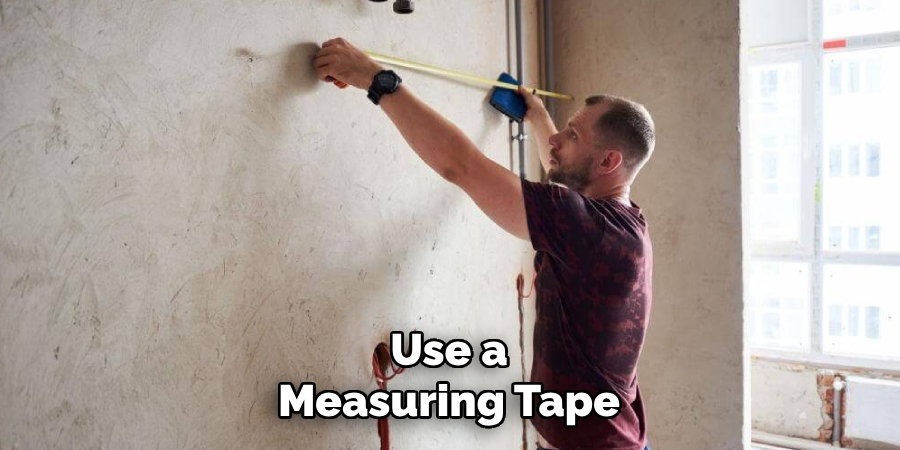
After measuring, prep the shower walls by cleaning them thoroughly and removing any existing tiles or adhesives. Ensure that the wall surface is smooth and level before proceeding.
Step 2: Cut and Install the Shower Panel(s)
If you’re using panel quartz walls, cut them to fit your measurements using a jigsaw with a diamond blade. Make sure to wear safety glasses and gloves during this process. Once the panels are cut, apply silicone adhesive on the back of each panel and press firmly onto the wall. Use a level to ensure that each panel is straight before moving on to the next one.
Step 3: Cut and Install the Slabs (if applicable)
If you’re using slab quartz walls, measure and mark the section of the slab that needs to be cut. Use a jigsaw with a diamond blade to cut along your markings, and then smooth out the edges using sandpaper or a sanding block. Follow the same process as step two, applying silicone adhesive on the back of each slab and pressing firmly onto the wall.
Step 4: Seal All Edges and Corners
Once all the walls are covered with quartz, use silicone adhesive to seal all edges and corners. This will provide a watertight seal and prevent any moisture from seeping behind the walls. Make sure to smooth out the silicone using a caulk finishing tool for a clean and professional look. This step applies to all edges and corners if you’re installing quartz on the ceiling.
Step 5: Clean and Finish
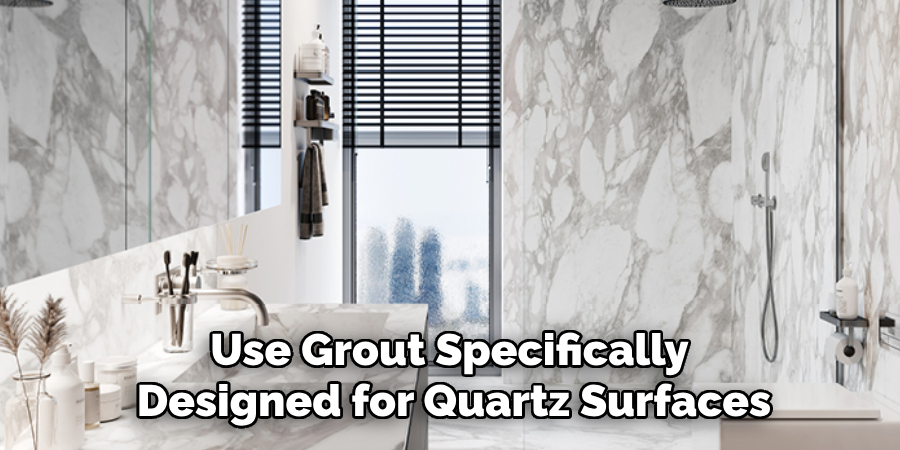
After the adhesive has dried, carefully remove any excess silicone using a cleaning cloth. Wipe down the walls with a damp cloth to remove any dust or debris. You can add a final touch by applying grout between seams for waterproofing and a clean finish. Make sure to use grout specifically designed for quartz surfaces.
Following these steps, you can easily install quartz shower walls in your bathroom and enjoy a beautiful, durable, and low-maintenance shower space. Proper installation is crucial for the longevity of your quartz walls, so take your time and be precise during the process.
With a little effort and the right tools, anyone can install quartz shower walls professionally. So, go ahead and give your bathroom a luxurious upgrade with quartz shower walls.
Additional Tips and Tricks to Install Quartz Shower Walls
- If you are using a prefabricated shower wall kit, measure the dimensions of your shower area before purchasing. This will ensure you get the correct size and avoid unnecessary cutting or trimming during installation.
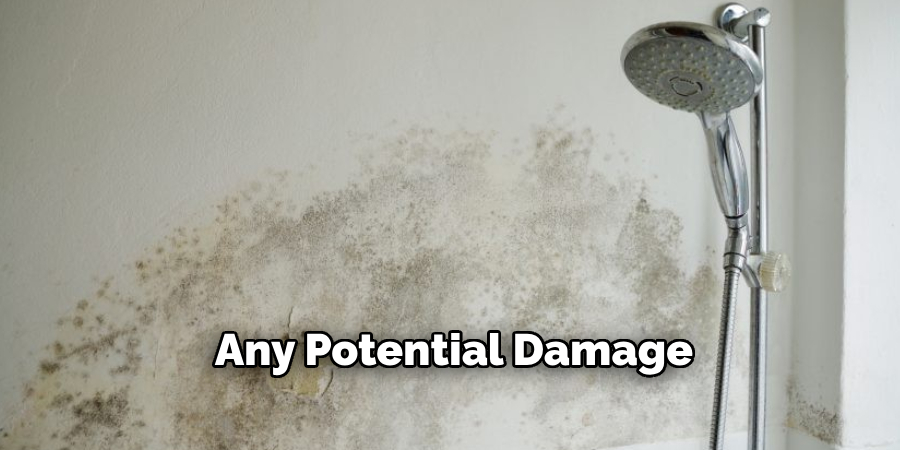
- Before installing the walls, thoroughly clean and dry the surface of your shower area to ensure proper adhesion of the adhesive. If any mold or mildew is present, use a bleach solution to clean it thoroughly.
- When applying the adhesive, make sure to spread it evenly and in a thin layer using a notched trowel. This will help prevent air bubbles from forming and ensure a strong bond between the walls and the shower area.
- Use spacers to maintain consistent spacing between the shower and adjacent walls or floor. This will help create a clean, professional-looking installation.
- If your shower area has uneven surfaces or corners, use shims to level out the walls before securing them with adhesive.
- Allow ample time for the adhesive to dry fully and cure before using the shower. This can take anywhere from 24-48 hours, depending on the type of adhesive used.
- Seal the edges and joints between the walls using a silicone caulk to prevent water from seeping behind the walls and causing damage over time.
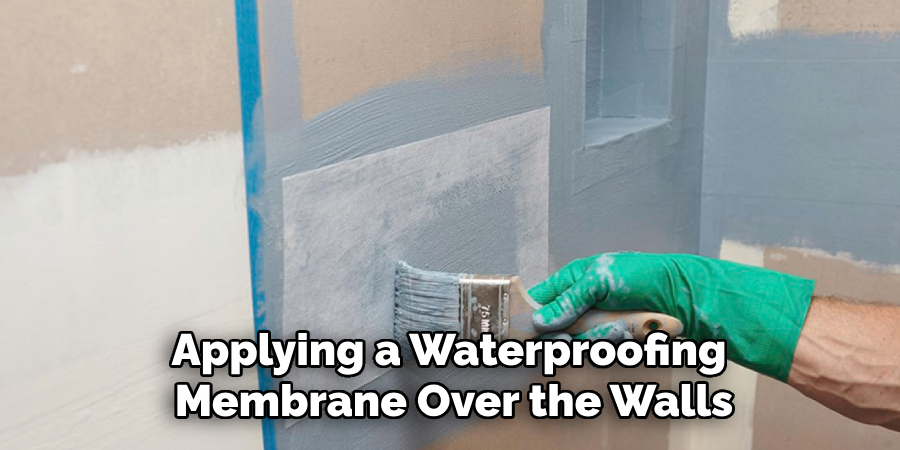
- Consider applying a waterproofing membrane over the walls for added durability before installing tiles or other finishes.
- Regularly clean and maintain your shower walls to keep them looking new and prevent any buildup of soap scum or other residue.
- Suppose you need clarification on any step during the installation process. In that case, it is always best to consult a professional or seek advice from the manufacturer for specific instructions related to their product.
By following these additional tips and tricks, you can ensure a successful and long-lasting installation of your Quartz shower walls. Remember to always use high-quality materials and take your time during the installation process for the best results. Happy showering!
Things You Should Consider to Install Quartz Shower Walls
- The first thing to consider when installing quartz shower walls is the type of material you want to use. Quartz is popular for shower walls due to its durability, low maintenance, and aesthetic appeal. However, different types of quartz are available, so it’s important to do your research and choose the one that best fits your needs and budget.
- Another factor to consider is the size and layout of your shower. Measure the area where you want to install the walls and make sure to account for any fixtures or obstacles that may affect your installation. This will help you determine how much material you need and how it should be cut.
- It’s also important to properly prepare the surface before installing quartz shower walls. The walls should be clean, dry, and level to ensure a smooth installation. If the walls are not in good condition, it may be necessary to repair or reinforce them before proceeding.
- When purchasing quartz for your shower walls, make sure to buy extra material in case of any mistakes or unexpected issues during installation. This will save you from having to stop your project and purchase more materials, potentially delaying the completion of your shower.
- If you need more experience or confidence in doing it yourself, consider hiring a professional for installation. Installing quartz shower walls requires precise cutting and proper placement, so having the necessary skills and tools for the job is important.
- If you decide to install the quartz shower walls yourself, make sure to follow the manufacturer’s instructions carefully. Improper installation can lead to issues such as water leakage or damage to the walls, so it’s important to take your time and do it correctly.
- In addition to installation considerations, consider the long-term maintenance of quartz shower walls. While quartz is a low-maintenance material, it may still require periodic cleaning and sealing to maintain its shine and prevent staining. Make sure to follow the manufacturer’s recommendations for cleaning and maintenance.
- When choosing quartz shower walls, consider your bathroom’s overall design and style. Quartz comes in various colors and patterns, so consider how it will complement the rest of your bathroom’s decor. Choose a finish that matches your fixtures and hardware for a cohesive look.
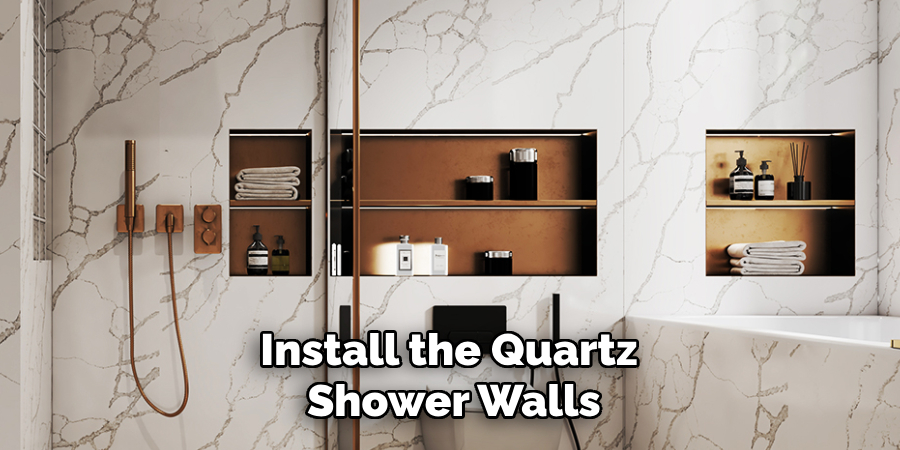
Following these considerations will help ensure a successful and beautiful installation of quartz shower walls in your bathroom. With proper planning and preparation, you can create a durable and stylish shower that will last for years to come. Happy renovating!
Maintenance Tips for Quartz Shower Walls
1. Keep the Shower Walls Dry:
One of the best maintenance tips for quartz shower walls is to keep them dry. This will prevent water stains and mineral deposits from forming on the surface, which can be difficult to remove. After each use, wipe down the walls with a soft cloth or squeegee to remove any excess water. If you notice any soap scum or residue, use a mild cleaner specifically designed for quartz surfaces.
2. Avoid Abrasive Cleaners:
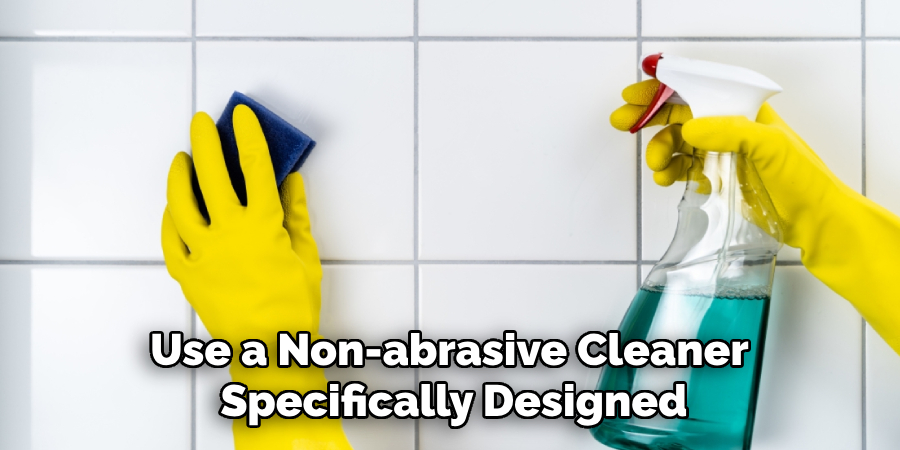
Avoid using abrasive cleaners or scrubbing pads when cleaning your quartz shower walls. These can scratch and damage the quartz’s surface, making it more susceptible to stains and discoloration. Instead, opt for a gentle cleanser and a soft cloth or sponge for regular maintenance. This will help keep your shower walls looking like new for longer.
3. Seal the Grout:
If properly maintained, the grout lines between your quartz shower walls can be resistant to mold and mildew growth. To prevent this, seal the grout lines with a silicone-based sealer at least once a year. This will help keep water and moisture from seeping into the grout and causing potential damage.
4. Remove Stains Immediately:
If you notice any stains on your quartz shower walls, it is important to remove them immediately. Use a non-abrasive cleaner specifically designed for quartz surfaces and gently scrub the stain with a soft cloth or sponge. Avoid using harsh chemicals or tools that can damage the surface. While removing the stain, make sure to rinse the area thoroughly with water and dry it completely.
5. Avoid Using Hot Tools:
Quartz is a durable material, but high heat can still damage it. Avoid using hot tools such as hair straighteners or curling irons on or near your quartz shower walls. If you need to use these tools in the bathroom, place them on a heat-resistant mat or towel to protect the surface of your shower walls.
6. Regularly Check for Cracks or Chips:
As with any surface, it is important to regularly check for any cracks or chips in your quartz shower walls. If left untreated, these can lead to further damage and even more costly repairs down the road. If you do notice any cracks or chips, contact a professional to have them repaired as soon as possible.
7. Use Caution with Chemicals:
While quartz is known for its durability and resistance to stains, certain chemicals can still damage it. Avoid using harsh chemicals on your shower walls, such as bleach or ammonia-based cleaners. Instead, use a mild cleaner specifically designed for quartz surfaces, or make your own gentle cleaner using water and a small amount of dish soap.
8. Keep Heavy Objects Away:
It is best to keep heavy objects such as shampoo bottles or shower caddies away from your quartz shower walls to prevent any potential damage. The weight of these items can cause cracks or chips in the surface, leading to costly repairs. Instead, use a shower caddy that hangs over the shower head or place your bottles on a shelf outside of the shower.
9. Schedule Regular Professional Cleanings:
While regular maintenance is key to keeping your quartz shower walls in top condition, scheduling professional cleanings at least once a year is also important. A professional will have the proper tools and knowledge to deep clean your shower walls, removing any built-up grime or stains that may have accumulated over time.
Following these maintenance tips for quartz shower walls will help keep them looking like new for years to come. By taking proper care of your shower walls, you can ensure their longevity and avoid any unnecessary repairs or replacements. With these tips in mind, you can enjoy a beautiful and low-maintenance showering experience every day. So, make sure to incorporate them into your regular cleaning routine to keep your quartz shower walls in top condition.
Remember, prevention is key when it comes to maintaining the beauty and durability of your quartz shower walls. With a little bit of effort and care, you can enjoy a clean and sparkling shower every day! So, remember to follow these simple tips for the perfect quartz shower maintenance. Happy cleaning!
Frequently Asked Questions
What is Quartz?
Quartz is a man-made material composed of natural quartz crystals mixed with resin and other materials. It is known for its durability, low maintenance, and wide range of colors and patterns. Quartz has become a popular choice for shower walls due to its water-resistant properties and ability to mimic the look of natural stone.
Can I Install Quartz Shower Walls Myself?
While some homeowners may have the skills and experience to install quartz shower walls, it is generally recommended to hire a professional. Quartz installation requires precision and expertise, as well as specialized tools and equipment. Improper installation can result in costly mistakes and damage to your walls.
How Do I Prepare My Walls for Quartz Installation?
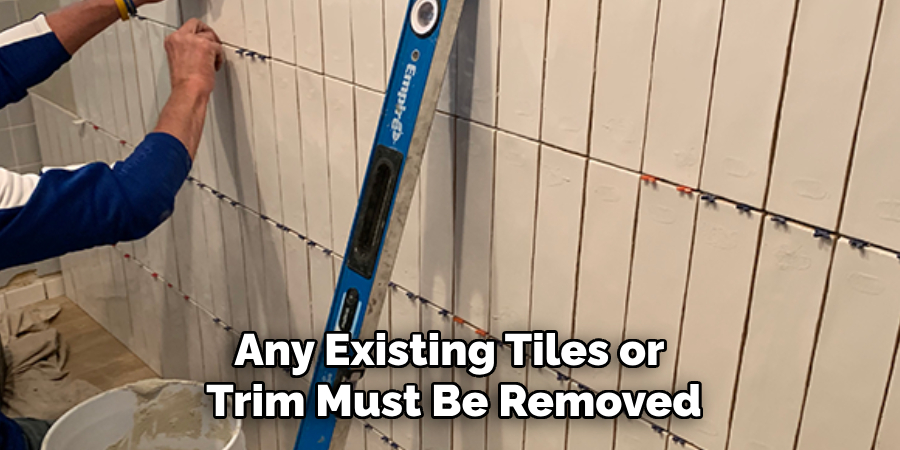
Before installing quartz shower walls, you must ensure that your walls are clean, dry, and smooth. Any existing tiles or trim must be removed, and the surface must be free of any bumps or imperfections. If there is any mold or mildew present, it should be treated before installation.
What About Existing Plumbing Fixtures?
If you are replacing old shower walls with quartz, you will need to remove any existing plumbing fixtures, such as showerheads and handles. Once the installation is complete, these can be reinstalled. If you are using a professional installer, they will take care of this step for you.
Conclusion
Now you know how to install quartz shower walls and what to expect during the process. Remember, it is always best to hire a professional for proper installation and to ensure the longevity of your shower walls. With their water-resistant properties and wide range of styles, quartz shower walls are a great option for any bathroom renovation project. So go ahead and give your bathroom a beautiful upgrade with quartz! Happy renovating!
