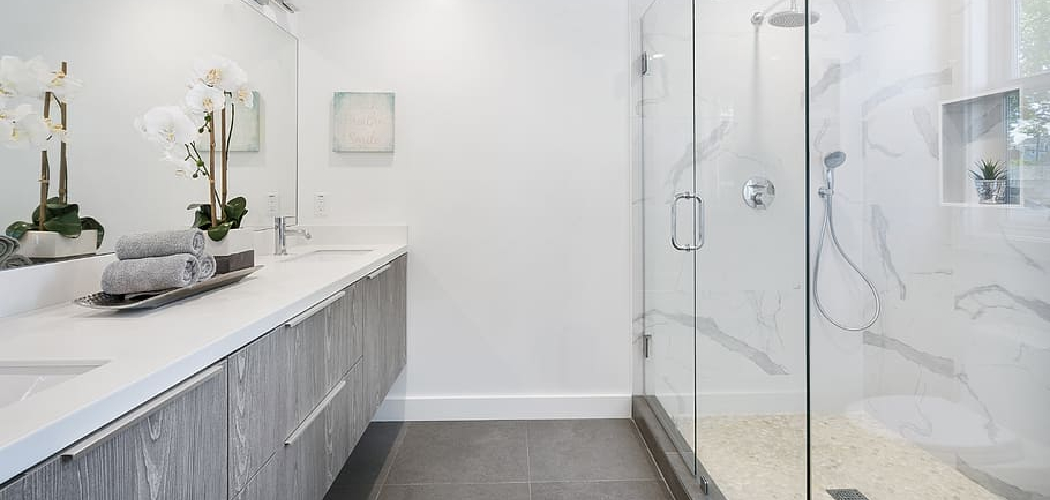
How do you install a shower glass at home? Installing a shower enclosure can be intimidating, but with the right supplies and instructions, it is easier than it may seem. To guarantee you get the job done correctly and safely, we’ve compiled detailed steps on installing both framed and frameless showers so that no matter what type of bathroom you have, you can achieve great results.
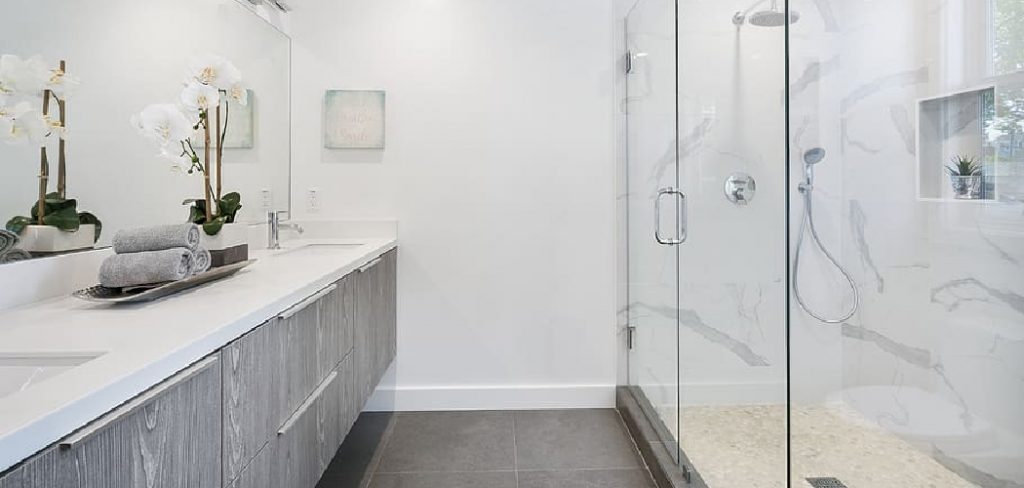
Whether you’re remodeling an outdated bathroom or just replacing an old shower door, follow these instructions to learn how to install shower glass with ease and precision.
In this blog post, we’ll dive into all aspects of installing shower glass – from gathering materials to troubleshooting tips – so that you’re equipped with everything you need to make your dream bathroom come alive!
What Will You Need?
Before installing shower glass, make sure you have the following supplies:
- Tape measure
- Glass cutter
- Spray bottle filled with rubbing alcohol
- Caulk, putty, or silicone sealant
- Rubber mallet
- Safety glasses
- Marker and eraser
- Retaining clips (for framed shower glass)
- Drill and drill bits (for framed shower glass)
Once you’ve gathered the supplies, you’re ready to start the installation process.
10 Easy Steps on How to Install Shower Glass
Step 1. Measure the Area Accurately
Use a tape measure to ensure the overall dimensions are correct before cutting any materials. Also, make sure that you leave enough space between the door edge and the wall for installation purposes. If in doubt, take precise measurements and draw a visual diagram to refer back to while installing.
Step 2. Cut the Shower Glass
Using a glass cutter, mark along the line of your measurement and ensure each cut is straight and clear. Then, use the rubber mallet to break off any excess pieces of glass gently. If there are any rough edges, you can always use a wet stone or emery paper to smooth them out.
Step 3. Clean the Shower Glass
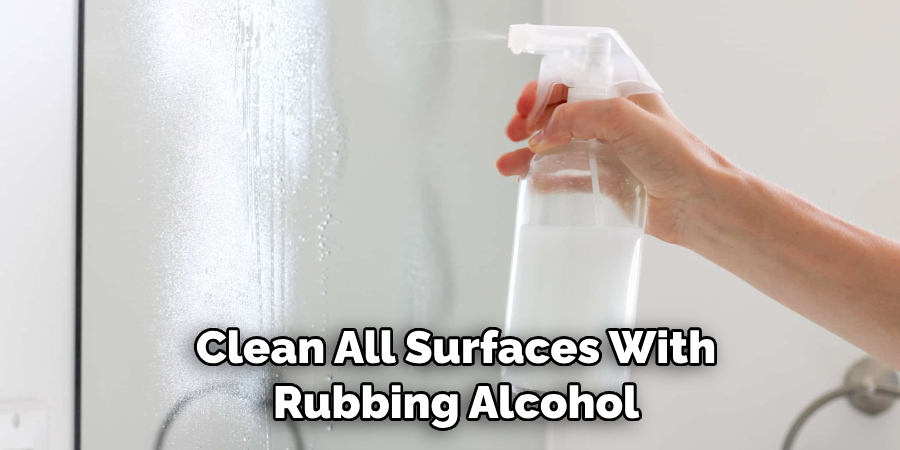
Clean all surfaces with rubbing alcohol to remove debris and dust from cutting earlier. This will help ensure a better seal when attaching the shower glass to the frame or wall later on. This will also help prevent any future water damage or leaking.
Step 4. Install the Retaining Clips
Use a drill and appropriate drill bit to attach the retaining clips onto each side of the frame. Ensure the clips are level and secure to ensure a strong hold when installing your shower glass later on. It is applicable only for framed shower glass.
Step 5. Attach Shower Glass to Frame/Wall
Apply caulk, putty or silicone sealant along all sides of the frame before attaching the glass pieces with retaining clips (if using framing). If you’re working with frameless enclosures, use the same sealing materials to adhere directly onto wall surfaces instead. Another option is to use a liquid adhesive or glue.
Step 6. Allow the Sealant/Adhesive to Dry
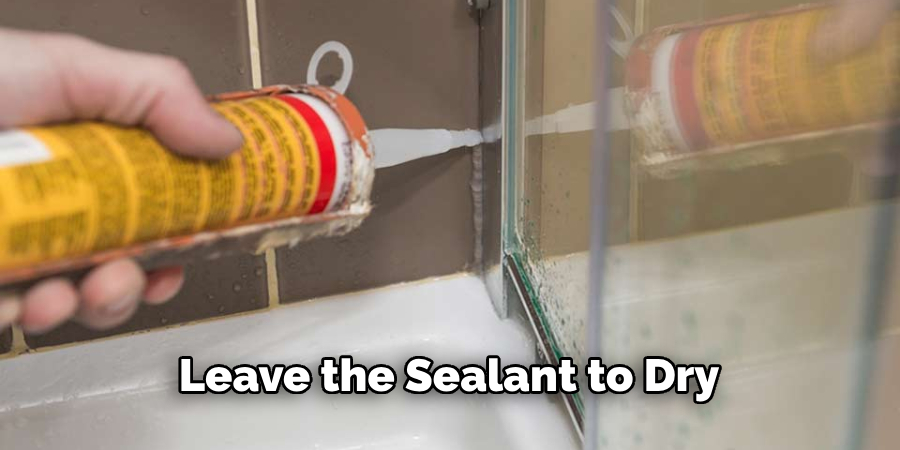
Leave any sealants or adhesives to dry before moving on to the next step. This is especially important when using framed shower glass, as any movement can cause it to become unsecured and potentially come loose in the future. You can use a fan or hairdryer to help speed up the drying process.
Step 7. Clean Up Excess Sealant
Use a wet cloth and some rubbing alcohol to wipe away any excess sealant from the frame or wall surfaces. Use an eraser to remove any stubborn residue left behind gently. It will also help ensure the surface looks neat and professional.
Step 8. Check for Leaks
Once all pieces are secure, fill up the shower area with water and check that no leaks occur at the seams of the framing or walls. A steady flow of water should exit without dripping down during use. If there are any signs of leakage, use a towel to absorb and then use more sealant or adhesive to fill in any gaps.
Step 9. Install the Door Handle
Attach the door handle according to the manufacturer’s instructions using screws and drill bit sizes as indicated. Ensure it is securely fastened and can be opened easily without putting too much strain on the frame or glass pieces. Keep in mind that the handle is an important part of the installation and plays a role in ensuring durability.
Step 10. Enjoy Your New Shower!
You’ve successfully installed your shower enclosure – now it’s time to enjoy all the benefits that come with it! Take pride in knowing that you achieved great results at home and bask in the pleasure of having a new spa-like environment for yourself or your family.
Remember, if you ever need to make any changes or repairs, it’s always best to seek professional advice and assistance for a safe and effective result.
These steps will ensure you have successfully installed shower glass and can now enjoy your new bathroom space! With the right materials, techniques, and patience, you can get great results that are sure to last.
5 Additional Tips and Tricks
- When installing glass panels, take time to measure and cut accurately for a secure fit. Invest in the right supplies, like drill bits specifically designed for the glass, to ensure your shower glass is installed correctly.
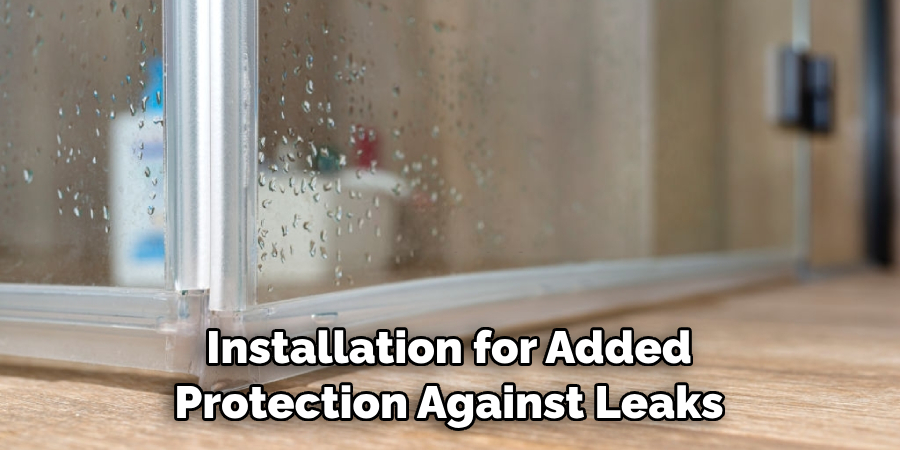
- Don’t forget to use sealant around the edges of each panel during installation for added protection against leaks.
- remove any dust, dirt, or grime from the panels before you attempt installation to prevent damage and ensure a smooth surface.
- It’s important to properly prepare your walls in advance with waterproofing treatments before installing shower glass.
- If you are still trying to tackle the task yourself, consider hiring a professional installer, who has experience working with shower glass and can guarantee a secure fit and long-lasting results.
By following these tips, you can be sure that when it comes time to install your shower glass, you’ll have a successful and satisfying outcome.
5 Things You Should Avoid
- Don’t make the mistake of not wearing safety gear such as gloves, goggles, and a dust mask.
- Don’t use glass cleaner containing abrasive chemicals, which can cause scratches and scuffs.
- Don’t use a drill bit or other tools not specifically designed for drilling into glass — these could crack the panels instead of creating precise holes.
- Do not over tighten screws when installing shower glass, as this could damage the material.
- Avoid using too much sealant as this will make it difficult to clean off any excess later on and could lead to water damage in your bathroom over time.
Following these tips is essential for ensuring successful shower glass installation, so be sure to keep them in mind!
How Do You Install Glass Panels on a Wall?
- Begin by measuring the area where you will install the glass panels and use a template to mark the wall accordingly.
- Use a drill bit designed specifically for drilling into the glass to create holes on each of your marked points on the wall.
- Insert screws into each hole and secure them with washers, ensuring that they are not too tight or loose but snug enough to hold firmly in place.
- Place the glass panel onto the wall and press it against the screws before tightening them further if necessary, ensuring an even gap between the panel and the wall surface.
- Apply sealant around each panel edge to protect against moisture getting in any cracks or gaps.
- Leave the sealant to dry before using the shower glass panel, and enjoy your hard work!
By following these steps, you will be able to install your shower glass panels securely and correctly for a long-lasting finish.
What Can You Use to Stick Glass to the Wall?
1. Framed Shower Glass: Use silicone sealant to adhere the frames onto wall surfaces and around the edges of each panel.
2.Frameless Enclosures: Use a liquid adhesive or glue to attach directly onto wall surfaces, such as a construction grade polyurethane adhesive.
3. Mirror Glass: Use double-sided tape or mirror mounting clips that are specifically designed for mirrors in order to adhere them securely onto walls.
These materials will provide optimal adhesion and security when installing your shower glass panels or mirrors with minimal effort. Be sure to follow the manufacturer’s instructions in order to get the right results every time!
Is Epoxy Glue for Glass?
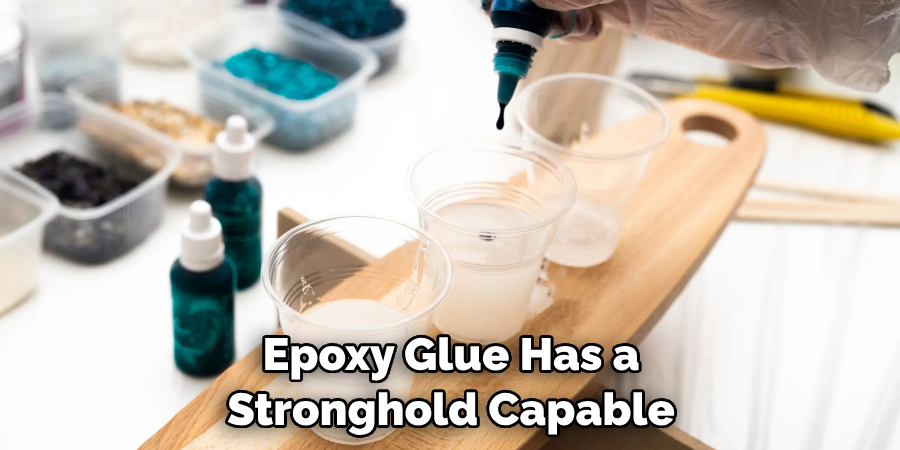
Yes, epoxy glue can be used for glass and is often considered the best adhesive to attach glass panels onto walls. Epoxy glue has a stronghold capable of withstanding high temperatures and humidity levels, making it perfect for use in bathroom spaces.
It also sets quickly, so you won’t have to wait too long before using your shower enclosure! Just remember to apply a thin sealant layer around the edges after installation for extra protection against moisture getting in any cracks or gaps.
Installing shower glass is not easy, but with proper preparation and the right materials, techniques, and patience, you can achieve great results that will surely last. By considering these steps, you can be sure that you will have successfully installed your shower glass and can now enjoy the benefits of a beautiful and functional bathroom space!
Conclusion
Shower glass installation may seem daunting at first, but it can be a manageable task with the right tools and guidance. Be sure to double check all measurements before proceeding and consider consulting a professional if needed.
No matter what route you take, adding glass to your shower will enhance the look and functionality for years. Plus, there’s no better way to start or end an exciting day than with a relaxing hot shower in your gorgeous new space!
Hopefully, the article on how to install shower glass has given you the confidence and information you need to add this elegant feature to your bathroom successfully. Best of luck in your home improvement journey!

