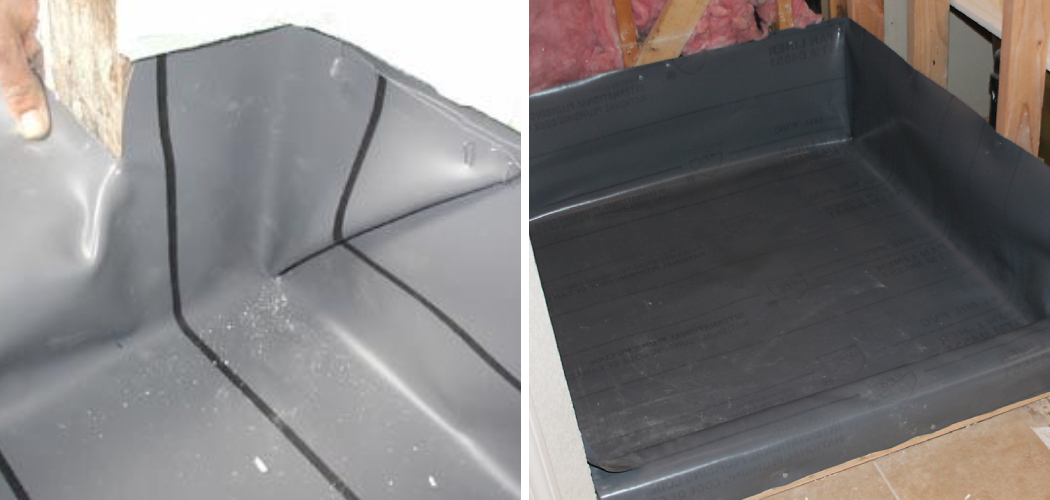
Installing a shower pan liner correctly prevents water damage and ensures the longevity of your bathroom floors and walls. Water leakage from a shower can lead to mold growth, rot, and expensive repairs, making proper installation a key step in bathroom construction or renovation.
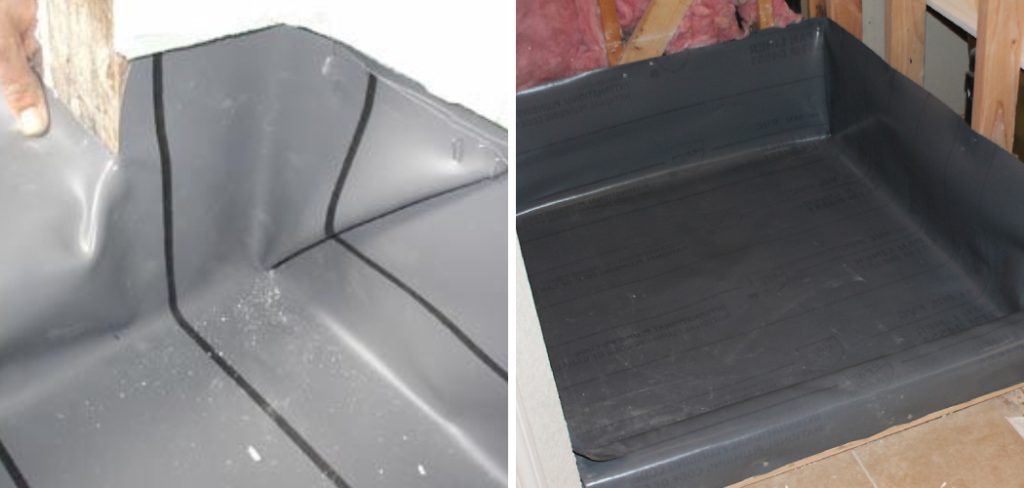
The process of how to install shower pan liner over curb involves preparing the area, measuring and cutting the liner, securing it in place, and ensuring a watertight seal. This guide will cover each of these steps in detail, providing clear instructions to make the installation as smooth as possible.
Utilizing a shower pan liner over the curb is essential for creating a waterproof barrier that prevents water from seeping through and causing damage. As part of the shower’s threshold, the curb needs special attention to ensure that it, along with the rest of the shower pan, remains leak-free and functional for years to come.
This guide aims to equip you with the knowledge on how to install a shower pan liner over a curb effectively, ensuring a dry and durable bathroom environment.
Understanding the Materials
A. Introduction to Shower Pan Liners and Their Types
Shower pan liners are an integral part of any shower installation, acting as a critical barrier that prevents water from seeping into the building structure and causing damage. These liners come in various materials, including PVC, CPE (chlorinated polyethylene), and rubber, each offering distinct advantages.
PVC liners are popular due to their durability and cost-effectiveness, while CPE liners are valued for their flexibility and resistance to chemicals and temperatures. Although less common, rubber liners provide exceptional elasticity and are ideal for non-standard shower shapes.
B. Overview of Materials Needed for Installation
- Shower Pan Liner: This waterproof barrier sits above the shower pan’s substrate and beneath the tile or shower floor material. Selecting the right type and size is critical for ensuring a watertight installation.
- Adhesive or Sealant: Depending on the liner material, a specific adhesive or sealant will be necessary to secure the liner to the curb and surrounding areas. Make sure to choose a product compatible with your liner material for optimal adhesion and waterproofing.
- Utility Knife: A sharp utility knife is essential for cutting the shower pan liner to fit your shower’s dimensions precisely. Accurate cutting ensures that the liner fits snugly around the curb and corners.
- Trowel: This tool helps spread adhesive or sealant evenly across the area where the liner will be installed. A notched-edge trowel is useful for ensuring an even adhesive application.
- Seam Tape: You may need to seam two pieces of liner material together for larger showers. Seam tape is designed to waterproof these joints, ensuring no water can seep through the liner at the seams.
- Clamps or Weights: After applying the shower pan liner, clamps or weights can be used to hold it in place while the adhesive or sealant dries. This ensures a tight bond and prevents the liner from moving or bubbling up.
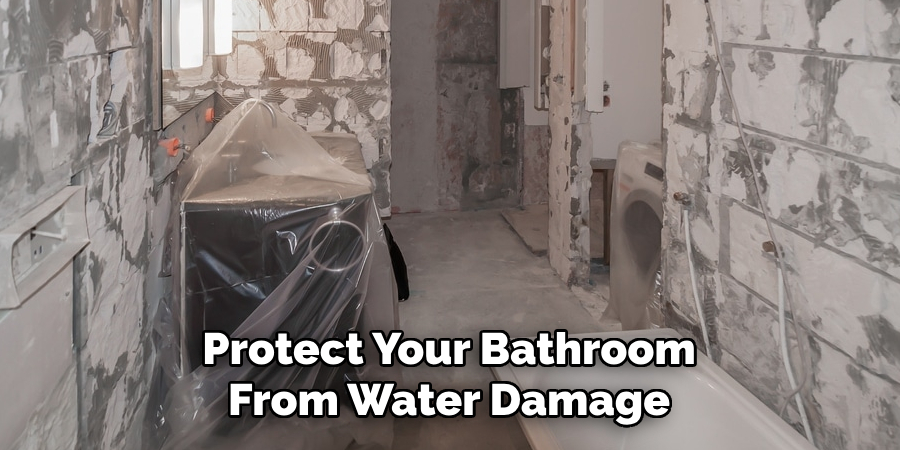
Understanding these materials and their specific functions is crucial for anyone looking to learn how to install shower pan liner over curb. Each component plays a role in creating a durable, waterproof barrier that will protect your bathroom from water damage for years to come.
Preparing the Curb and Substrate
Effective curb and substrate preparation is critical in ensuring a successful shower pan liner installation. The durability and effectiveness of the waterproof barrier largely depend on the condition and readiness of these foundational elements before the liner is laid out.
A. Inspecting the Curb for Any Damage or Imperfections
Begin by closely examining the curb for any signs of damage, such as cracks, chips, or uneven surfaces. These imperfections can compromise the seal of the shower pan liner, leading to potential leaks.
If any damage is found, it’s essential to repair or smooth out these areas prior to proceeding with the installation. This might involve filling cracks with a suitable filler or sanding down rough areas to achieve a smooth surface.
B. Cleaning and Drying the Surface Thoroughly
Once the curb has been inspected and necessary repairs have been made, the next step is cleaning the surface thoroughly. Remove any debris, dust, or residue that could interfere with the adhesion of the liner.
A mixture of mild detergent and water can be used for effective cleaning. After cleaning, ensure the surface is completely dry before moving on to the next step. Moisture trapped beneath the liner can lead to mold growth and compromise the integrity of the waterproof barrier.
C. Ensuring the Substrate is Level and Smooth
Finally, the substrate needs to be inspected for levelness and smoothness. An uneven substrate can lead to improper drainage and put stress on the shower pan liner, potentially causing tears or leaks over time.
Use a level to check for any discrepancies and apply a self-leveling compound if necessary to achieve an even surface. Similarly, any rough spots on the substrate should be sanded down to prevent punctures or damage to the liner. Ensuring a level and smooth substrate provides the ideal foundation for laying down the shower pan liner securely.
How to Install Shower Pan Liner Over Curb: Cutting and Fitting the Liner
The process of cutting and fitting the liner is an essential step in ensuring a watertight shower installation. Precision and care are required to tailor the liner to the unique contours of your shower pan and curb.
A. Measuring and Cutting the Shower Pan Liner to Size
Begin by accurately measuring the dimensions of your shower pan area, including the pan’s depth and the curb’s height. It is crucial to add extra length to your measurements for the liner to extend up the walls of the shower area, typically at least 6 inches above the height of the curb.
Once you have your measurements, unroll the shower pan liner on a flat surface and mark the cutting lines with a non-permanent marker. Cut the liner carefully using a sharp utility knife, ensuring straight edges for a better fit.
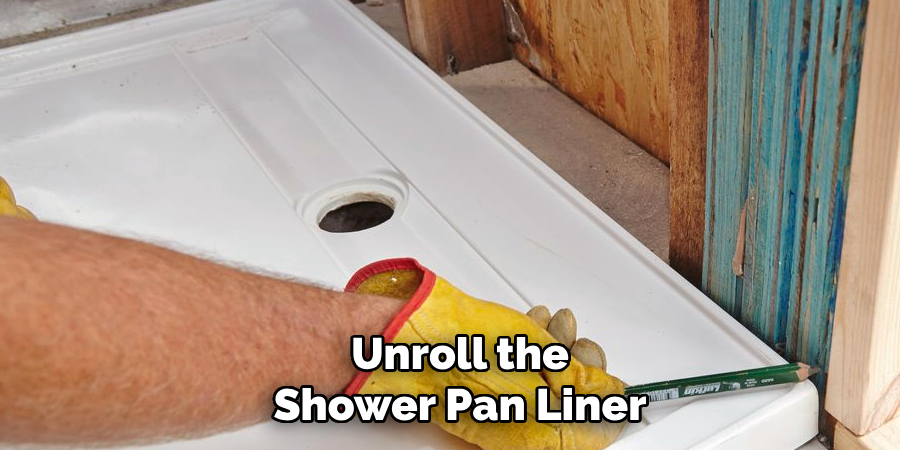
B. Fitting the Liner Over the Curb
Laying the liner into the shower pan requires attention to detail. Start from one corner, gently laying the liner across the pan and over the curb, smoothing out any large wrinkles or air pockets by hand.
It’s crucial at this stage to ensure the liner is fitted snugly against the base of the shower and over the curb without stretching it too taut, as this can lead to tearing. Once the liner is in place, form folds at the corners as neatly as possible, maintaining as flat a surface as you can against the walls and curb.
C. Trimming Excess Liner and Making Necessary Adjustments
After the liner is fitted, inspect for any excess material that extends beyond the required height above the shower walls or is bunching up awkwardly. Trim this excess with your utility knife, being careful not to cut too close to the level of the curb or the pan floor.
If there are areas where the liner does not sit flush, adhesive or double-sided tape designed for use with the specific liner material can be applied to secure it in place. Also, pay special attention to the folds created at the corners, adjusting them to lie as flat as possible without compromising the liner’s integrity or waterproofing.
By meticulously measuring, cutting, and fitting the shower pan liner, you ensure the foundational layer of your shower’s waterproof barrier is effectively implemented. This attention to detail in the installation process is critical in preventing future water damage and maintaining the bathroom’s structural integrity.
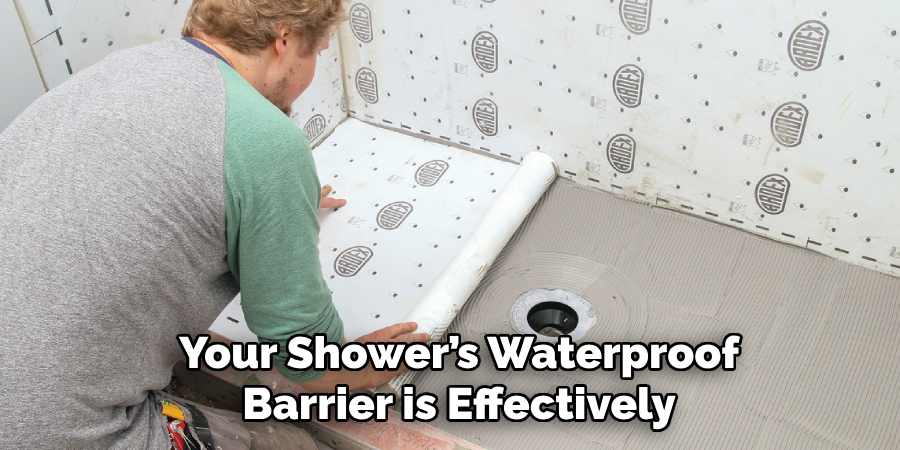
How to Install Shower Pan Liner Over Curb: Securing the Liner
Once the shower pan liner is accurately cut and fitted into place, securing it properly is the next critical step. This ensures that the waterproof barrier is intact and durable, safeguarding against leaks. Properly securing the liner involves several detailed measures.
A. Applying Adhesive or Sealant to the Curb Surface
Begin by selecting an adhesive or sealant compatible with the material of your shower pan liner. Read the manufacturer’s instructions carefully to understand the application process and drying times. Apply the adhesive or sealant evenly across the surface of the curb, ensuring full coverage. If you’re applying adhesive to a larger area, it’s important to work in sections to prevent it from drying before the liner is placed.
B. Pressing the Liner Firmly onto the Curb
After applying the adhesive or sealant, carefully align the edge of the shower pan liner with the curb, starting at one end and working your way to the other. Press the liner firmly into the adhesive or sealant to ensure it adheres well.
Use a flat tool or your hands to smooth out the liner as you go, removing any air bubbles that might form. This step may require patience and attention to detail to ensure the liner is perfectly aligned and secure.
C. Ensuring Proper Adhesion and Smoothing Out Any Wrinkles
Once the liner is pressed onto the curb and the adhesive or sealant is applied, inspect it to ensure it adheres properly to all surfaces. Pay special attention to corners and edges where the liner might not lay flat.
Use your hands or a small roller to smooth out any wrinkles or bubbles in the liner, working from the center toward the edges. The liner must be smooth and wrinkle-free to prevent any potential water intrusion.
How to Install Shower Pan Liner Over Curb: Sealing the Seams
Proper seam sealing is crucial to ensuring the integrity of the waterproof barrier in your shower installation. This step prevents water from seeping through the joints and edges of the shower pan liner, which could lead to mold growth and structural damage over time.
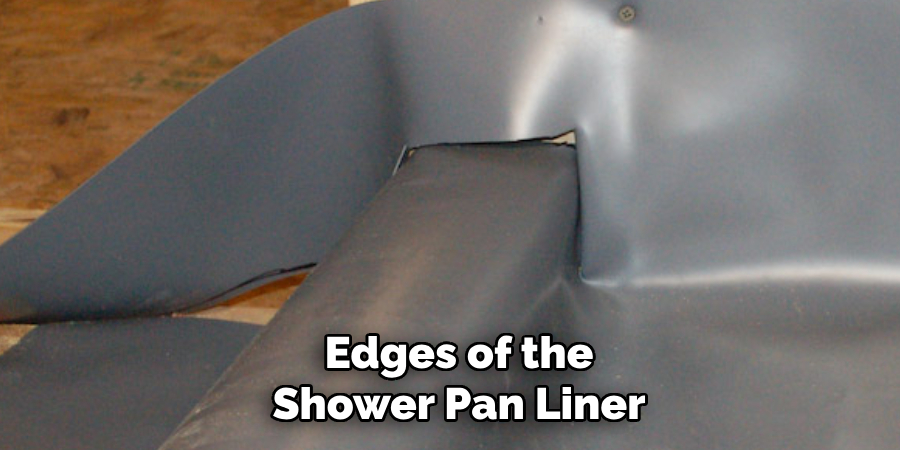
A. Applying Seam Tape to the Joints and Edges of the Liner
Select a seam tape that is compatible with your shower pan liner material. Begin by cleaning the area where the tape will be applied, ensuring it is free from dust and moisture. Measure and cut the seam tape to cover the joints and edges, allowing some extra length for a secure fit. Carefully peel the backing off the tape and apply it directly over the seams, ensuring complete coverage without any gaps.
B. Using a Trowel to Press the Tape into Place
Once the seam tape is positioned over the joints and edges, press it firmly into place with a flat trowel. The trowel helps to ensure that the tape adheres evenly across the entire surface, eliminating air bubbles and ensuring a tight seal. Apply moderate pressure with the trowel, moving consistently to smooth out the tape and secure it to the liner.
C. Overlapping Seams for Added Protection
For added protection against water leakage, overlapping the seams by at least 2 inches is recommended where possible. This enhances the waterproof barrier by providing an extra layer of defense at the liner’s most vulnerable points.
When overlapping the seam tape, ensure that each layer is pressed firmly into place and adheres well to the layer beneath it. This overlap technique significantly reduces the risk of water penetration through the seams, contributing to the overall durability and effectiveness of the shower waterproofing system.
Testing and Inspection
After meticulously installing and sealing the shower pan liner, the next imperative step is testing and inspecting your work to ensure it functions correctly and provides a secure waterproof barrier. This phase is critical for catching any potential issues early on, ensuring that your shower setup will remain watertight and efficient for years to come.
A. Checking for Proper Drainage and Slope
The first aspect to test is whether the shower pan floor drains water efficiently without pooling. This is crucial as standing water can lead to mildew and water damage over time. Gently pour water onto various shower floor areas and observe its flow toward the drain.
The ideal slope should guide the water directly to the drain without remaining standing water. If you notice areas where water pools, it may indicate that adjustments to the slope are necessary for proper drainage.
B. Verifying That the Liner Is Securely Installed
Next, it’s essential to verify the liner installation. Carefully inspect the entire surface of the liner, ensuring it adheres firmly to the floors and walls without any loose sections. Attention is paid to the edges, corners, and places where the liner meets fixtures or the drain.
These are areas where vulnerabilities could exist. If any part of the liner seems loose or not perfectly adherent, take the necessary steps to secure it properly and ensure a continuous waterproof barrier.
C. Inspecting for Any Leaks or Weak Points
The final step in the inspection process involves checking for leaks or weak points within the sealed liner. This can be done by plugging the drain and filling the shower pan with a small amount of water, letting it sit for several hours.
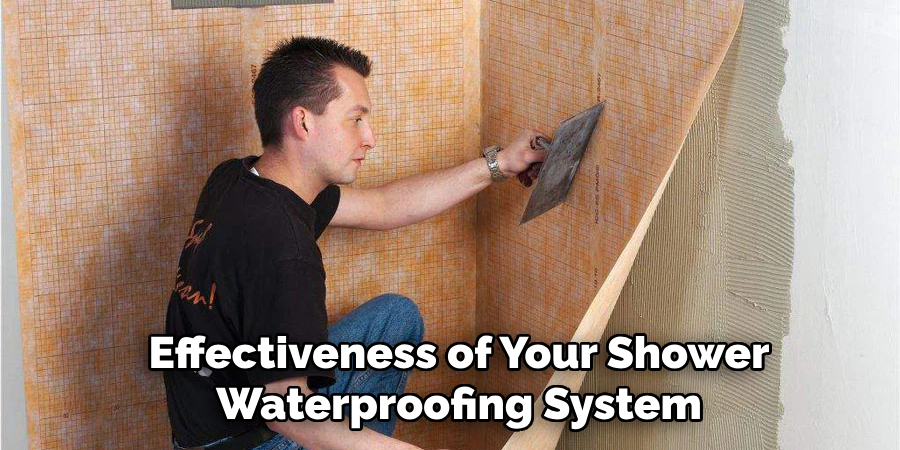
Monitor the water level for any signs of leakage. Additionally, inspect the areas around the shower base on the floors and adjacent walls for any moisture signs indicating potential leaks. Paying close attention to these details can prevent future problems, ensuring the longevity and effectiveness of your shower waterproofing system.
Finishing Touches
Your shower installation has been thorough and meticulous up to this point, ensuring a waterproof and durable setup. Now, we move on to the final touches that will not only enhance the functionality of your shower but also its aesthetics.
A. Trimming Excess Liner Material
After verifying the secure installation of your shower pan liner and its perfect adherence to the shower’s structure, it’s important to trim any excess material. Use a sharp utility knife for a clean cut, ensuring you leave enough liner overhang to adequately cover the lip of the shower base but not so much as to impede the installation of the curb cap or threshold. This step not only tidies up the appearance of your shower but also prevents potential tearing or snagging of the liner material in the future.
B. Installing the Shower Curb Cap or Threshold
The shower curb cap or threshold is the barrier between your shower and the bathroom floor, ensuring water remains inside the shower area. Select a curb cap that complements the design of your bathroom and fits the dimensions of your shower’s curb.
secure it in place using a waterproof adhesive or mortar, being careful to maintain an even and level installation. This element is crucial for its functionality in preventing water leakage and as a finishing touch that visually ties your shower area to the rest of the bathroom.
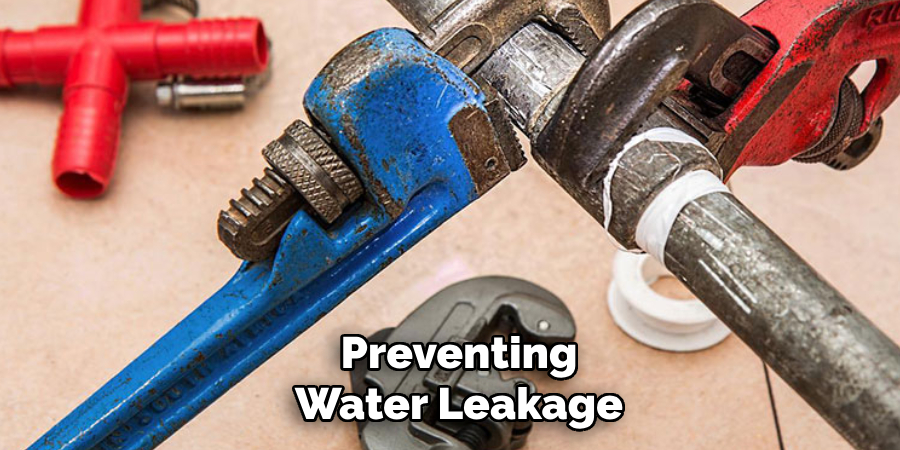
C. Applying Sealant Around the Edges for Added Protection
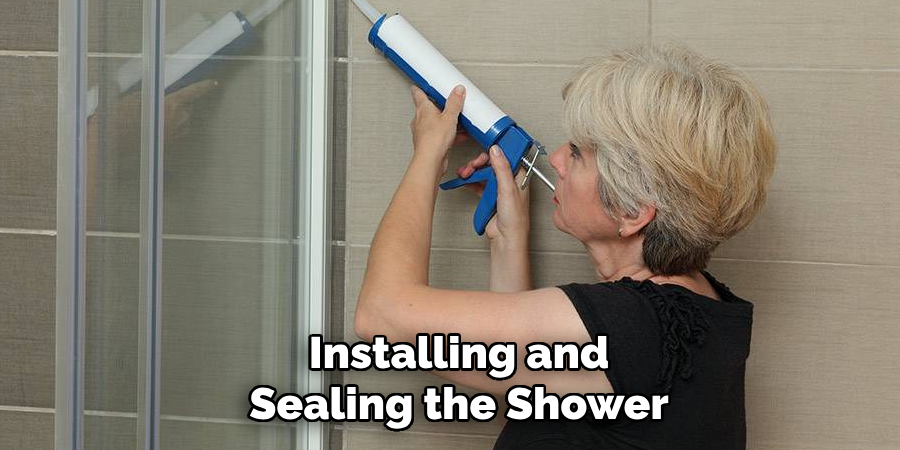
To further safeguard your shower against water damage, apply a high-quality, waterproof silicone sealant around the edges of the shower where the liner meets the walls and around the curb cap or threshold. Be sure to smooth out the sealant with a caulking tool or your finger (wearing a disposable glove) to ensure a tight seal and a neat finish. This step not only enhances the waterproofing of your shower but also adds a professional touch to its overall look.
With these finishing touches, your shower installation is now complete. By taking the time to trim excess liner material, install a functional and stylish curb cap or threshold, and apply a protective layer of sealant around the edges, you’ve ensured that your shower is waterproof, durable, and visually appealing.
This attention to detail in the final stages of installation underscores the quality and longevity of your project, setting a solid foundation for the many years of use and enjoyment ahead.
Common Mistakes and Troubleshooting
While following the outlined steps for shower installation can lead to a waterproof and durable outcome, certain common mistakes can occur. Addressing these effectively can save time, money, and prevent future problems.
A. Addressing Wrinkles or Bubbles in the Liner
Wrinkles or bubbles in the shower liner are not just aesthetic issues; they can compromise the waterproofing effectiveness. To address wrinkles, carefully lift the affected area of the liner—if still possible—and smooth it out.
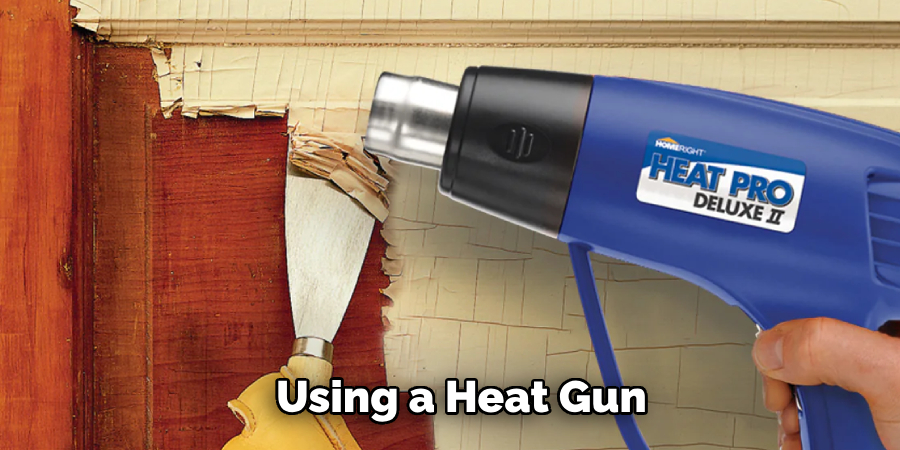
For permanent installations where liner movement is not an option, using a heat gun gently on low settings may help soften the material, allowing you to press out wrinkles. Avoid overheating, as it can damage the liner.
B. Dealing with Improperly Fitted or Cut Liner
If the liner has been cut too short or does not fit snugly against the shower structure, the waterproofing integrity is at risk. For minor gaps or areas cut too short, applying a sealant specifically designed for PVC or the type of liner material can patch small sections effectively.
In cases of significant misfit, however, the best solution might be to replace the section of the liner concerned, ensuring the new piece overlaps sufficiently with the old one and is sealed properly.
C. Solutions for Leaks or Drainage Issues
Discovering leaks after installation can be disheartening, but immediate action can mitigate long-term problems. First, identify the source of the leak—whether it’s around the drain, the shower base, or through the liner itself.
For leaks around the drain, ensure all connections are tight and consider adding or replacing the gasket. If the leak is through small punctures in the liner, patches made from the same material as the liner can be applied with appropriate solvent cement.
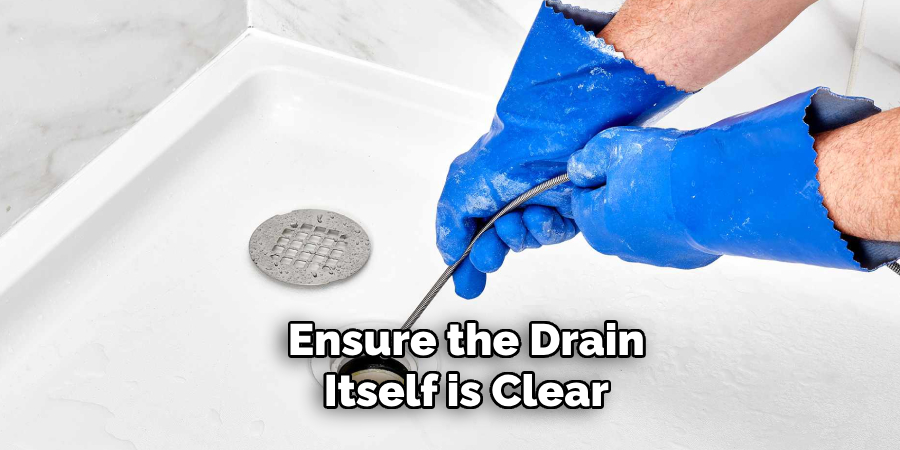
Effective drainage is crucial. If water is pooling rather than draining, assess the slope towards the drain—if it’s insufficient, using a self-leveling compound around the area can help adjust the angle. Always ensure the drain itself is clear of obstructions. Consulting a professional may be the best course of action for persistent drainage issues to avoid substantial water damage.
Maintenance and Care Tips
Maintaining your newly installed shower is crucial for its longevity and functionality. Here are some vital tips to help you keep your shower in top-notch condition, ensuring that it remains a safe and enjoyable part of your home for years to come.
A. Regular Inspection for Wear or Damage
It’s important to regularly inspect your shower every few months to check for signs of wear or damage. Look closely at the shower pan liner, the curb cap, and the sealant around the edges. Early detection of issues like small tears in the liner or cracks in the sealant can prevent water damage to your bathroom. Pay particular attention to the areas that are most vulnerable to water exposure, and don’t overlook the caulking where the floor meets the walls.
B. Cleaning and Maintaining the Shower Pan Liner
Keeping the shower pan liner clean prevents mold and mildew growth. Use a gentle cleanser—avoid harsh chemicals that can degrade the liner material—and a soft sponge or cloth to clean the surface.
Rinse thoroughly with water after cleaning. A mild solution of water and vinegar can be effective for stubborn stains. Ensure the bathroom is well-ventilated during and after cleaning to allow surfaces to dry completely.
C. Addressing Any Issues Promptly to Avoid Costly Repairs
Any signs of damage or wear should be addressed promptly to avoid costly repairs down the line. For example, a small tear in the liner can be fixed relatively easily if caught early, but if left unattended, it could lead to significant water damage, requiring more extensive repairs.
Similarly, reapplying sealant in areas where it has cracked or worn away can prevent water from seeping behind walls or under the floor. Keeping repair supplies on hand, such as sealant and a spare piece of liner material, can make it easier to fix minor issues quickly.
By following these maintenance and care tips, you can ensure that your shower remains in excellent condition and provides a safe and enjoyable experience. Regular inspection, proper cleaning, and prompt attention to any issues not only extend your shower’s life but also benefit your bathroom’s overall health and aesthetics.
Conclusion
We began by breaking down the intricate process of “how to install shower pan liner over curb,” focusing on the meticulous preparation of the shower base and curb, the precise measurement and cutting of the liner, and the careful adhesion and sealing approach.
Key steps included ensuring the base was pre-sloped for effective drainage, cutting the liner with allowances for a snug fit over the curb and up the walls, and securing it with clamps and sealants without creating punctures.
The thoroughness of this installation process cannot be overstated — it is instrumental in ensuring the long-term durability of your shower. Proper installation mitigates the risk of leaks, mold, and structural damage, both safeguarding your investment and ensuring the continued safety and comfort of your home environment. It is the foundation of a shower that doesn’t just look exceptional but performs flawlessly over time.
While the guide offers a comprehensive overview, the nuances of how to install shower pan liner over curb can vary based on specific shower configurations and local building codes. If, at any point, the task seems overwhelming or outside your comfort zone, there’s great value in consulting with or hiring a professional.
Experts bring their vast experience and an understanding of the latest techniques and materials, ensuring your installation meets the highest standards. Remember, taking the time now to ensure everything is done right can save significant time, money, and stress in the future.

