Installing a smart toilet may seem intimidating at first, but with the right tools and guidance, it can be a straightforward process. Smart toilets offer advanced features such as heated seats, bidet functions, automatic flushing, and more, providing increased comfort and convenience.
This guide will walk you through the steps of how to install smart toilet properly, ensuring it functions efficiently and enhances your bathroom experience. Before starting, make sure you have all the necessary tools and materials ready for a smooth installation process.
Benefits of Installing a Smart Toilet
Installing a smart toilet in your bathroom comes with a host of benefits that go beyond basic functionality. One major advantage is the enhanced comfort it provides, with features like heated seats and customizable bidet settings to suit personal preferences. Smart toilets are also more hygienic, as many come with self-cleaning options, touch-free flushing, and antibacterial coatings, reducing the spread of germs.
Additionally, they are eco-friendly, with water-saving systems that optimize flushing efficiency and help conserve resources. By automating certain tasks, smart toilets minimize maintenance efforts and create a cleaner, more convenient bathroom environment. Lastly, they add a modern and luxurious appeal to your space, increasing overall home value.
Tools and Materials Needed
To install or maintain a smart toilet, you will need a few essential tools and materials to ensure a smooth process. These include:
- Adjustable wrench for securing bolts and connections.
- Screwdriver set for fastening screws during installation.
- Measuring tape to ensure proper alignment and placement.
- Plumbers’ tape to create watertight seals on pipe connections.
- Silicone sealant for sealing gaps and securing the toilet in place.
- User manual provided with the smart toilet for specific instructions.
- Power drill (optional) if additional mounting holes are needed.
Having these items ready will streamline the installation and upkeep of your smart toilet system, making the process efficient and hassle-free.
10 Methods How to Install Smart Toilet
1. Preparing the Installation Area
Before you begin, it’s essential to prepare the installation area thoroughly. Start by turning off the water supply to the existing toilet. Locate the shut-off valve, usually positioned behind or beside the toilet, and turn it clockwise to stop the flow.

Next, flush the old toilet to empty the tank and bowl. Use a sponge or towel to soak up any remaining water. Disconnect the water supply line from the toilet tank. Once disconnected, remove the old toilet by unscrewing the floor bolts. Carefully lift the toilet and set it aside.
Clean the floor area and the toilet flange to remove any old wax or residue. This preparation ensures that the new smart toilet will have a clean and stable surface to sit on, reducing the risk of leaks.
2. Installing the New Wax Ring
A new wax ring is crucial for creating a watertight seal between the toilet and the waste pipe. Select a wax ring that matches the size of your new smart toilet’s flange.
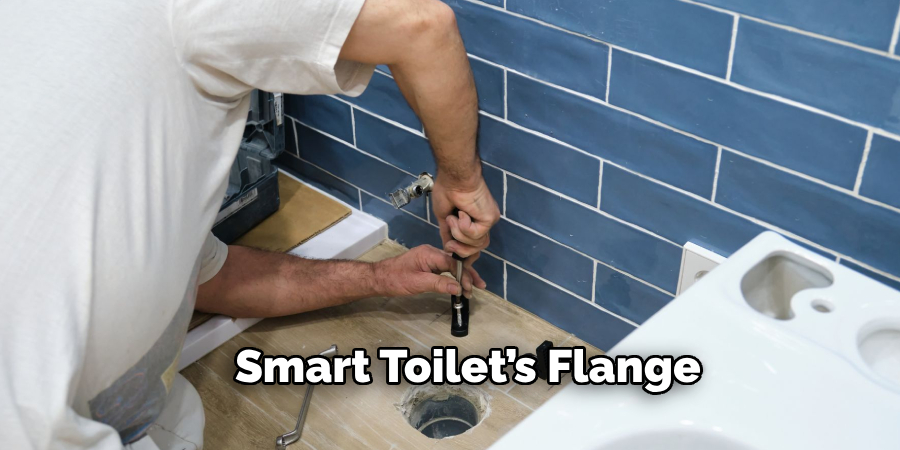
Place the wax ring onto the flange or the bottom of the toilet outlet. Press it firmly but gently to secure it in place. Make sure the ring is aligned correctly to prevent leaks once the toilet is installed.
This step is critical as an improperly fitted wax ring can cause water leakage and foul odors. Taking your time to position it accurately will save you from potential issues later.
3. Setting Up the Smart Toilet Base
Position the smart toilet base over the flange, aligning the bolt holes with the floor bolts. Lower the toilet carefully, ensuring that the wax ring compresses to form a tight seal.
Once in place, press down firmly but evenly to secure the toilet to the floor. Install the washers and nuts onto the floor bolts, tightening them gradually to avoid cracking the porcelain. Use a wrench, but be careful not to over-tighten.
Double-check the alignment and stability of the toilet base. A secure base is essential for maintaining the structural integrity and functionality of your smart toilet.
4. Connecting the Water Supply
Most smart toilets require a direct connection to the water supply. Connect the supply line to the inlet on the toilet tank or the bidet control module, depending on your model.
Some smart toilets come with a specialized water filter or pressure regulator, which you should install as instructed. Hand-tighten the connections first, then use a wrench for a snug fit.
Turn on the water supply slowly to check for leaks. If you notice any drips, tighten the connections slightly more. Proper water connection ensures that all smart features, including bidet functions and auto-flushing, work as intended.
5. Setting Up Electrical Connections
Smart toilets typically require a dedicated GFCI (Ground Fault Circuit Interrupter) outlet. Locate the nearest one or have a licensed electrician install one if necessary.
Plug the toilet’s power cord into the outlet. Make sure the cord is neatly positioned to avoid water contact. Some toilets may have a battery backup, which you should also install at this point.
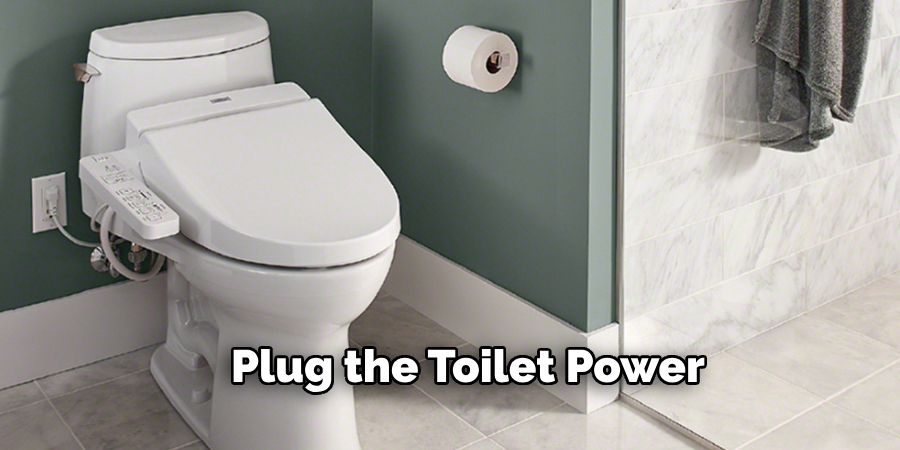
Ensure the power connection is secure and that the toilet powers on without any error messages. Electricity safety is paramount, so never attempt to hardwire the toilet unless explicitly stated in the manual.
6. Programming the Control Panel
Modern smart toilets often feature a control panel for customizing settings such as water temperature, spray strength, and seat heating. Follow the manufacturer’s instructions to set up the panel.
Usually, this involves pairing a remote control or installing a wall-mounted interface. Test each feature individually to ensure they work correctly. Adjust settings to your preference and make note of any functions that require recalibration.
By configuring the control panel correctly, you can fully enjoy the convenience and comfort of your smart toilet’s advanced features.
7. Integrating Smart Home Connectivity
If your toilet supports smart home integration, connect it to your home’s Wi-Fi network. Download the corresponding app and follow the pairing instructions.
Once connected, you can control your toilet through voice commands or a mobile app, depending on the model. Test the integration by activating features like automatic flushing or bidet functions remotely.
Secure your Wi-Fi connection to prevent unauthorized access. Smart toilet connectivity enhances convenience but should be protected from potential security risks.
8. Testing Smart Features
After installation, thoroughly test all smart features. Check the auto-flush, bidet spray, heated seat, and any other functions. Adjust the water pressure and temperature to ensure comfort.
If your model includes sensors, test their responsiveness by simulating usage. Make sure that the automatic lid opening, seat warming, and flushing work as expected.
If any features malfunction, refer to the troubleshooting section of the manual. Testing every aspect of the toilet at this stage ensures that you can enjoy all its benefits without issues.
9. Securing and Sealing the Toilet
Once satisfied with the setup, secure the toilet by applying caulk around the base. This step not only stabilizes the unit but also prevents water from seeping underneath, which could cause damage over time.
Choose a mildew-resistant, waterproof caulk and apply a thin, even bead around the base. Smooth it with a caulking tool or a damp finger. Allow the caulk to cure for at least 24 hours before using the toilet.
Proper sealing helps maintain cleanliness and reduces the risk of odors caused by trapped moisture.
10. Maintaining the Smart Toilet
To ensure the longevity of your smart toilet, follow a regular maintenance routine. Clean the bowl, nozzle, and control panel weekly using non-abrasive cleaners.
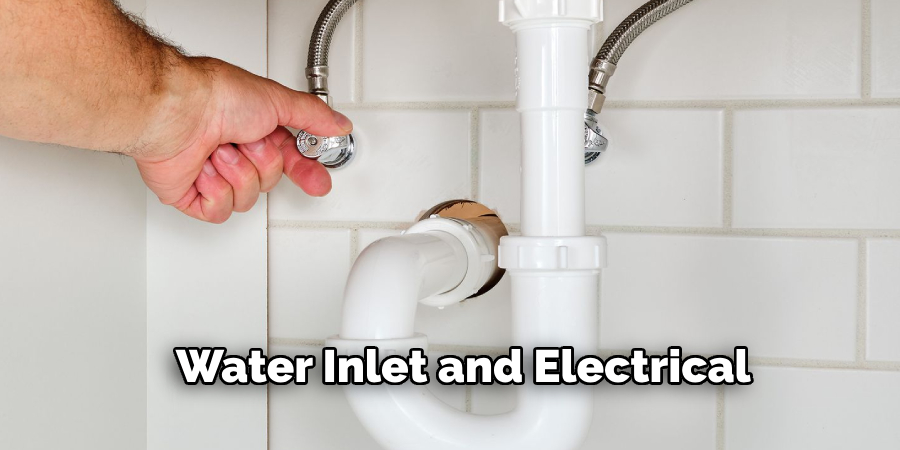
Inspect the water inlet and electrical connections periodically to ensure they remain secure. If the toilet has a built-in filter, replace it according to the manufacturer’s schedule to maintain water quality.
Perform a soft reset if you encounter software glitches. Keeping the toilet’s firmware updated ensures that the smart functions continue to operate smoothly.
Things to Consider When Choosing a Smart Toilet
Features and Functions
Identify the features most important to you, such as bidet options, seat heating, air drying, or automatic flushing. Some models also include advanced options like nightlights or voice commands.
Compatibility with Your Bathroom
Ensure the smart toilet fits the size and design of your bathroom. Check that the water and electrical connections in your space are compatible with the model you’re considering.
Energy Efficiency
Look for a model with energy-saving modes or certifications that indicate low power consumption. This will help reduce the overall cost of using the smart toilet over time.
Ease of Cleaning and Maintenance
Smart toilets often come with features that simplify cleaning, such as self-cleaning nozzles or antimicrobial surfaces. Choose a model that aligns with your maintenance preferences.
Conclusion
Installing a smart toilet may seem complex, but with careful planning and methodical execution, you can complete the task efficiently. By following these ten methods, you’ll not only achieve a successful installation but also set up a high-functioning, luxurious addition to your bathroom.
From preparing the installation area to maintaining the toilet post-installation, each step contributes to a smooth and hassle-free process. By ensuring that both plumbing and electrical connections are secure, you can enjoy your smart toilet’s features without worrying about malfunctions or leaks. So, there you have it – a quick and easy guide on how to install smart toilet.

