Do you want to avoid your toilet constantly running or not flushing correctly? It may be time to replace the toilet guts.
Installing the internal components of a toilet, commonly referred to as “toilet guts,” might seem daunting, but with the right tools and a step-by-step approach, it can be achieved efficiently. Whether replacing old or faulty parts or upgrading to more efficient mechanisms, understanding the intricacies of toilet guts is crucial for ensuring your toilet functions smoothly.
This guide on how to install toilet guts, will help you identify the main components, including the fill valve, flush valve, flapper, and overflow tube, and provide clear instructions on how to install each part correctly. By the end of this guide, you’ll have the confidence to tackle this essential plumbing task and maintain a well-functioning bathroom.
What Will You Need?
Before you start the installation process, gathering all the necessary tools and materials is important. Here is a list of items you’ll need:
- New toilet guts kit
- Adjustable wrench
- Channel-lock pliers
- Screwdriver (flathead and Phillips)
- Plumbers tape
- Towels or rags for cleanup
It’s important to note that some kits may include additional components such as mounting bolts or washers. Read the instructions carefully and have all the necessary parts before starting.
10 Easy Steps on How to Install Toilet Guts
Step 1: Turn Off the Water Supply
Begin by turning off the water supply to the toilet. Locate the shut-off valve, typically found on the wall behind the toilet. Turn the valve clockwise until it is fully closed. This will prevent water from flowing into the toilet tank while you’re working. After turning off the water, flush the toilet to drain as much water from the tank as possible. Use towels or rags to soak up any remaining water at the bottom of the tank.
Step 2: Remove the Old Toilet Guts
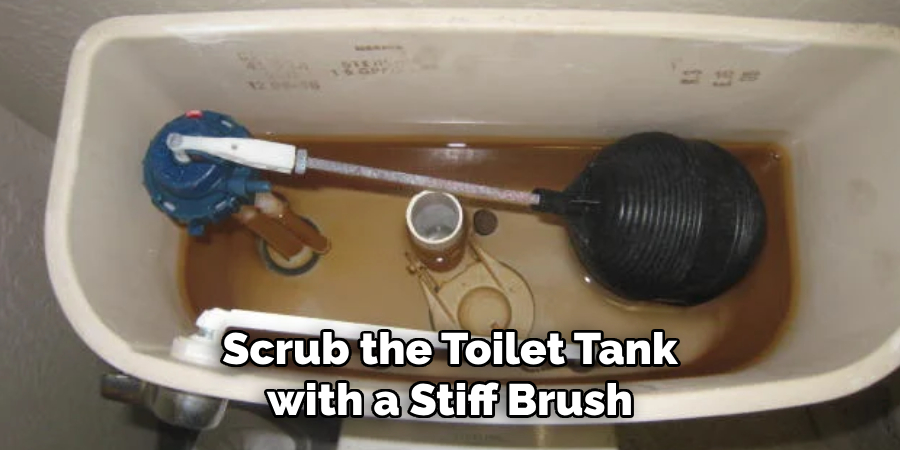
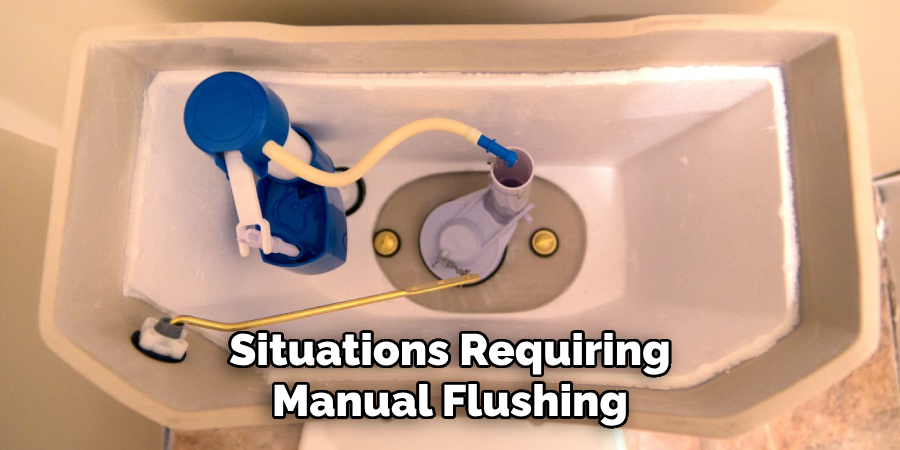
With the water supply turned off and the tank drained as much as possible, you can remove the existing components. First, carefully detach the tank lid and set it aside safely to avoid damage. Inspect the tank’s inside and identify the parts you’ll be replacing. Typically, this includes the fill valve, flush valve, flapper, and overflow tube.
Start by disconnecting the water supply line from the bottom of the fill valve using an adjustable wrench. This connection is outside the tank, where the supply line meets the tank’s bottom. Loosen the nut, secure the fill valve, and gently lift the valve up and out of the tank. Take care to avoid spilling any residual water left inside the fill valve.
Next, turn your attention to the flapper, which is anchored at the bottom of the tank and attached to the flush valve. Disconnect the flapper’s chain from the handle lever and unclip the sides of the flapper from the flush valve. You’re now ready to remove the flush valve. Unscrew any nuts or bolts holding the flush valve to the tank. Depending on the model, this may require channel-lock pliers or a screwdriver.
Lastly, remove any additional components that might be part of your setup, such as washers or gaskets. Once all the old elements are out, thoroughly clean the tank’s inside using a towel or rag. This will ensure a smooth surface for the new components, minimizing the risk of leaks. Now you’re ready for the next step—installing the new toilet guts.
Step 3: Install the New Fill Valve
Begin by inserting the new fill valve into the designated opening at the bottom of the tank. Ensure the rubber washer is in place to prevent leaks. Once the valve is seated correctly, tighten the nut underneath the tank with an adjustable wrench. Take care not to overtighten, as this can crack the tank’s porcelain. Reattach the water supply line to the bottom of the fill valve using the adjustable wrench for an airtight fit.
Step 4: Install the New Flush Valve
Next, position the new flush valve over the opening in the center of the tank bottom. Align the base gasket and any included washers per the manufacturer’s instructions. Secure the flush valve in place by tightening any nuts or screws provided in your kit, ensuring a snug fit without overtightening. Double-check that the flush valve is aligned and sits flush with the tank floor to prevent any future leaks or operational issues.
Step 5: Install the New Flapper
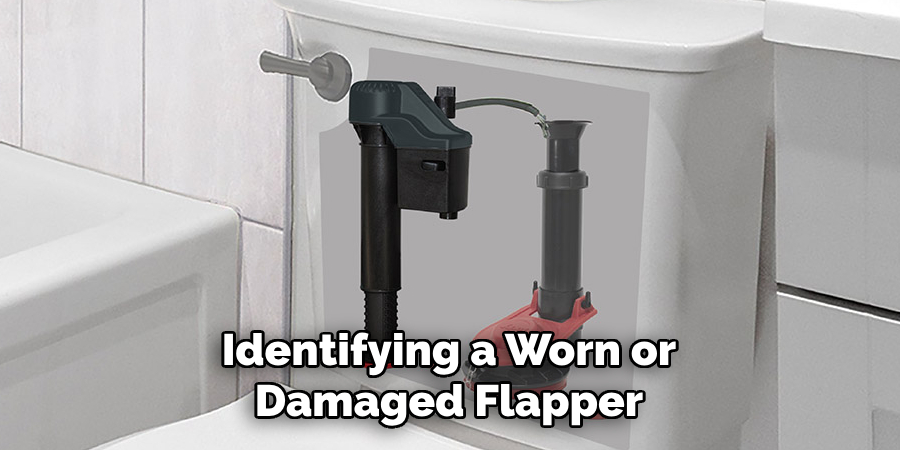
With the flush valve securely in place, it’s time to install the new flapper. The flapper acts as a seal for the flush valve, preventing water from escaping the tank until it is needed for a flush. Begin by attaching the flapper to the prongs on either side of the flush valve. Ensure that it sits evenly on the flush valve seat, forming a tight seal.
Next, connect the flapper chain to the toilet handle lever. The chain should have just the right amount of slack—too much slack can delay the flapper from closing, causing the toilet to run, while too little can prevent the flapper from opening fully during a flush. Adjust the chain length so that there’s a slight lift on the flapper when the handle is fully depressed, but also ensure it closes completely when released.
After installation, manually operate the handle a few times to confirm the flapper lifts quickly and returns to its seated position without obstruction. Check for areas where the chain might become entangled with other components, affecting the flapper’s operation. You’ve completed this step once you’re satisfied that the flapper is working correctly.
Step 6: Position the Overflow Tube
Guide the new overflow tube into the appropriate opening adjacent to the flush valve. Adjust its height according to the manufacturer’s recommendations to ensure optimal performance within the tank. Secure the overflow tube by fastening any required clamps or screws featured in your kit. Confirm that the overflow tube is oriented correctly, allowing excess water to be discarded safely yet effectively during flush operations. With this in place, you are prepared to finalize the remaining installation steps and ensure seamless functionality of your toilet’s internal mechanics.
Step 7: Turn On the Water Supply
With all new components securely installed, it is time to turn the water supply back on. Slowly turn the shut-off valve counterclockwise to allow water to flow into the tank. Monitor the tank as it fills, watching for leaks around the new components. Once the tank is full, flush the toilet to ensure all parts function correctly. If everything operates smoothly, this concludes the installation process. Test the toilet several times to confirm consistent performance and address any adjustments needed for optimal operation.
Step 8: Test the Flush Mechanism
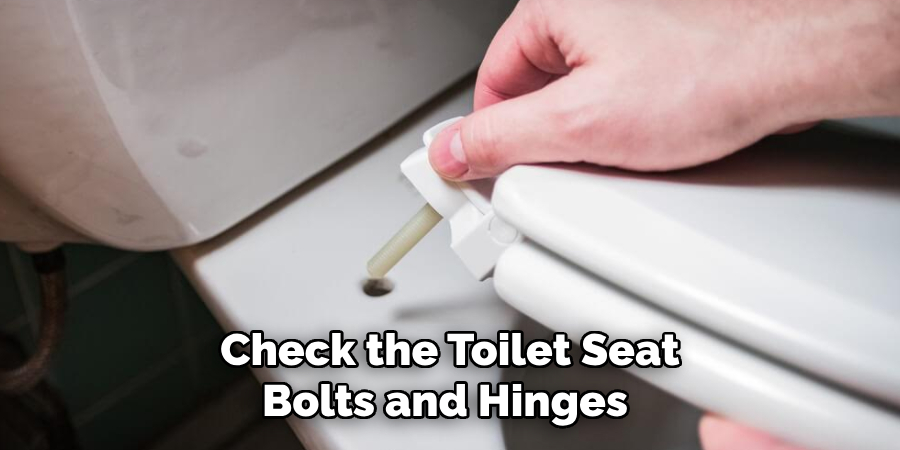
After installing all new toilet components, it’s crucial to thoroughly test the flush mechanism to ensure everything is functioning correctly. Start by performing multiple flushes to evaluate the toilet’s operation under normal conditions. Observe the water flow from the tank into the bowl, noting any irregularities, such as sluggish flushing or inadequate water displacement, which may indicate an issue with the fill or flush valves.
Pay close attention to the flush’s sound, as any unusual noises may suggest that components are not meeting or aligning properly. Additionally, inspect the connections to confirm no leaks, particularly around the base of the fill valve, the flush valve, and the connection points for the water supply.
If you notice that the toilet continues to run after a flush or if the flapper does not seal properly, you may need to adjust the flapper chain length or reseal the components to ensure a tight fit.
Step 9: Reattach the Tank Lid
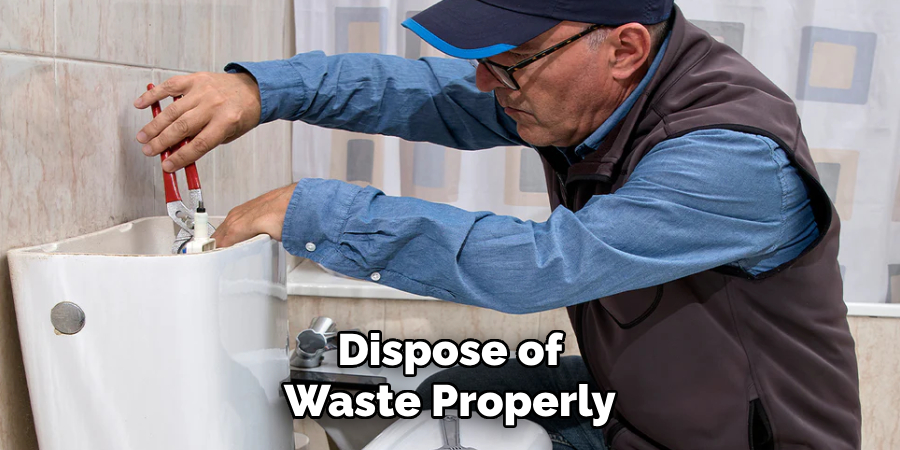
Once you have confirmed that all components are installed correctly and the flush mechanism is functioning without any issues, carefully place the tank lid back on top of the tank. Make sure it is seated properly and does not wobble. This final step completes the installation process, and your toilet should now operate efficiently. Regular maintenance checks are recommended to keep it in optimal working condition.
Step 10: Perform Final Checks
Take a few moments to perform a final check of your work. Look for leaks around the new installations and ensure the fill and flush functions operate as expected. Make any necessary adjustments to the float, fill valve, or flapper to customize the flush and fill cycles to your satisfaction. Enjoy the peace of mind that comes with a well-functioning toilet.
By following these steps and using the appropriate tools, you can successfully replace a toilet’s internal components and restore its optimal functionality.
Conclusion
How to install toilet guts might seem daunting at first, but with the right tools and a systematic approach, it can be easily managed.
This process extends the life of your toilet and ensures optimal efficiency and performance. By carefully following each installation step, from removing the old components to testing the new ones, you can achieve a leak-free and smoothly operating toilet. Regular maintenance and periodic checks will also help prevent future issues, saving you time and potential repair costs. Remember that attention to detail and patience are keys to a successful installation.
With these guidelines, you can confidently tackle this DIY project and enjoy the benefits of your handiwork.

