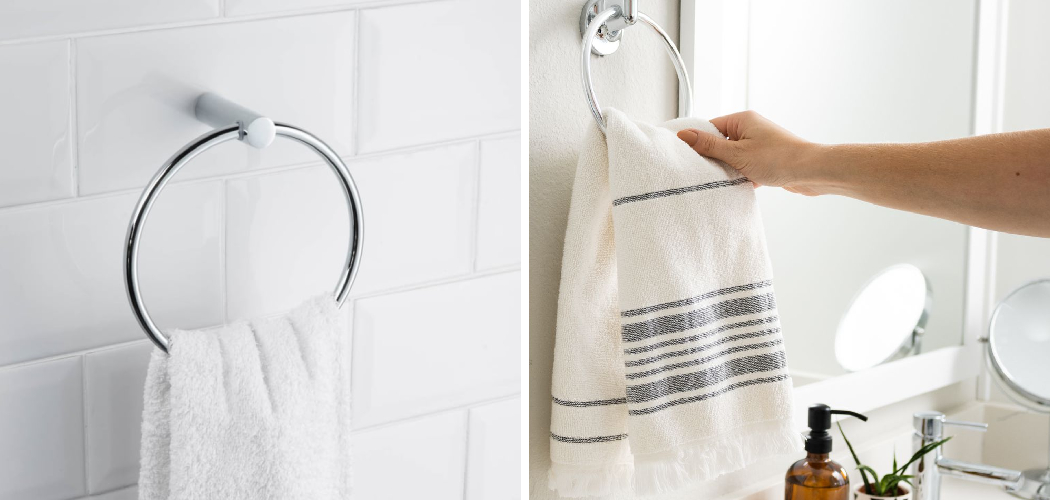
Installing a towel ring in your bathroom not only gives you the convenience of having a quick and easy storage solution for towels, but it also adds an extra touch of style and beauty to your space. Whether you are looking for something functional or aesthetic, this simple home improvement project is a great way to give your bathroom an upgrade.
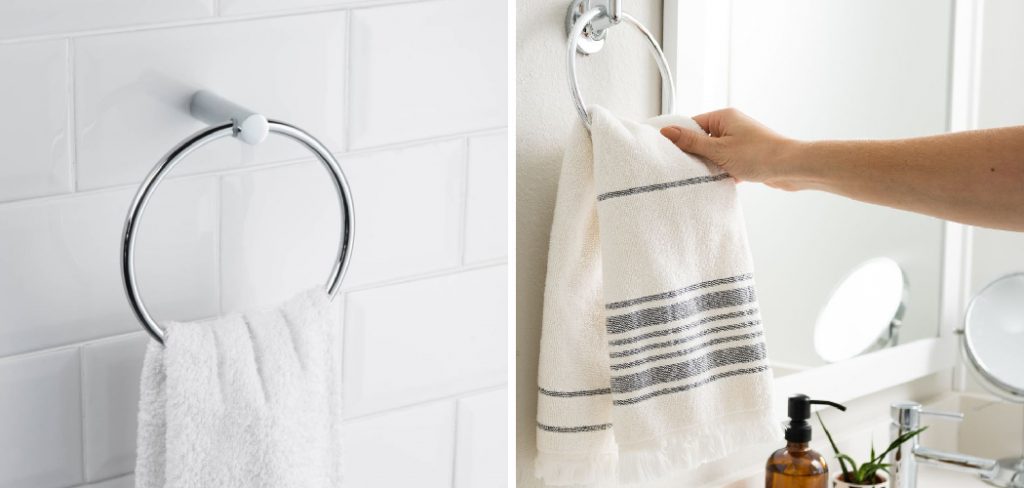
In this blog post, we’ll discuss everything from what tools you need to get started to how long it typically takes to install a towel ring. With these helpful instructions on how to install towel ring, anyone can confidently complete their own installation project with minimal hassle!
Why Do You Need to Install Towel Ring?
1. Add Style
Towel rings provide a convenient and stylish to store your various bathroom towels. Not only do towel rings keep towels off the floor and out of your way, but they also add a touch of style to any bathroom space.
2. Free Up Floor Space
Installing a towel ring provides extra storage for towels and other items without taking up valuable floor space. This is especially important in smaller bathrooms where space can be limited. It is a great way to keep the room tidy and organized.
3. Keep Towels Dry
Towel rings are the perfect solution to keep your towels dry and free of any moisture or humidity. This is especially important in bathrooms with limited ventilation, as it can help to prevent any mold or mildew buildup on your towels.
Tools and Materials Needed For Installing Towel Ring
- Towel ring of choice
- Power drill
- Screwdriver
- Stud finder
- Masking tape
- Level
- Anchors
- Screws
10 Ways How to Install Towel Ring
1. Mark the Location
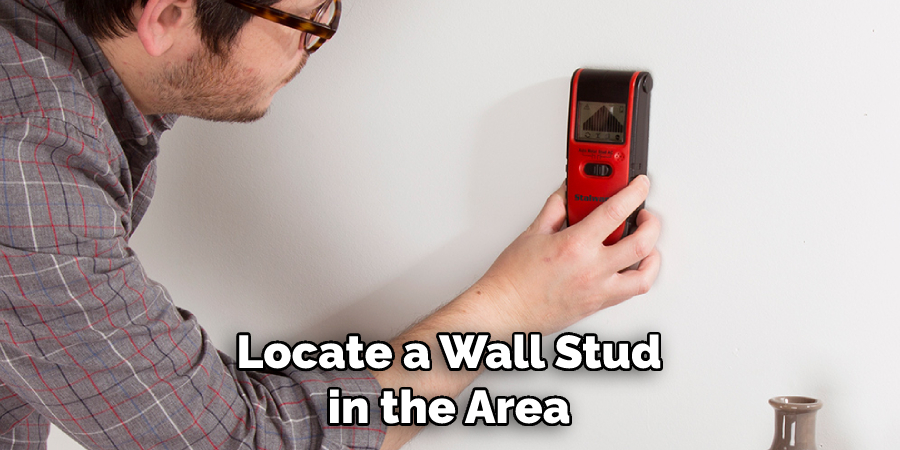
Using a stud finder, locate a wall stud in the area where you want to install your towel ring. Mark this location with mask tape and use a level to ensure that it is. That’s the spot where you’ll begin your installation.
2. Drill a Pilot Hole
Once you have marked the location with tape, use a power drill to make a pilot hole in the wall. This will make it easier for you to screw in your anchors and screws without any difficulty. Pilot holes should be no more than 1/8 of an inch thick.
3. Insert the Anchor
Insert an anchor into the pilot hole that you have created in the wall. Make sure it is securely in place before proceeding with the next step. Inserting the anchor helps to add extra stability to your towel ring.
4. Attach Towel Ring
Once the anchor is secure, take your towel ring and attach it to the wall. You may need a screwdriver for this part of the installation process. Once the towel ring is attached, you can use a level to ensure that it is level with the wall.
5. Insert Screws
Now, take your screws and insert them into the pre-drilled holes of your towel ring. Make sure that they are firmly in place and won’t come out easily. You may need to use a screwdriver for this part as well.
6. Tighten the Screw
Use a screwdriver to securely tighten the screws that you have inserted into your towel ring. Make sure that they are not too tight. Otherwise, it could damage the wall or cause an accident. The screw should be nice and secure but still easily removable.
7. Check the Level
Once your towel ring has been securely attached to the wall, check to make sure that it is level with the rest of the wall. This can be done by using a level or simply looking at it from different angles.
8. Test It
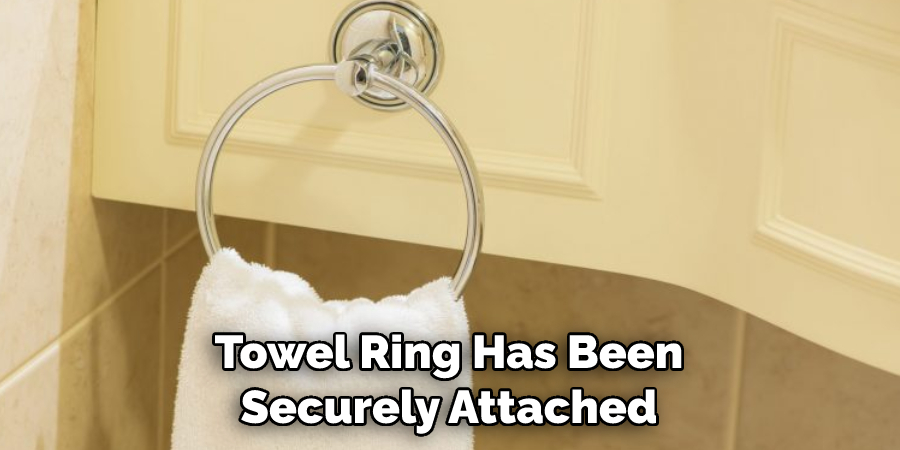
Before you put your towels on the towel ring, give it a test run by gently tugging on it. Make sure that it is secure and won’t come out of the wall easily. This will help to ensure that your installation is successful.
9. Place Towels On It
Now you can finally place your towels on your newly installed towel ring! You can use different types and sizes of towels, depending on the size of your ring. Towel rings are a great way to add an extra touch of style and functionality to your bathroom.
10. Enjoy!
You’re done installing your towel ring! Now you can enjoy the convenience, style, and storage space it provides for all of your towels. Congratulations on completing this project yourself – without the help of a professional!
We hope this guide has helped you learn how to install a towel ring in your bathroom. With the steps outlined above, you should have no problem installing it properly and securely. Thanks for reading, and good luck with your installation!
8 Safety Precautions
Before you begin installing your new towel ring, it is important to take the necessary safety precautions. Here are eight steps you should follow:
1. Protective Wear
Wear safety glasses and gloves to protect your eyes and hands from any sharp objects or tools that may be used during installation. Always wear the appropriate protective clothing while working.

2. Prepare Your Area
Ensure your work area is well-ventilated and free of clutter. Remove any furniture, rugs, or other items that could get in the way of you installing your towel ring. The area should be well-lit so you can easily see what you are doing.
3. Gather Your Supplies
Gather all the necessary supplies, including a towel ring, mounting bracket, drill, screws, and wall anchors (when needed). Make sure to have a level handy to ensure your towel ring is hung straight and level on the wall.
4. Clean the Wall Surface
Clean the wall where you plan to mount your towel ring with a damp cloth and let it dry completely before proceeding. This will help ensure that your mounting bracket will adhere properly and securely.
5. Mark Your Spot
Use a pencil to mark the spot on your wall where you want to install the towel ring. This will help guide you when it’s time to drill your holes. Marking the spot is especially important if you’re using wall anchors.
6. Drill Your Holes
Drill your holes according to the instructions that came with your towel ring and mounting bracket. Make sure they are deep enough for the screws to fit through without protruding out of the wall or being too loose.
7. Install the Mounting Bracket
Place the mounting bracket on the wall and attach it with screws. Use a level to ensure it is straight and level before tightening the screws completely.
8. Hang Towel Ring
Once your mounting bracket is secure, you can hang the towel ring onto it. Make sure it hangs securely and does not wobble. If it does, tighten the screws on the mounting bracket until it is secure.
Following these eight steps will help ensure that you install your towel ring safely and securely, so you can enjoy it for many years to come!
Frequently Asked Questions
How Long Will It Take to Finish?
The time needed to install a towel ring can vary depending on the type of materials used, such as with or plastic rings. Generally speaking, if you have all of the tools and supplies ready to go, it should take no more than 30 minutes to complete the installation. Finishing the project might take longer if you are unfamiliar with the process or encounter any complications.
Do I Need Any Special Tools?
No, basic tools will do for installing a towel ring. You’ll need a drill, screwdriver, level, and mounting hardware (which should come with the towel ring). The tools you need may depend on the type of wall material and towel ring, so be sure to check what is required for the specific model you have.
Are There Any Tips I Should Know?
Yes! Always start with a level and make sure that your drill bit is sharp before beginning. It’s also important to use the proper mounting hardware and to make sure that it is secure. Finally, follow the manufacturer’s instructions to be sure that you install the towel ring correctly.

Do I Need an Expert?
No, with the right tools and basic knowledge of installation techniques, any homeowner can complete this project with minimal effort. However, if you do not have experience in home improvement projects, or if the job is too daunting for you, it might be a better idea to hire a professional.
Conclusion
Installing a towel ring is actually not as hard as it looks. Armed with the right supplies and your own two hands, you can make a dramatic difference in the look of your bathroom or powder room. It’s important to be precise when measuring and marking where you’d like to place your towel ring so that it will both look and feel great throughout many years of use.
Don’t worry if the process doesn’t work perfectly on the first try—just measure and mark twice, double-check everything once more before drilling, then complete each step on how to install towel ring carefully.
Take your time, and your project will turn out great! So grab those tools, make some measurements, then reach for that drill—you’ll have that new towel ring up in no time! With just a bit of effort and care, you can install a brilliant accessory to add even more style to one of the rooms most used in your home.

